
Just Peachy OB project
 03-20-2017, 01:19 PM
#841
Rennlist Member
Thread Starter
Planned to attend Amelia Island Concours and Carl suggested to trailer J.P. to finish & program the Infinity Box system. Great time visiting with Carl, his lovely daughter, Dad and step Mom in from Sweden. Bonus: Also met up with Lou, Droo, Trey, and his wife at the Werks Reunion on Fri. Great event  T
T
T
Last edited by 77tony; 03-04-2021 at 03:18 PM.
 04-11-2017, 01:43 AM
#842
Rennlist Member
Thread Starter
Carl's back at it...89+driver's side inner door lock mechanism installed and window motors wired. Waiting on parts to finish up pass side. T
Last edited by 77tony; 04-11-2017 at 02:21 AM.
04-11-2017, 08:16 PM
#843
Team Owner
T looking good.
make sure you put drip panels into those door cutouts,
then cover the whole door with shower curtain clear.
Bedbathandbeyond has good quality clear curtains one will do both doors.
NOTE just covering the whole panel with one sheet will not be good for your lower door panels,
as the water will run to the bottom of the plastic,
and then wick into your door panel then it will rot and crumble.
Drip panels should fall about 1 to 2 inches below the lower edge of all openings.
Also remove the rear door lamp housing and clean off the corrosion at the pins,and bulb
then put some RTV on the back of the boot/wire so water wont run down the wire and fill the boot.
Put lubricating oil on the door latch mechanism to reduce tendency for the handle to fail.
Lubricate the window arm pivot the window will work faster,
a long thin drip tube works 12 inch,
to drip the oil down from the top with the window down and the flash lamp.
Last tighten all the door hardware before installing the door panel ,
also the tighten the handle and armrest pivot screws
04-11-2017, 09:29 PM
#844
Rennlist Member
Thread Starter
T looking good.
make sure you put drip panels into those door cutouts,
then cover the whole door with shower curtain clear.
Bedbathandbeyond has good quality clear curtains one will do both doors.
NOTE just covering the whole panel with one sheet will not be good for your lower door panels,
as the water will run to the bottom of the plastic,
and then wick into your door panel then it will rot and crumble.
Drip panels should fall about 1 to 2 inches below the lower edge of all openings.
Also remove the rear door lamp housing and clean off the corrosion at the pins,and bulb
then put some RTV on the back of the boot/wire so water wont run down the wire and fill the boot.
Put lubricating oil on the door latch mechanism to reduce tendency for the handle to fail.
Lubricate the window arm pivot the window will work faster,
a long thin drip tube works 12 inch, to drip the oil down from the top with the window down and the flash lamp.
Last tighten all the door hardware before installing the door panel ,
also the tighten the handle and armrest pivot screws
Last edited by 77tony; 04-12-2017 at 02:35 AM.
04-12-2017, 12:46 AM
#845
Intermediate

Join Date: Dec 2014
Location: Detroit, MI
Posts: 47
Likes: 0
Received 0 Likes
on
0 Posts
Hey Mrmerlin do you have a picture anywhere of the Drip sheets attached to the door ?
I'm getting ready to take apart mine to dye Black and install Speakers and would like to tidy everything up while i'm in there.
I'm going to add soundproofing also. Thx !
I'm getting ready to take apart mine to dye Black and install Speakers and would like to tidy everything up while i'm in there.
I'm going to add soundproofing also. Thx !
04-12-2017, 12:52 AM
#847
Team Owner
no current pictures my last pictures were damaged in my hard drive and went away
04-12-2017, 09:23 PM
#849
Nordschleife Master
But, even without pics, it's pretty simple.
The vapor barrier is simply a sheet of plastic that covers the entire interior of the door. It seals off the inside of the door (where the window motor is) from the door card.
The drip panels are smaller pieces that go into the openings in the door. They are cut a bit wider and 2 or 3 inches longer than the opening. They get glued to the "outside" of the door at the top of the hole ("outside" meaning the side that the door card goes onto). Then they simply get tucked into the hole (into the area where the window motor is). They catch anything that drips into the door, say from the window gap, and keep it away from the door card.
The drip panels go on first, then the vapor barrier.
Stan suggests Weldwood contact cement. I used 3M 77 spray on and it worked ok.
 05-25-2017, 09:33 PM
#855
Rennlist Member
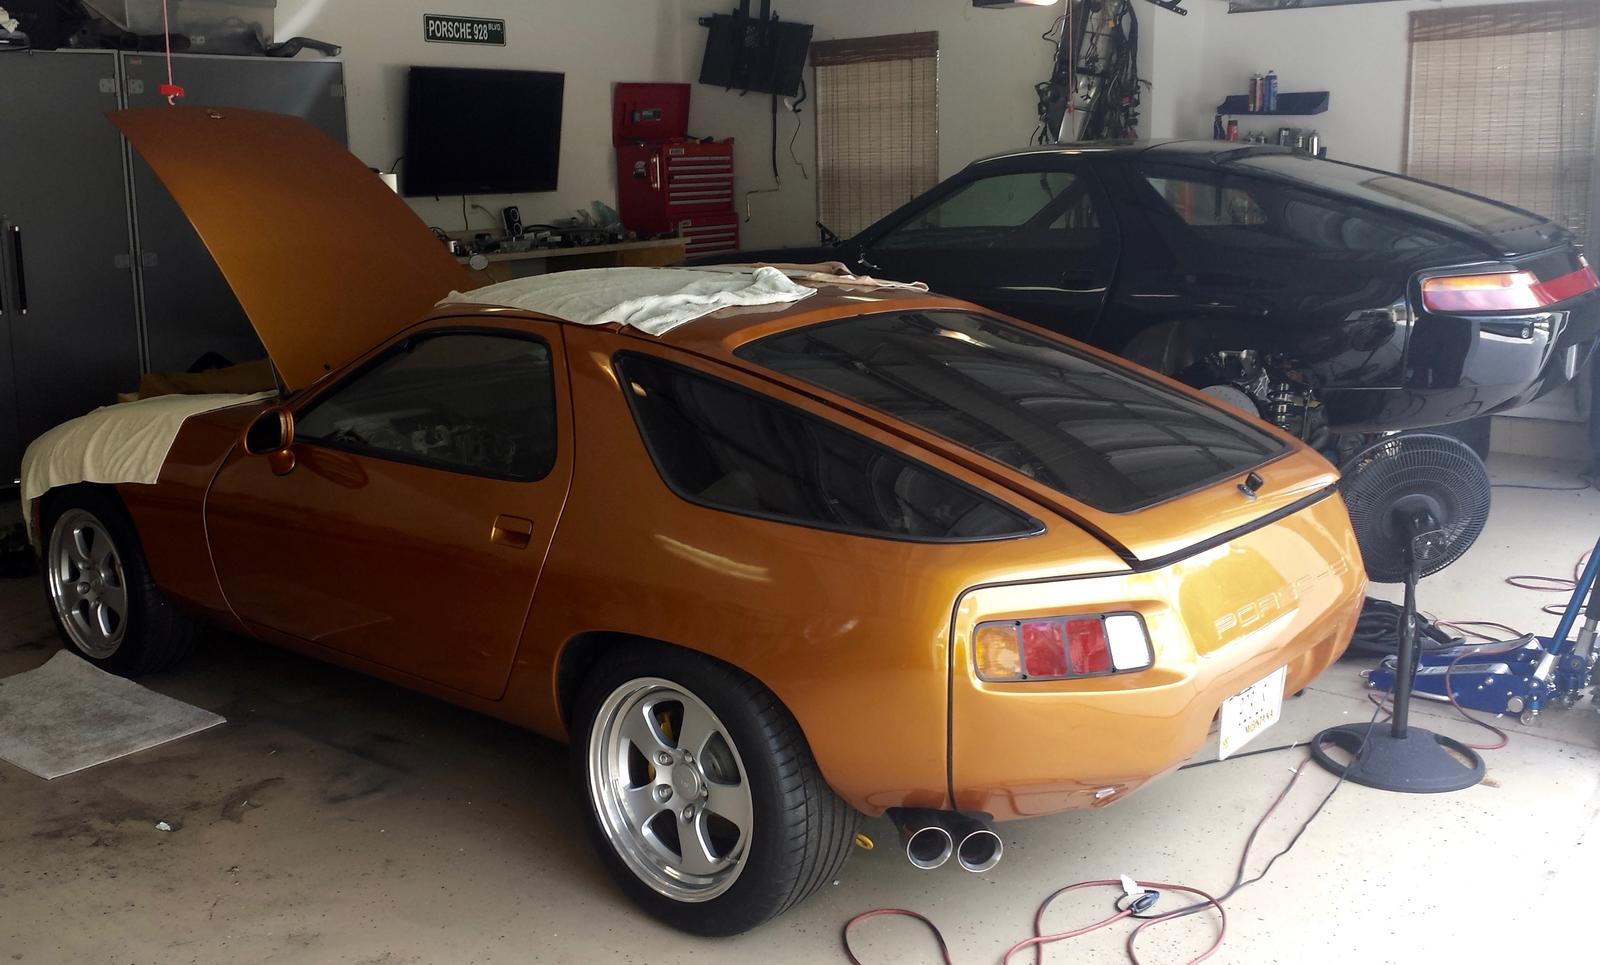
Carl, your 928 resto is looking forlorn in the background.
Godspeed on getting T's project done so we may start enjoying your progress updates again.
Godspeed on getting T's project done so we may start enjoying your progress updates again.