When you click on links to various merchants on this site and make a purchase, this can result in this site earning a commission. Affiliate programs and affiliations include, but are not limited to, the eBay Partner Network.
continued to chemically strip the car, worked on the passenger door. copied a long fuel line that I had had to cut in the engine removal. Tried to get my outer tie rods off myself with no success. Not wanting to screw the up, I took them to my local machine shop, they said they'd have them off in no time.
Painted the LR corner: a rattle can paint job that would rightly horrify everyone on here, but I don't want the bare metal exposed (as it was after I banged out the dent and big chips of Bondo came off), and I don't want to wait 'til who knows when I'll have the funds for proper bodywork to drive it again.
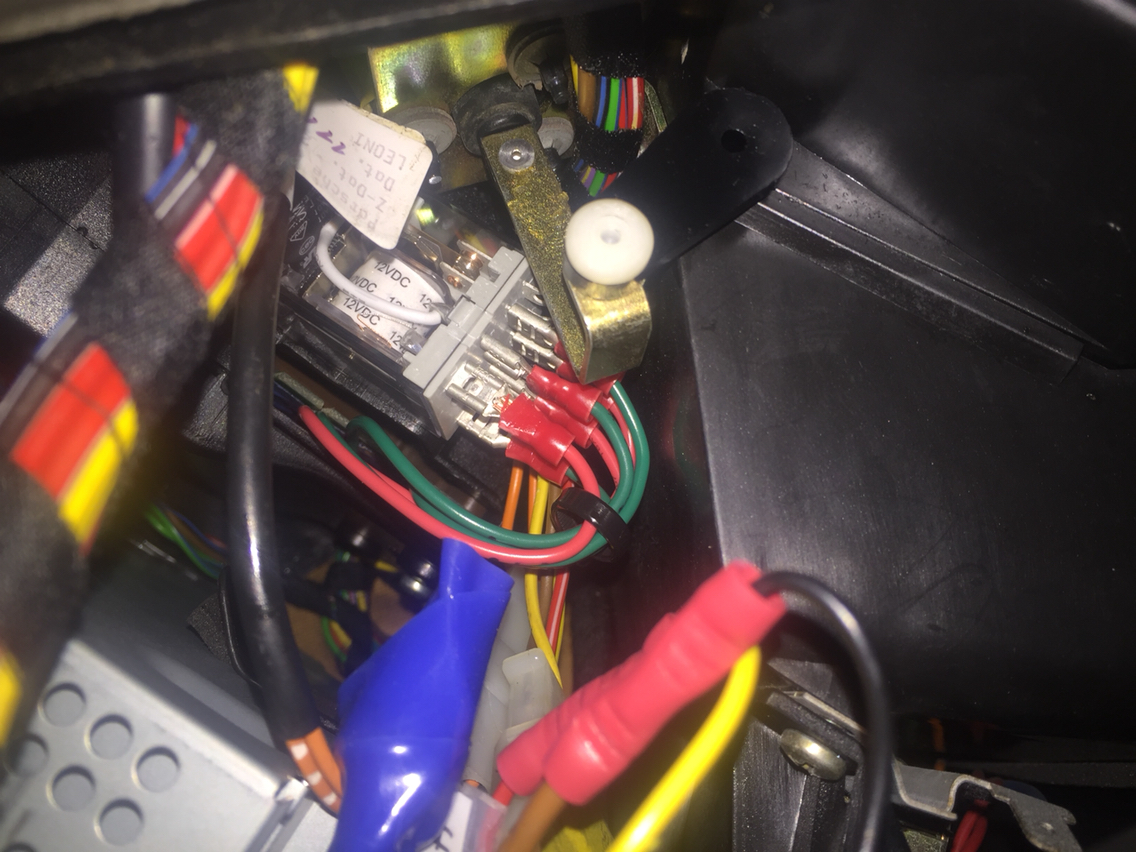
Also replaced the hatch pin switch, so that now the lights come on reliably when the hatch is opened, and the key fob hatch release I added works correctly. This second part is because the hatch release motor relies on ground from the pin switch to complete its cycle. A bad pin switch means the motor stops in random places, and then often runs again when you open a door.
Adjusted the programmable O2 sensor...got a nice one from Zeitronix along with an AFR guage...I think I finally found the winning formula for my car...it seems to really like the MAF being cranked way up extra rich...low 390's with the programmable 02 set at 13.2 AFR.
In 4th gear its super strong on the highway...way stronger than it's ever been...started walking it the other night and before I new it I was at 110 and it was pulling harder and harder...the programmable 02 sensor is probably one of the best things I've done to my car....it really made the engine run smoother.
No I don't have emissions inspections in my state and the catalytic converters fell off in a freak accident.
This is the week designated to get my car all put back together, in time for Spring. I'm moving slowly, but so is Spring.
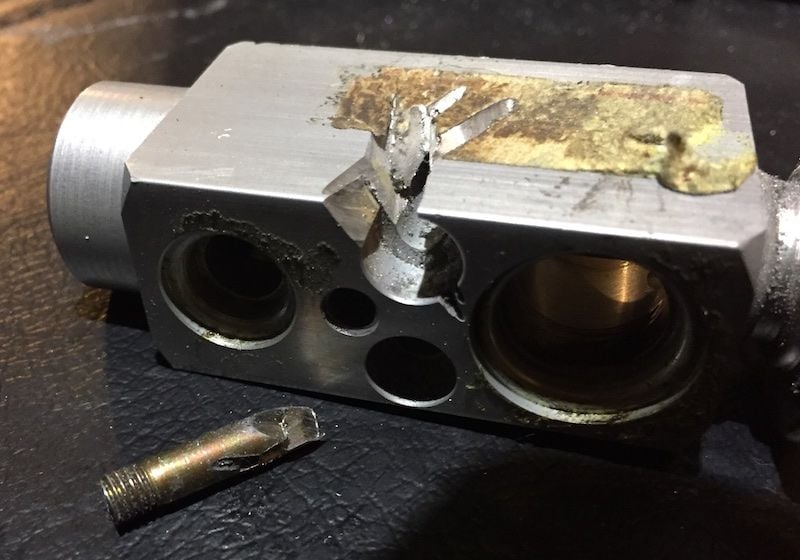
1) New/rebuilt AC compressor, drier and expansion valve: all in, pumped down and held vacuum - amazing! See photo that depicts my mechanical skills; I don't take success for granted.
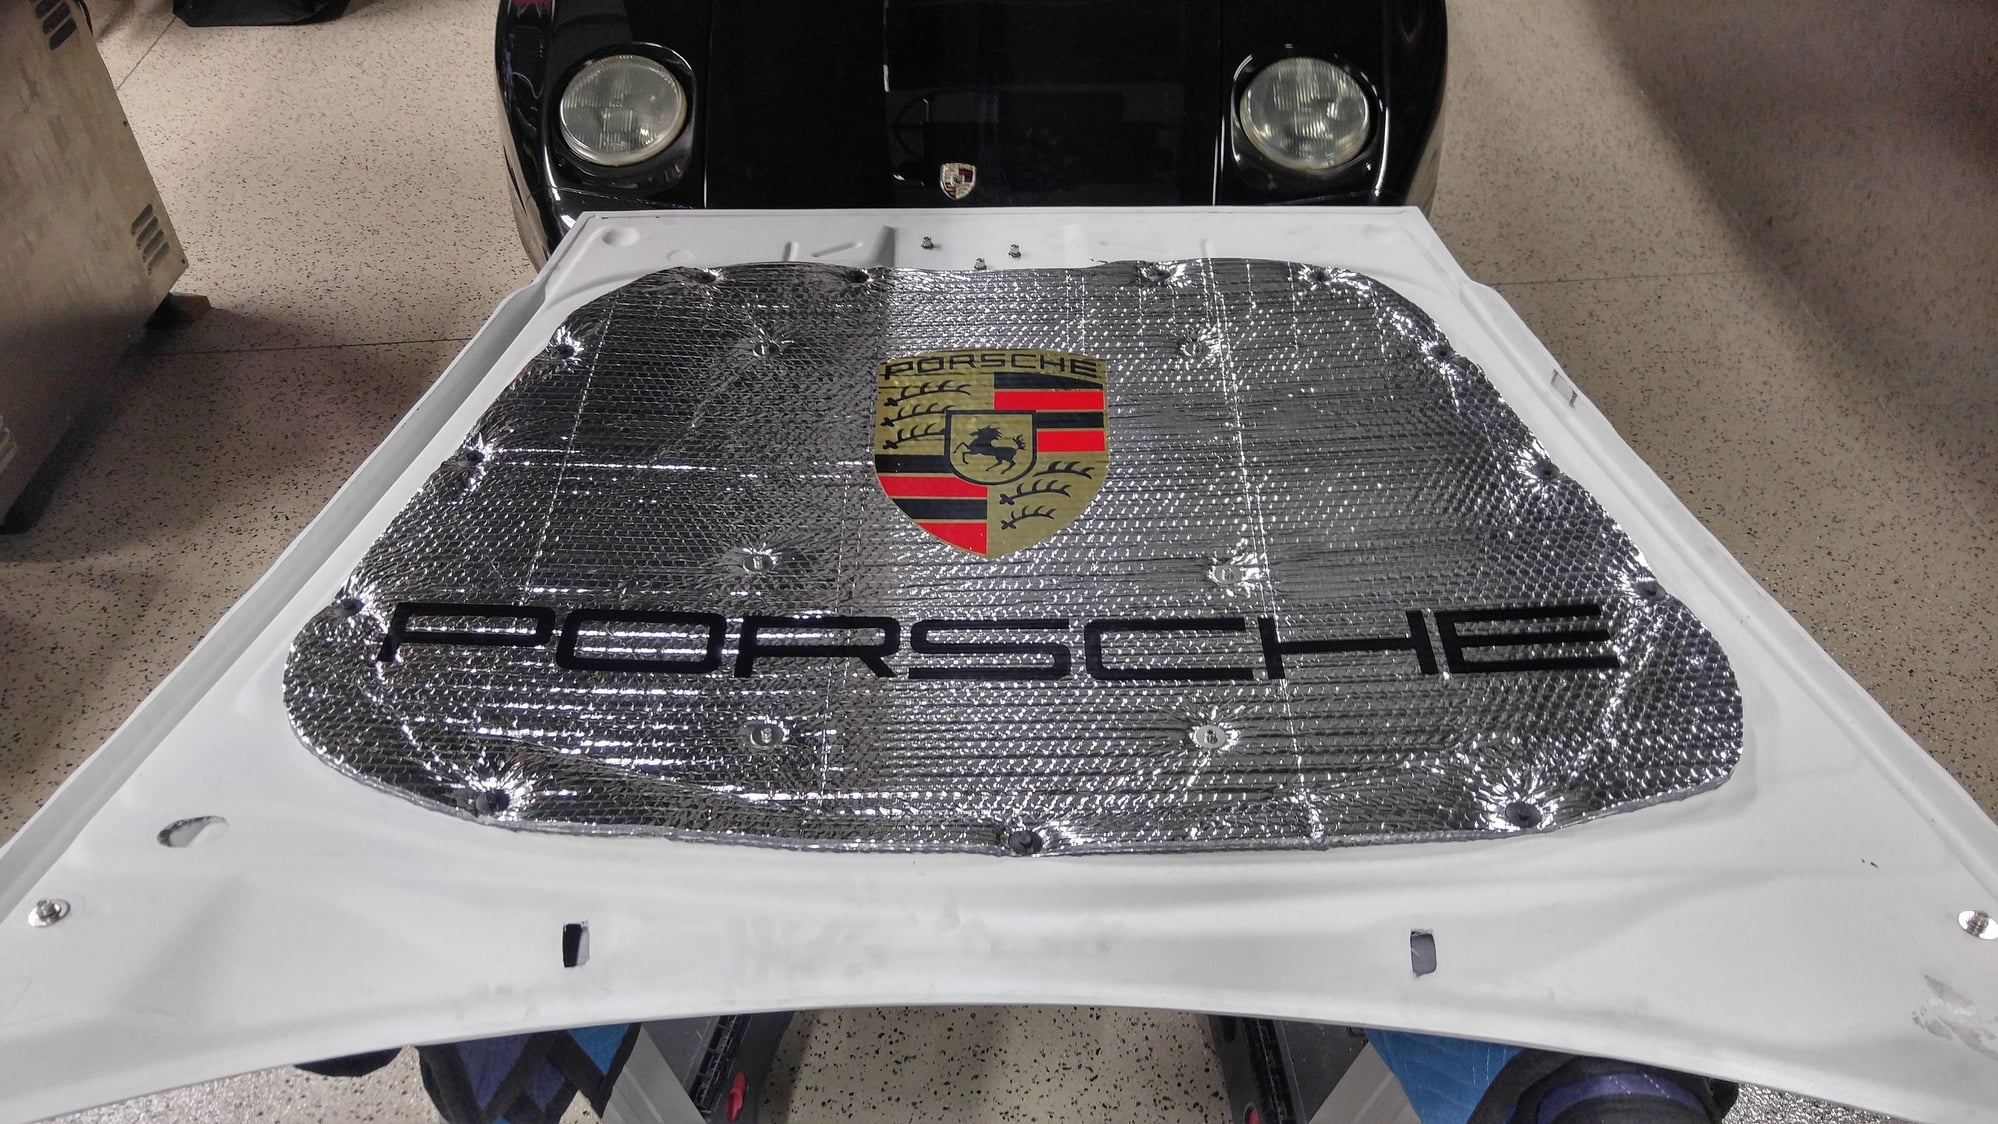
2) Scraped liner off hood, now on to removing the glue (is there a way to re-activate it?). Need the adhesive.
3) Still must re-assemble the air duct/vane assembly, and then install
4) New bumper is painted and re-assembled; must install
5) New splash shields and spoiler ready to go on, but probably need an assortment of clips and screws
This is the week designated to get my car all put back together, in time for Spring. I'm moving slowly, but so is Spring.
1) New/rebuilt AC compressor, drier and expansion valve: all in, pumped down and held vacuum - amazing! See photo that depicts my mechanical skills; I don't take success for granted.
2) Scraped liner off hood, now on to removing the glue (is there a way to re-activate it?). Need the adhesive.
3) Still must re-assemble the air duct/vane assembly, and then install
4) New bumper is painted and re-assembled; must install
5) New splash shields and spoiler ready to go on, but probably need an assortment of clips and screws
wow, looks like the expansion valve may have been to spot leaking.
That's a lot of work. Good to know it held a vacuum. I'll be vacuuming mine next week.
This is the week designated to get my car all put back together, in time for Spring. I'm moving slowly, but so is Spring.
1) New/rebuilt AC compressor, drier and expansion valve: all in, pumped down and held vacuum - amazing! See photo that depicts my mechanical skills; I don't take success for granted.
2) Scraped liner off hood, now on to removing the glue (is there a way to re-activate it?). Need the adhesive.
3) Still must re-assemble the air duct/vane assembly, and then install
4) New bumper is painted and re-assembled; must install
5) New splash shields and spoiler ready to go on, but probably need an assortment of clips and screws
This is the best hood liner adhesive I've found
DEI 010490 Hi Temp Spray Adhesive
and the best material is the lightweight silver rolls of insulation (available at Lowe's)
Liked it so much in the 928, made one for my Cayenne using the same stuff
not to burst your bubble, but that liner will flake over time and start to deteriorate. I had some for about 5 years and it finally dried out and I had flakes everywhere.
not to burst your bubble, but that liner will flake over time and start to deteriorate. I had some for about 5 years and it finally dried out and I had flakes everywhere.
Ether way, it looks killer
Well that's not good news, and surprising since this is the material Carl at 928 Motorsports sells, unless his looks like this, but is actually different. The one under my 928 is his. The one I made for the Cayenne is the Lowe's material. I had one of the Jager black pads prior and after 2 years of limited use it was brittle, cracking, and falling off. If this one goes 5 years, at least that's progress.

 03-19-2017, 12:41 AM