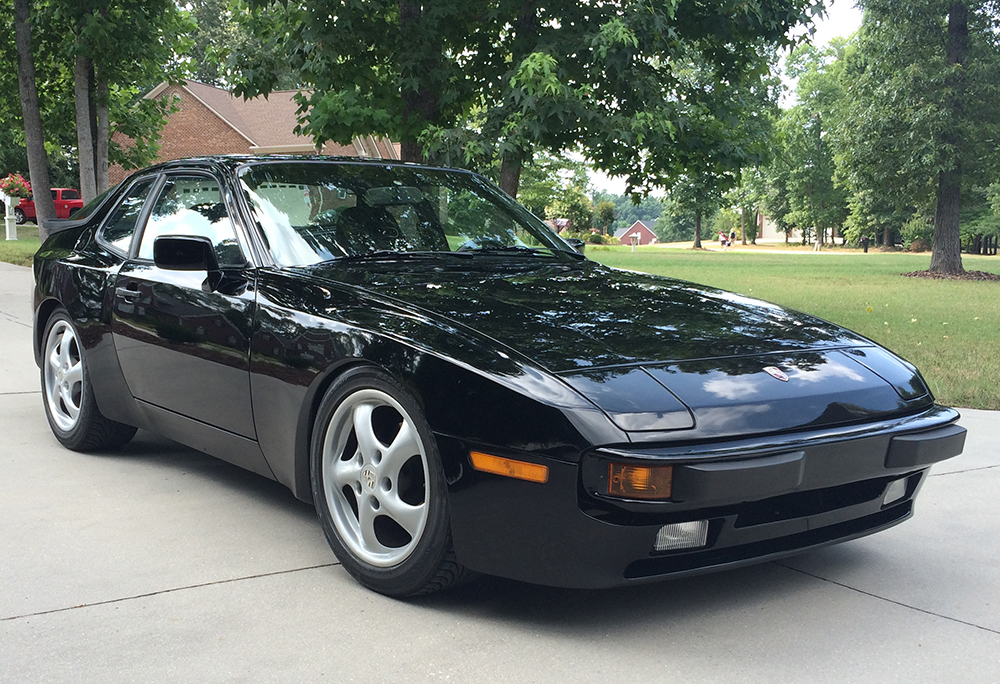
Projects on our new to us 1988 944 Turbo
 12-01-2015, 10:10 AM
#16
Three Wheelin'
jerhofer:
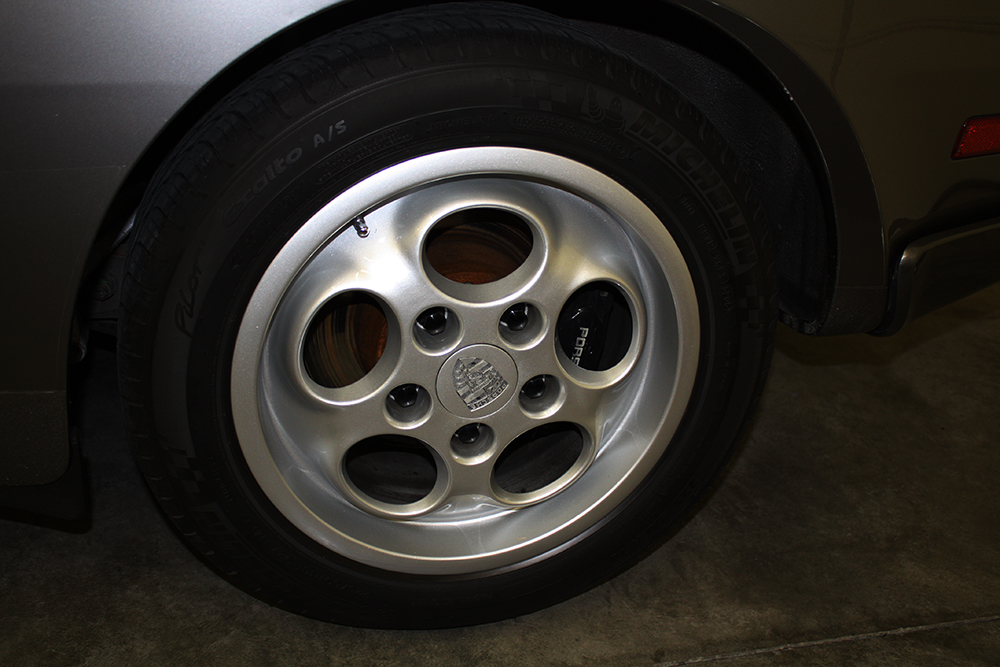
I love the look of those pretty rare four bolt phone dials on the 924. Have only seen in passing, one other set; WHAT can you tell us about them ?
By the way. all your Porsches look phenomenal. I hope they today all reside in a loving caring home as once you provided them. GREAT photos !
I love the look of those pretty rare four bolt phone dials on the 924. Have only seen in passing, one other set; WHAT can you tell us about them ?
By the way. all your Porsches look phenomenal. I hope they today all reside in a loving caring home as once you provided them. GREAT photos !
 12-01-2015, 12:14 PM
#17
Racer
Thread Starter

What did you think about the test rides around Weissach ?
Which cars were they using , and did you get a chance to eat lunch in the 'Casino' or Porsche Lunchroom at Weissach ? Any opportunity to go thru the archival section to search thru any of the documents or Kardex on our cars ?
Which cars were they using , and did you get a chance to eat lunch in the 'Casino' or Porsche Lunchroom at Weissach ? Any opportunity to go thru the archival section to search thru any of the documents or Kardex on our cars ?
We did eat in the casino after taking a tour of the plant. We did not go through the archival section.
It has been 30 years ago since I purchased those four bolt phone dials and I don't have a clue as to where I got them. If Tire Rack had them I probably got them there as we then lived in northern Indiana and Tire Rack was, and is, located in South Bend, only a half hour away from my house. It was great having them that close. In the early '80's they were working out of a small warehouse behind the gas station owned by the co-founder. Pete and his son-in-law, Mike Joines, were good friends of mine. In fact, at my son's first track event at Grattan Raceway in Michigan, Mike was my son's instructor. Mike was big into BMW's and had a black 1988 M5 that he gave both of us rides in. Pete passed away a few years ago. Good people.
There is hump at Grattan that you go over at speed. Once you clear the hump, you have to wait for the suspension to settle before you are hard on the brakes for a right hander. My son was driving the black '83 944 riding with Mike when he hit the brakes before the car settled, spun and went off the track. I just happened to be video taping near that corner and preserved the spin for all eternity. Every once in awhile I have to replay that video for my son!!!
He is a mechanical engineer. After completing his studies at Purdue, he worked for Michelin, in Greenville, SC, for 12 years where he designed race tires. He also supported various race teams at tracks in both the US and Europe.
About eight years ago he decided to send his resume out to NASCAR teams to see if he could make more money. Red Bull hired him and he worked for them the four years they competed in NASCAR. When they decided to get out of NASCSAR, he went to work for Toyota Racing Development in Salisbury, NC. They are Toyota's R & D center for all of its NASCAR teams. He does tire and suspension testing for all of the teams. Kyle Busch gave Toyota its first champion after eight years of trying so there is much joy at TRD. Toyota flew everyone from the NC operation to their headquarters for a big party. My son is probably hung over on his way back to NC at this moment!!!
12-01-2015, 12:42 PM
#18
Racer
Thread Starter

Here's a shot of the 924 with the family on a trip to Traverse City, MI just days after we bought the car. We were delivering the Camaro to my account guy. It was a rainy trip on the way up.


This was a our local Porsche club region's display at the South Bend Cavalcade of Wheels.

And this is my wife at her first autocross event.

 12-02-2015, 07:58 PM
#21
Racer
Thread Starter
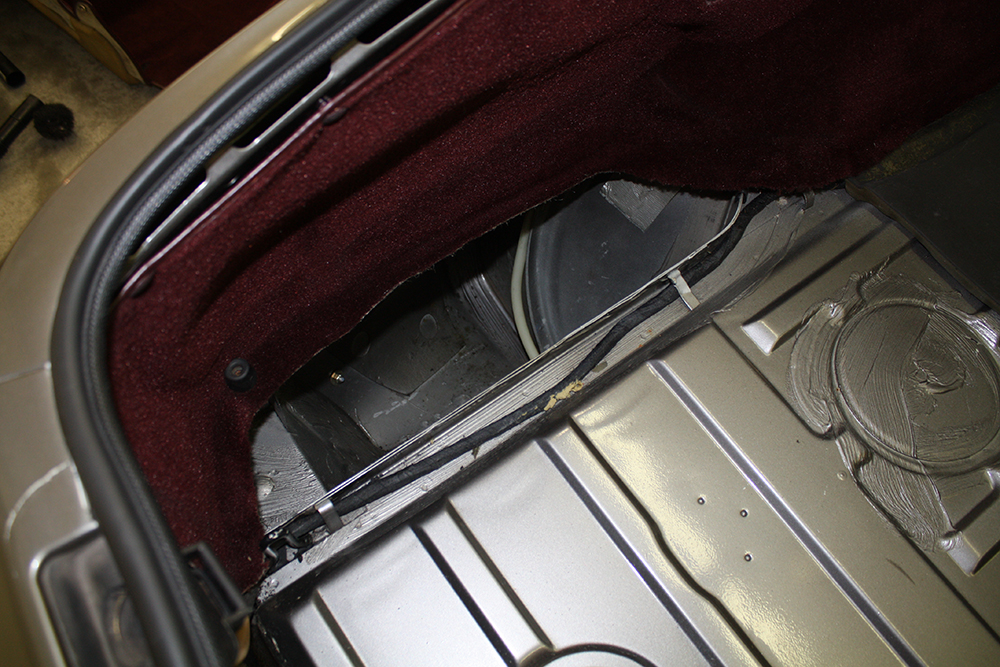
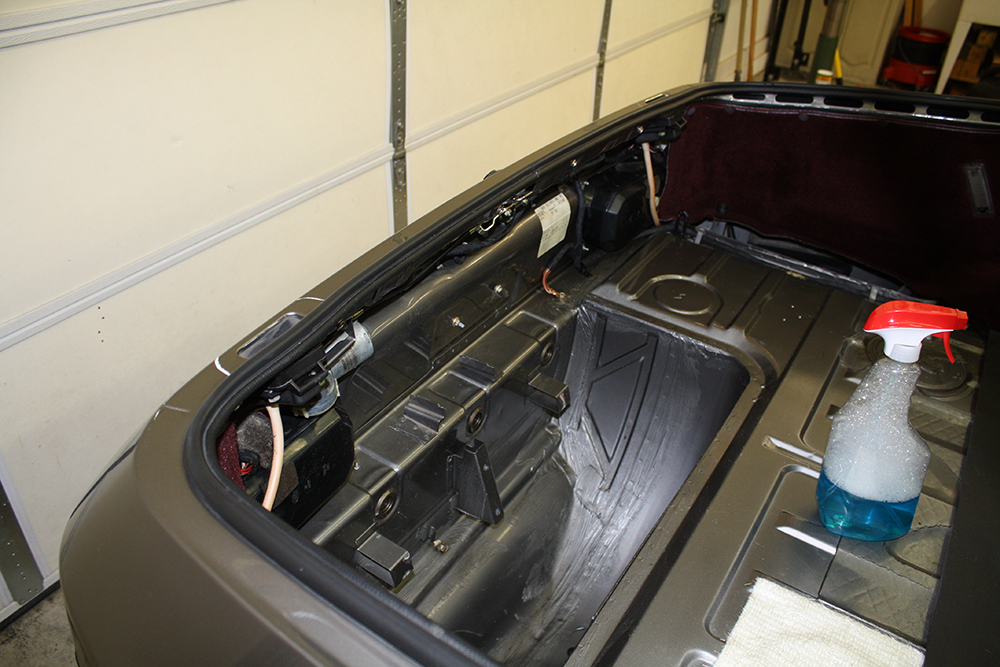
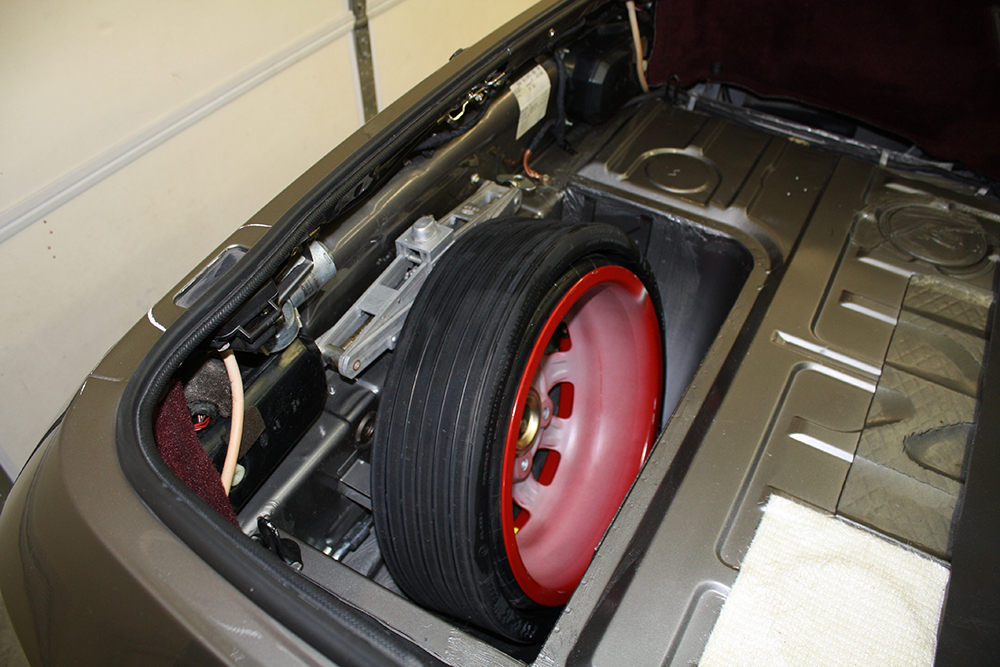
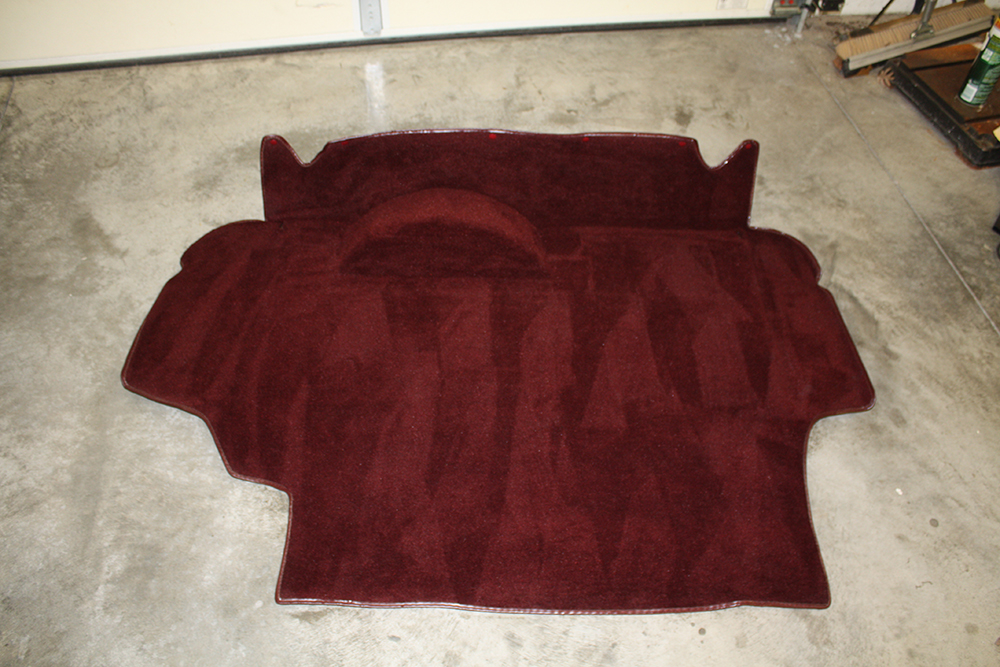
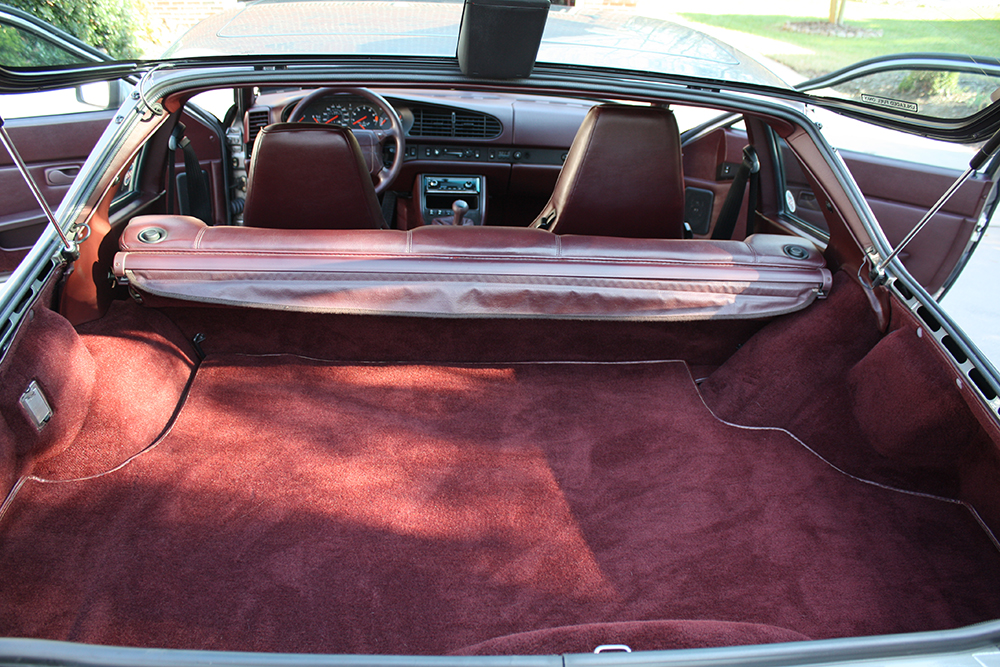
Some projects are sexier than others. This is one of the non-sexy ones. I pulled the hatch carpet and cleaned up the spare tire and side storage areas.
I also vacuumed all of the carpet in the car. It was very obvious one of the previous owners had a pet as there was a good amount of fur that needed to be removed. I only had enough carpet shampoo to do the hatch carpet. I plan on taking out the seats to I can properly shampoo the rest of the carpet. While the seats are out will be a good time to replace the rear side speakers and the radio.
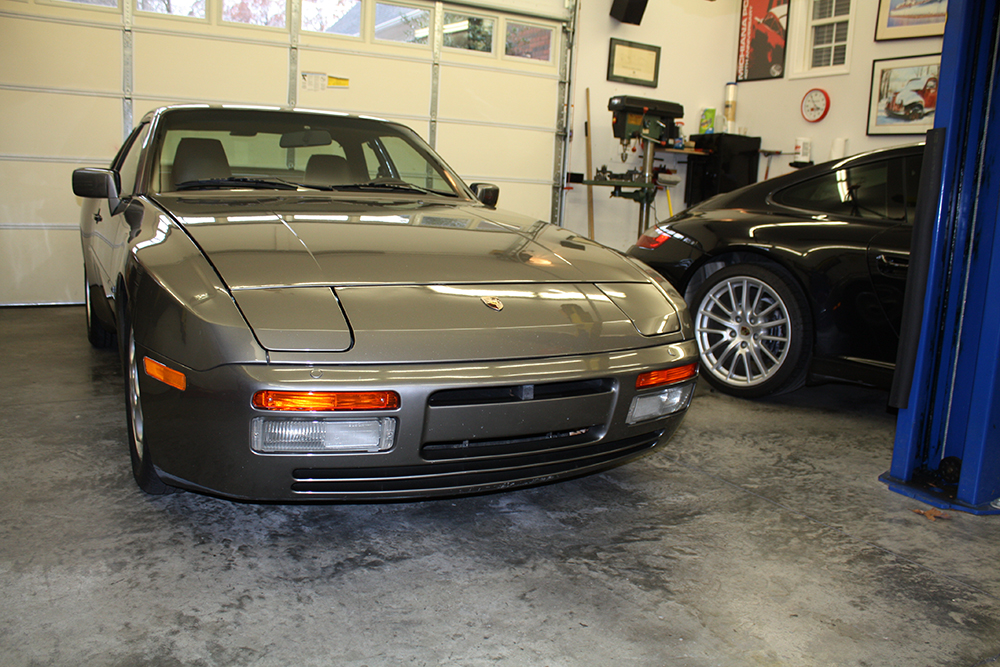
I spent Monday and Tuesday using my orbital buffer and polish to work on the paint. Once the polishing was done, it was time to wax the car, including the wheels. As usual, polishing before waxing makes a big difference. It is looking pretty snazzy!!
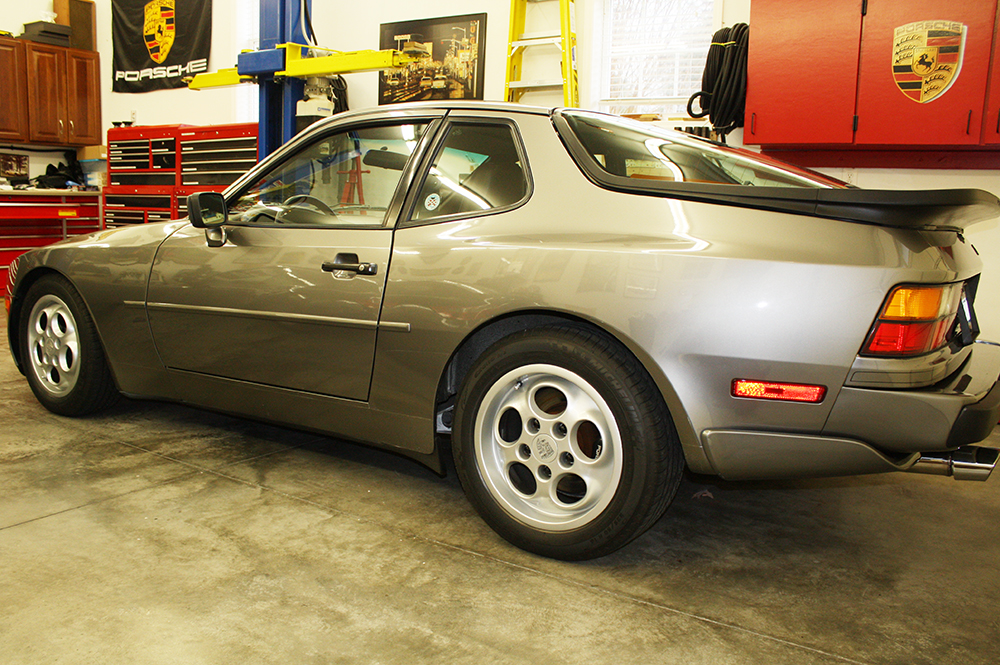
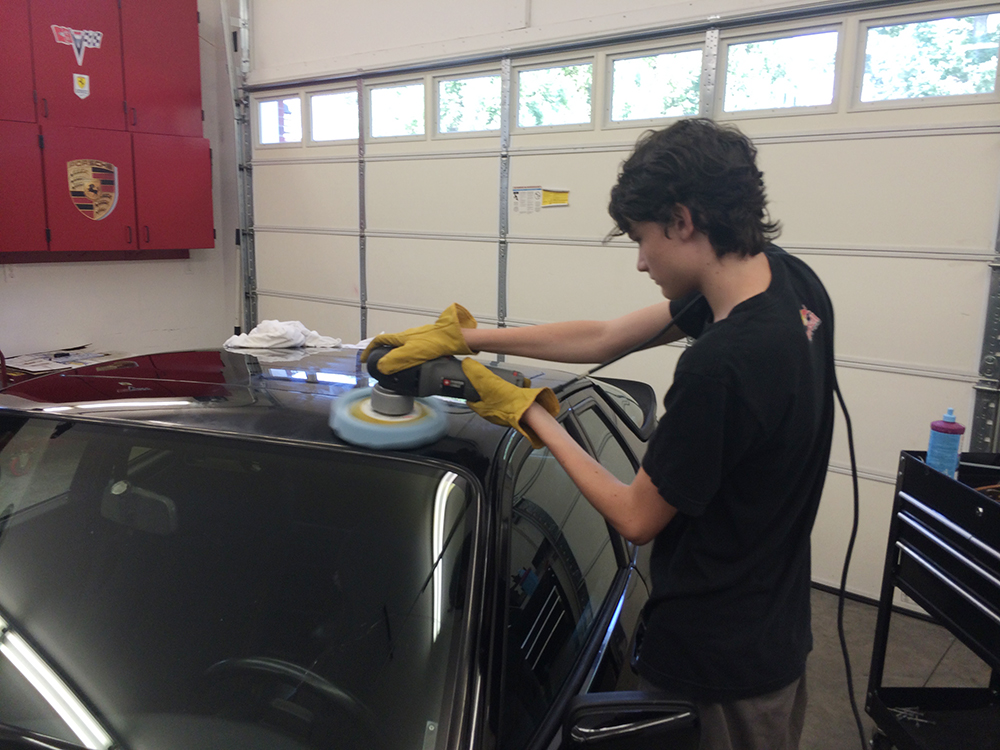
Speaking of polishing and waxing, earlier this year I had my grandson Garrett over to the the house for a P & W camp. His father bought a 1987 944 for him as he took drivers ed this past summer and just turned 15 in September. His P & W camp concentrated on advanced studies in how to first properly wash his car and then how to use the buffer to polish it. Waxing was the frosting on the cake. As you can see in the photo, he was a very enthusiastic student!!! He isn't going to be quite the car guy like my son and I. His first love is his computer and gaming. My son is also into computers so he lavishes Garrett with a high end gaming desktop that generates so much heat that they have to open the window in their man cave in the winter.

 12-08-2015, 11:16 PM
#22
Racer
Thread Starter
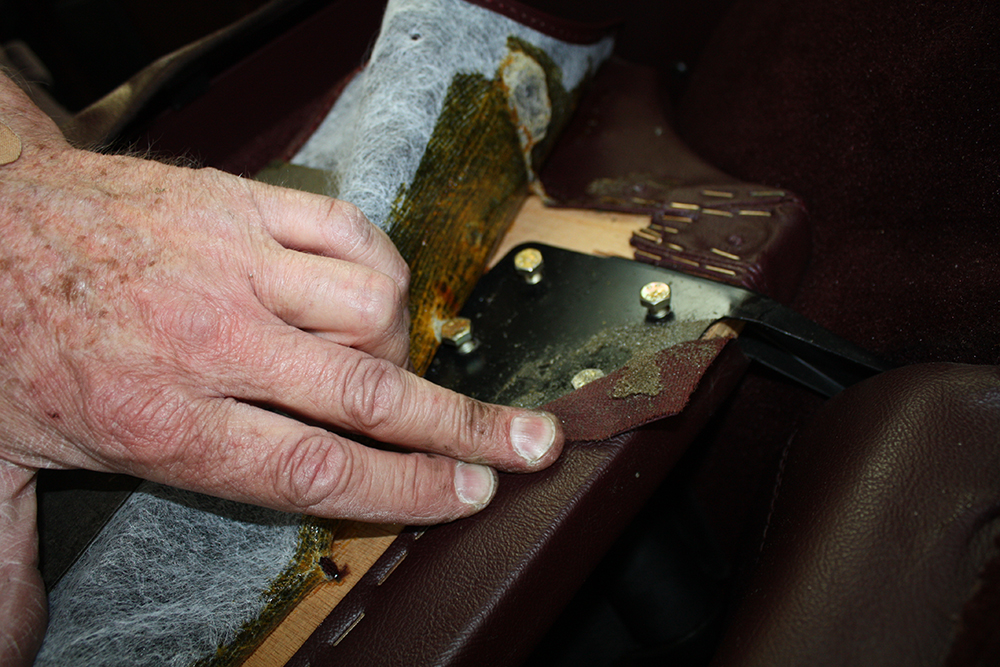
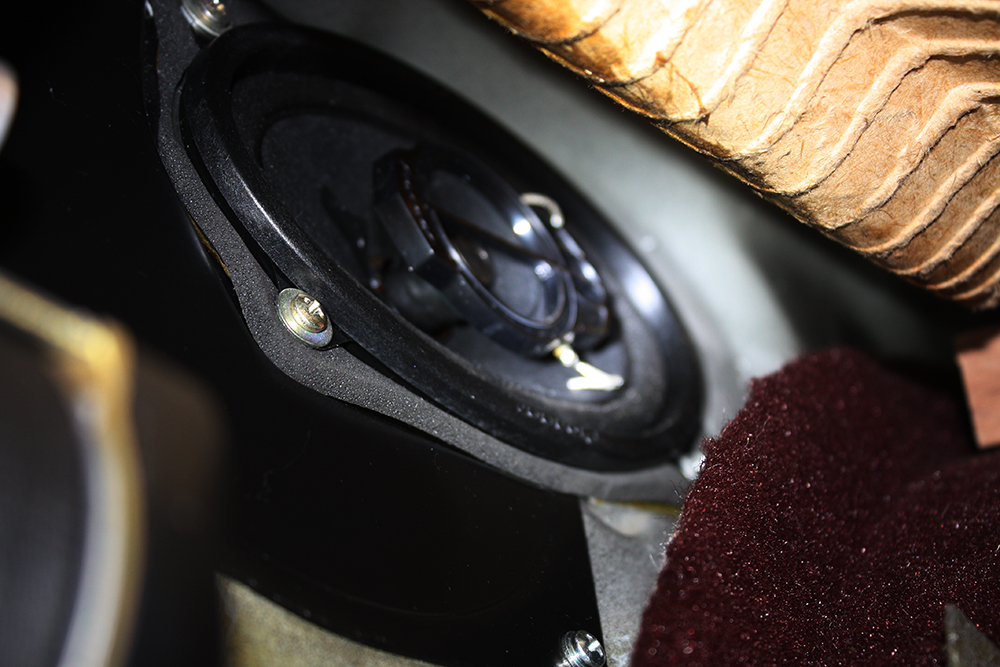
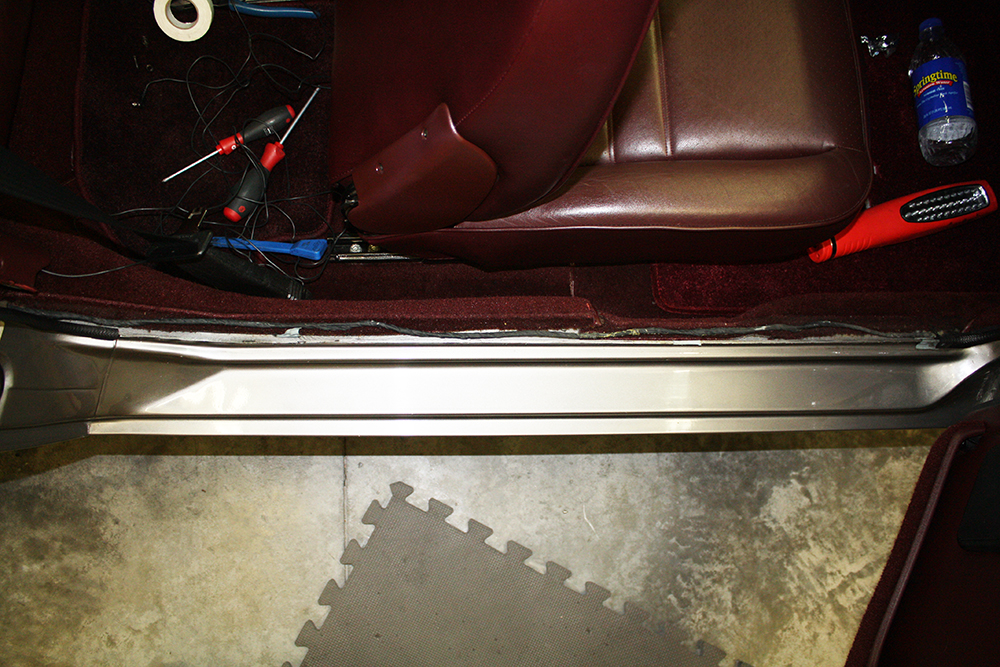
Replacing the rear side speakers was a difficult job. I removed all of the screws and pulled away the door trim to release the side panel. The upper fabric of the side panel is underneath the window seal. Since I did not want to remove the window, I had to work with pulling out the panel at the bottom which gives limited access. I initially tried to do this with the upper seat panel in place but I eventually had to remove it to give me enough room to work. To remove the upper seat, four 10mm bolts have to be removed. First you have to remove the tie down hooks and then pull up the carpet on the back for access to these bolts. Since I wanted to shampoo all of the carpet, I also pulled the front seats. You could replace the rear speakers with the seats in place but it would be more difficult.
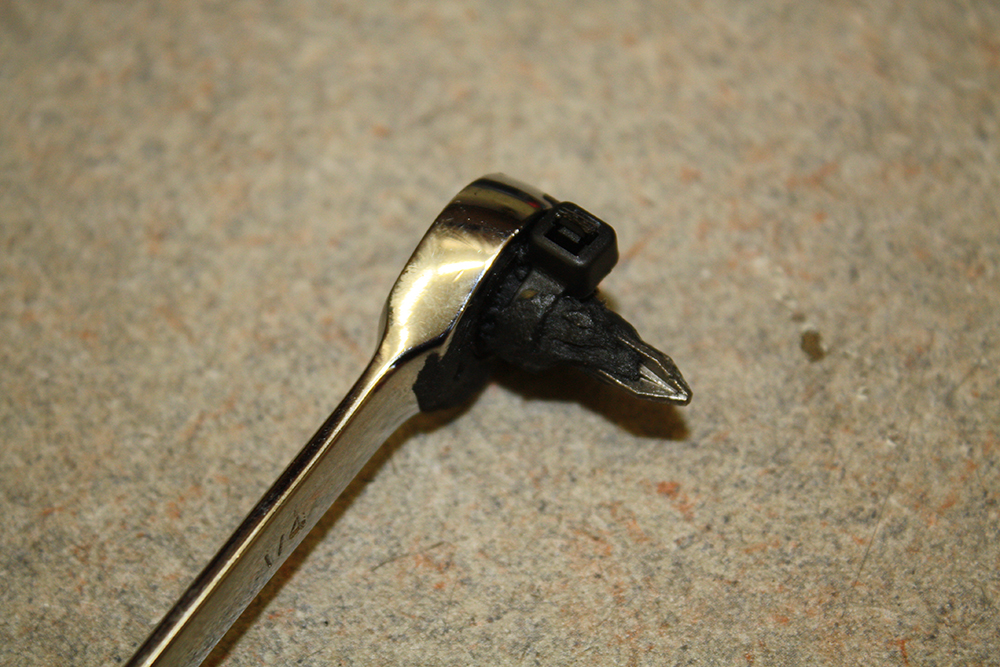
The difficulty is removing the top screws as you cannot get a screwdriver on them. I tried a right angle Phillips screwdriver but could not make it work. What finally worked was using a Phillips bit mounted in a ratcheting 1/4" wrench. To keep the bit in the wrench I used some black putty and a zip tie. It was a slow process. When I installed the new speakers, I used a 1/4" hex head screw so I could put a wrench on it. This worked much better. Also, the speakers I used had mounting slots rather than holes so I started the two rear screws and then slid the speaker into those two slots while installing a lower front screw to hold everything in place.

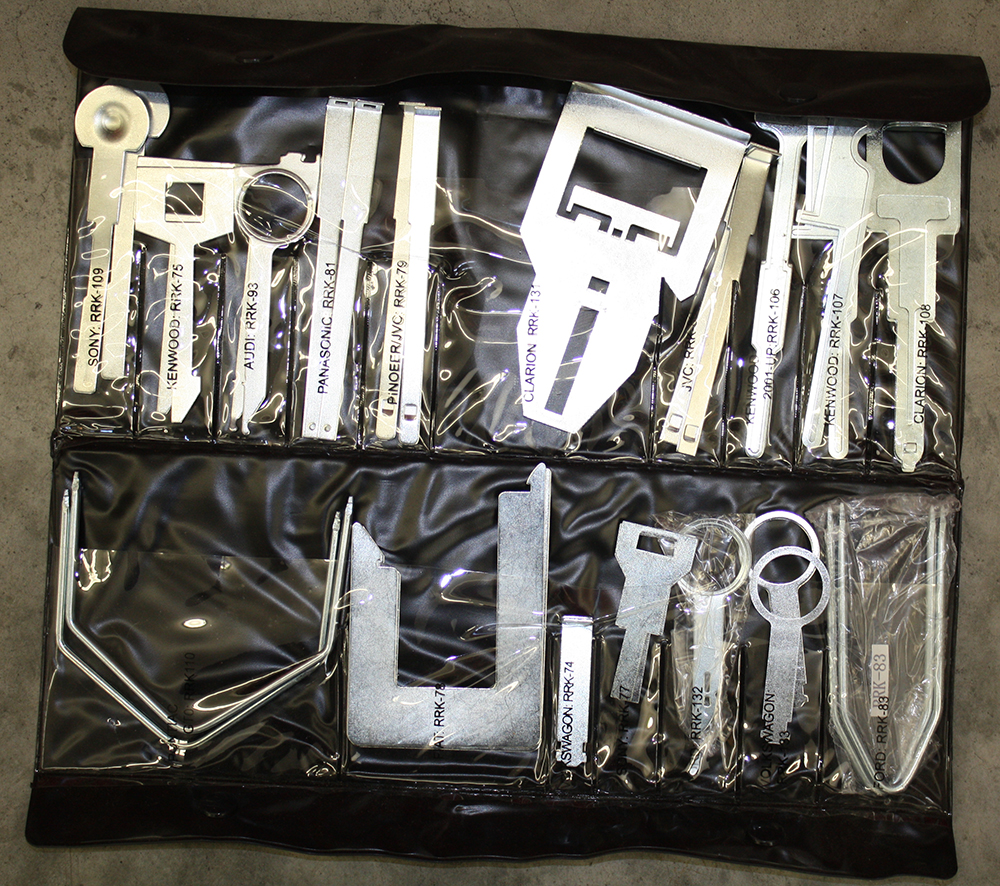
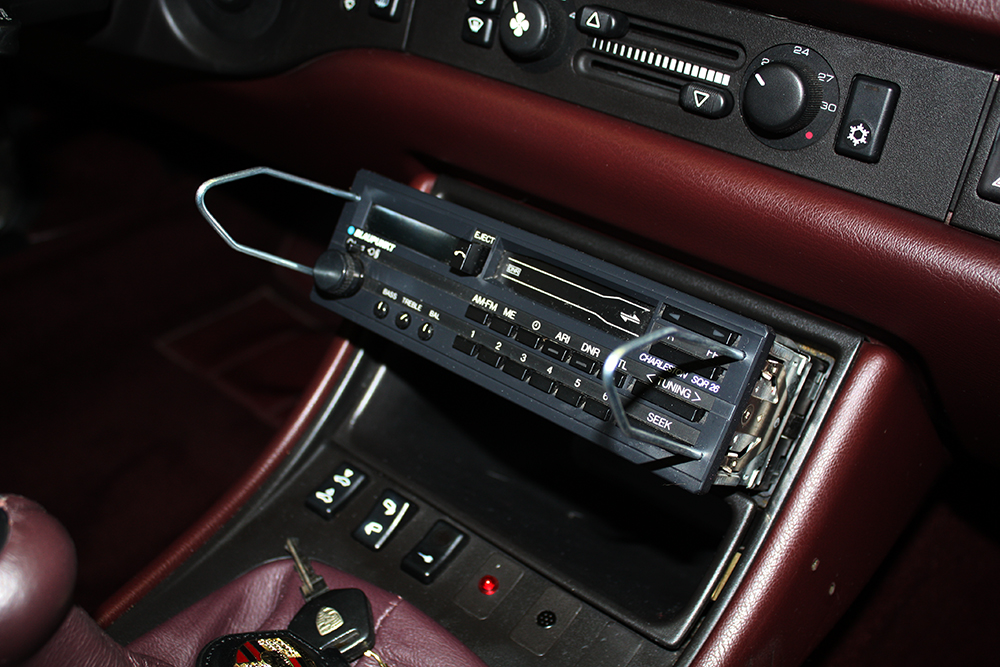
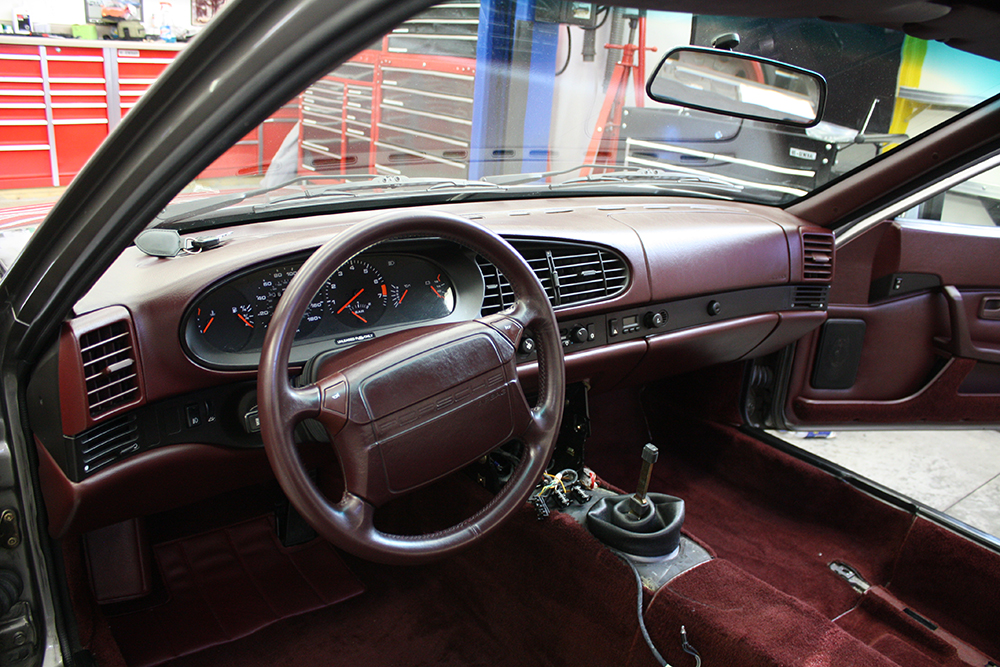
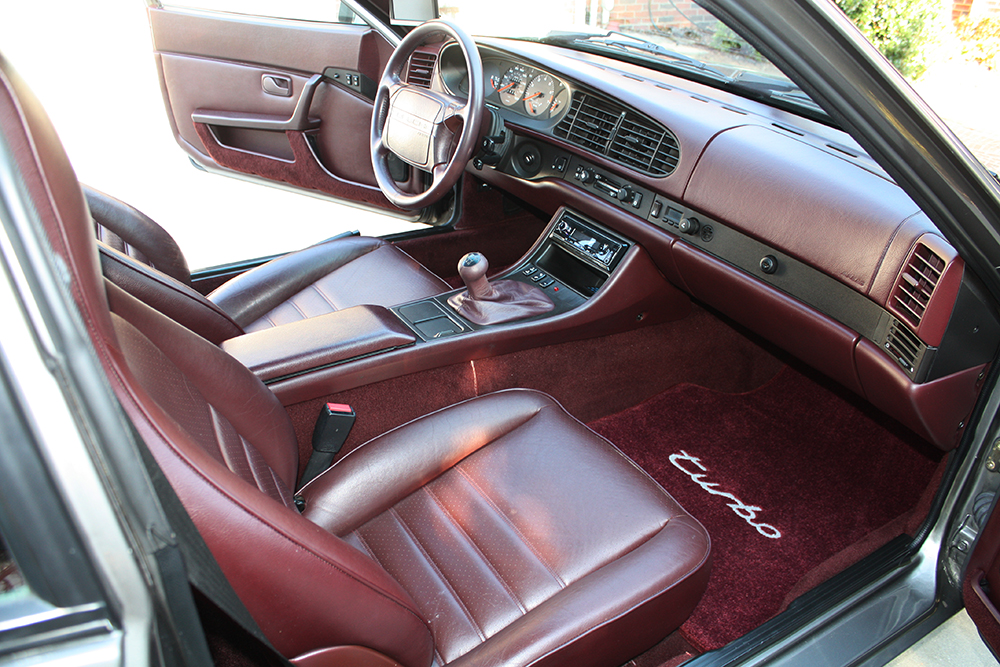
Someone had installed a cup holder on the side of the console with screws. I couldn't live with this. I found a good burgundy console on eBay and removed the original console. Since I am planning on replacing the radio, I took this opportunity to remove the radio and clean this area as well. Removing the radio requires the use of a special tool that is inserted into the front panel of the radio. Since I replace radios often in cars I have a kit with various radio removal tools. Comes in handy.
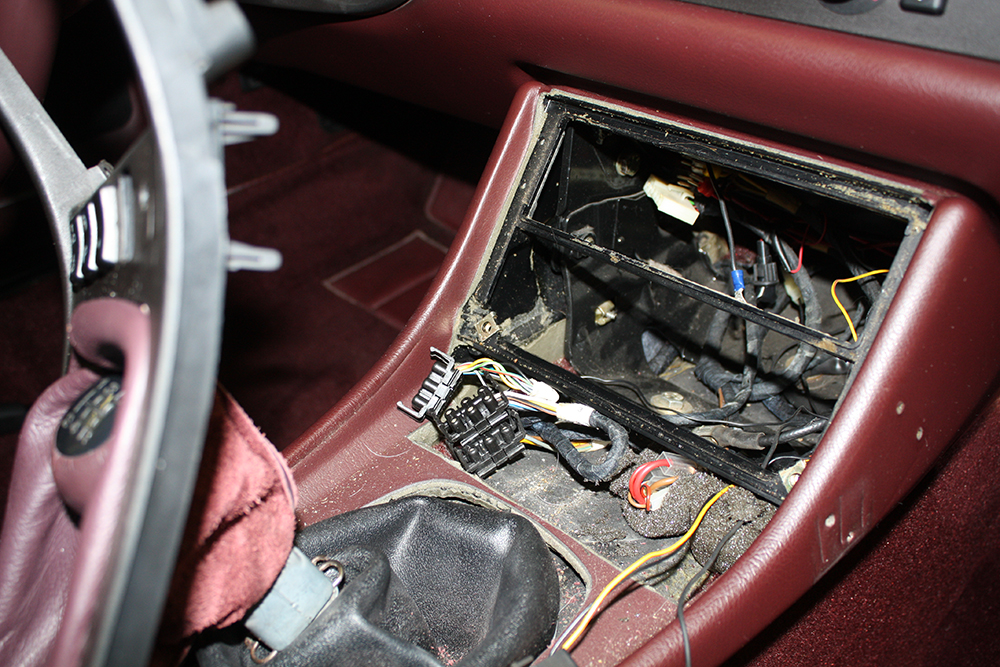
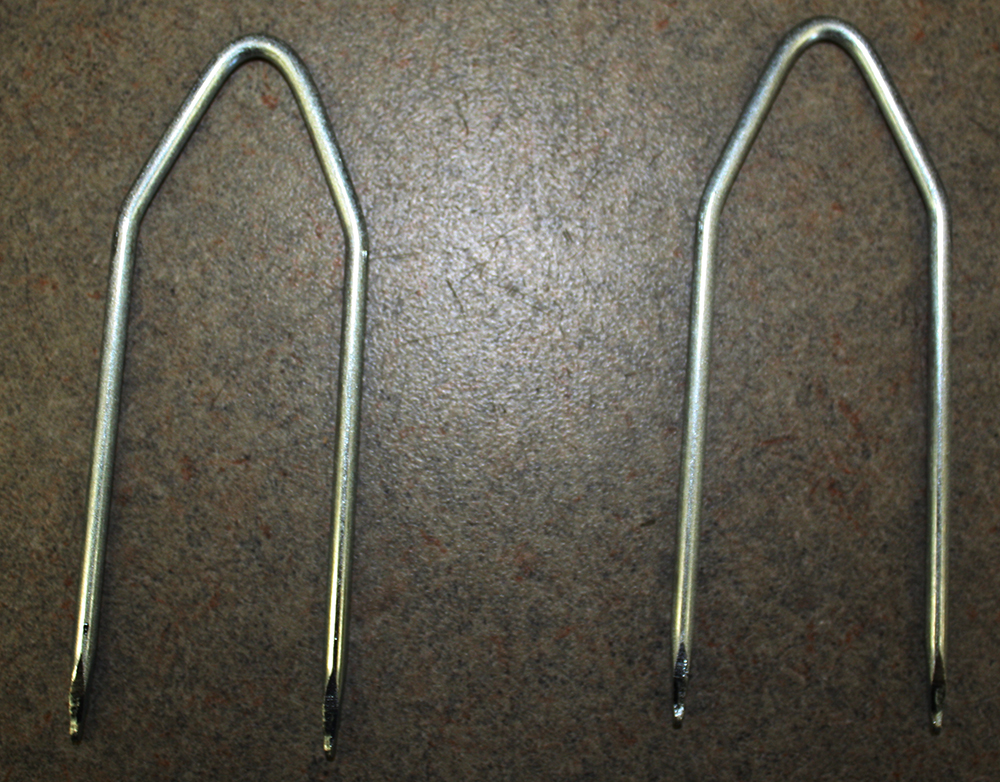
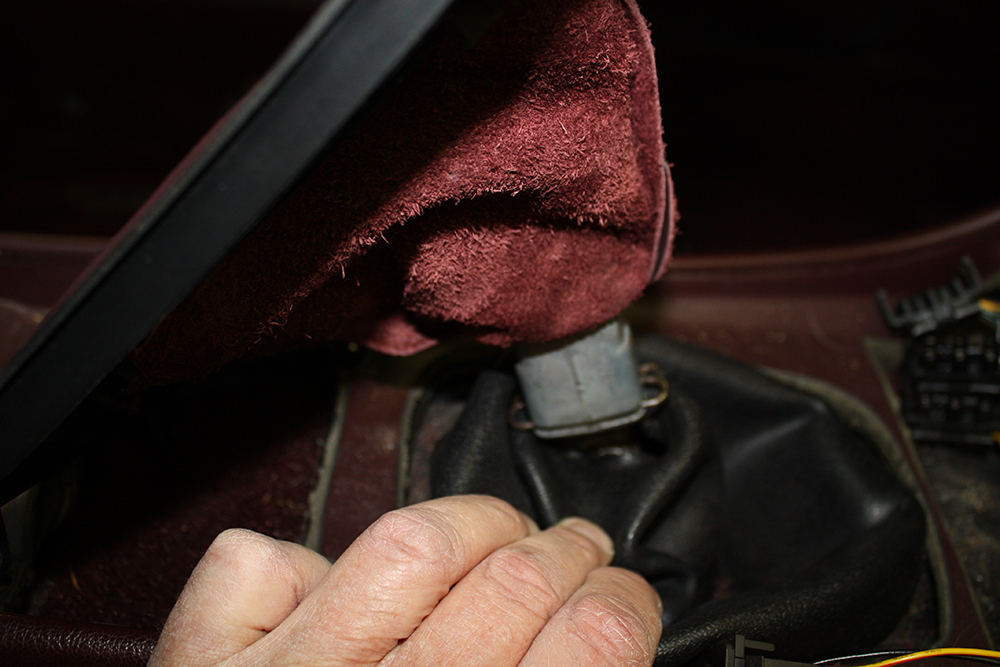
To remove the shifter boot, the metal retaining clip must be removed.
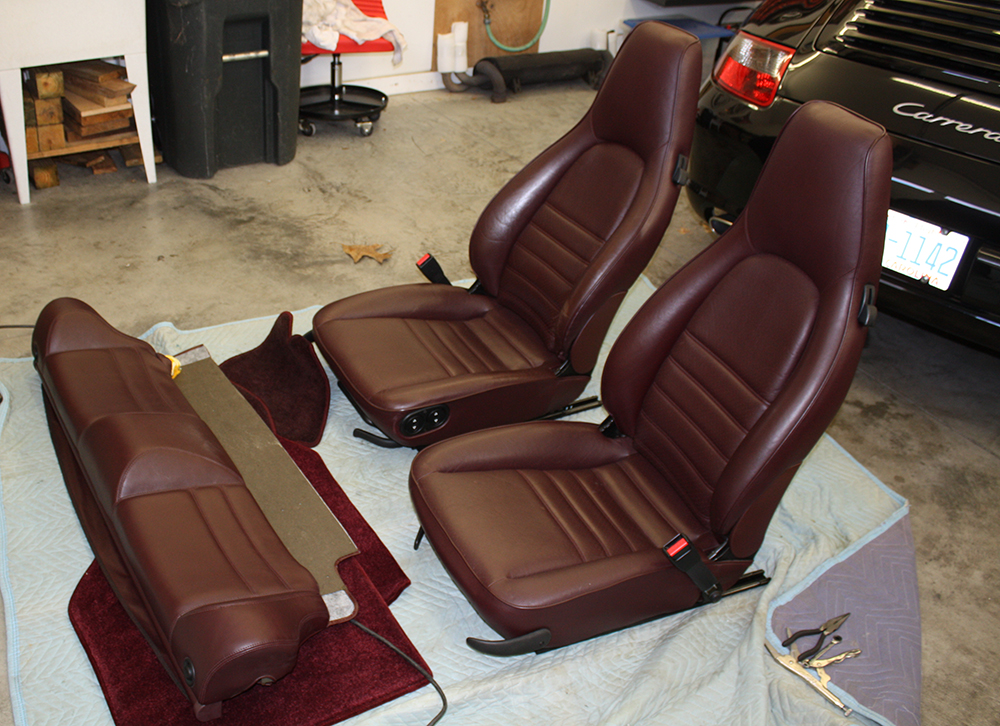
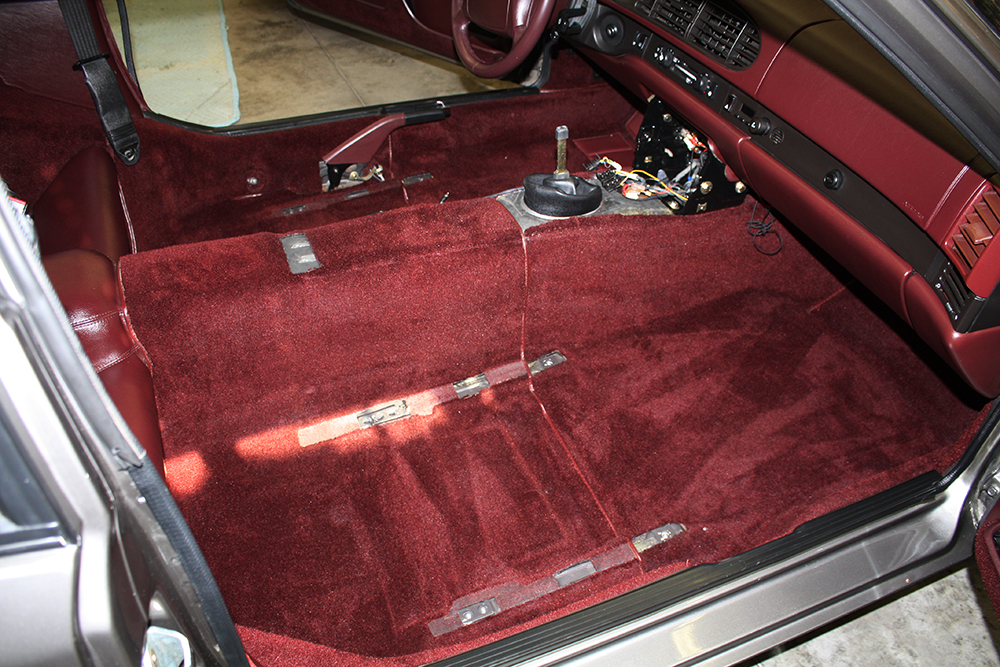
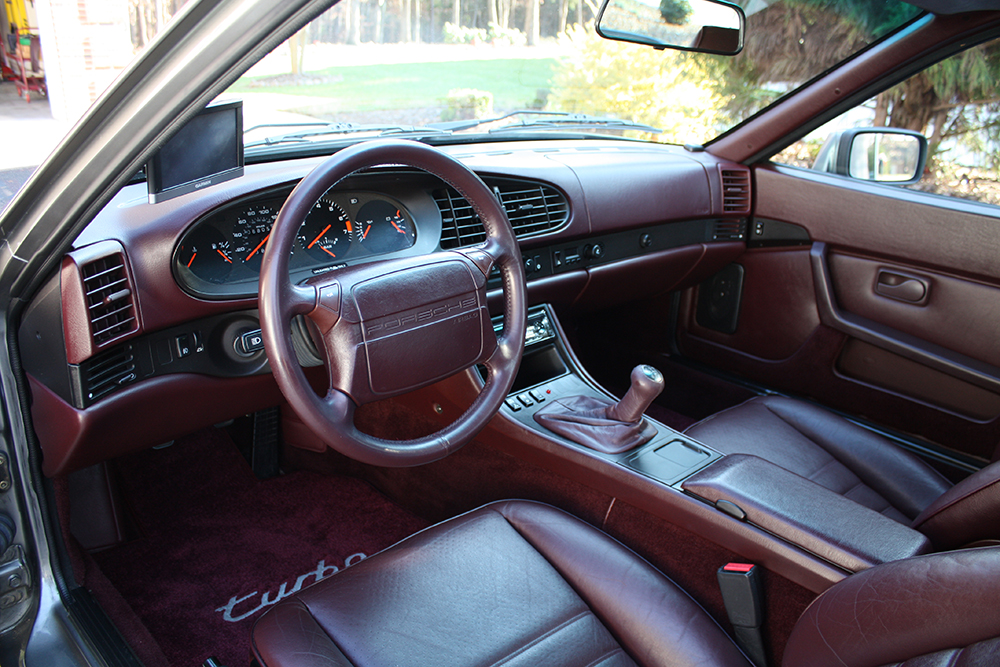
After a thorough vacuuming and shampoo, the carpet looked even better than before. I used Lexol leather cleaner on all of the surfaces, both vinyl and leather followed by using Lexol leather conditioner on the front seats, the parking brake lever, the steering wheel and the shift boot.

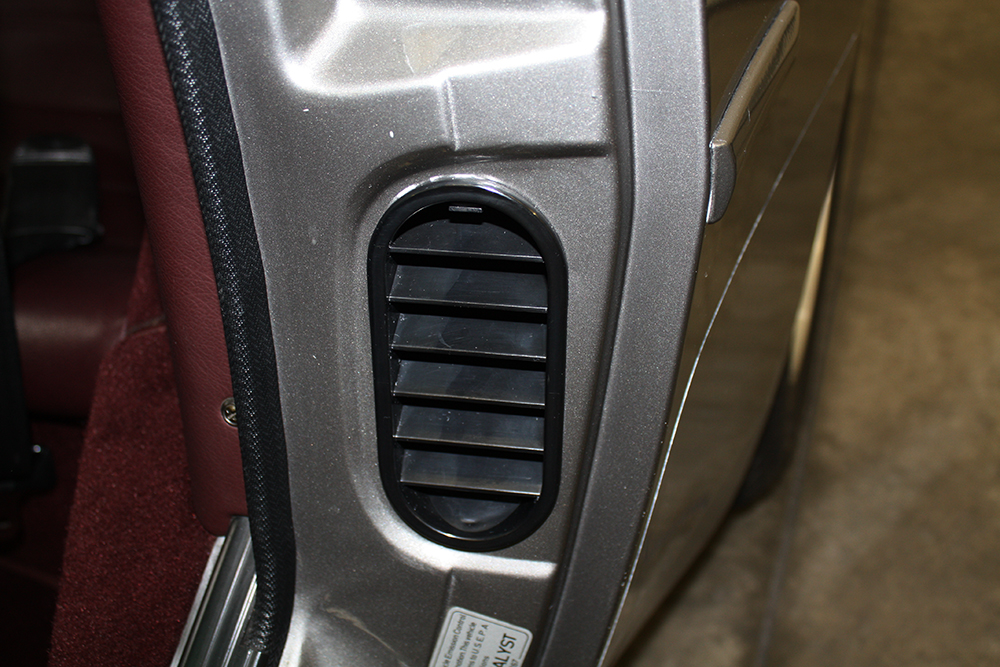
A pet peeve of mine are the vents in the door and the door jamb. Pulled those for cleaning as well.


The difficulty is removing the top screws as you cannot get a screwdriver on them. I tried a right angle Phillips screwdriver but could not make it work. What finally worked was using a Phillips bit mounted in a ratcheting 1/4" wrench. To keep the bit in the wrench I used some black putty and a zip tie. It was a slow process. When I installed the new speakers, I used a 1/4" hex head screw so I could put a wrench on it. This worked much better. Also, the speakers I used had mounting slots rather than holes so I started the two rear screws and then slid the speaker into those two slots while installing a lower front screw to hold everything in place.


Someone had installed a cup holder on the side of the console with screws. I couldn't live with this. I found a good burgundy console on eBay and removed the original console. Since I am planning on replacing the radio, I took this opportunity to remove the radio and clean this area as well. Removing the radio requires the use of a special tool that is inserted into the front panel of the radio. Since I replace radios often in cars I have a kit with various radio removal tools. Comes in handy.


To remove the shifter boot, the metal retaining clip must be removed.

After a thorough vacuuming and shampoo, the carpet looked even better than before. I used Lexol leather cleaner on all of the surfaces, both vinyl and leather followed by using Lexol leather conditioner on the front seats, the parking brake lever, the steering wheel and the shift boot.


A pet peeve of mine are the vents in the door and the door jamb. Pulled those for cleaning as well.

The following users liked this post:
heliolps2 (09-21-2022)
12-08-2015, 11:26 PM
#23
Three Wheelin'
GREAT looking car !
Thanks for the effort at preservation and your systematic and detailed approach. It sure pays off !
( hope the half dozen guys over on the thread about plasti-dipping their interiors take note of what a proper Porsche should look like.........)
Thanks for the effort at preservation and your systematic and detailed approach. It sure pays off !
( hope the half dozen guys over on the thread about plasti-dipping their interiors take note of what a proper Porsche should look like.........)
12-09-2015, 11:10 PM
#24
Racer
Thread Starter
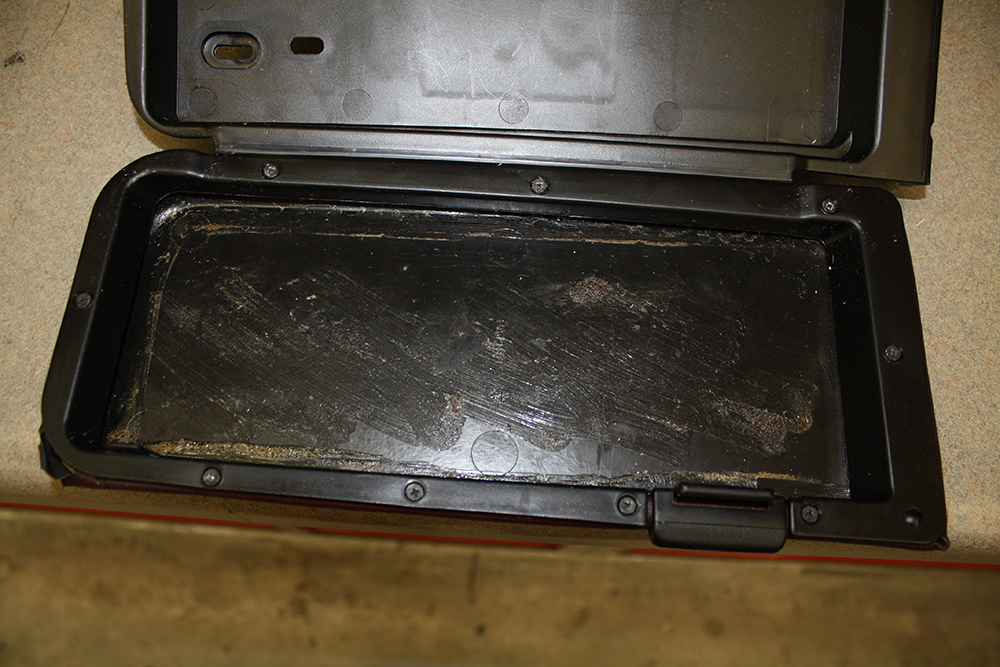
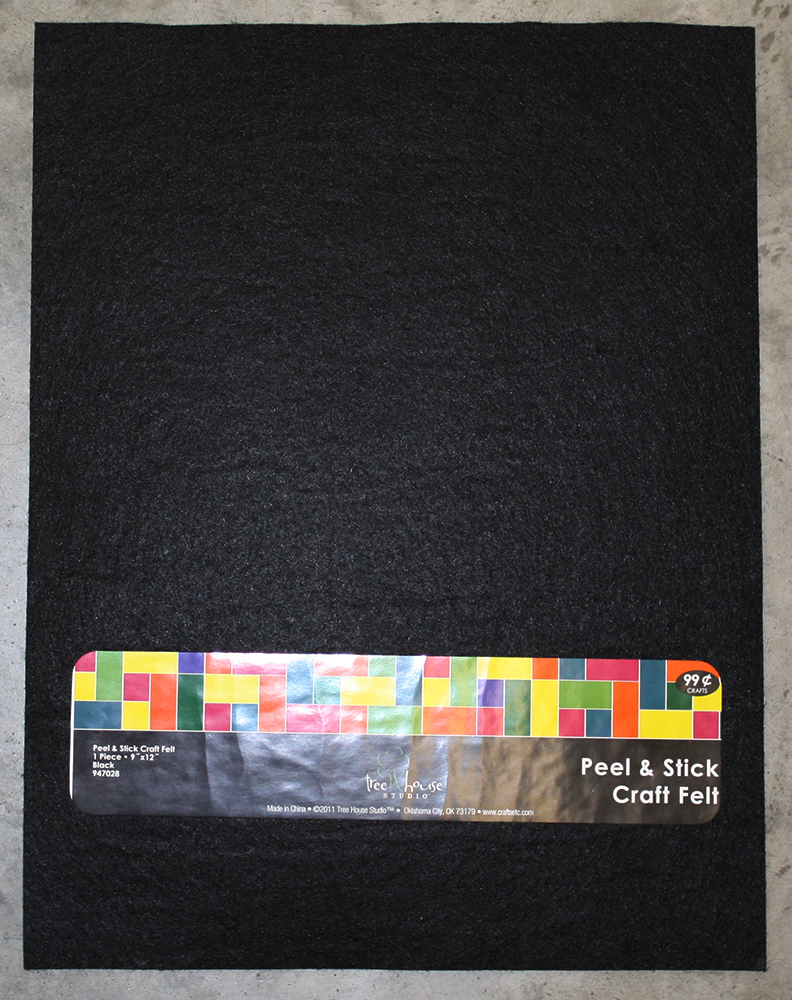
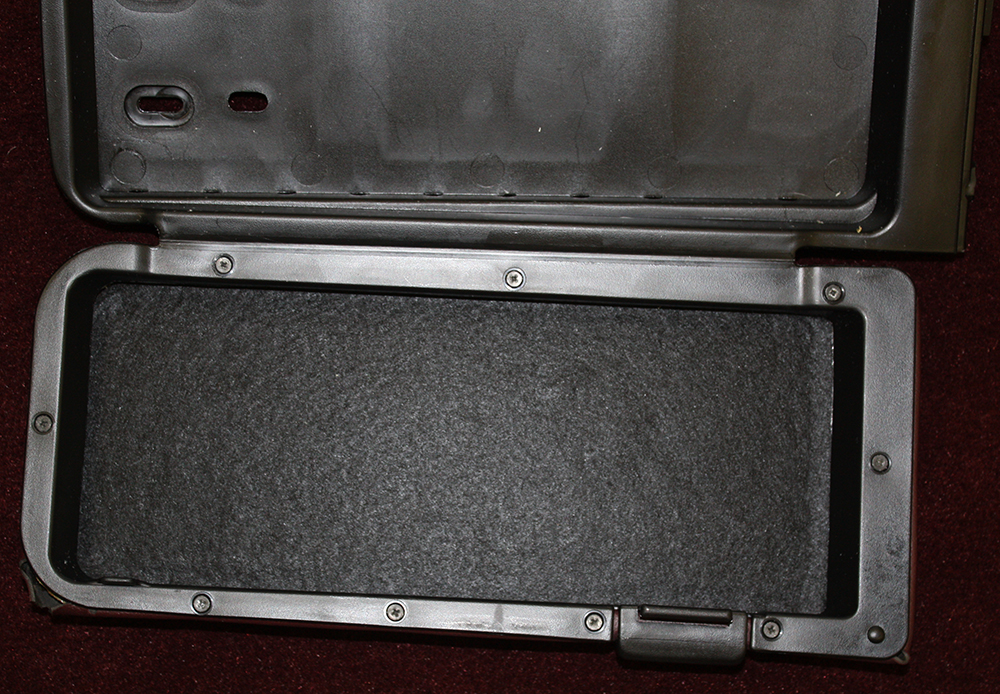
I noticed that the covering had come off the inside of the cassette holder lid. I had some adhesive backed felt that I have used before. I cut a pattern out of paper and then used that as a guide to cut the felt to size. Looks much better.
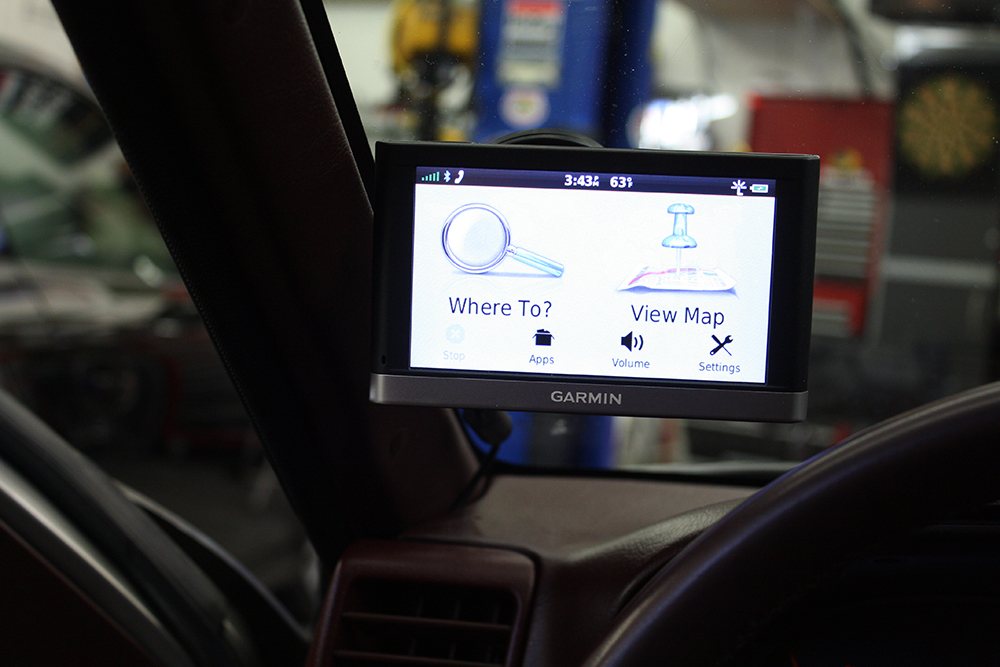
In addition to replacing the radio, I planned on hard wiring my Garmin GPS and a portable XM radio that I have used in a number of cars. I ran the GPS cable from the left windshield corner down the edge of the dash and then back to the center console area.
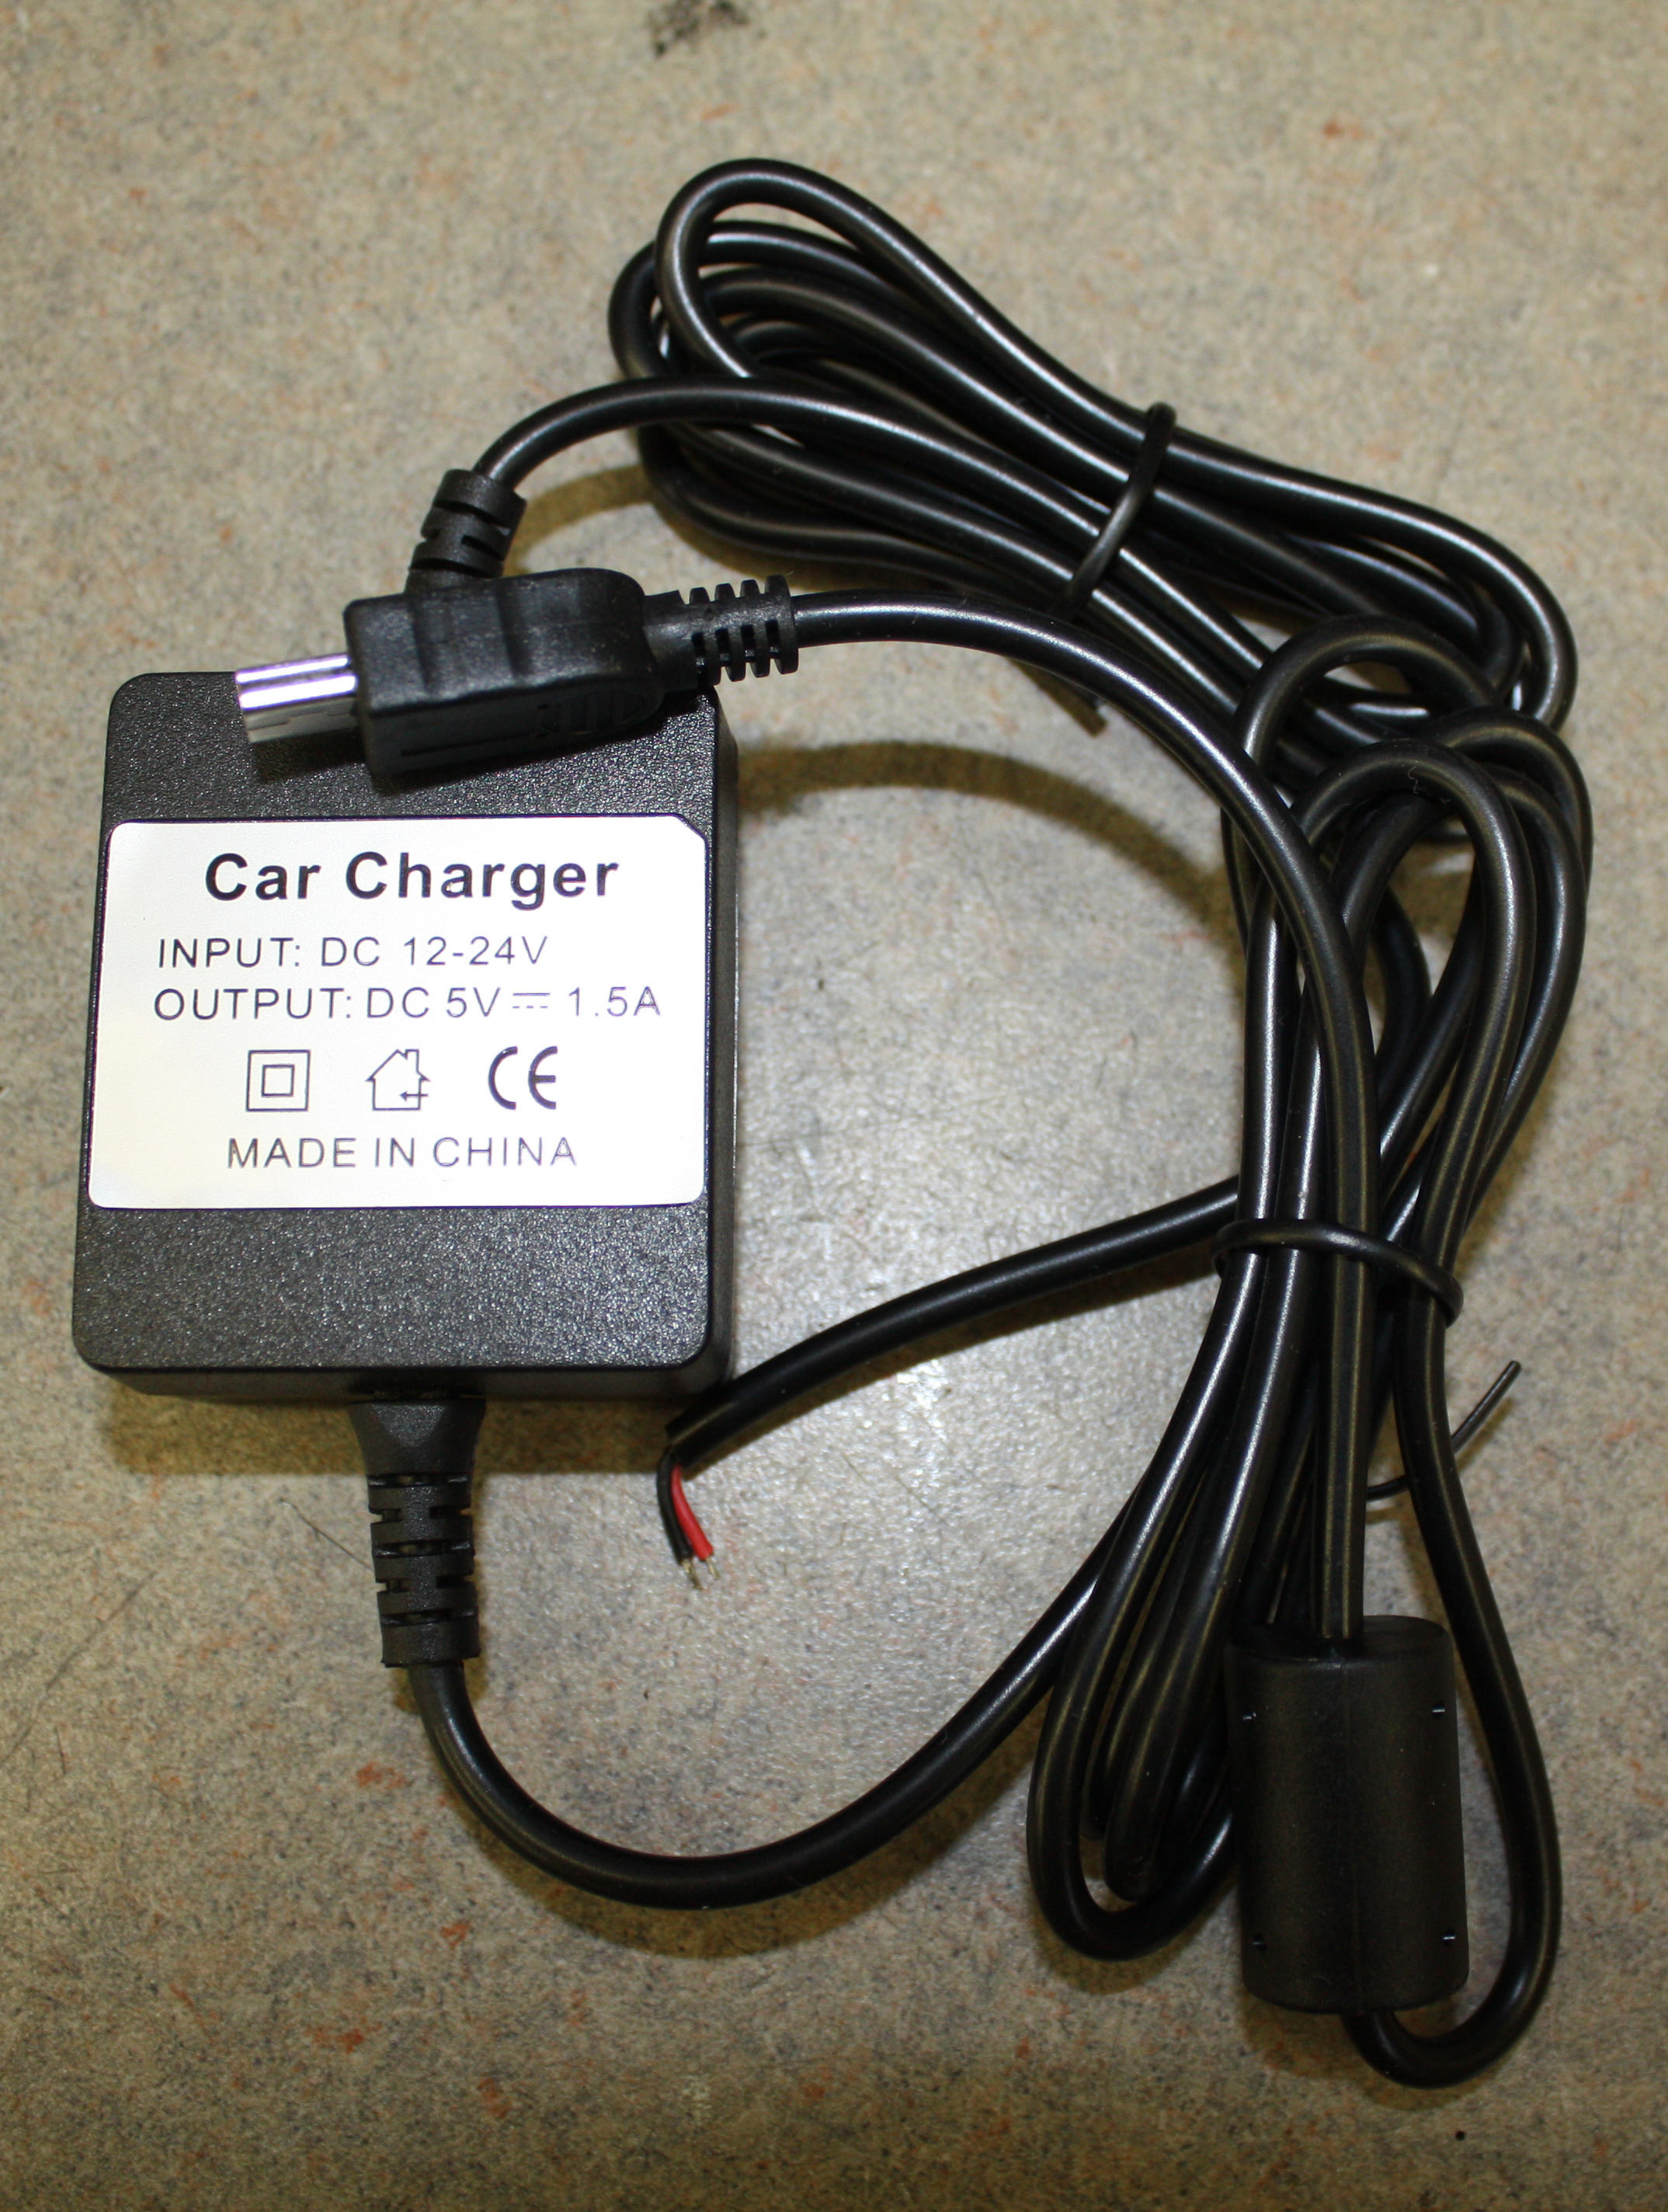
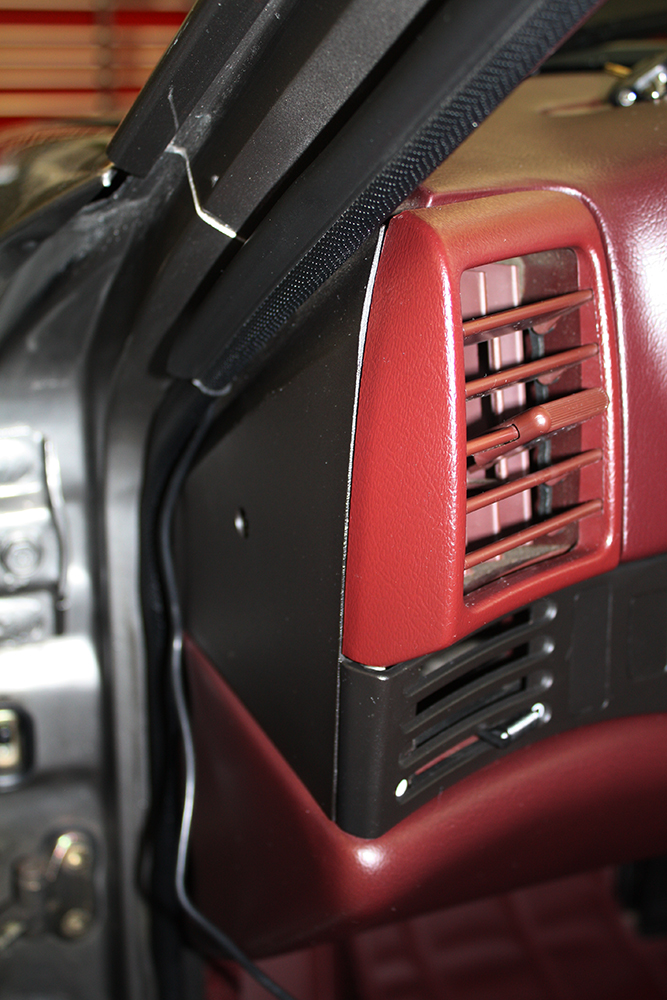
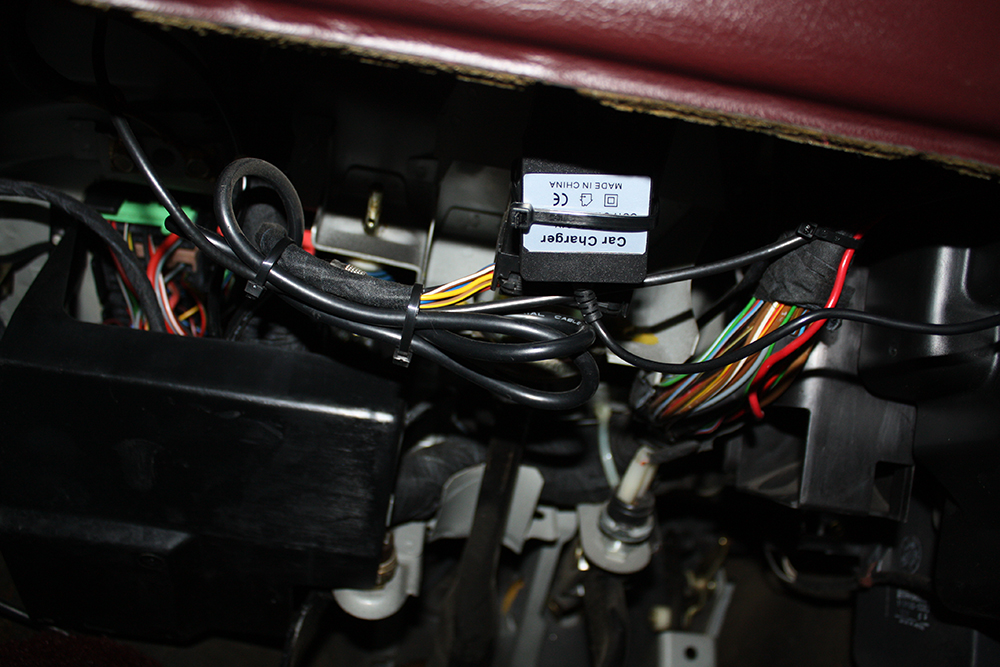
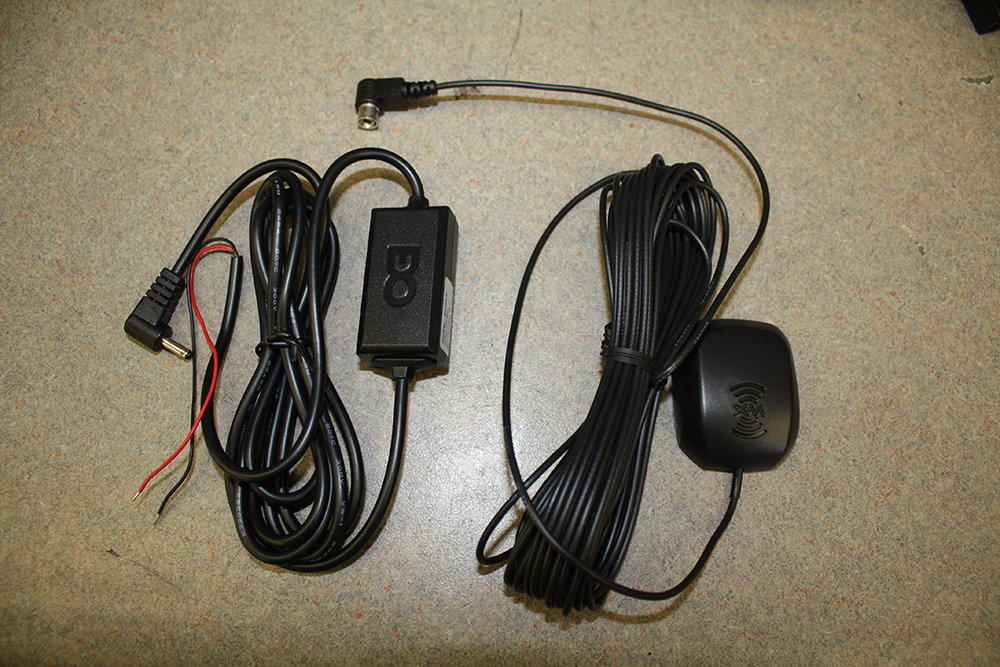
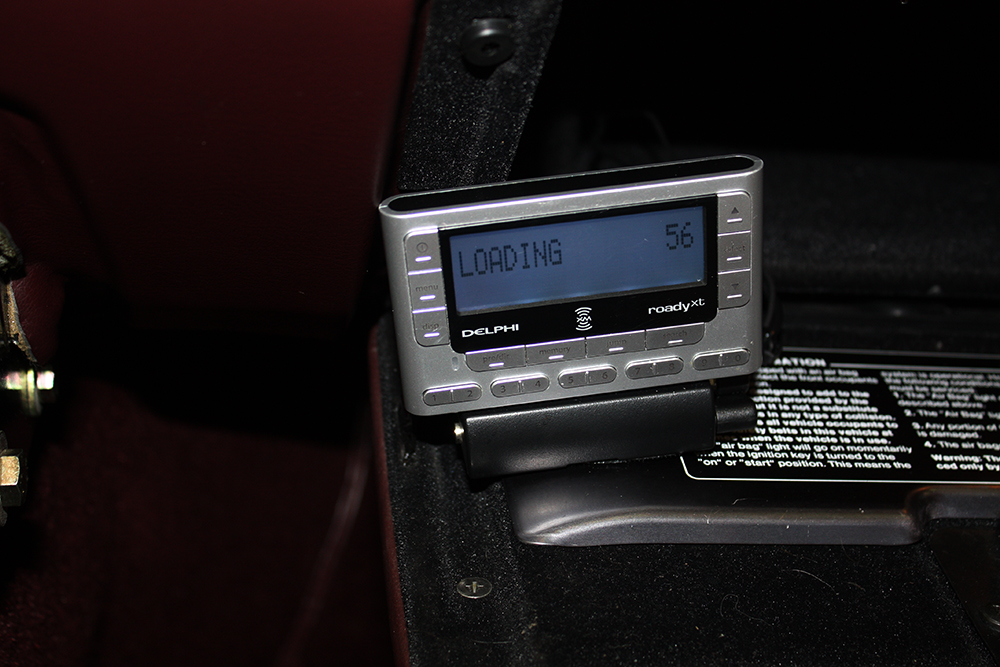
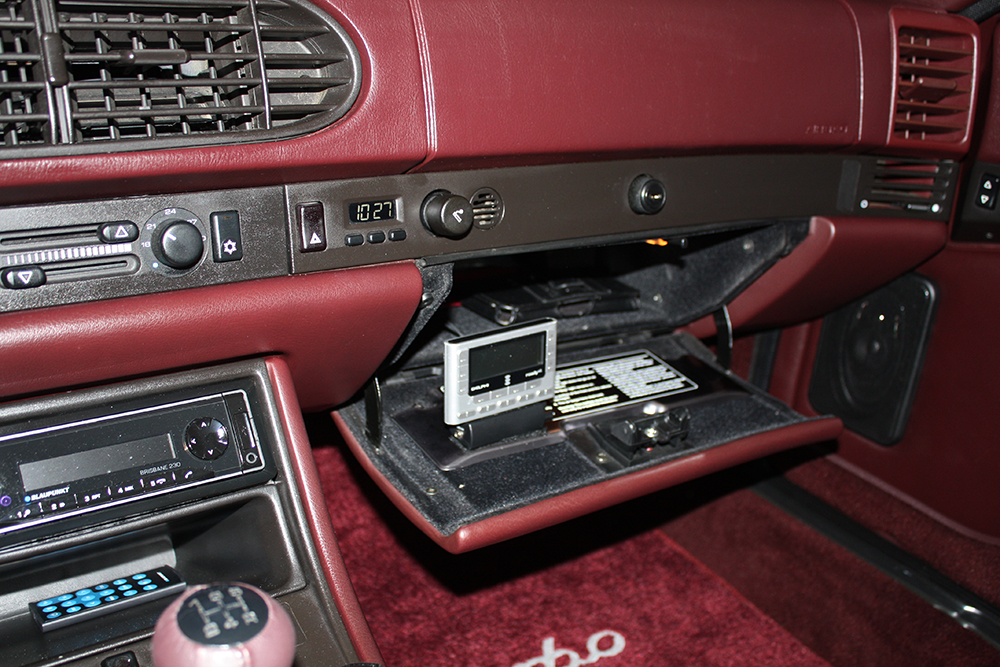
The XM antenna was placed in the right windshield corner with the cable entering the glove box through the hole on the left side. The XM power cable ran from the center console area to the glove box. As I don't often change the channel, I can keep the XM receiver in the glove box when I use it so nothing will show. It has an FM modulator which works surprisingly well.
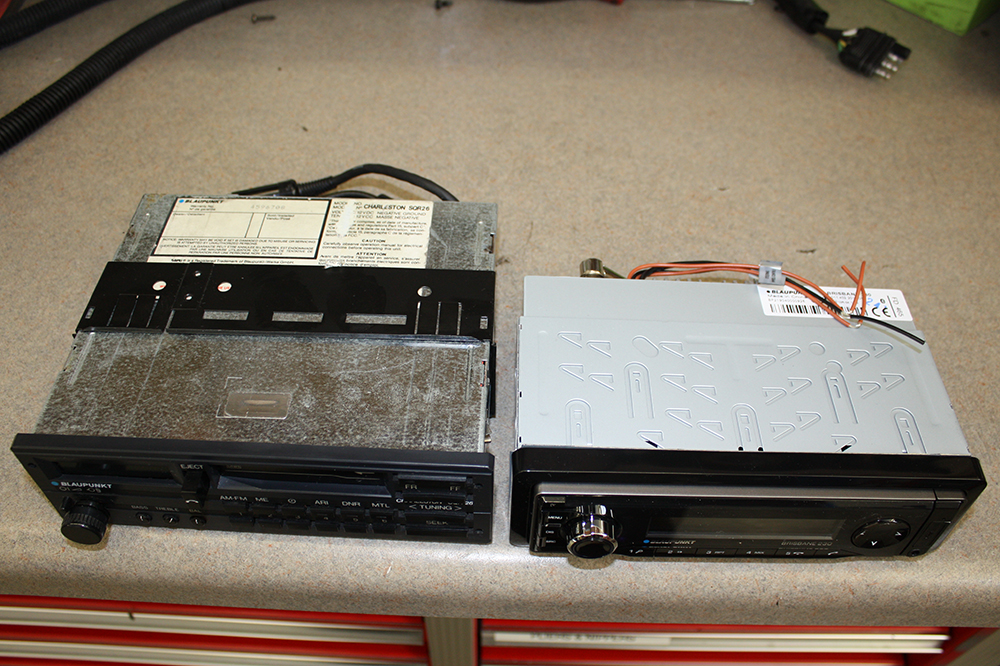
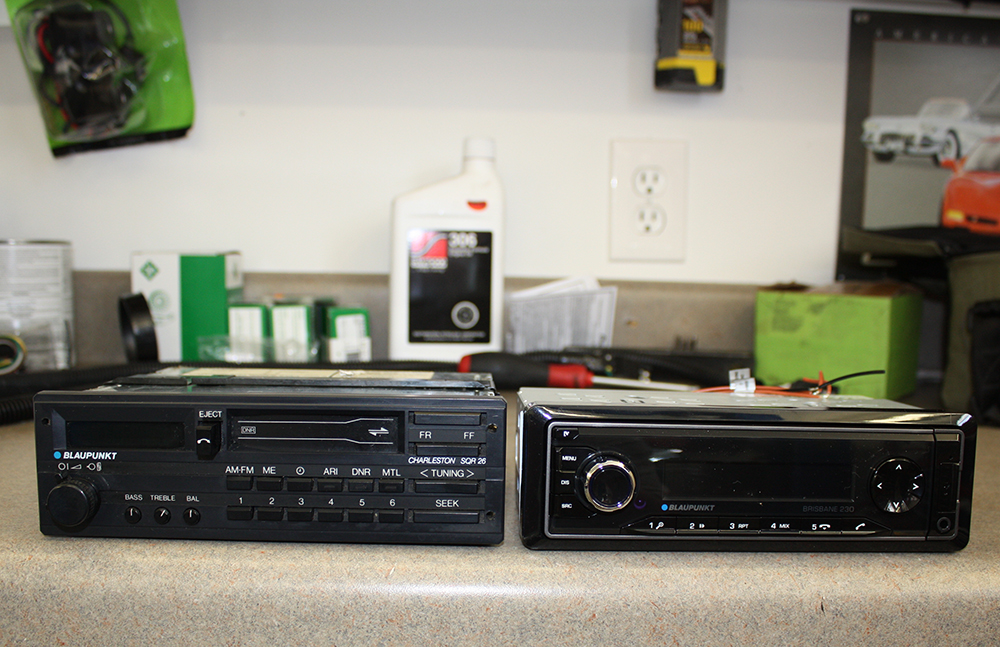
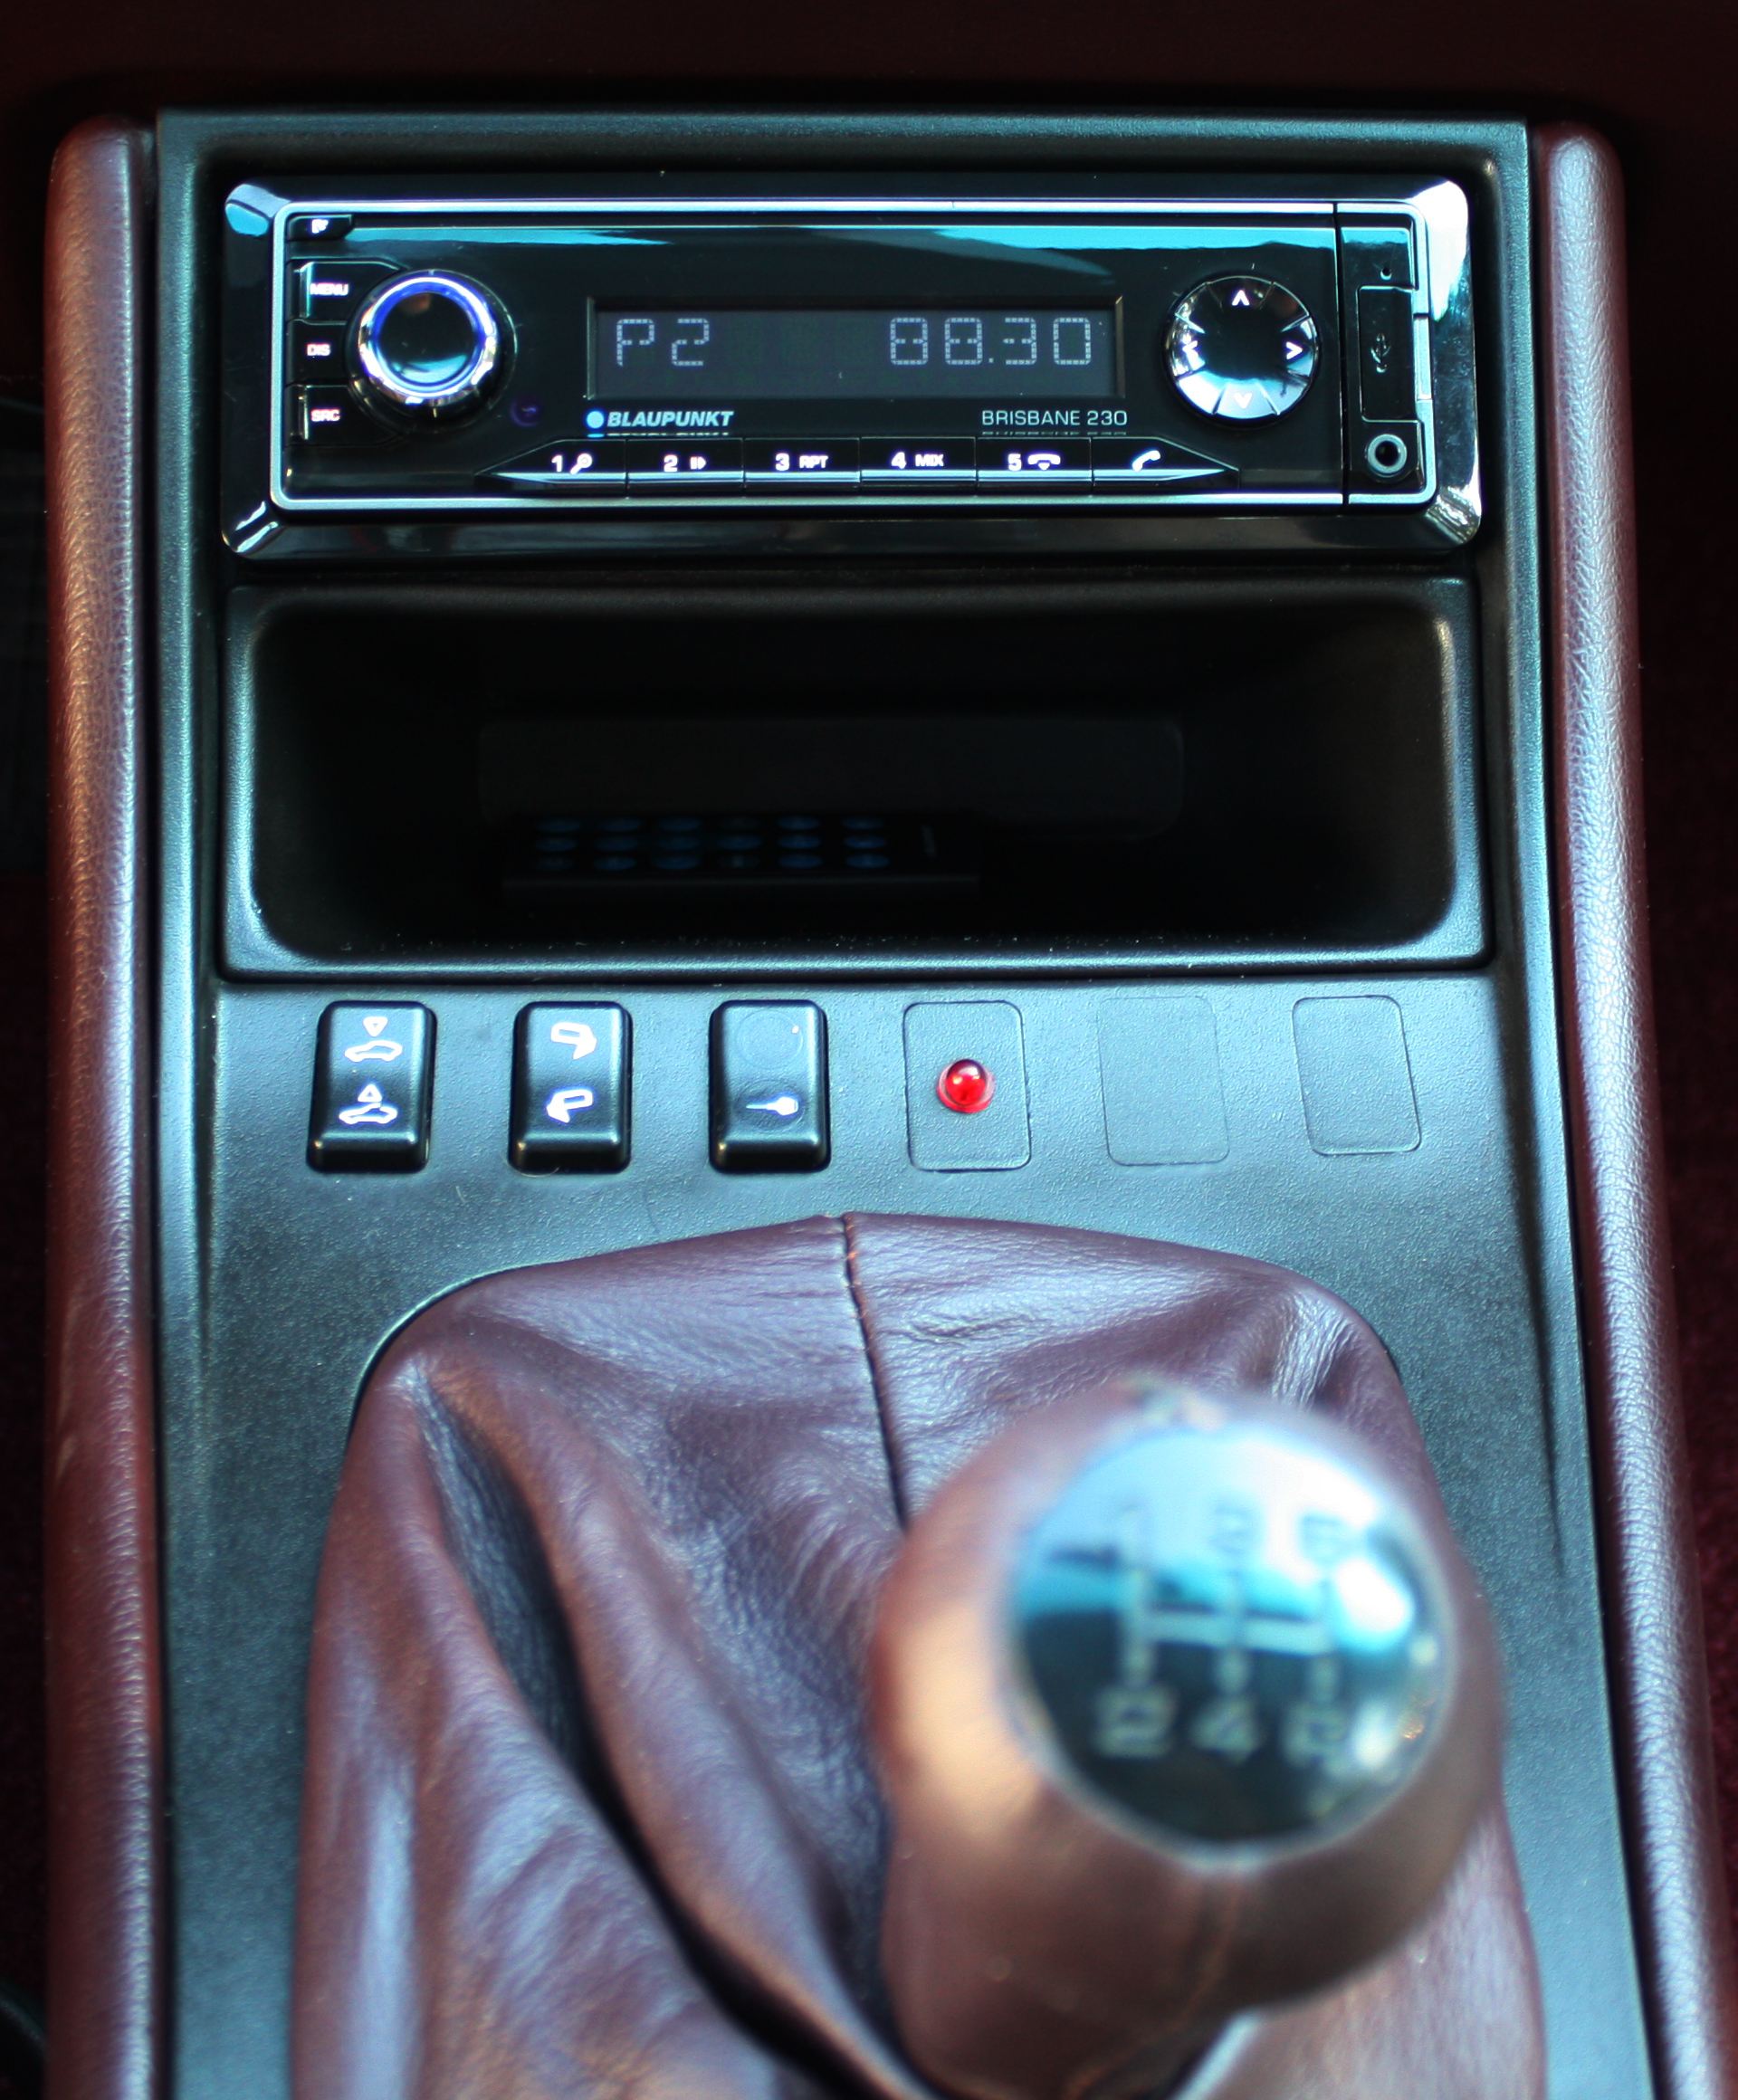
Wanting to continue the German connection, I bought a Blaupunkt Brisbane 230 receiver. Which, of course, was a pointless move as the original radio was made in Japan while the new one is made in China!!! However, I like the simplicity of the Brisbane face. And, for the first time in a long time, I am installing a radio that does not play CD's. Which allows the receiver to be very compact. On the plus side, it has Bluetooth, hands free with a built-in mic and a USB connection which immediately recognized my iPhone 5S.
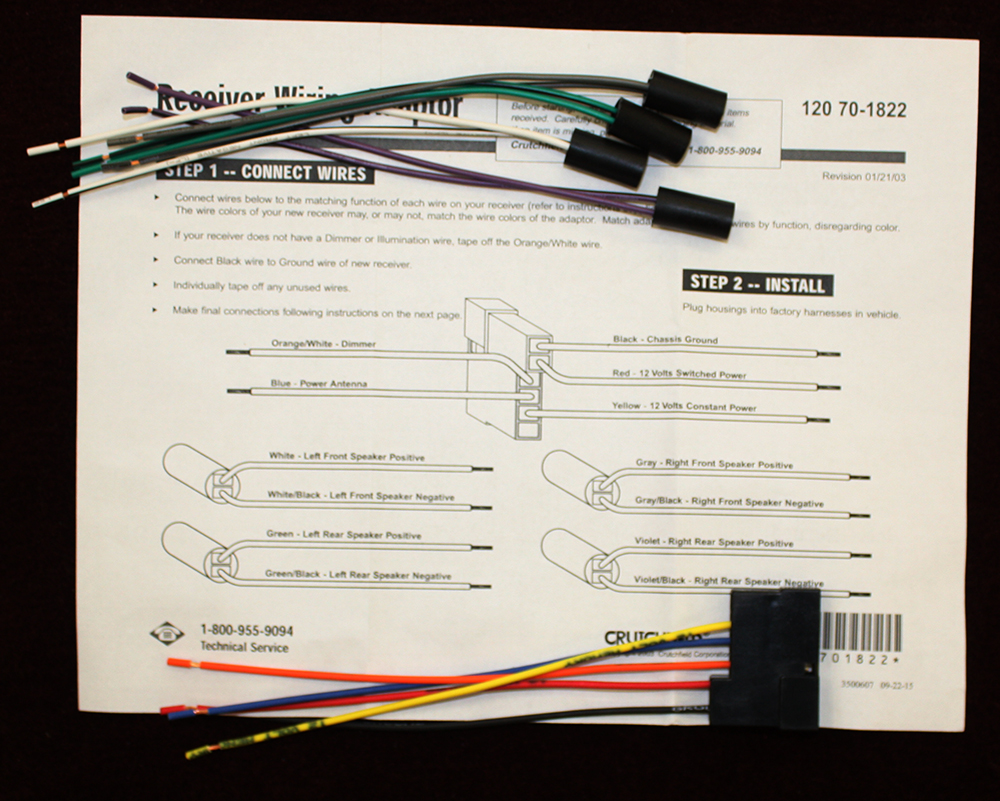
Not wanting to damage the original wiring, I purchased a wiring kit from Crutchfield that connects to the original connections. Using the kit I was able to solder all of the connections on my bench and then simply plug the harness into the factory harness. Saved a lot of time!! Well worth the $15 cost.
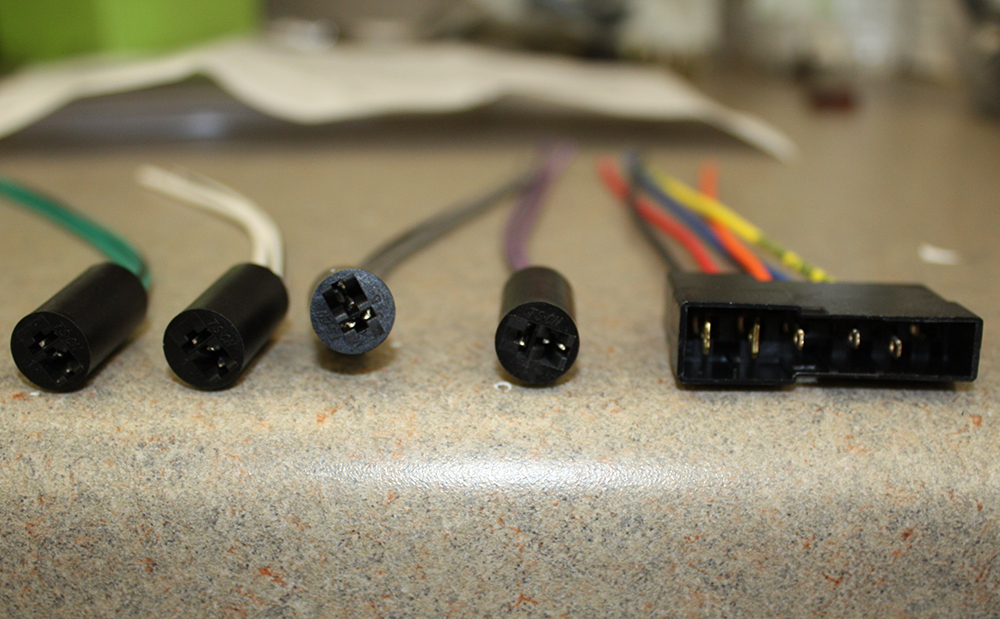
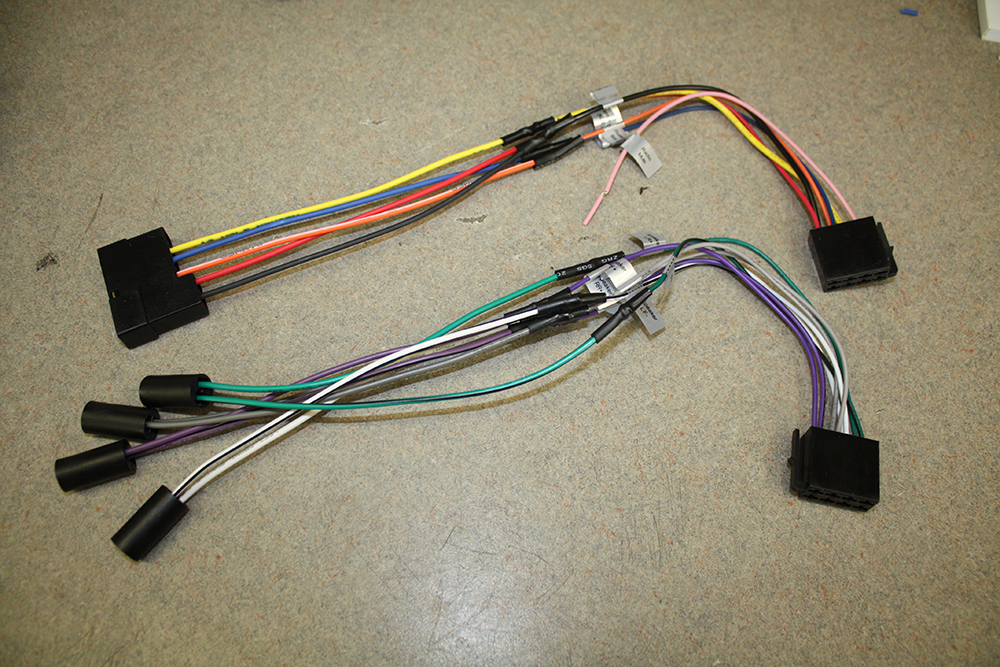
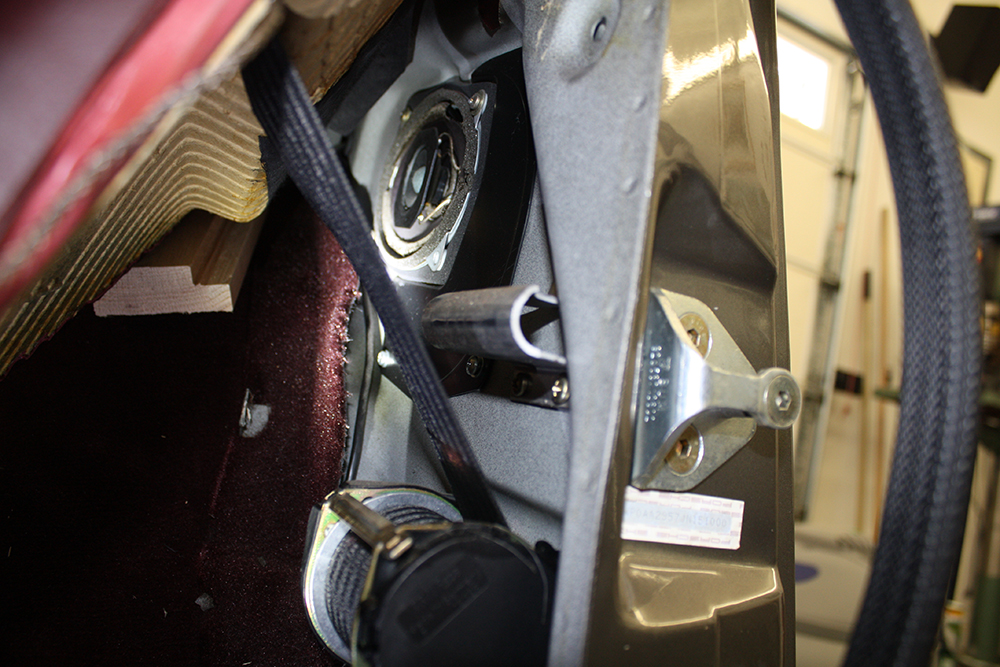
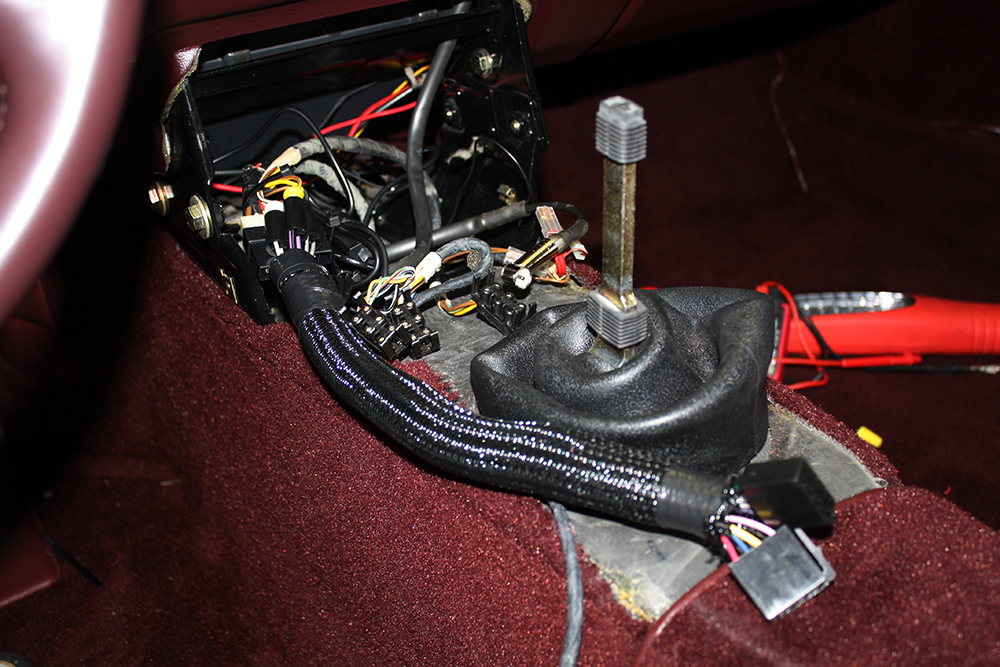
I was a little concerned that a wire may have come off the rear speakers when I installed them but they both worked. In the photo below you will see the speaker connections. The four factory color plugs and the appropriate speaker locations are yellow (RR), black (RF), red (LR) and white (LF).
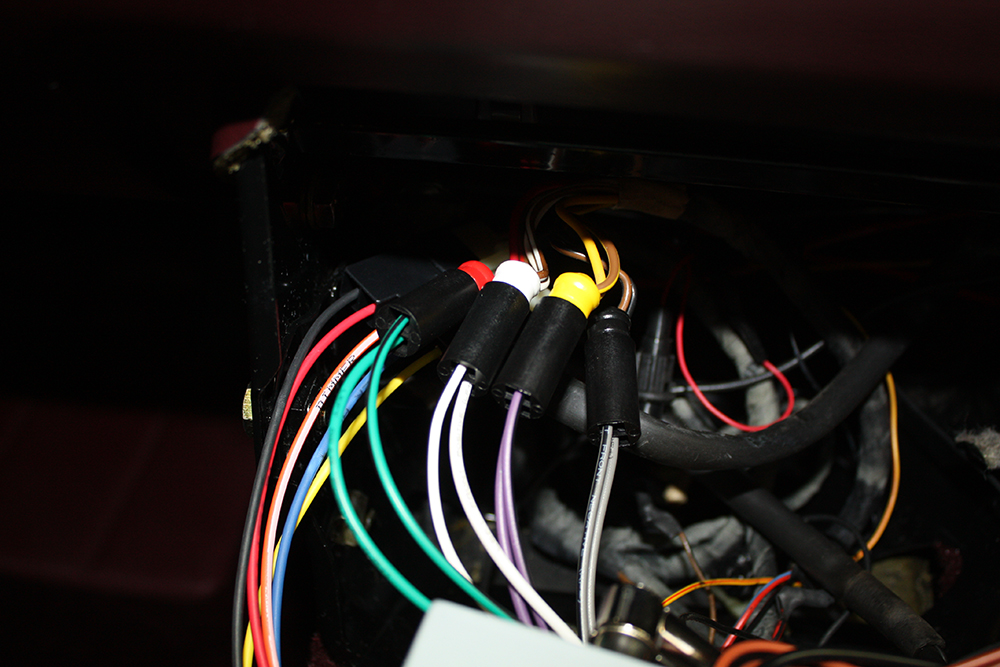
I spliced the hard wires for the GPS and the XM radio into the radio wiring harness.
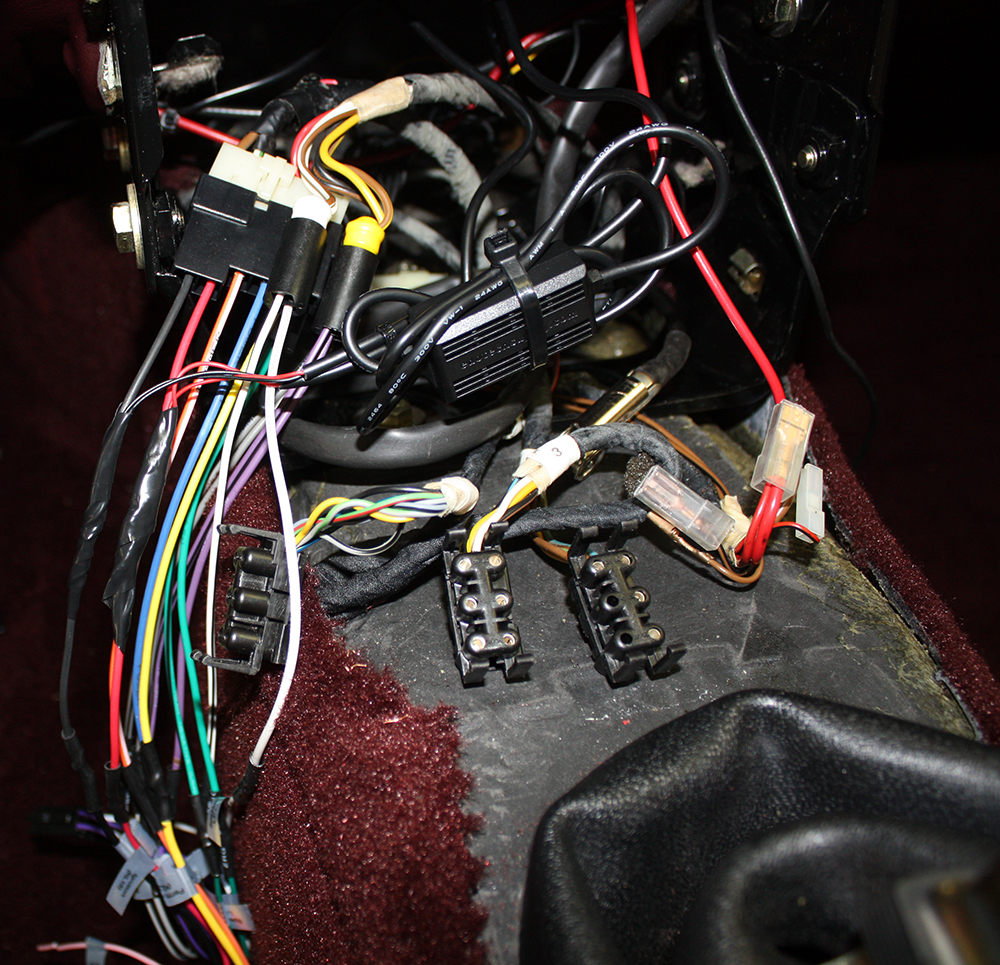
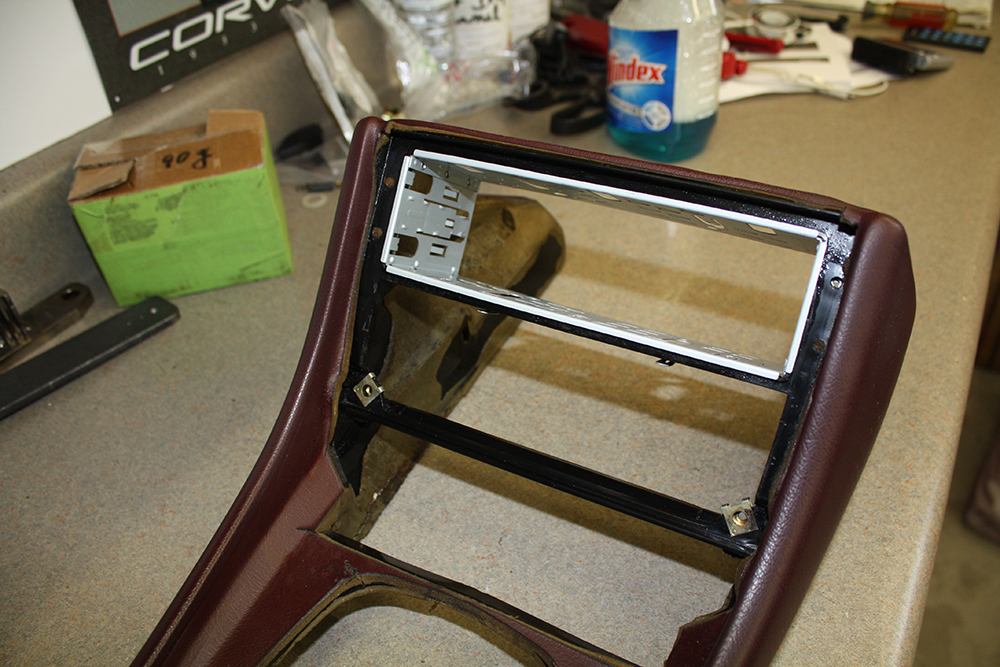
While the original radio is ostensibly a single DIN radio, the sleeve for the new radio would not fit into the slot on the console. The height was OK but the width was too narrow by a small amount. I had to file down the metal support around that opening to make the sleeve fit.
Tomorrow I will tidy up the wiring and then put the interior back into the car.


In addition to replacing the radio, I planned on hard wiring my Garmin GPS and a portable XM radio that I have used in a number of cars. I ran the GPS cable from the left windshield corner down the edge of the dash and then back to the center console area.


The XM antenna was placed in the right windshield corner with the cable entering the glove box through the hole on the left side. The XM power cable ran from the center console area to the glove box. As I don't often change the channel, I can keep the XM receiver in the glove box when I use it so nothing will show. It has an FM modulator which works surprisingly well.


Wanting to continue the German connection, I bought a Blaupunkt Brisbane 230 receiver. Which, of course, was a pointless move as the original radio was made in Japan while the new one is made in China!!! However, I like the simplicity of the Brisbane face. And, for the first time in a long time, I am installing a radio that does not play CD's. Which allows the receiver to be very compact. On the plus side, it has Bluetooth, hands free with a built-in mic and a USB connection which immediately recognized my iPhone 5S.


Not wanting to damage the original wiring, I purchased a wiring kit from Crutchfield that connects to the original connections. Using the kit I was able to solder all of the connections on my bench and then simply plug the harness into the factory harness. Saved a lot of time!! Well worth the $15 cost.


I was a little concerned that a wire may have come off the rear speakers when I installed them but they both worked. In the photo below you will see the speaker connections. The four factory color plugs and the appropriate speaker locations are yellow (RR), black (RF), red (LR) and white (LF).

I spliced the hard wires for the GPS and the XM radio into the radio wiring harness.

While the original radio is ostensibly a single DIN radio, the sleeve for the new radio would not fit into the slot on the console. The height was OK but the width was too narrow by a small amount. I had to file down the metal support around that opening to make the sleeve fit.

Tomorrow I will tidy up the wiring and then put the interior back into the car.
12-09-2015, 11:37 PM
#25
Racer
Thread Starter
Thanks.
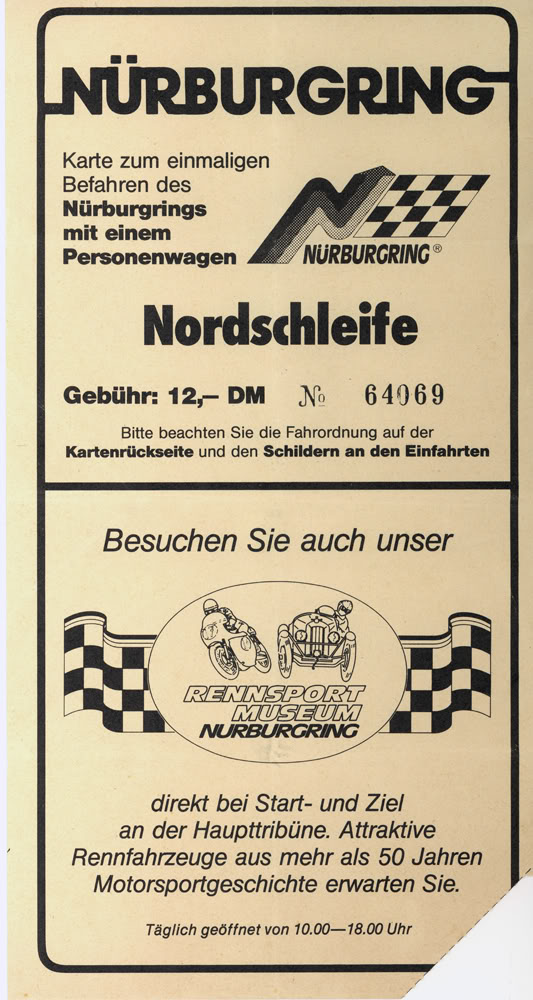
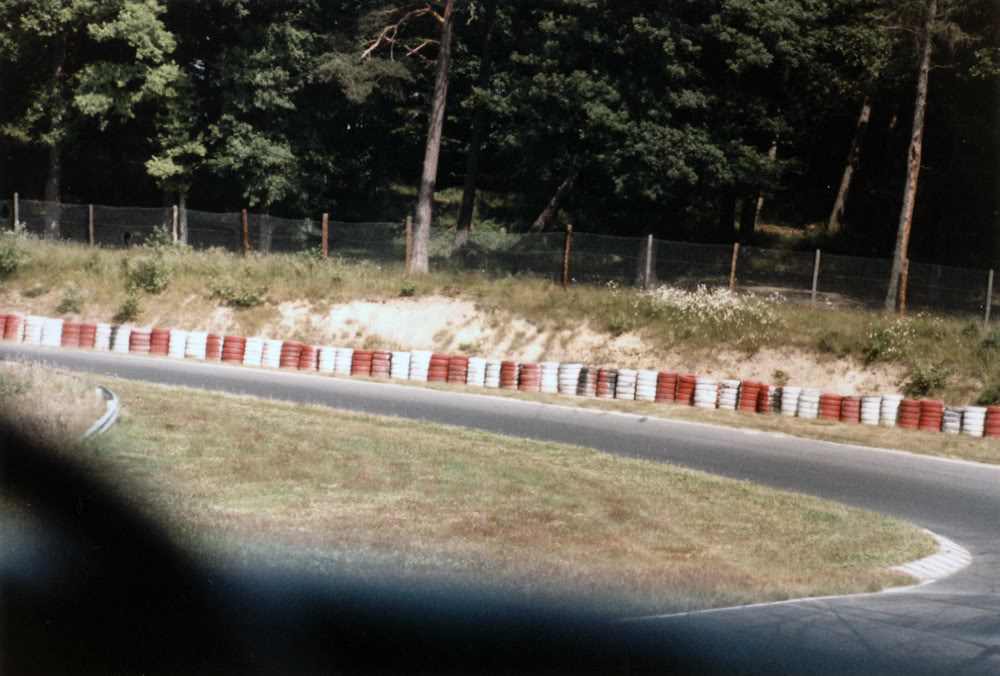
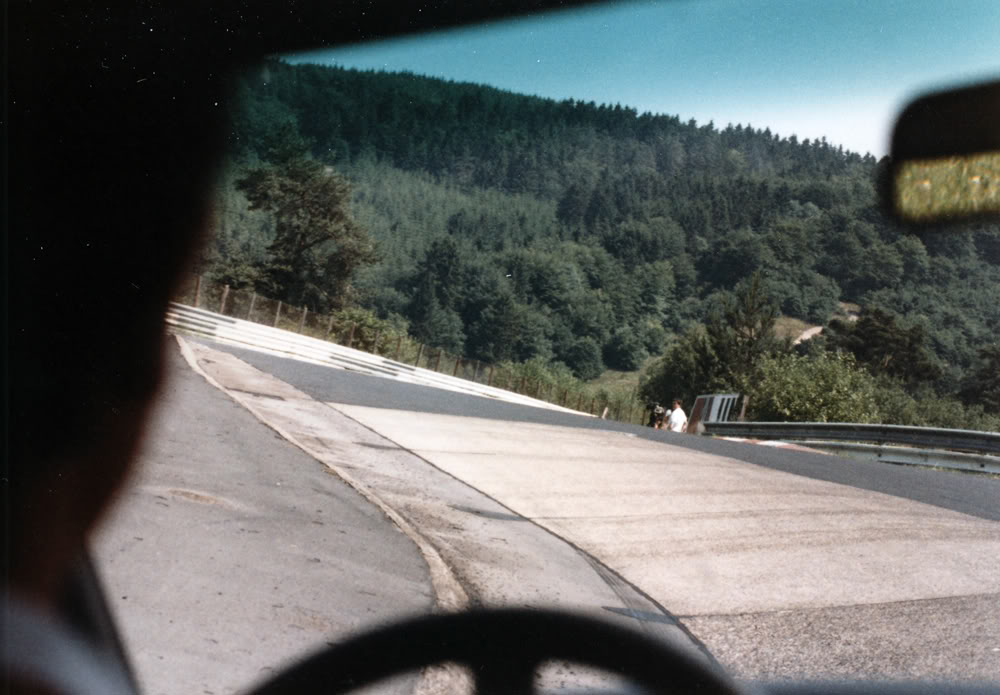
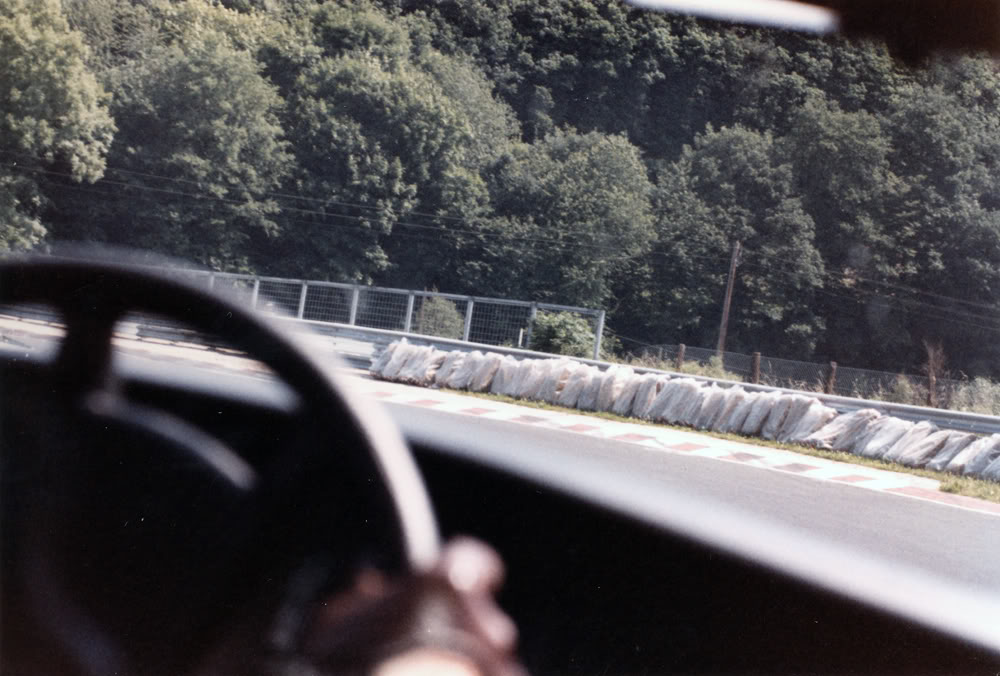
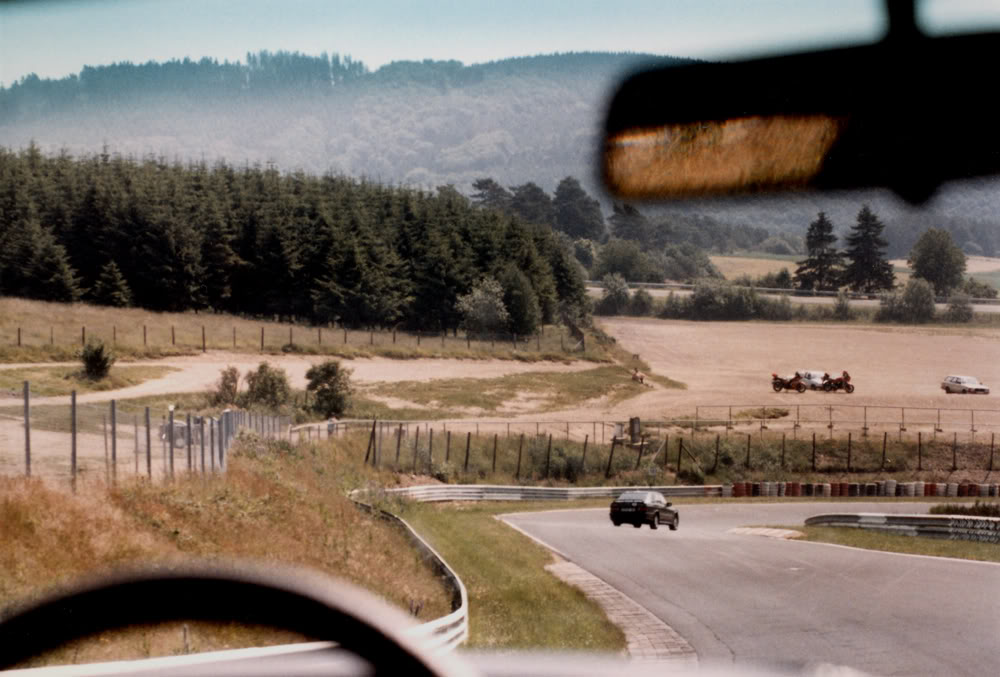
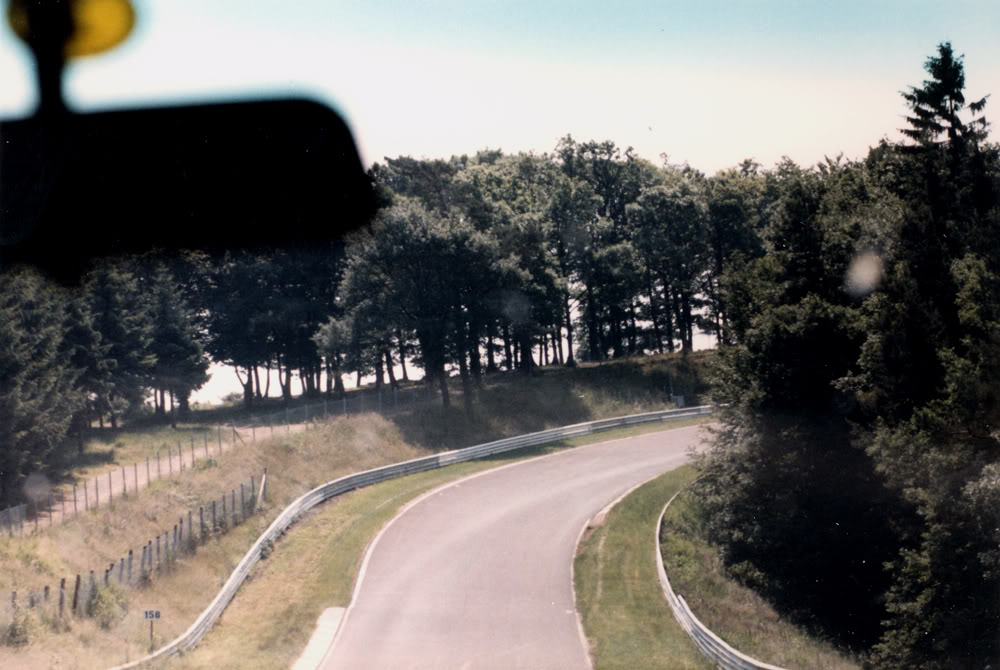
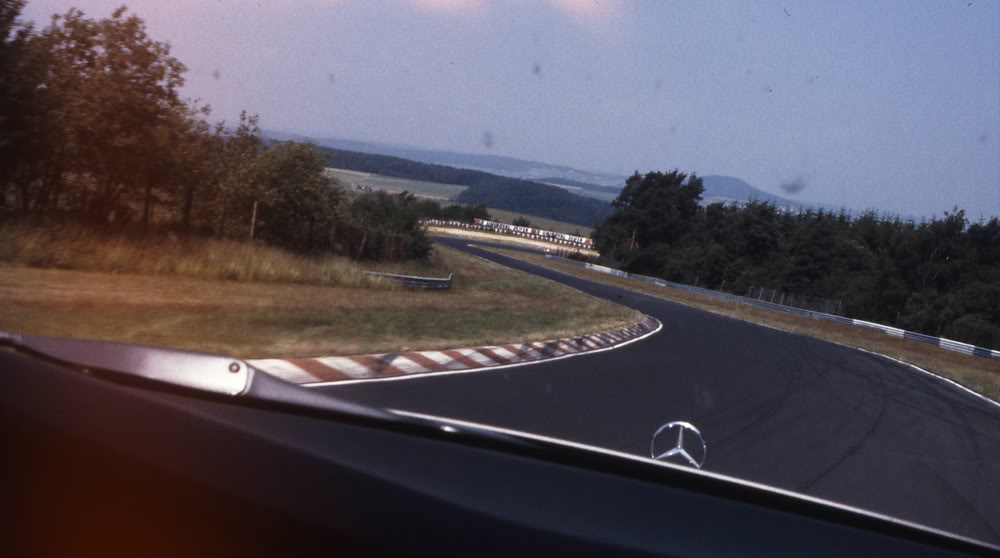
On that same 1985 Germany trip we did two laps of the Nurburgring in our rental Mercedes 190. There was a guy standing at the track entrance with a coin changer mounted on his belt. We gave him twelve marks (about three dollars at the exchange rate), drove our lap, gave the guy 12 more marks and did another lap. We had all of our luggage in the car, my wife in the passenger seat and my then 14 year old son in the back seat with a camera.
As we came into the Carousel on the first lap, there was a photographer on the outside of the guard rail taking photos. Evidently he had decided to cross the guard rail to go trackside. As we entered the corner the second time, with a bit more speed and tire squealing, we were treated to this guy jumping over the guard rail to escape us!!
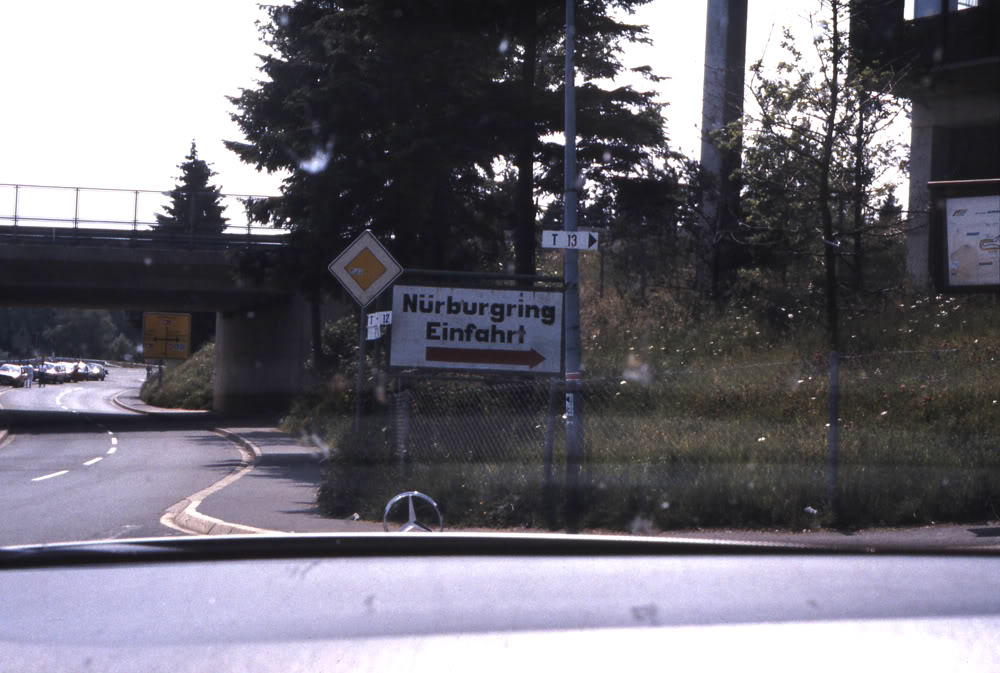
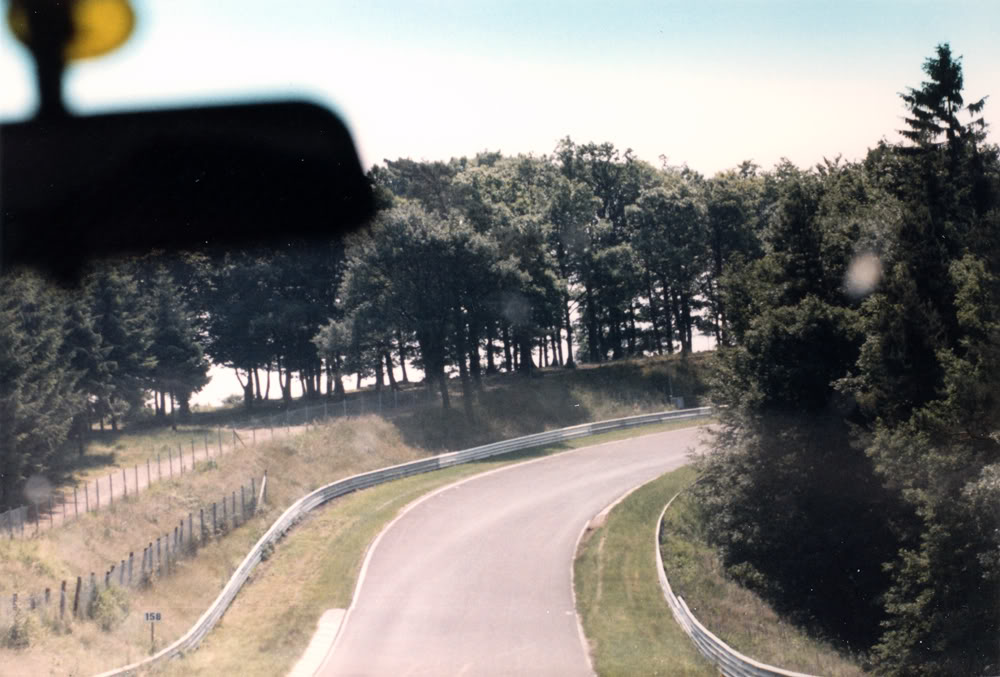
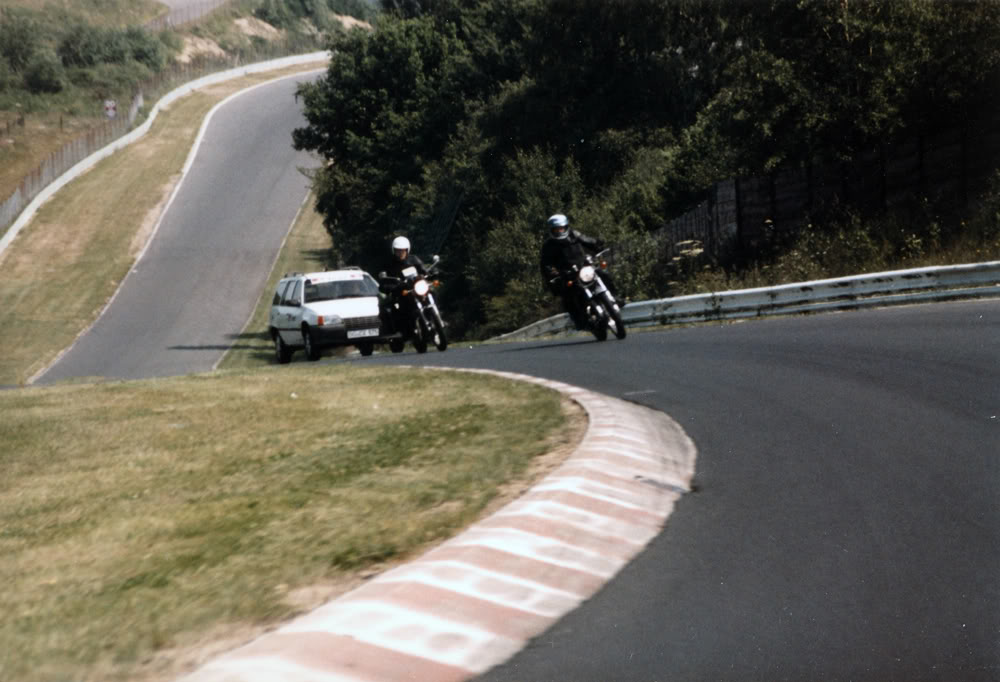

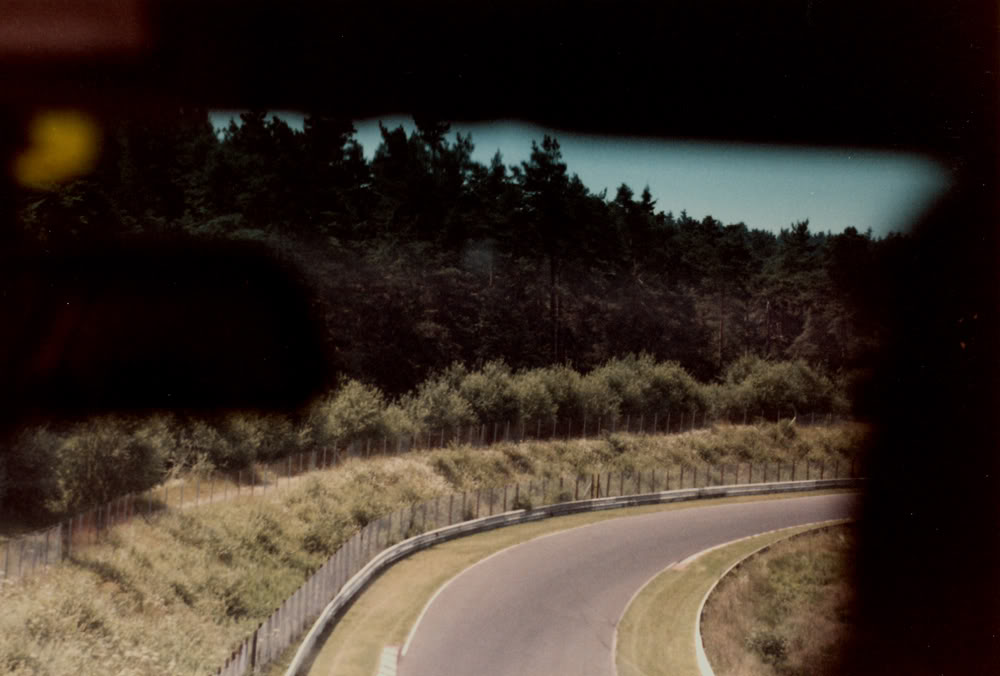
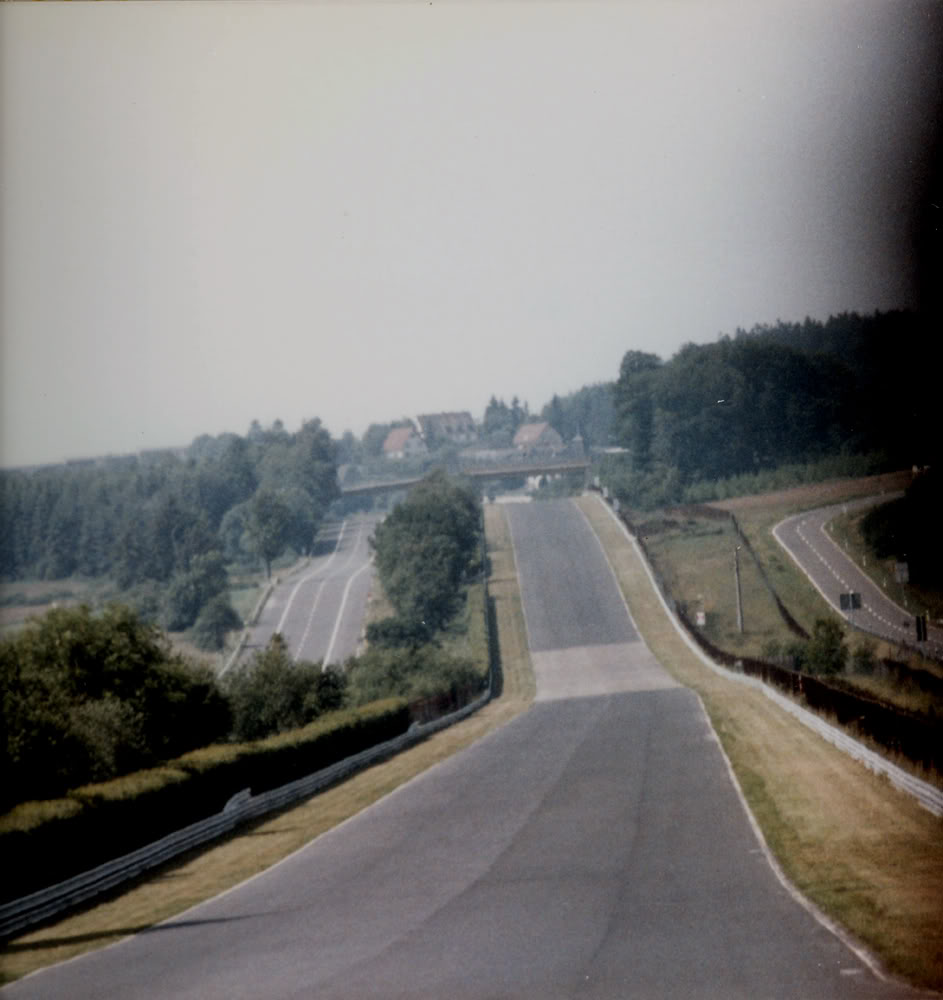
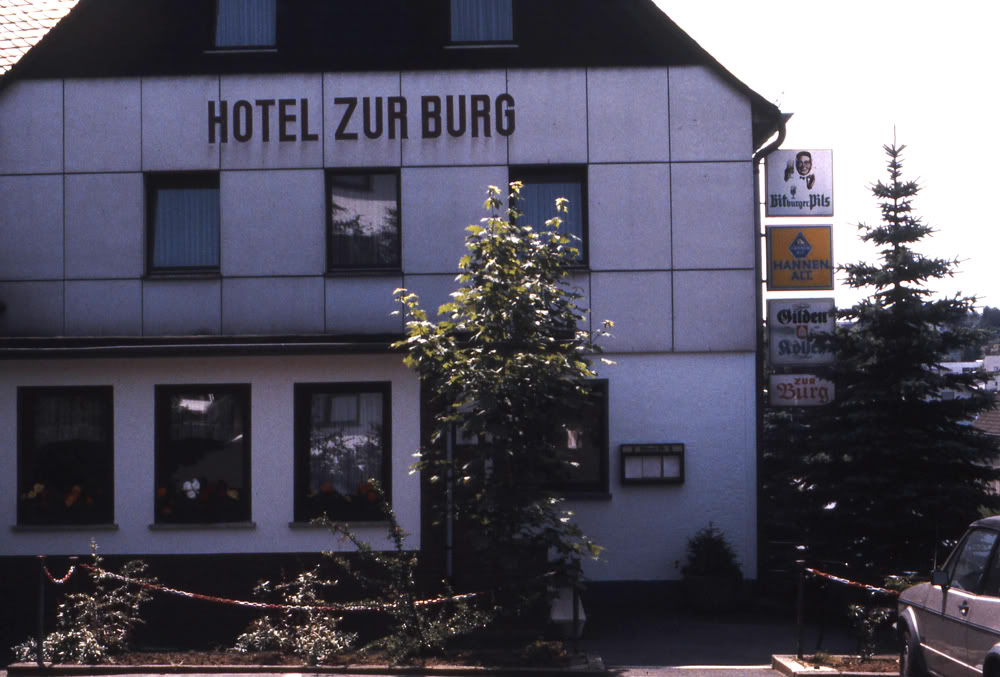
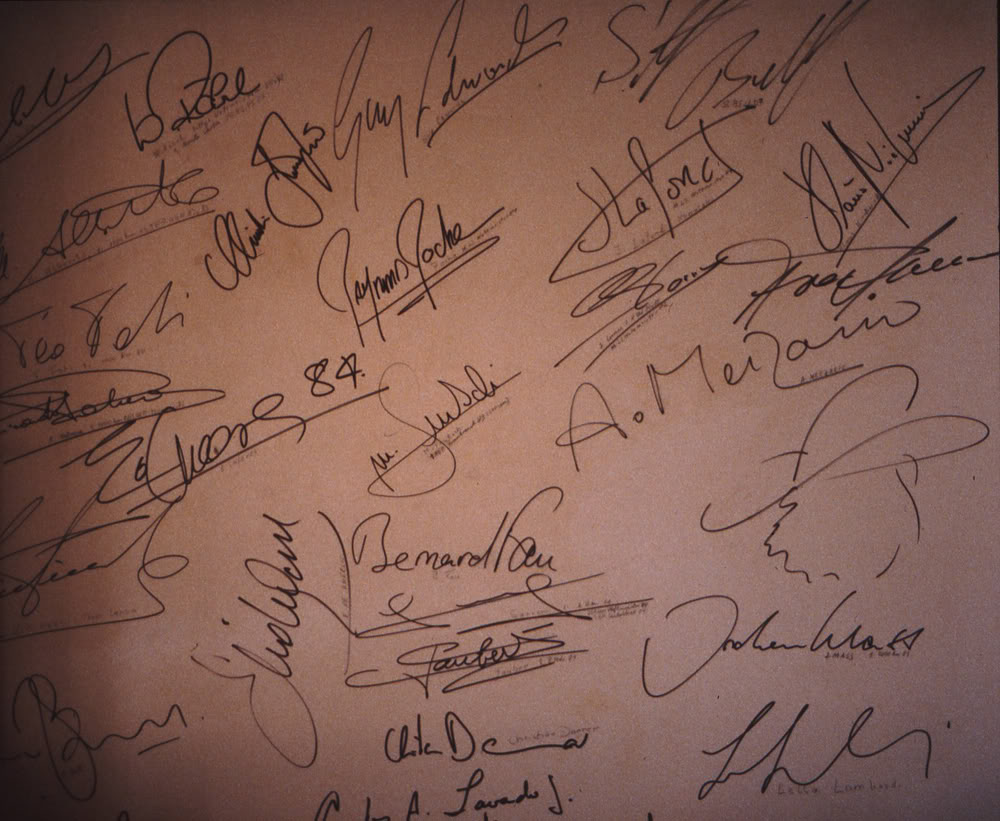
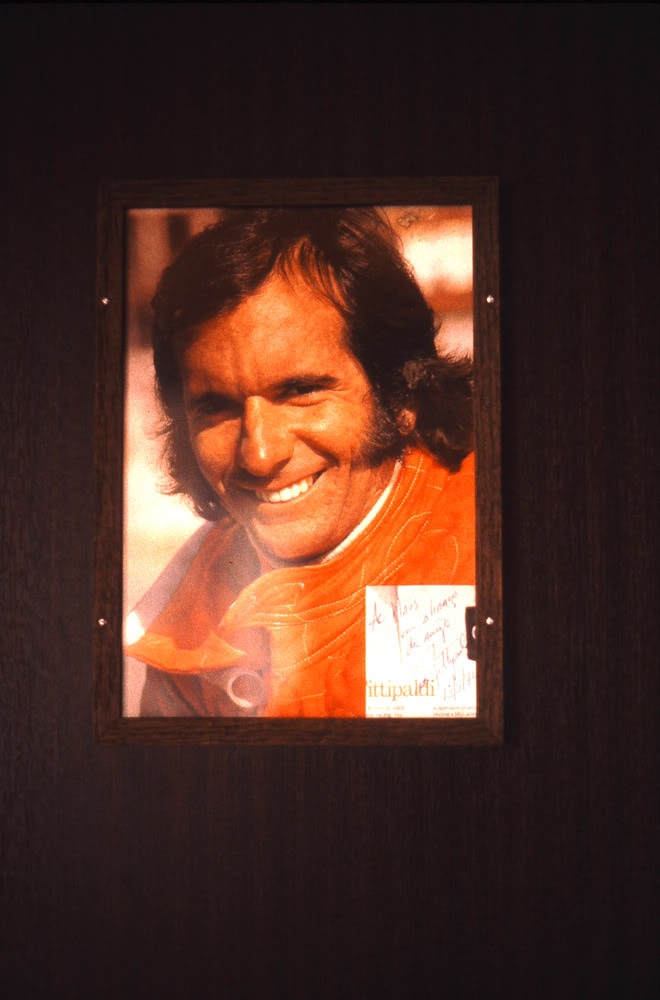
As it was lunch time, we drove into the town of Nurburg and found a restaurant with some cool autographs and photos.
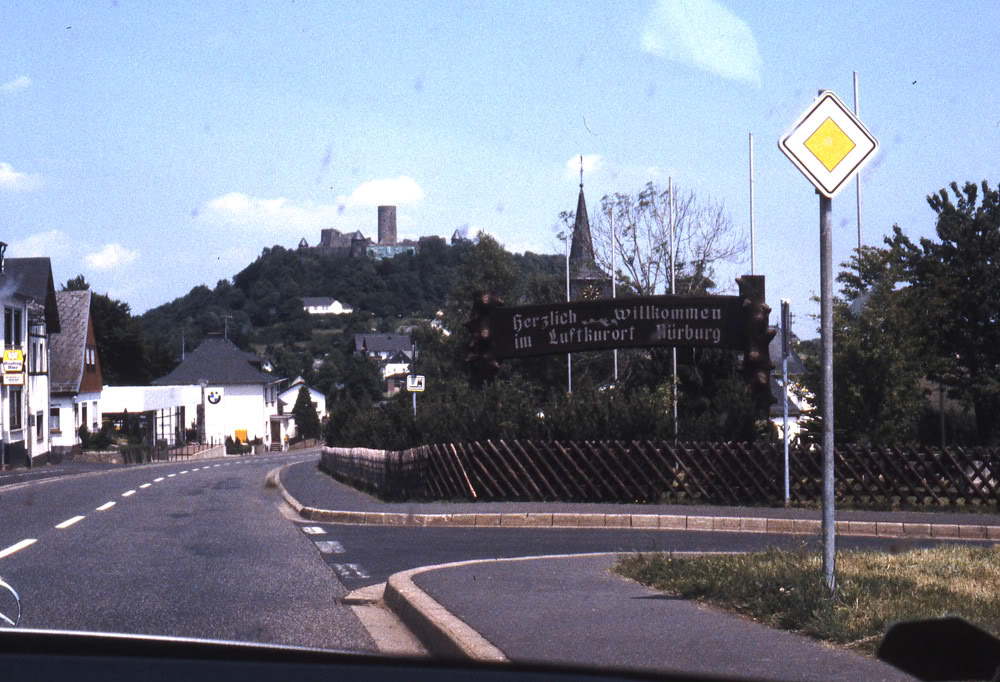
This happened on the first day of our trip as we drove directly to Nurburg along the Moselle River from Luxembourg. After completing those two laps, all four tires were covered with black rubber spaghetti. By the time we turned the car in they had all been worn off.
On that same 1985 Germany trip we did two laps of the Nurburgring in our rental Mercedes 190. There was a guy standing at the track entrance with a coin changer mounted on his belt. We gave him twelve marks (about three dollars at the exchange rate), drove our lap, gave the guy 12 more marks and did another lap. We had all of our luggage in the car, my wife in the passenger seat and my then 14 year old son in the back seat with a camera.
As we came into the Carousel on the first lap, there was a photographer on the outside of the guard rail taking photos. Evidently he had decided to cross the guard rail to go trackside. As we entered the corner the second time, with a bit more speed and tire squealing, we were treated to this guy jumping over the guard rail to escape us!!


As it was lunch time, we drove into the town of Nurburg and found a restaurant with some cool autographs and photos.


This happened on the first day of our trip as we drove directly to Nurburg along the Moselle River from Luxembourg. After completing those two laps, all four tires were covered with black rubber spaghetti. By the time we turned the car in they had all been worn off.
12-10-2015, 10:28 AM
#26
Three Wheelin'
GREAT stories !
I love the photos of the 'ring.....and the restaurant. We ate there as well, once back in the early 90's.
I have a similar story about the 'Karoussel' while there in my factory supplied S2, but it also involved the three fellows who met us there for a Porsche Club Germany meet.
One club member had an RS longhood 911 and gave me several rides around first to familiarize me to the track ( not nearly enough ! ) We had entertained a fairly quick comrade but on a sportbike, passing and repassing each other, then as we entered the carousel side by side Jurgen announced this is where he would overtake and quickly dispatch the rider....... who did not give up one centimeter of space between the front fender of that old longhood and himself.
I literally could have reached out the window and laid my hand across the rider's back as we dropped down into that dished bowl and rumbled across the rough surfaces on the track grasping for traction.
When we returned to the paddock, the rider sought our car out as I was preparing to go out in my Zermatt S2 to follow the RS around on my first lap. He was nearly ecstatic with enthusiasm, grasping both our hands and in halting bursts of barely negligible German, told us what a great run he had experienced following and passing, retaking, then fading back. He was dripping with sweat off his face and asked when we were going out again..... of course when we did, he immediately disappeared from in front of me and I never saw him again !
This track should be on every enthusiast's short list of tracks to experience before they die. It is formidable and beautiful at the same time.
Challenging is not even close to describing the experience. Truly GREAT you were able to be there with the family and record it for all time ~
12-10-2015, 09:47 PM
#27
Racer
Thread Starter
Finished up the radio install and put the interior back in the car. First up was cleaning up the radio wiring.
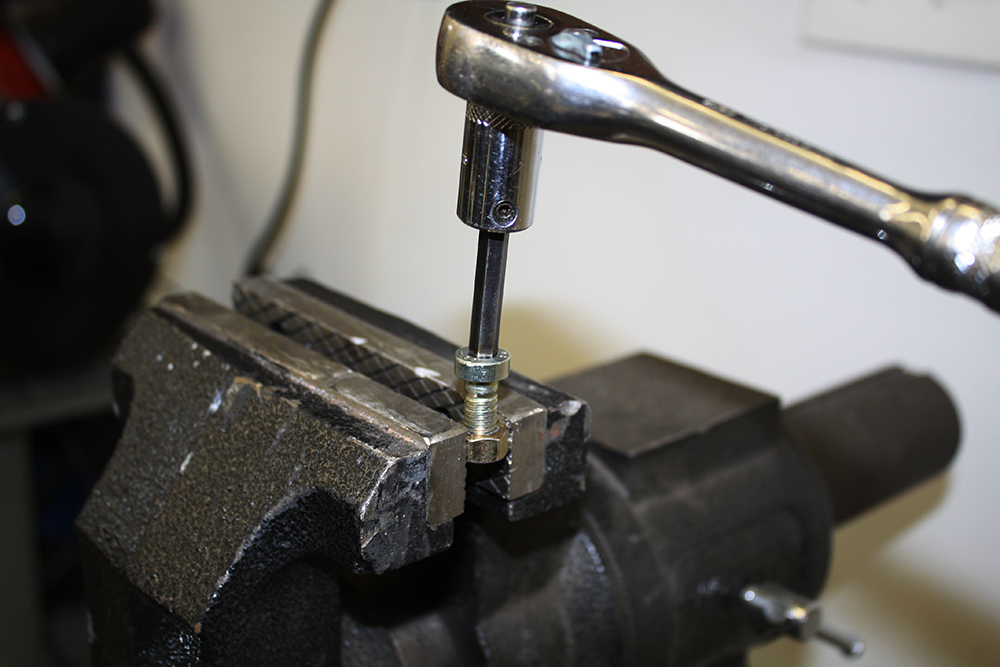
After removing the two bolts on the upper back seat hinges, I reassembled the hinges into the back seat on my workbench before installing it back in the car. When I removed the front seats I noticed two bolts that did not turn as freely as they should. Using my tap and die set I cleaned up the threads on the two bolts and the nuts.

With everything back together I spent some time pairing my phone with the radio and going through the radio settings. Since I spent a total of about $140 for the four speakers and the radio, I wasn't expecting award winning sound. It sounds much better than it did and I did not cut up anything. Plus I now have a hands free phone, Bluetooth capabitlity and XM radio. The first sound system lasted 27 years so the car should be good to go for awhile, soundwise.
With all of the pet hair gone, shampooing the carpet and treating all of the leather and vinyl surfaces, the interior is where I like mine to be.
Next up will be some mechanical work as I will be changing the timing belt, replacing the upper fuel lines and replacing the ABS wiring harnesses in each wheelwell due to the outer wiring covering disintegrating.

After removing the two bolts on the upper back seat hinges, I reassembled the hinges into the back seat on my workbench before installing it back in the car. When I removed the front seats I noticed two bolts that did not turn as freely as they should. Using my tap and die set I cleaned up the threads on the two bolts and the nuts.


With everything back together I spent some time pairing my phone with the radio and going through the radio settings. Since I spent a total of about $140 for the four speakers and the radio, I wasn't expecting award winning sound. It sounds much better than it did and I did not cut up anything. Plus I now have a hands free phone, Bluetooth capabitlity and XM radio. The first sound system lasted 27 years so the car should be good to go for awhile, soundwise.

With all of the pet hair gone, shampooing the carpet and treating all of the leather and vinyl surfaces, the interior is where I like mine to be.


Next up will be some mechanical work as I will be changing the timing belt, replacing the upper fuel lines and replacing the ABS wiring harnesses in each wheelwell due to the outer wiring covering disintegrating.
 12-12-2015, 01:39 PM
#29
Racer
Thread Starter
I had the pleasure of taking a drive in the car yesterday and discovered an issue with my placement of the XM antenna. By placing it in the corner on the dash, when traveling in certain directions, the signal was blocked by the windshield pillar.
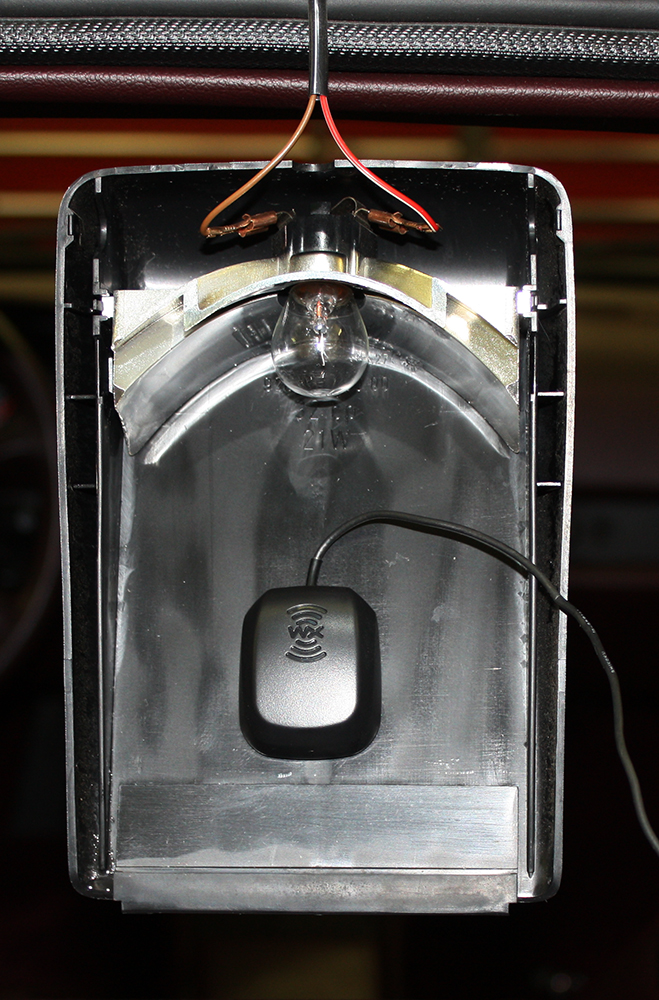
During one of my sleepless bouts, I began thinking of where else I could place the antenna. I did not want to place it on the exterior for two reasons; a fear of scratching the paint and for aesthetic reasons. I wondered if I placed a magnet on the backside of the rear hatch, would I be able to attach the magnetic antenna to that magnet through the glass? As I was considering this, I also wondered if I could somehow place it inside the 3rd brake light housing.
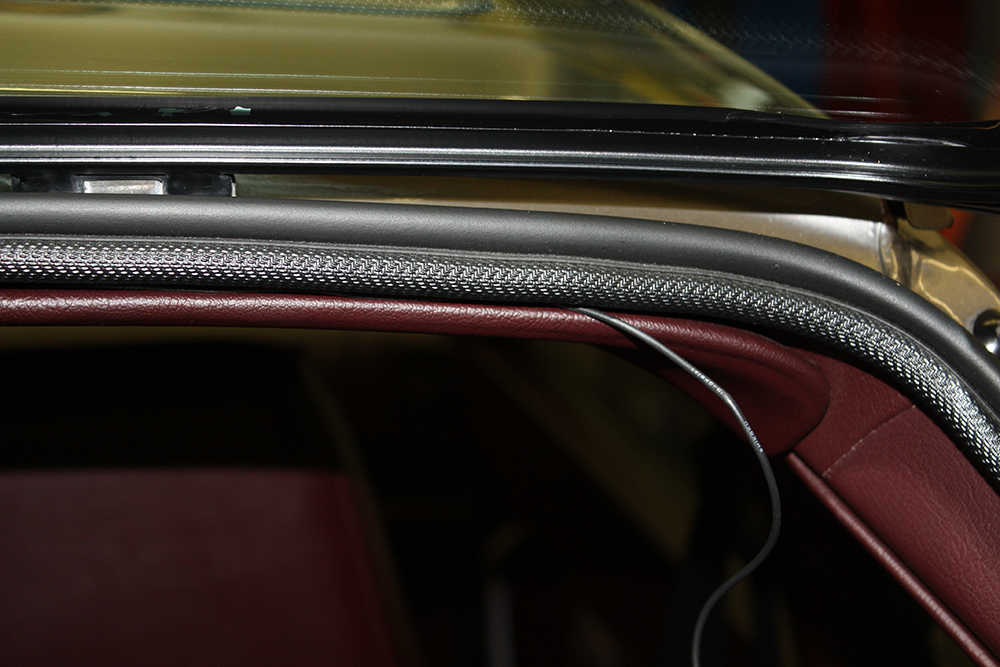
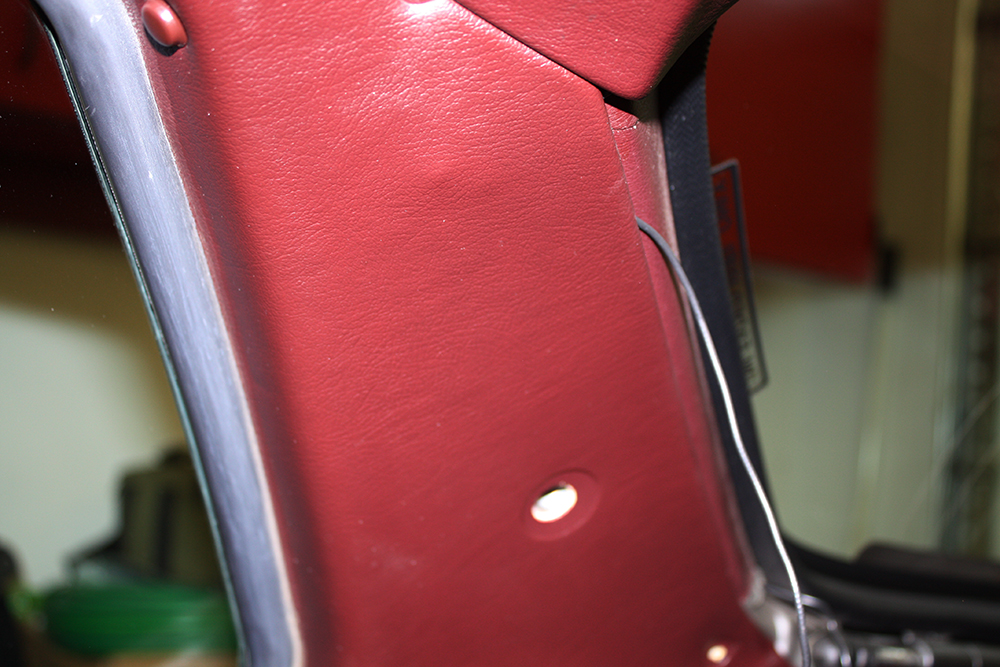
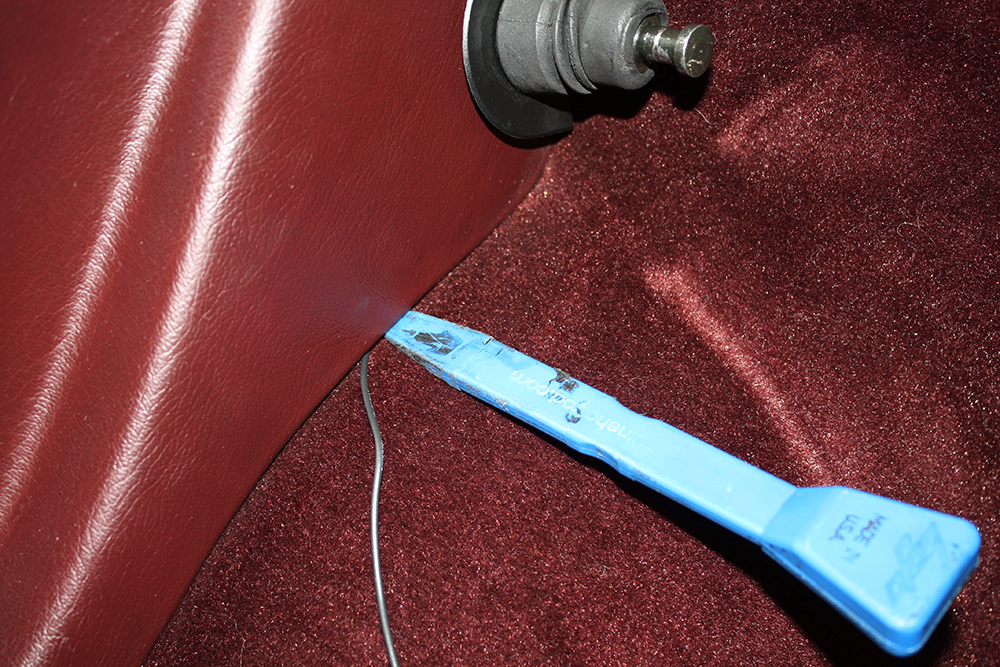
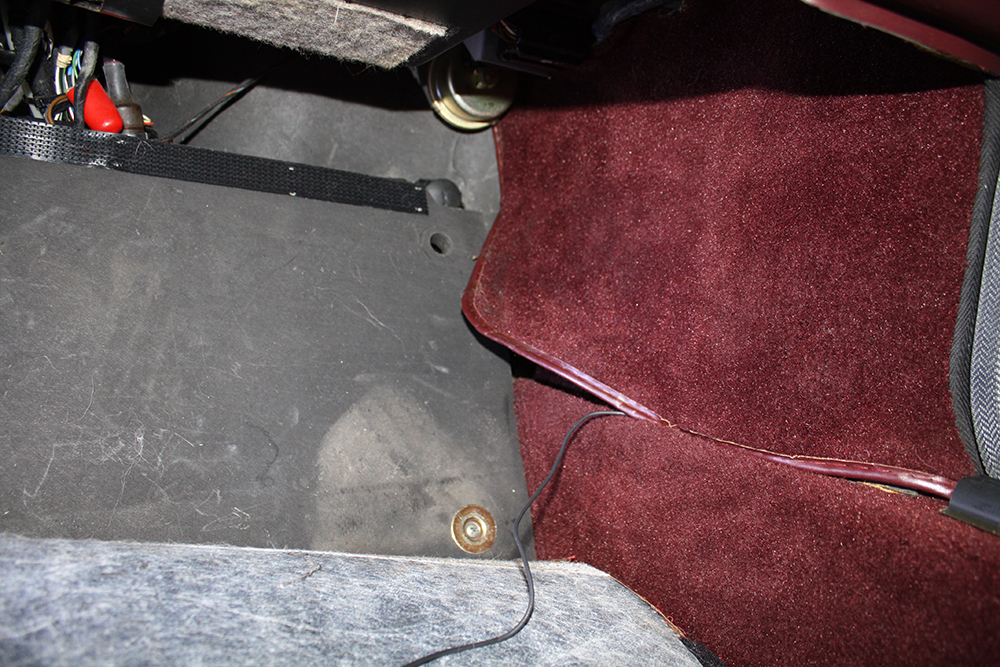
After removing the 3rd brake light housing this morning, I discovered that there was plenty of room. Some double sided tape secured the antenna and then it was simply a matter of running the antenna wire to the glove box. I tucked the wire inside the trim along the window hatch opening, then tucked it behind the right rear side panel, pulled up the threshold trim and attached the wire to the existing cable, and then under the carpet to the glove box.
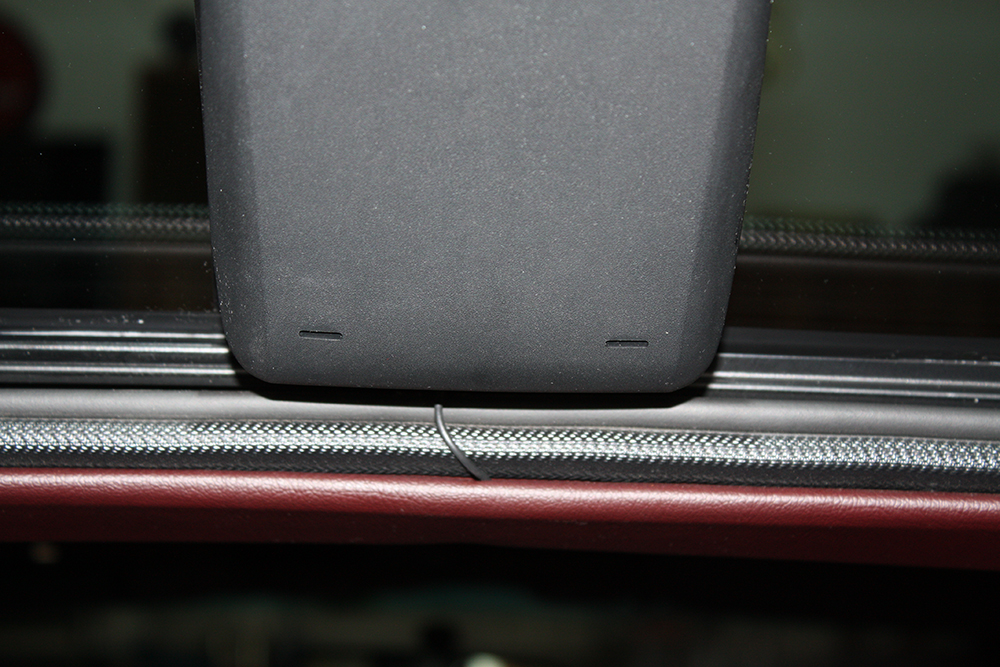
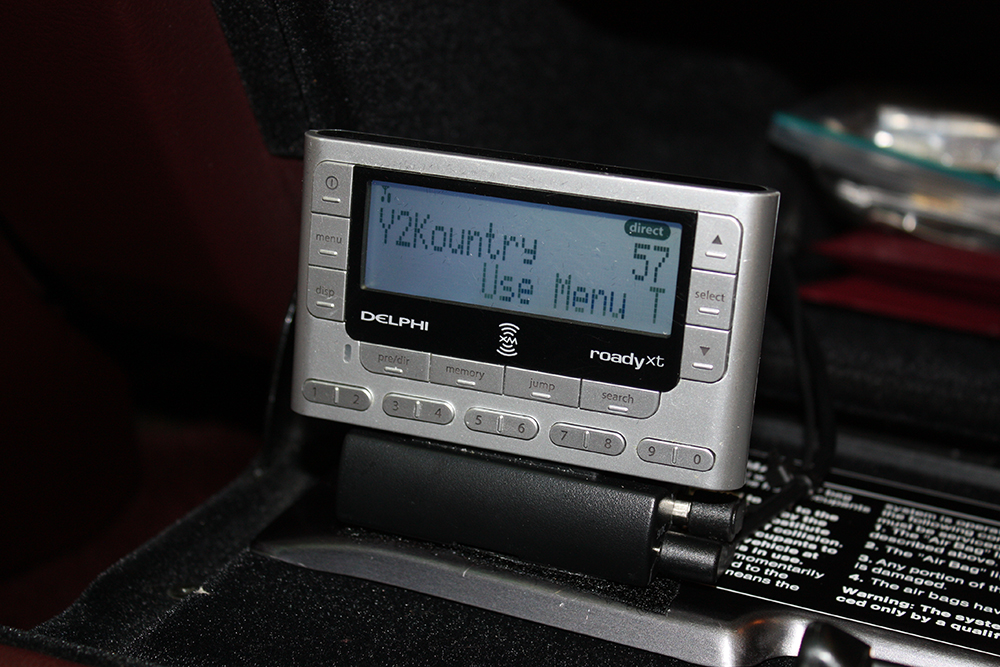
The other issue I discovered during my test drive was that I had not allowed enough cable for the XM receiver to extend out onto the glove box lid. After remedying that, I placed some Velcro on the inside of the glove box lid and attached the XM receiver. I can close the glove box with the receiver in place. Worked like a charm. I also use this receiver in my '07 997. Transferring it is simply a matter of removing the cables and releasing it from the Velcro.
During a short test ride, I did not have any loss of signal. Hurrah!!
During one of my sleepless bouts, I began thinking of where else I could place the antenna. I did not want to place it on the exterior for two reasons; a fear of scratching the paint and for aesthetic reasons. I wondered if I placed a magnet on the backside of the rear hatch, would I be able to attach the magnetic antenna to that magnet through the glass? As I was considering this, I also wondered if I could somehow place it inside the 3rd brake light housing.
After removing the 3rd brake light housing this morning, I discovered that there was plenty of room. Some double sided tape secured the antenna and then it was simply a matter of running the antenna wire to the glove box. I tucked the wire inside the trim along the window hatch opening, then tucked it behind the right rear side panel, pulled up the threshold trim and attached the wire to the existing cable, and then under the carpet to the glove box.


The other issue I discovered during my test drive was that I had not allowed enough cable for the XM receiver to extend out onto the glove box lid. After remedying that, I placed some Velcro on the inside of the glove box lid and attached the XM receiver. I can close the glove box with the receiver in place. Worked like a charm. I also use this receiver in my '07 997. Transferring it is simply a matter of removing the cables and releasing it from the Velcro.
During a short test ride, I did not have any loss of signal. Hurrah!!
