When you click on links to various merchants on this site and make a purchase, this can result in this site earning a commission. Affiliate programs and affiliations include, but are not limited to, the eBay Partner Network.
Finally got a day to work on the MicroSquirt install a little more. I've been ordering parts and going to Houston junkyards to soften the blow financially - still on budget though (~$1000). I still need ignition coils (not a single set to be found after 40 acres of scrap cars), injectors, a 951 TPS, and a few other odds and ends such as a bracket for holding the hall effect sensor up against the trigger wheel.
I also grabbed some assorted connectors, because I HATE those stupid Bosch connectors on our cars that require you to dig out the metal clip just to remove it. So I got connectors that are this style:
Much more civilized, especially for some of the stuff under and around the manifold.
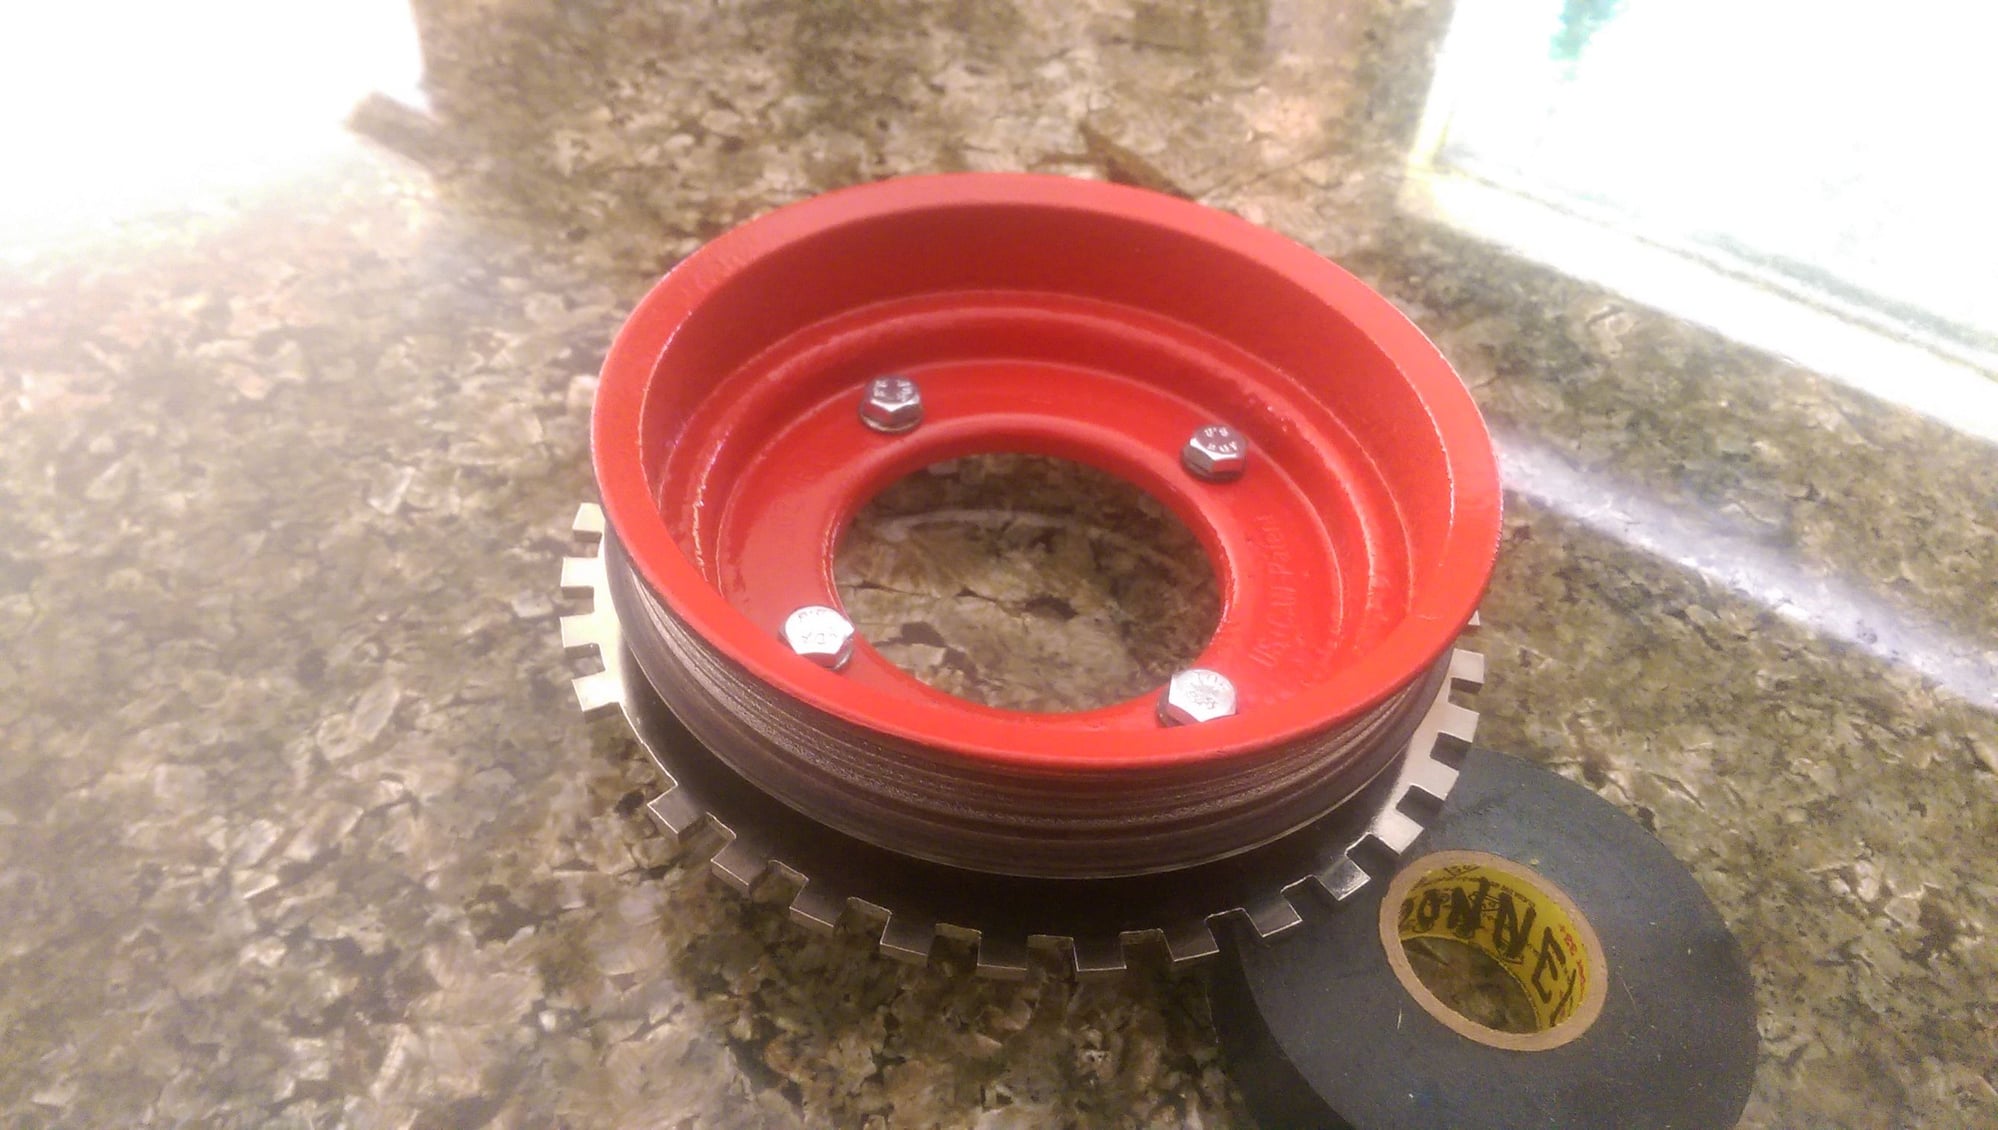
I got the trigger wheel installed today, it's a very nice product and reasonable priced from Albert Liang at GoingSuperFast. I opted for the wheel that is 6 inch OD, 3 mm thick, 84 mm center to center. It fits nicely without having to destroy the timing covers completely. I'm sure the smaller one would require no modification, but I wanted to get a larger one because my hall effect sensor will read the teeth better. I did end up cutting out the bottom of the outer cover to allow the sensor to get nice and close to the teeth.
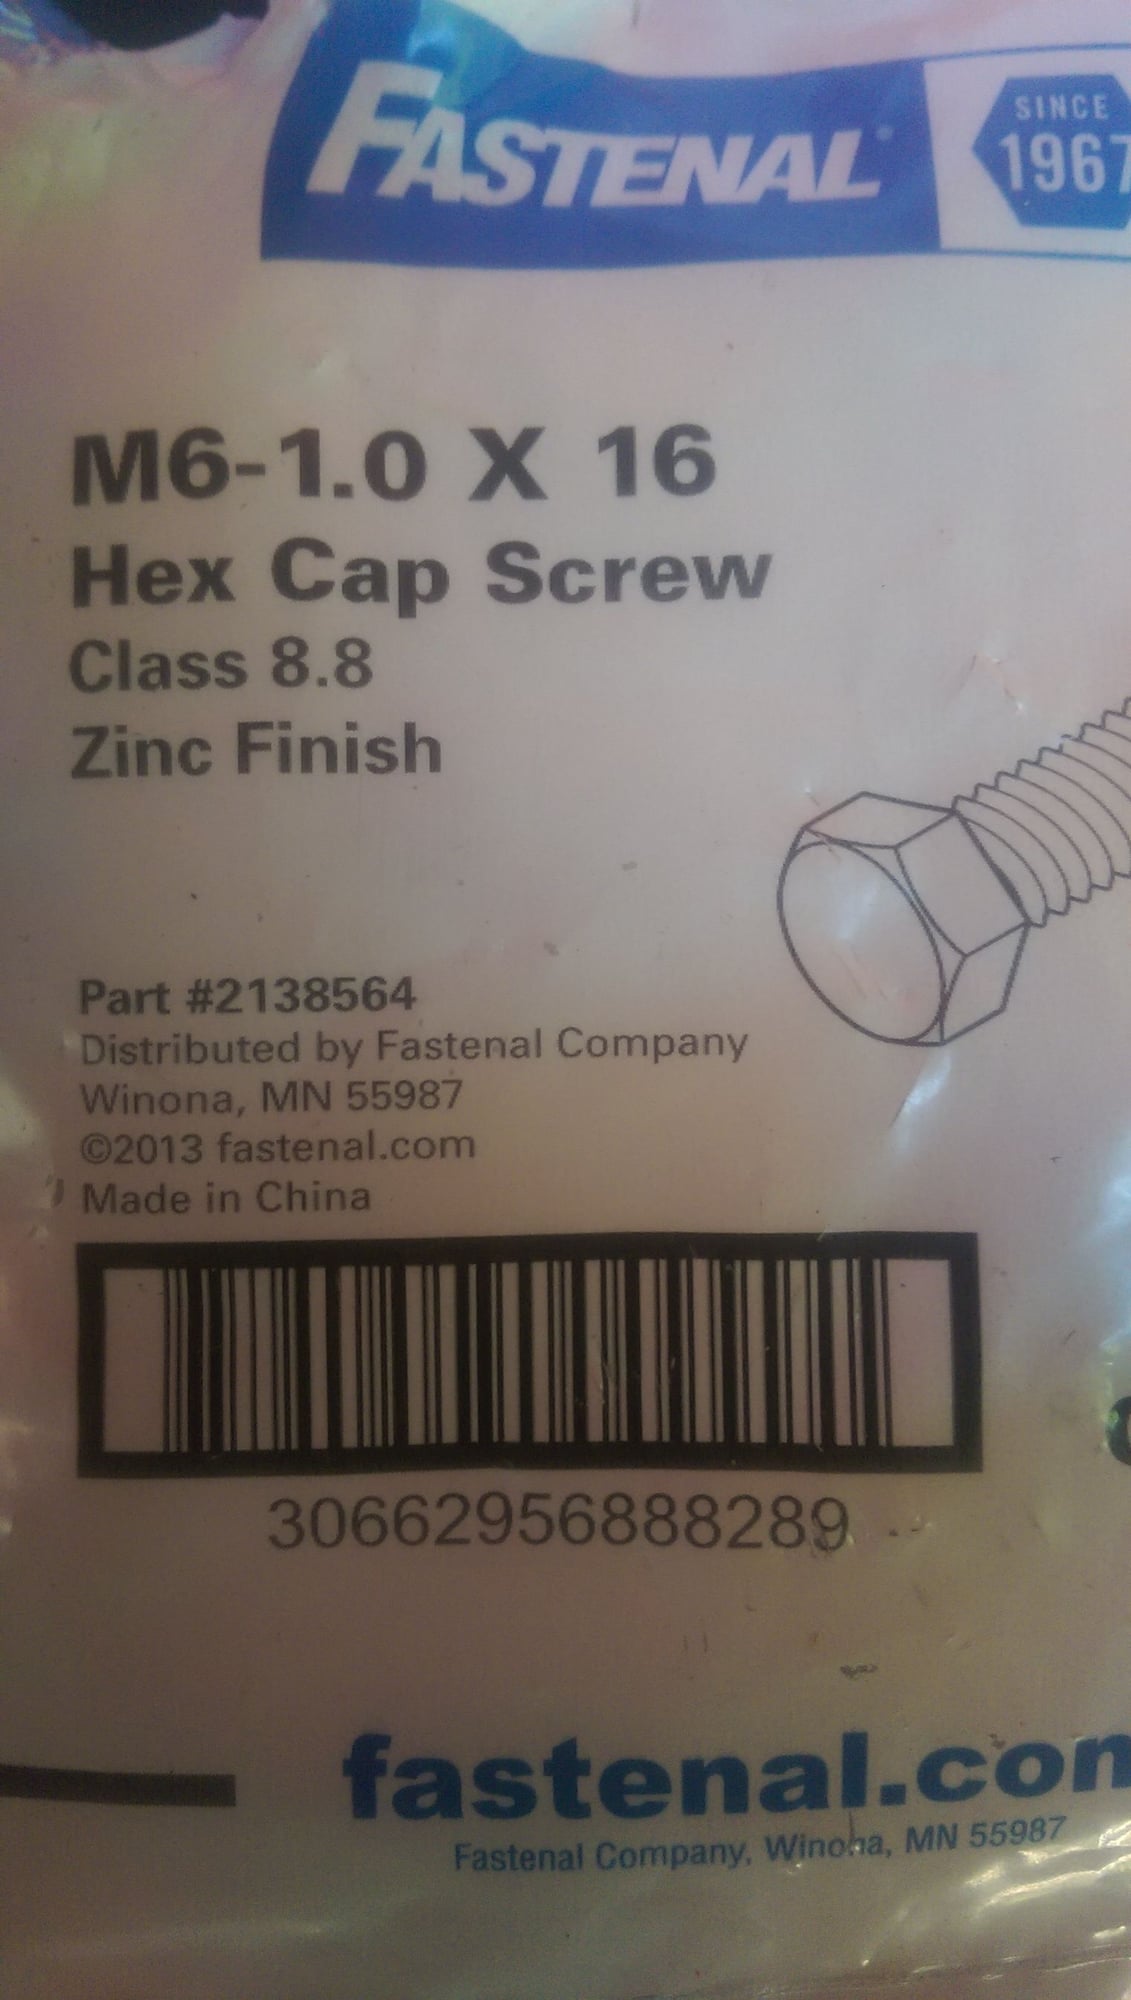
I did have to get some hardware - the four M6 x 1.00mm bolts that hold the pulley to the crank aren't long at all, and the 3mm wide trigger wheel needs to be sandwiched in there. I got some that were a little longer (now 16mm) from Fastenal and they are a perfect fit for this. Make sure to hold on to the washers.
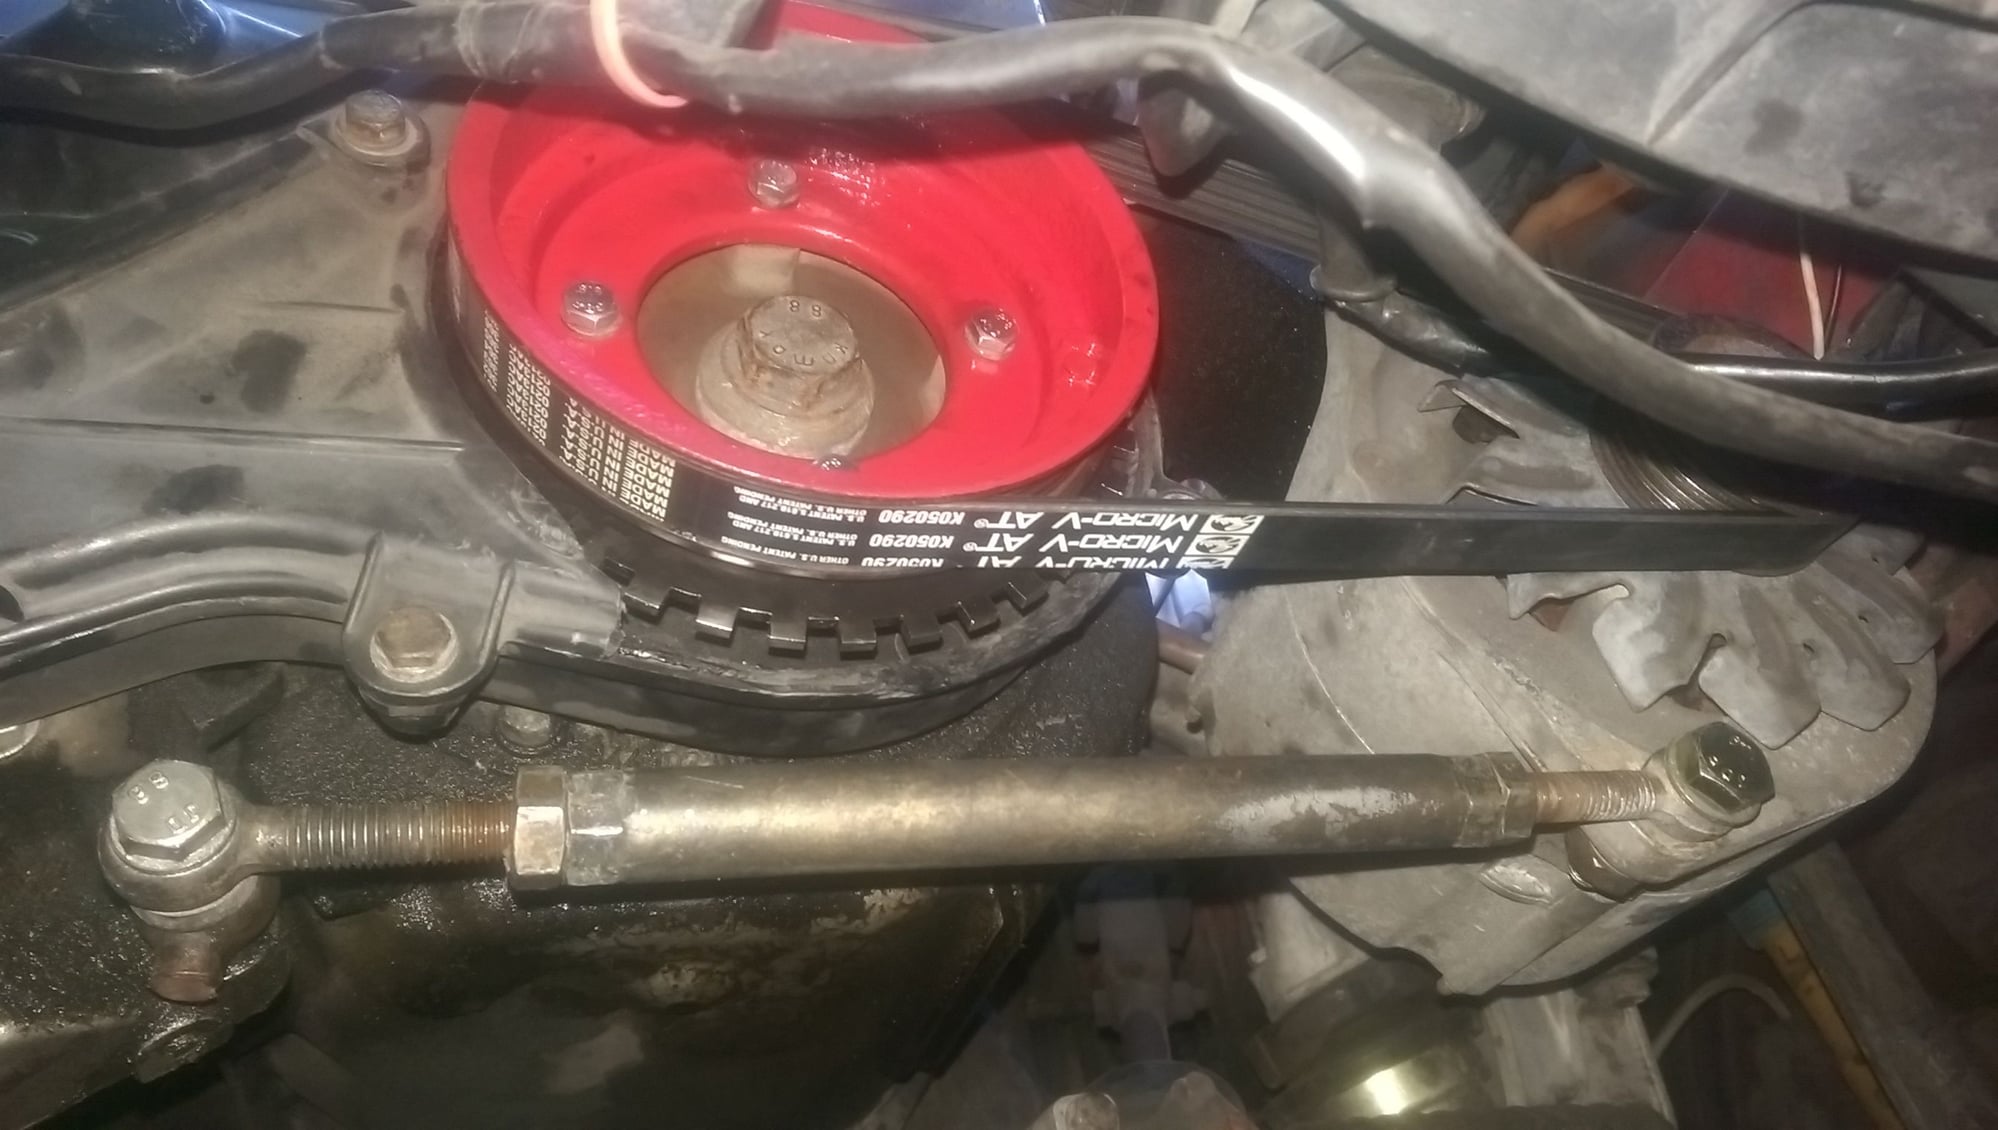
Also took the change to paint my crank pulley red, although I'm sure nobody will ever see it While I was in there, I tackled the alternator support strut - I got a used one from a junkyard and it installed very nicely. This will also serve as the mounting point for the hall effect sensor, still need to figure out a bracket to clamp over the strut and adapt to the sensor.
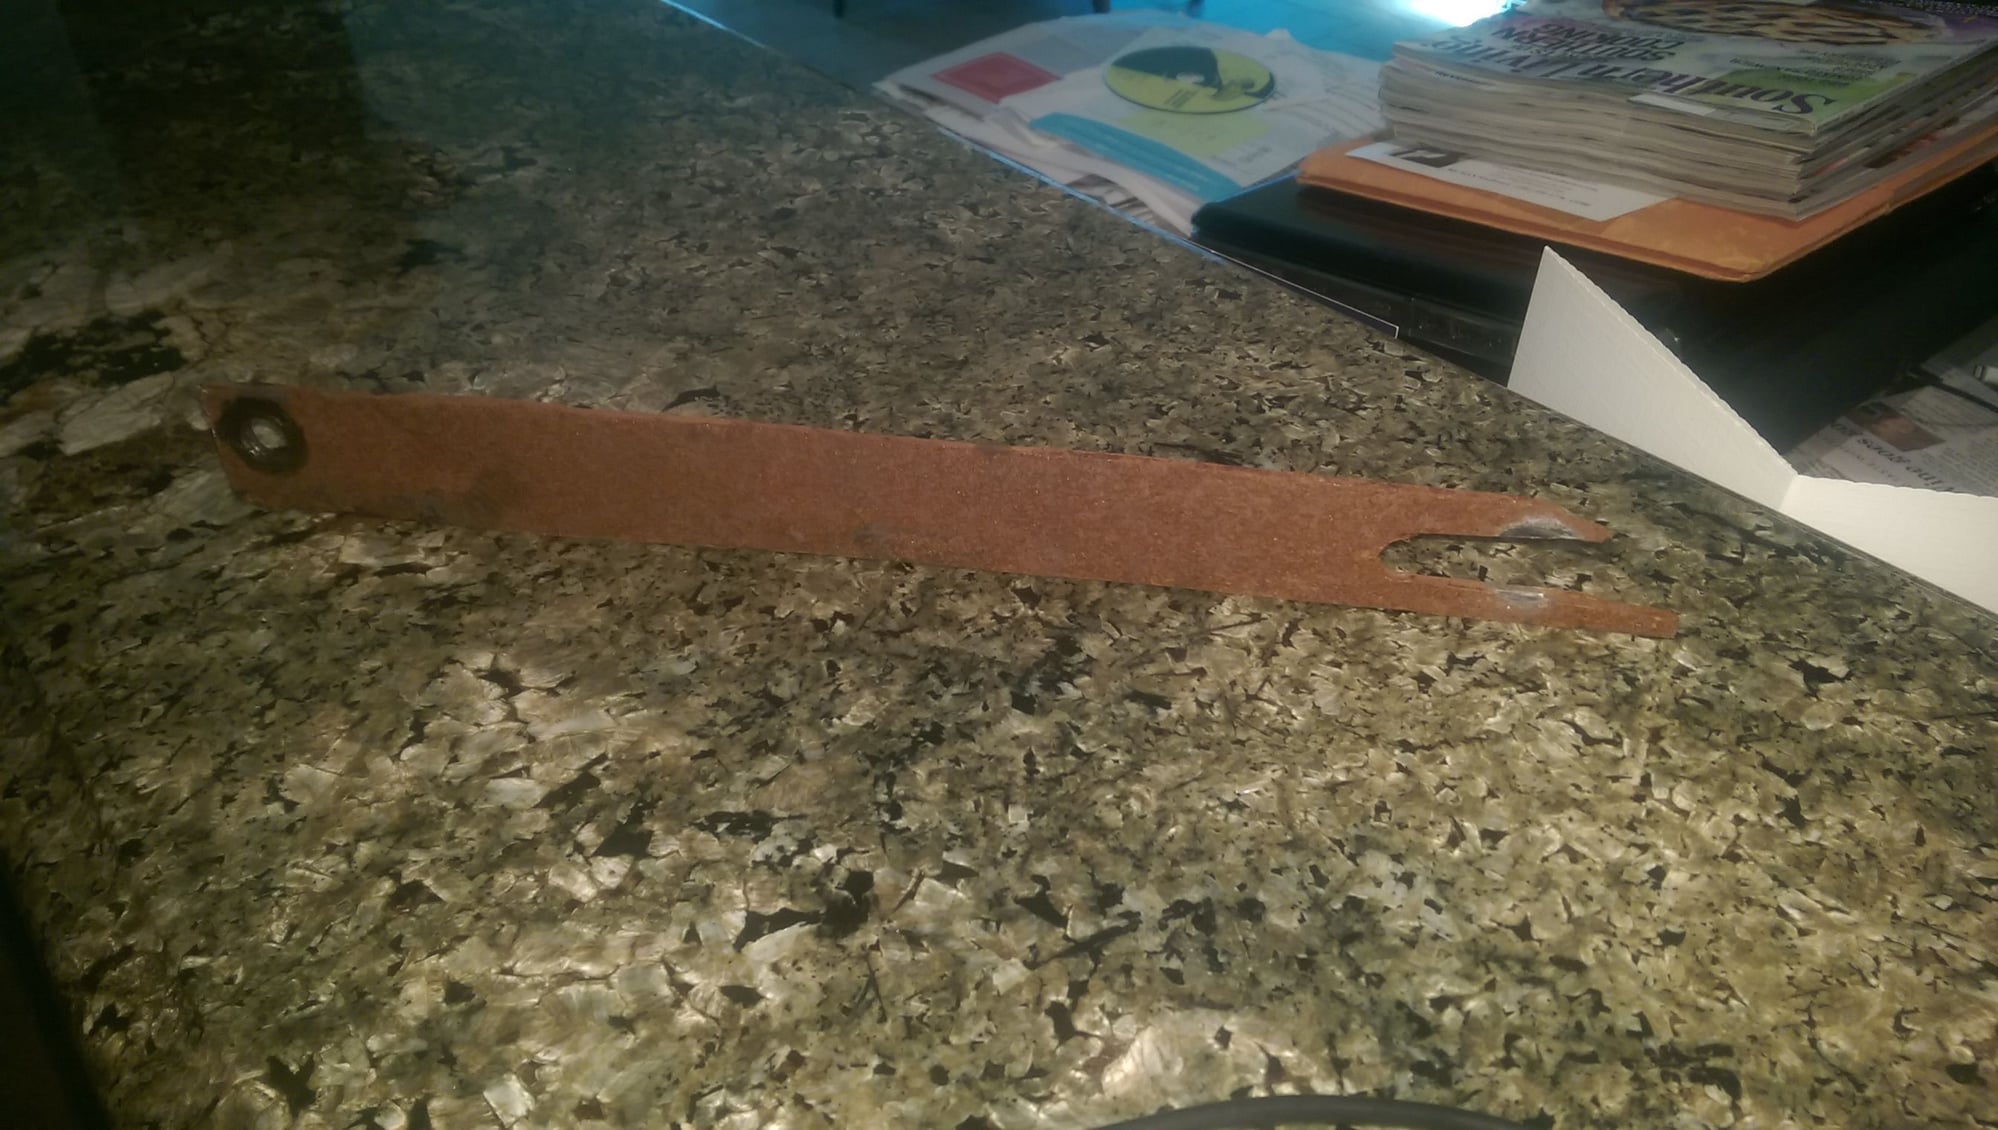
This was my old alternator support. Yikes! Anyone want to buy this bad boy? Simple installation and pulled from a running Porsche
I was a little concerned that the 3mm thickness of the trigger wheel would mess with the accessory belt alignment but it turned out to be ok, practically unnoticeable. I drove the car around and everything is as it should be.
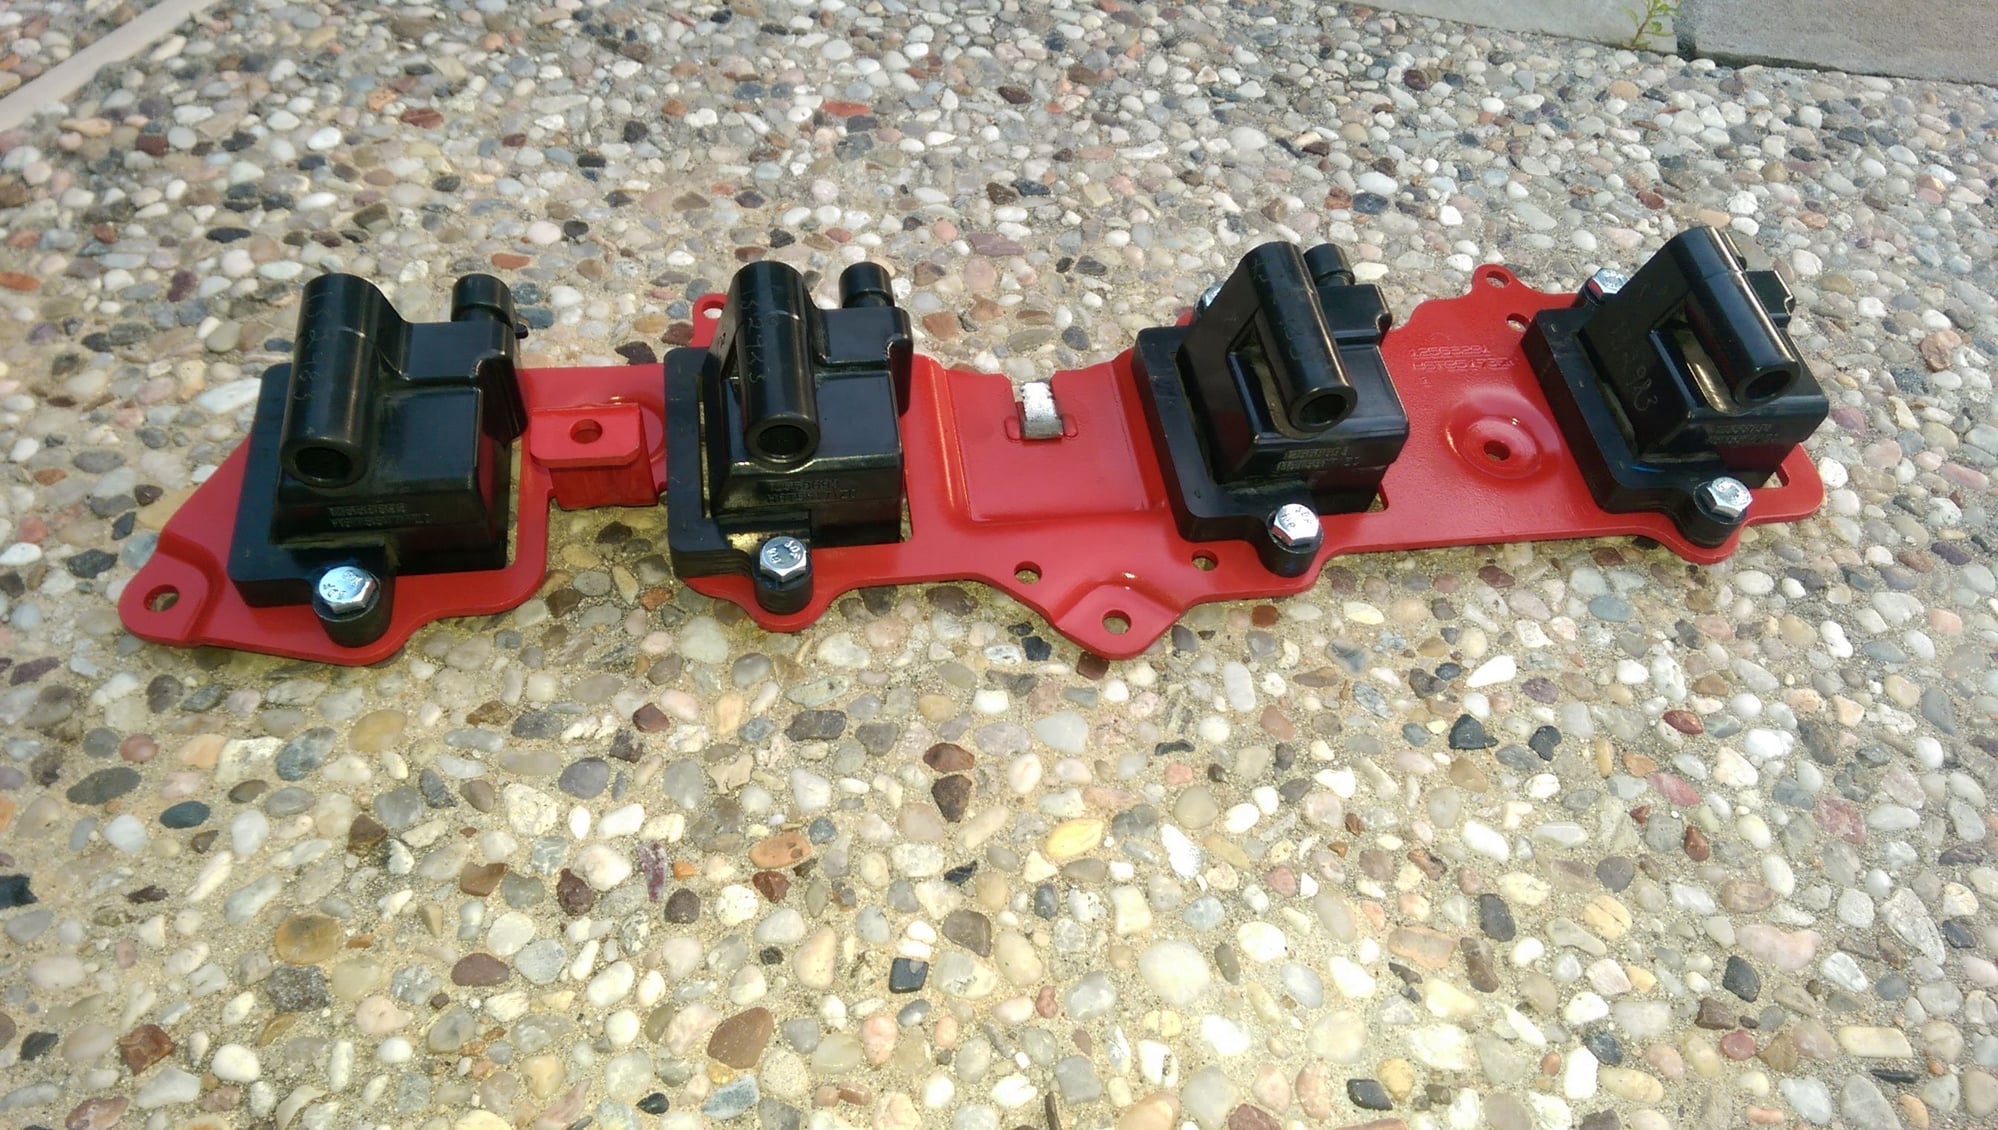
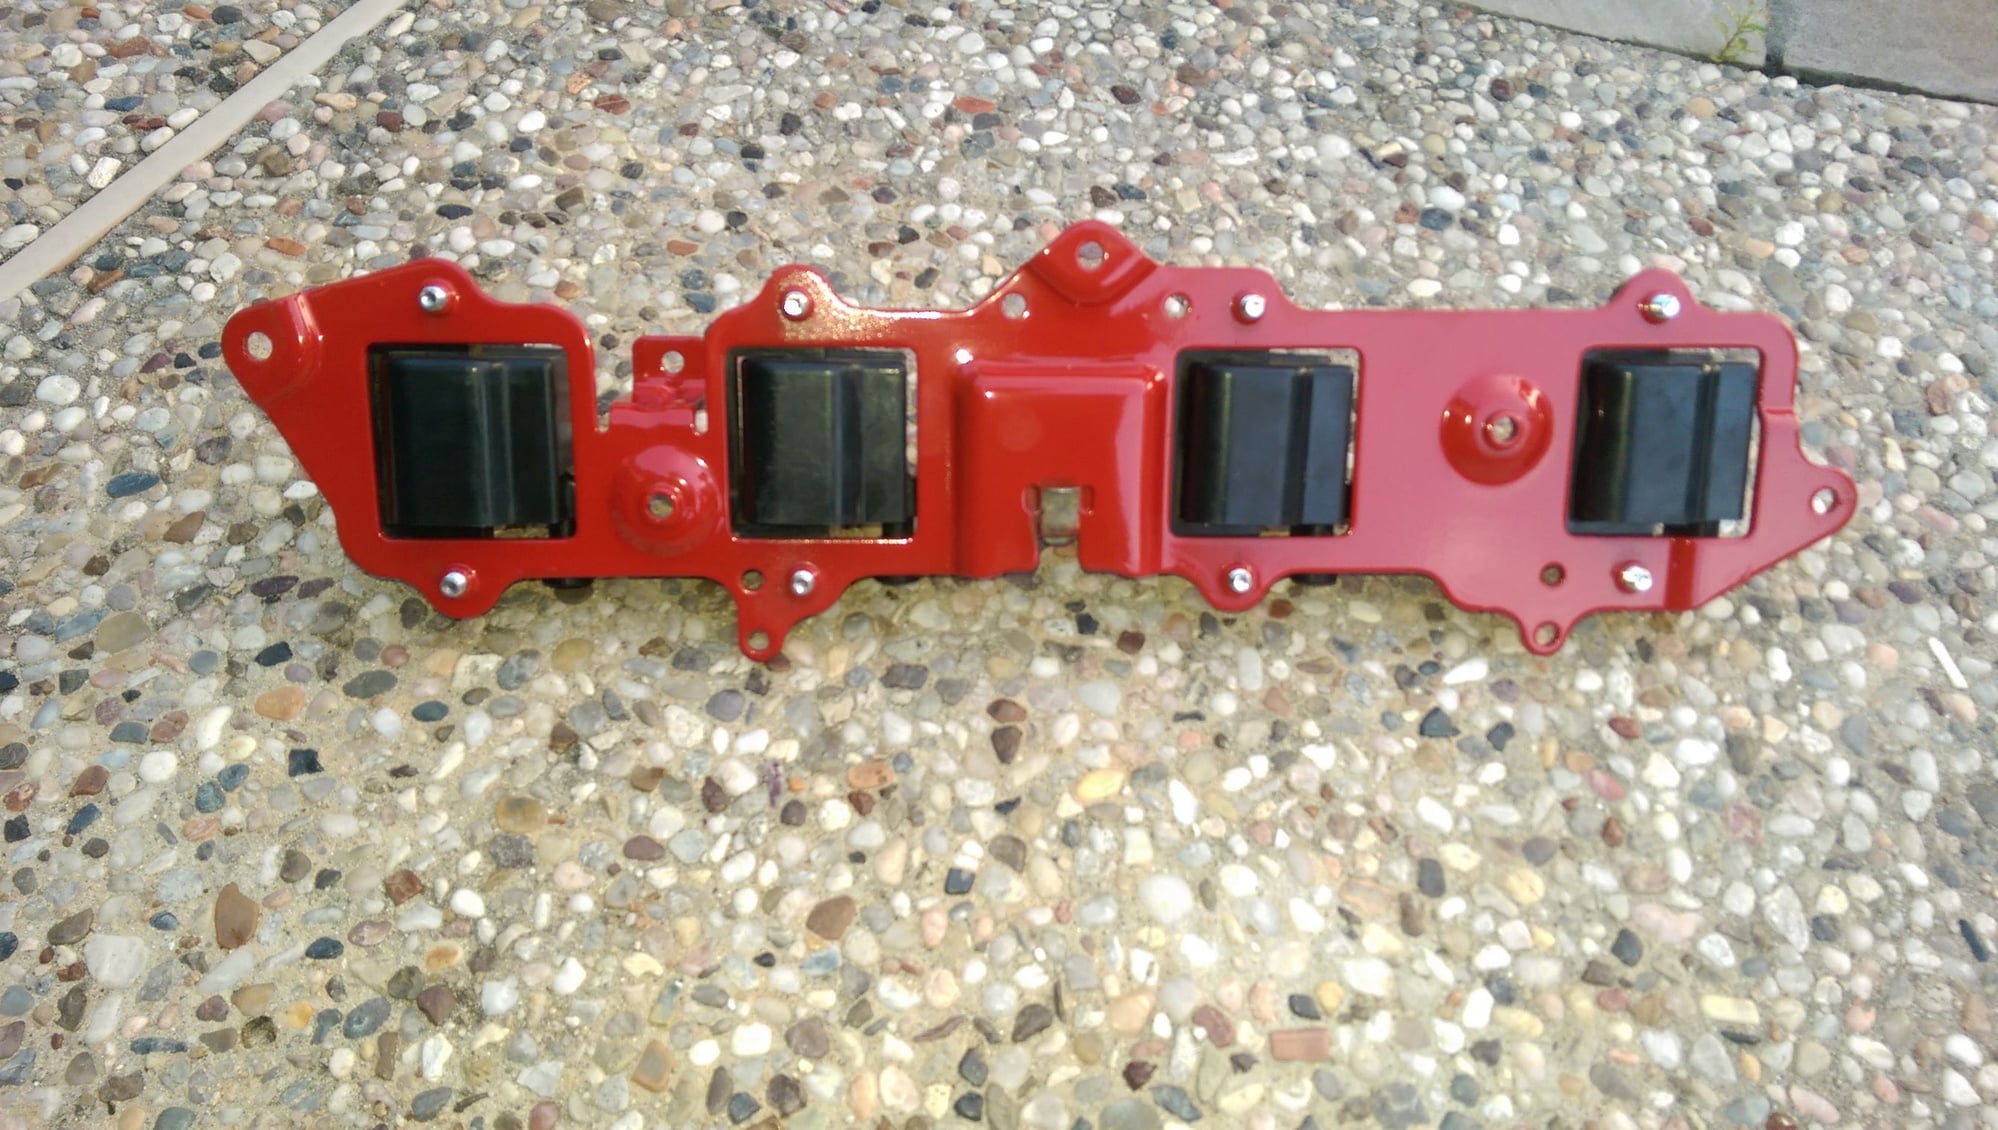
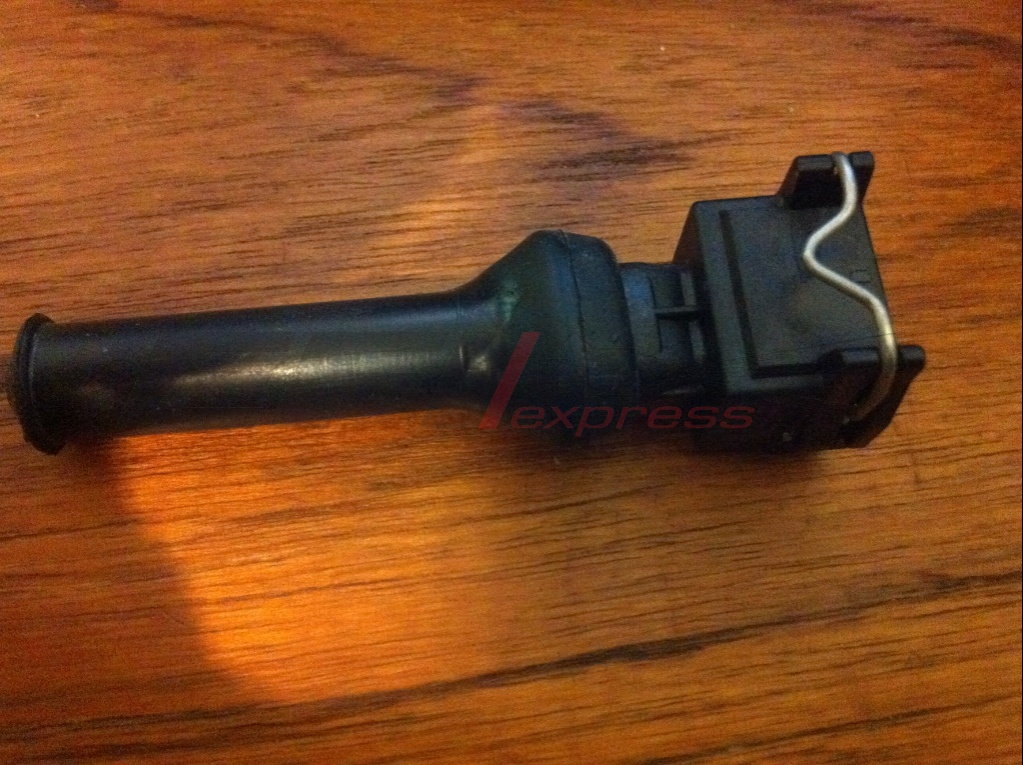
Got a few new parts in. Dimi hooked me up with a good price on a 951 TPS, great seller and shameless plug. Also got some LS ignition coils from a 2000 Suburban with an LM7 engine. They were really dirty but cleaned up nice, I got a little carried away and used some red engine enamel and new hardware since it will be in the engine bay after all.
I'm going to re-wrap the wiring harness for it, it was filthy and I removed all the old stuff. Was thinking of using Nashua self-fusing tape which is rated to 500 deg.F, am open to other people's ideas.
Black cloth (hockey stick) tape works pretty well for wiring harnesses.
Good tip, thanks. I'll snag some next time I'm at Wally world.
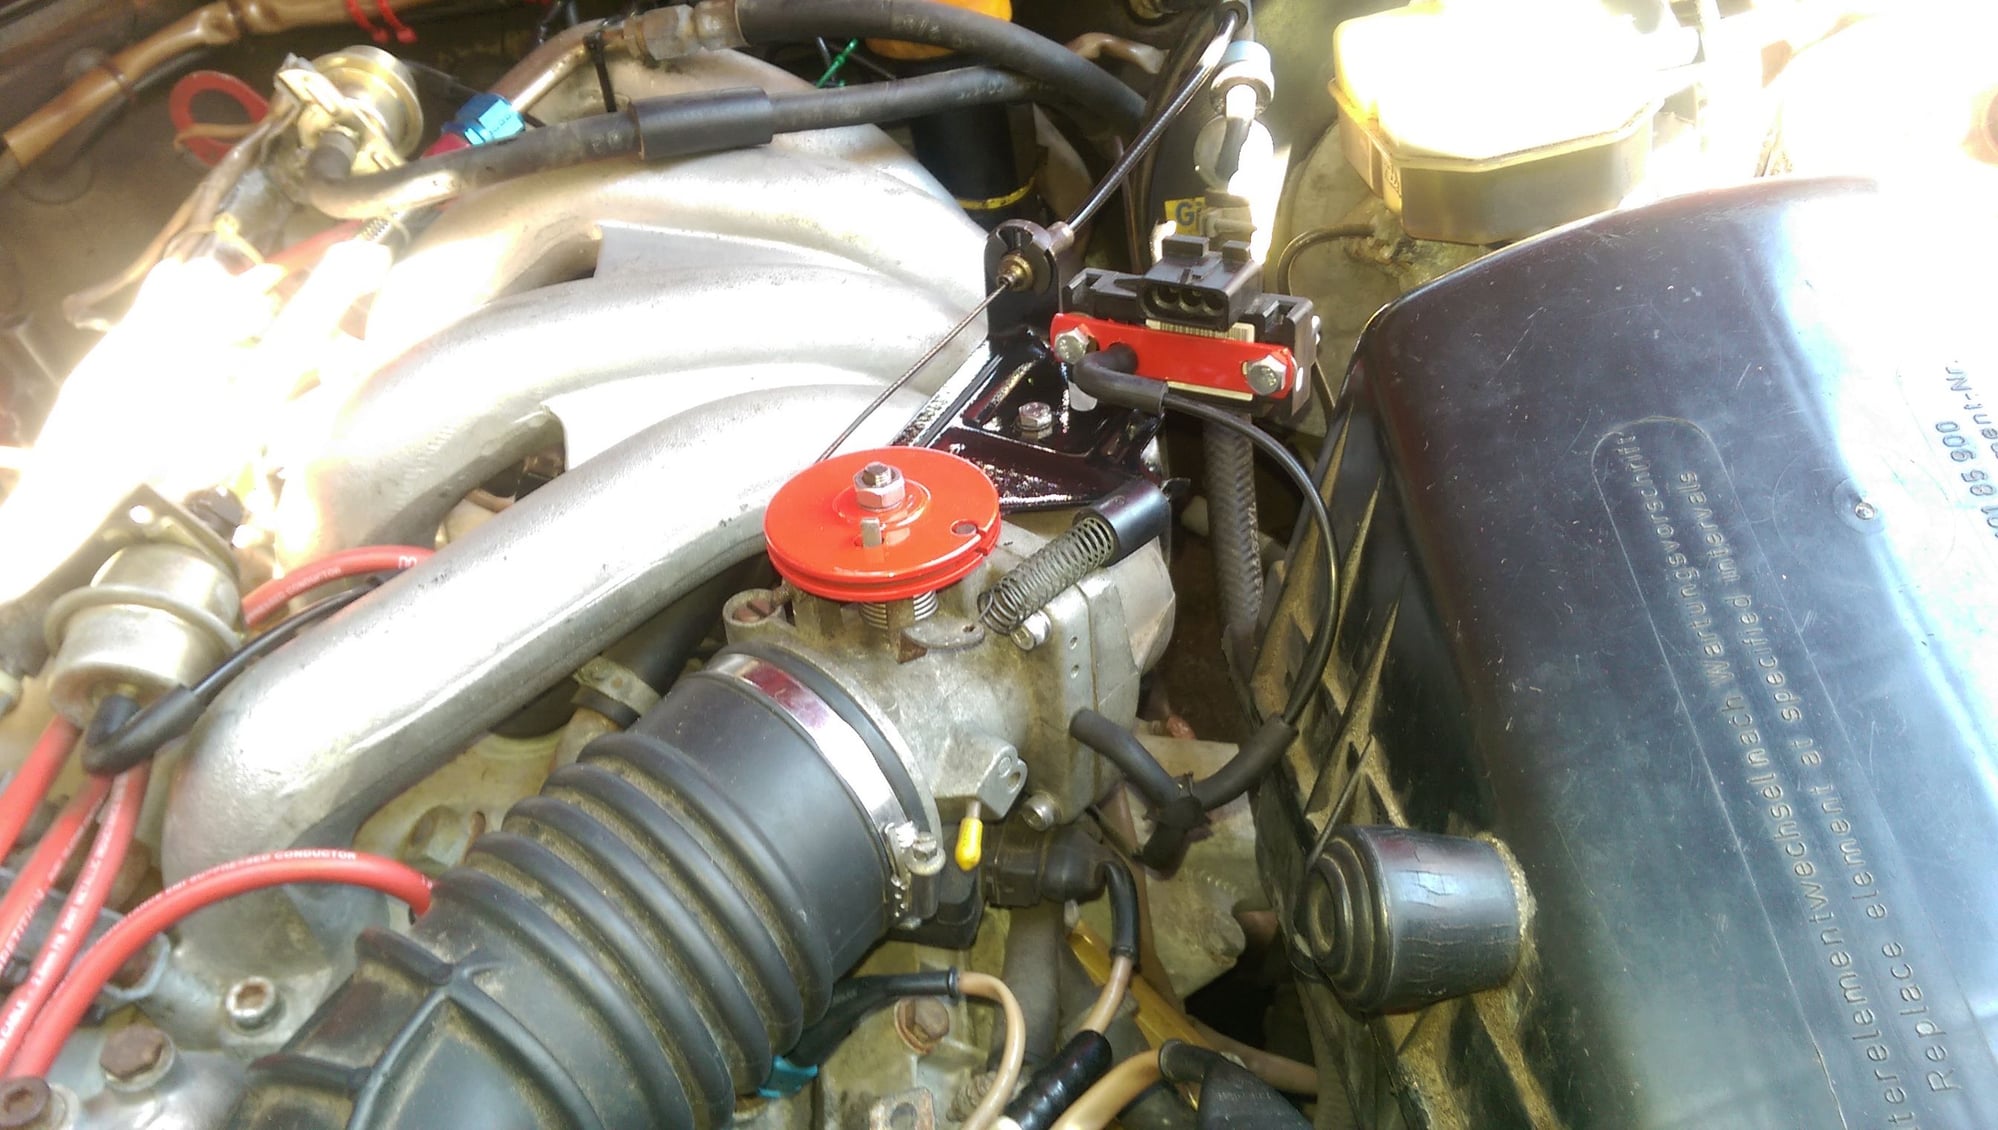
Today's progress included mocking up the coil bracket and installing the MAP sensor. I decided to mount it on the throttle body where the cruise control (or auto trans kickdown? I have neither) cable mounts. I made a rudimentary bracket to hold it on decently and spliced its vacuum signal from the damper/FPR line right after the throttle blade. Hopefully this gives an accurate manifold pressure reading. A little worried about vortices and other flow disturbance from the blade but if it's good enough for the FPR and damper I'm hoping it'll be ok since it's just reading the static pressure, plus it seems like it's built in on some TBs.
I had previously been thinking about putting it on the reference sensor connector bracket, before it clicked to put it on the throttle body. Having it back there would be more cramped and have a longer vac line, but would make sense if you had the auxiliary cable on the throttle body.
Now, I'm using that location as a ground point instead.
I also fitted the 951 TPS on an extra NA throttle body I had just to test the fitment. It goes on, but needs spacer washers because the seal is a little thicker on the NA throttle body I guess. Planning on fully cleaning and rebuilding this throttle body and using it, my current one is rebuilt but I think I messed up the shaft seals slightly and there's a very small leak.
Spamming the crap out of my own thread here, but the work continues...
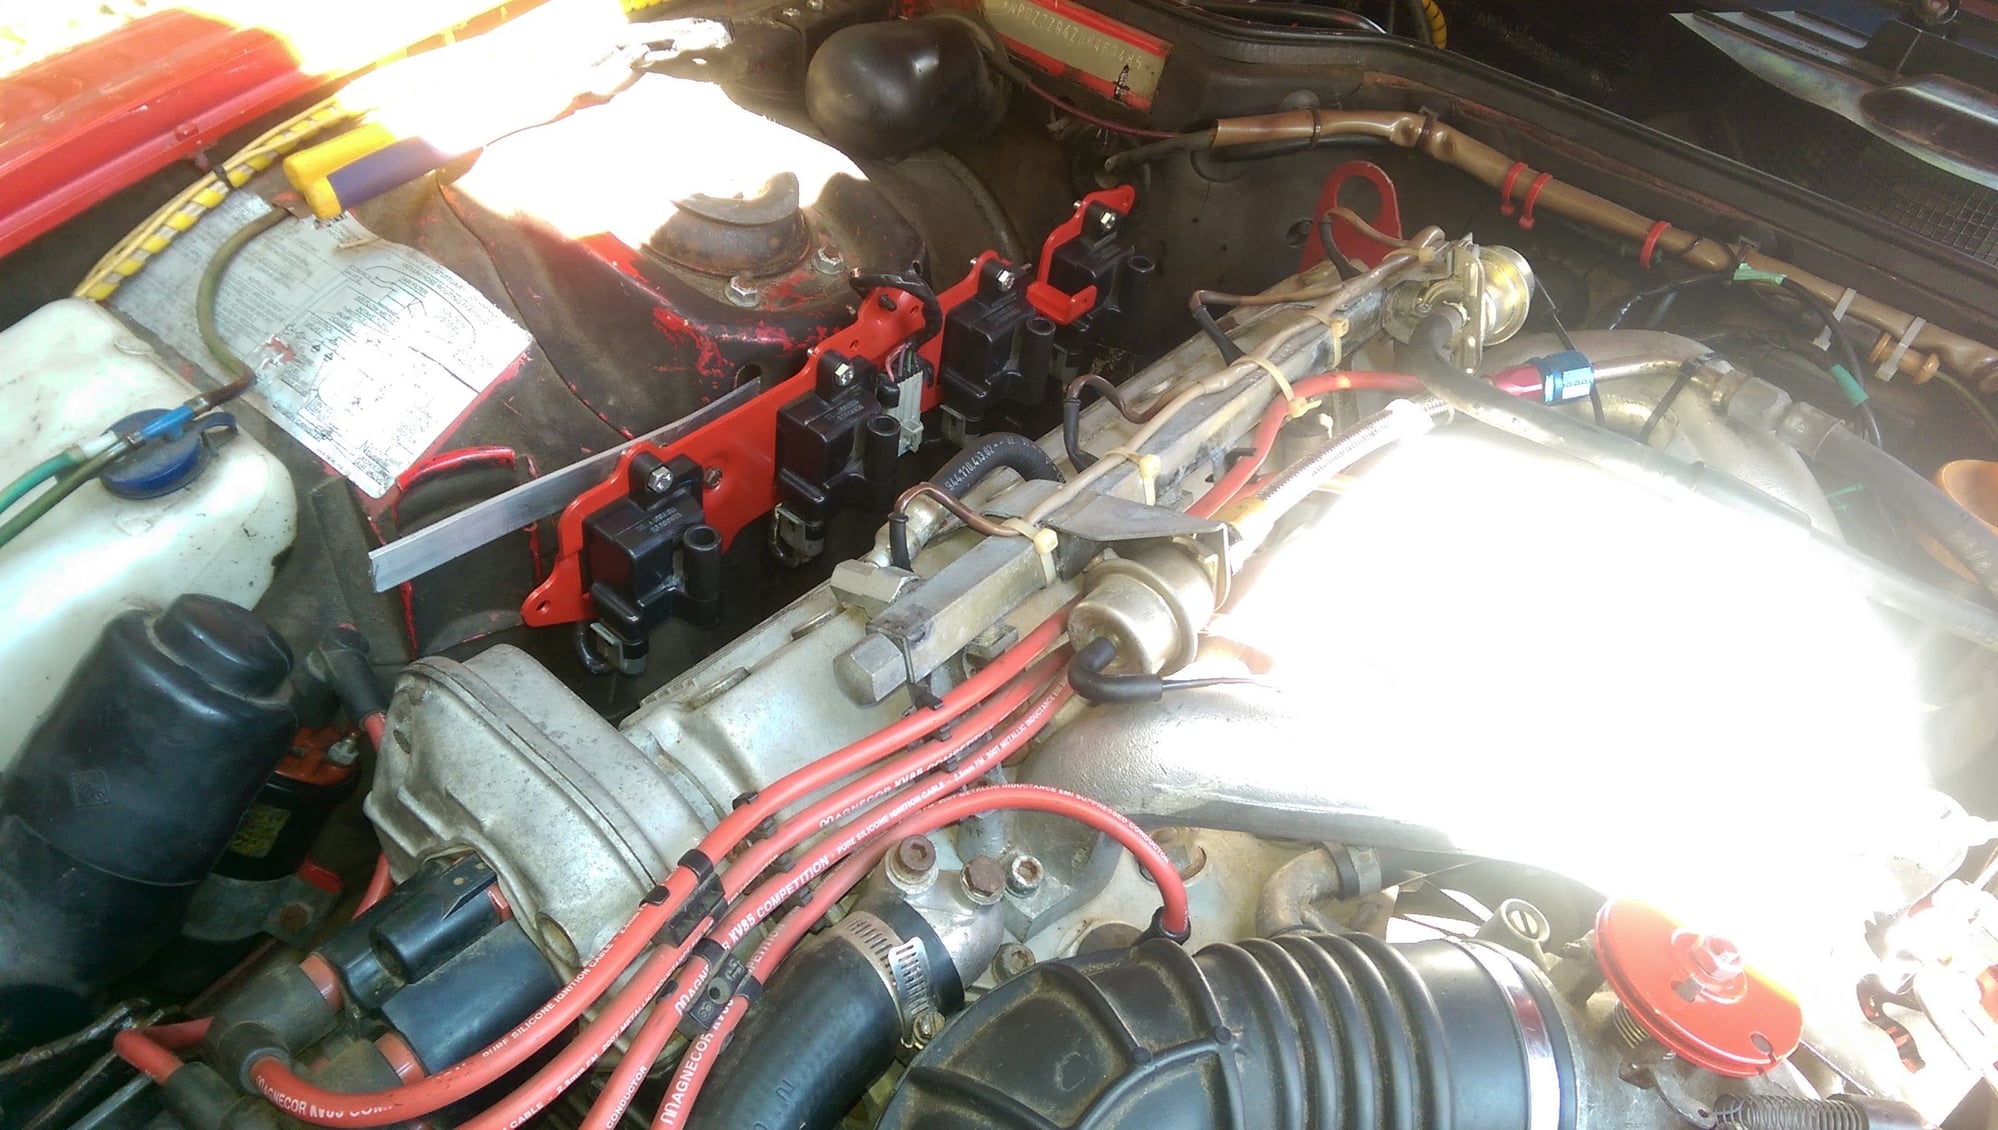
That's the only place I could really find for the coils, unless I ditched that bracket for something more compact. The picture shows it being mocked up, it's going to be a simple bracket and a heat shield below it to keep the exhaust heat at bay. Anyone have pointers?
Great job, Michael! Really looking like a top-notch install! Are the coils C O P or do they require a wire to each plug? BTTW, Pls send me your alternator support bar, as mine has been welded and will not adjust any more no matter how much PB I put on it..Thanks..
Great job, Michael! Really looking like a top-notch install! Are the coils C O P or do they require a wire to each plug? BTTW, Pls send me your alternator support bar, as mine has been welded and will not adjust any more no matter how much PB I put on it..Thanks..
It's "COP" but is in reality coil-near-plug even from the factory. I want to get some MSD cut to length wires to make that work. I sent you a PM about the alt strut...was totally joking about that being for sale but it's yours if you need it in a pinch. Why not just make one?
Threaded rod: Mcmaster 8420K87
Left hand heim joint: 60645K342
Right hand heim joint: 60645K341
Yeah, all done via GUI. From what I've read getting the car started isn't that hard, it's getting a nice drivable tune that takes the most time and patience.
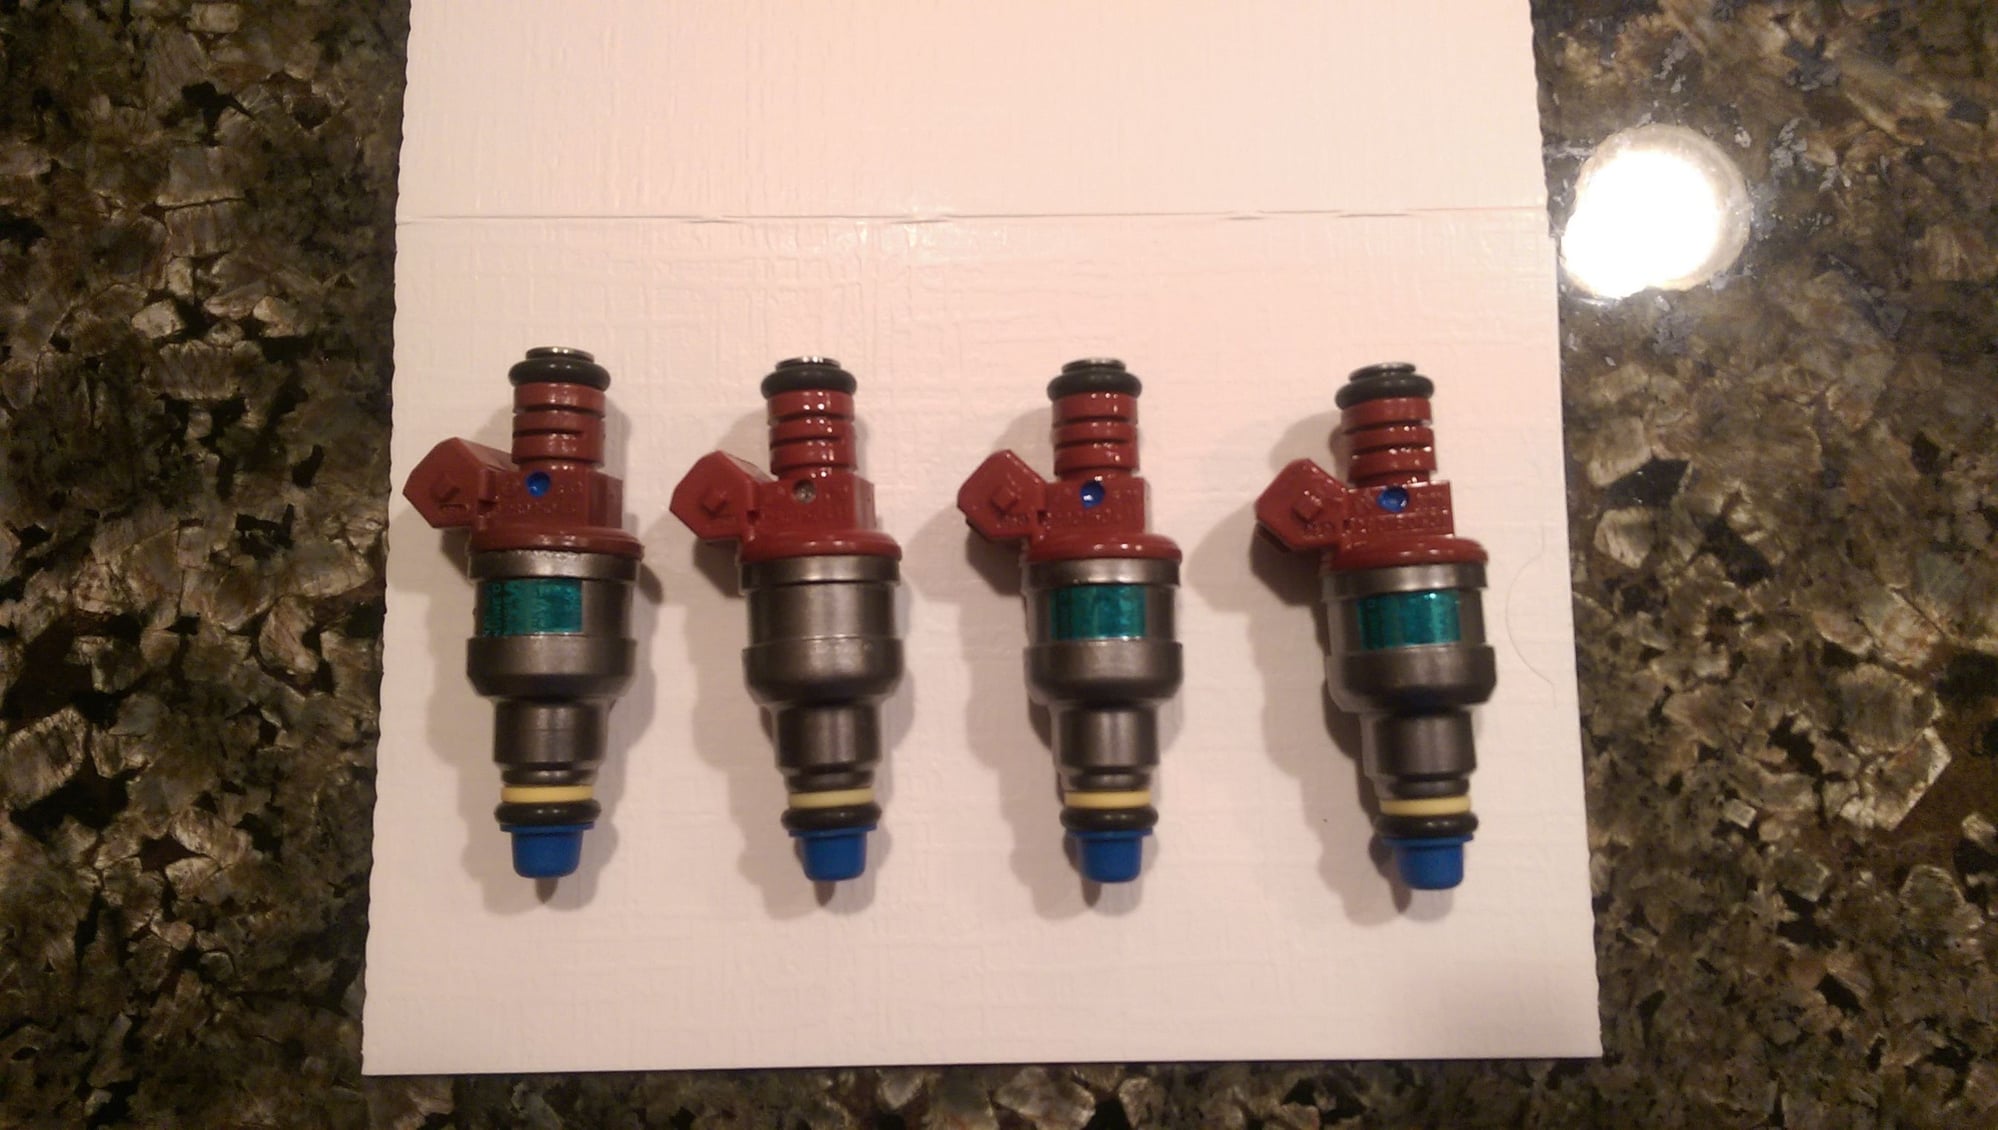
Got these in today, 33# injectors (rated at 3 bar, will be closer to 30# at 2.5 bar). The main reason is that these are high-z (12 ohm), so MS can batch-fire them without anything being weird or needing resistor packs. They are from a Saab 2.3 turbo and have been rebuilt and flow matched.
Also have some high-temp wire from Mcmaster-Carr now, will be building the injector harness tomorrow and mapping some basic power and ground lines.
 05-29-2015, 08:33 PM
") While I was in there, I tackled the alternator support strut - I got a used one from a junkyard and it installed very nicely. This will also serve as the mounting point for the hall effect sensor, still need to figure out a bracket to clamp over the strut and adapt to the sensor.
While I was in there, I tackled the alternator support strut - I got a used one from a junkyard and it installed very nicely. This will also serve as the mounting point for the hall effect sensor, still need to figure out a bracket to clamp over the strut and adapt to the sensor.