My intro and slow build

 06-22-2015, 01:59 AM
#32
Advanced
Thread Starter
Thanks for the quick reply. Is it safe to cut it off and patch the hole with a flat piece of sheet metal? I will relocate the grounds when it comes time to.
07-06-2015, 12:21 AM
#34
Advanced
Thread Starter
I started on my motor swap 2 weeks ago today. This is what I have gotten done up to today.
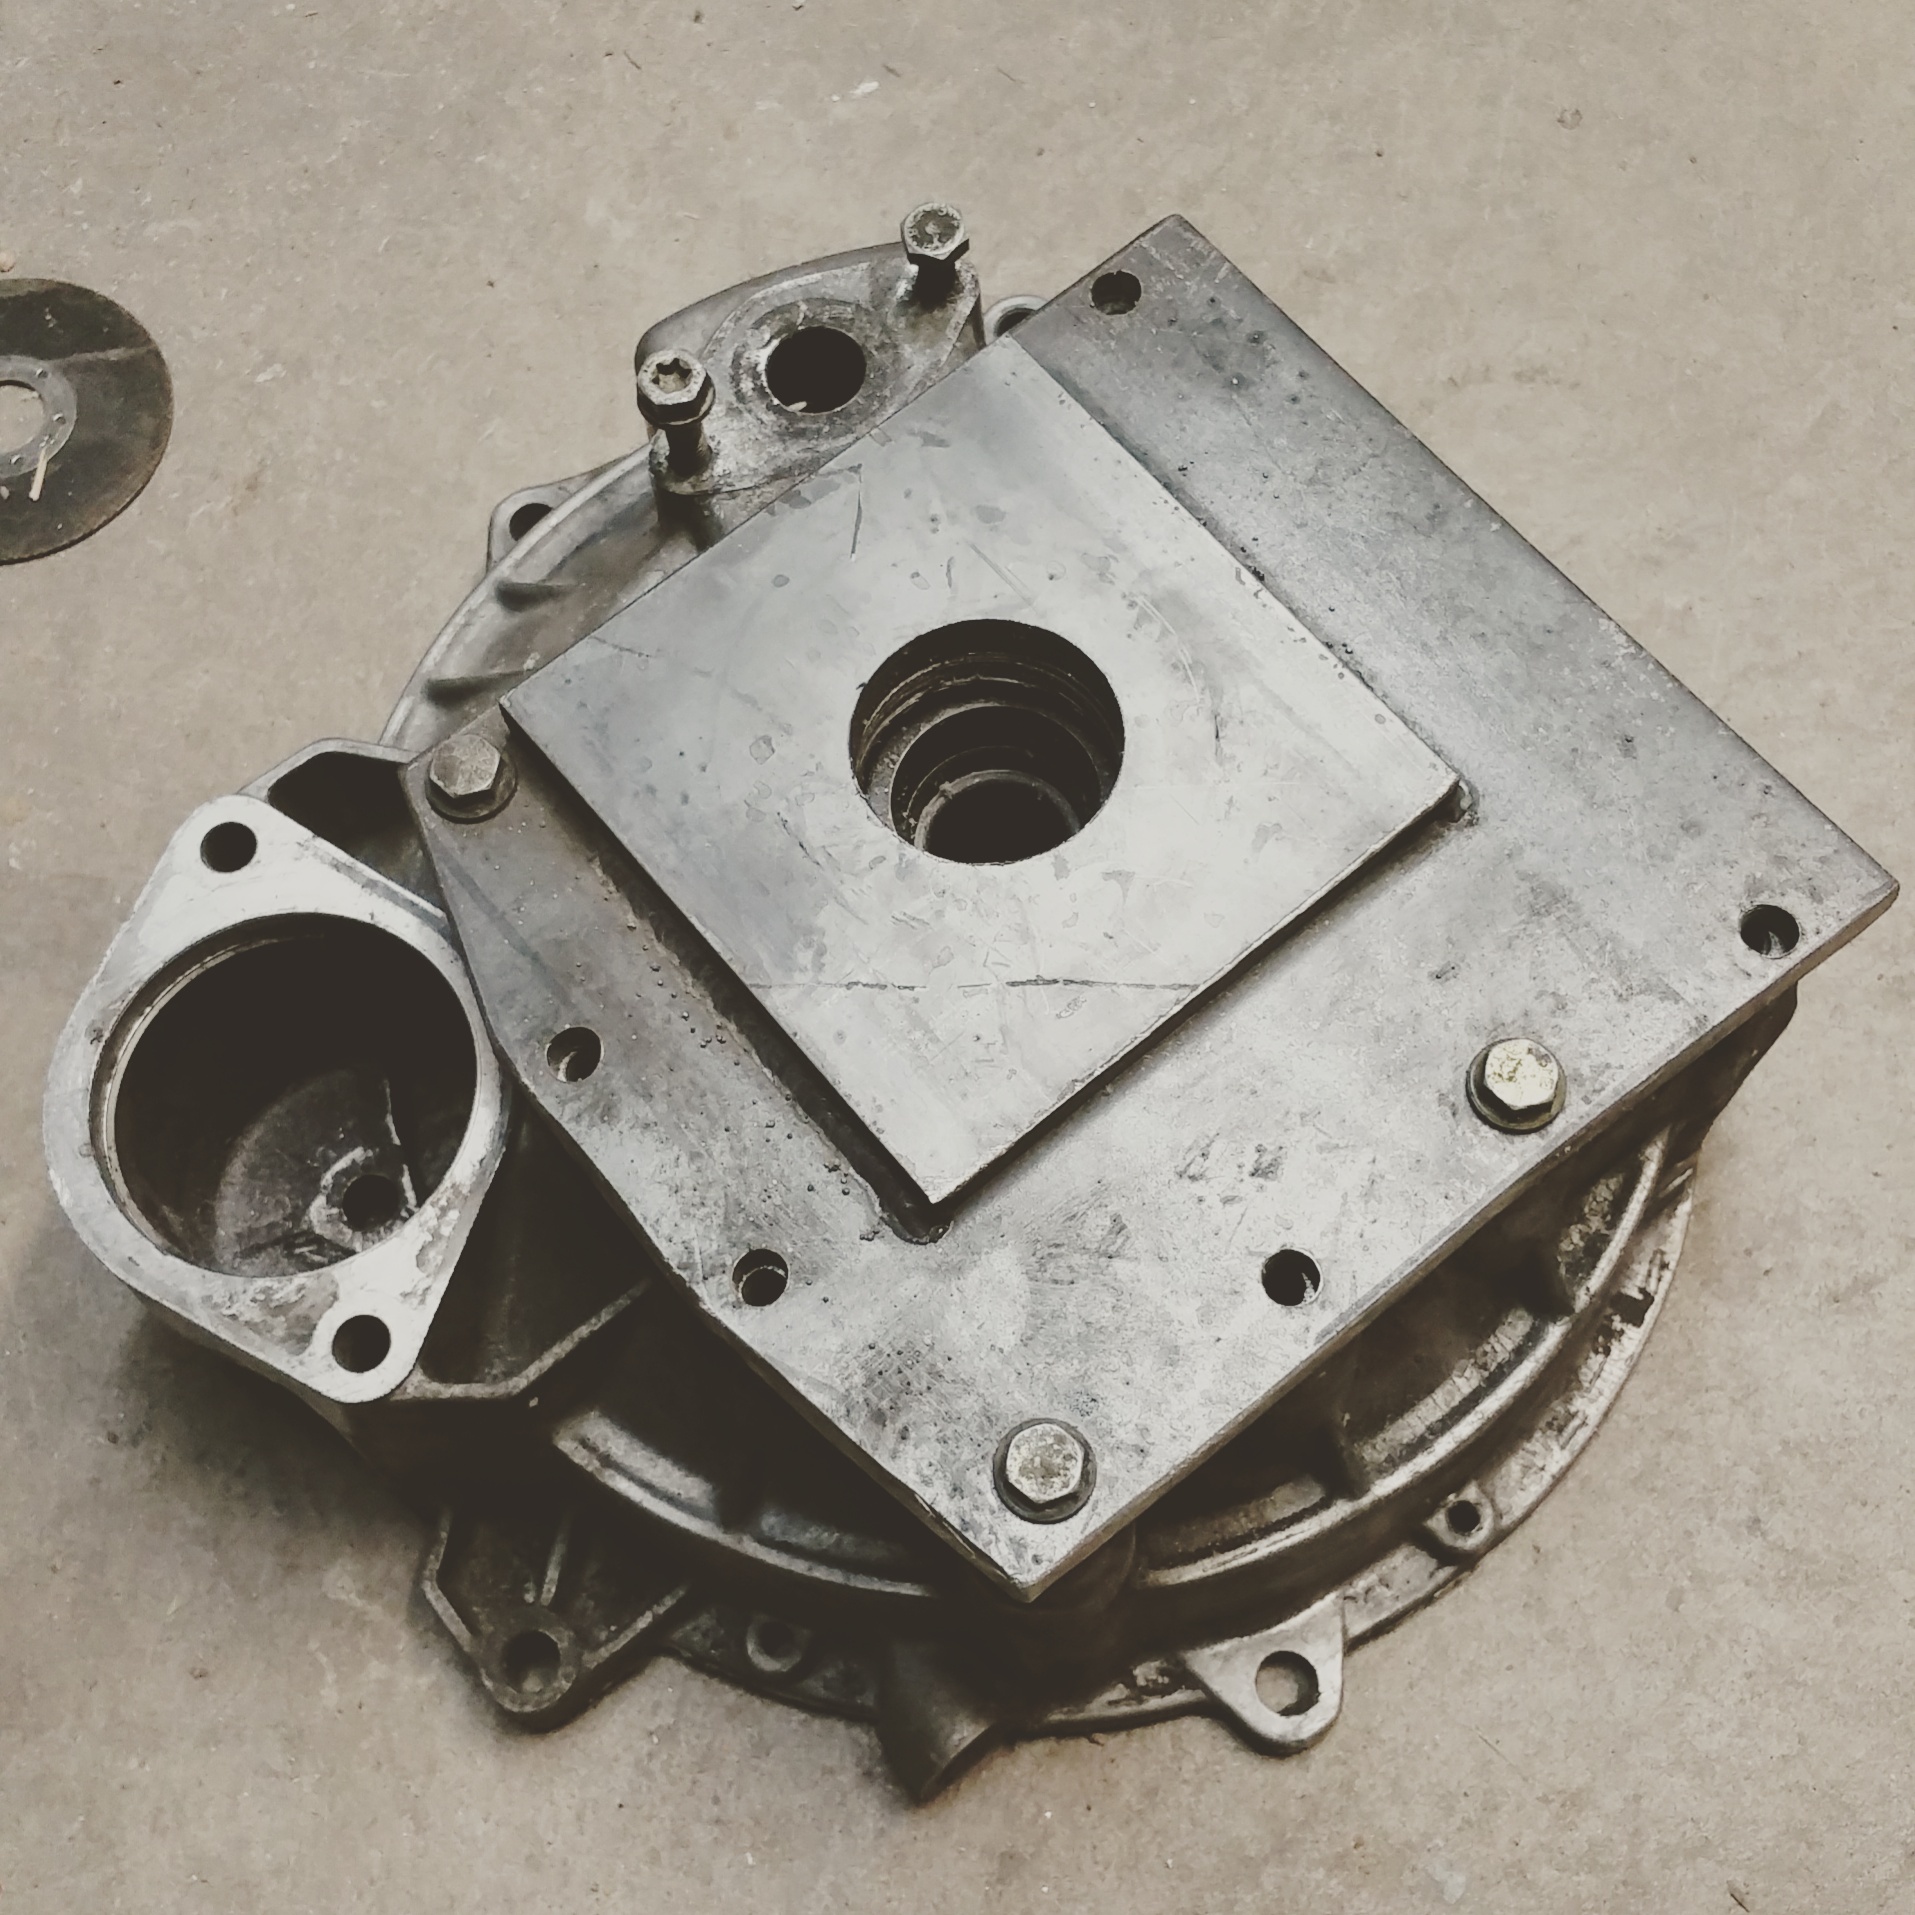
I diassembled a spare Corrado o2a transmission I had hanging around, then cut it up for it's bellhousing.

Steel plates is what was available on short notice, so that is what I made the adapter plates out of.
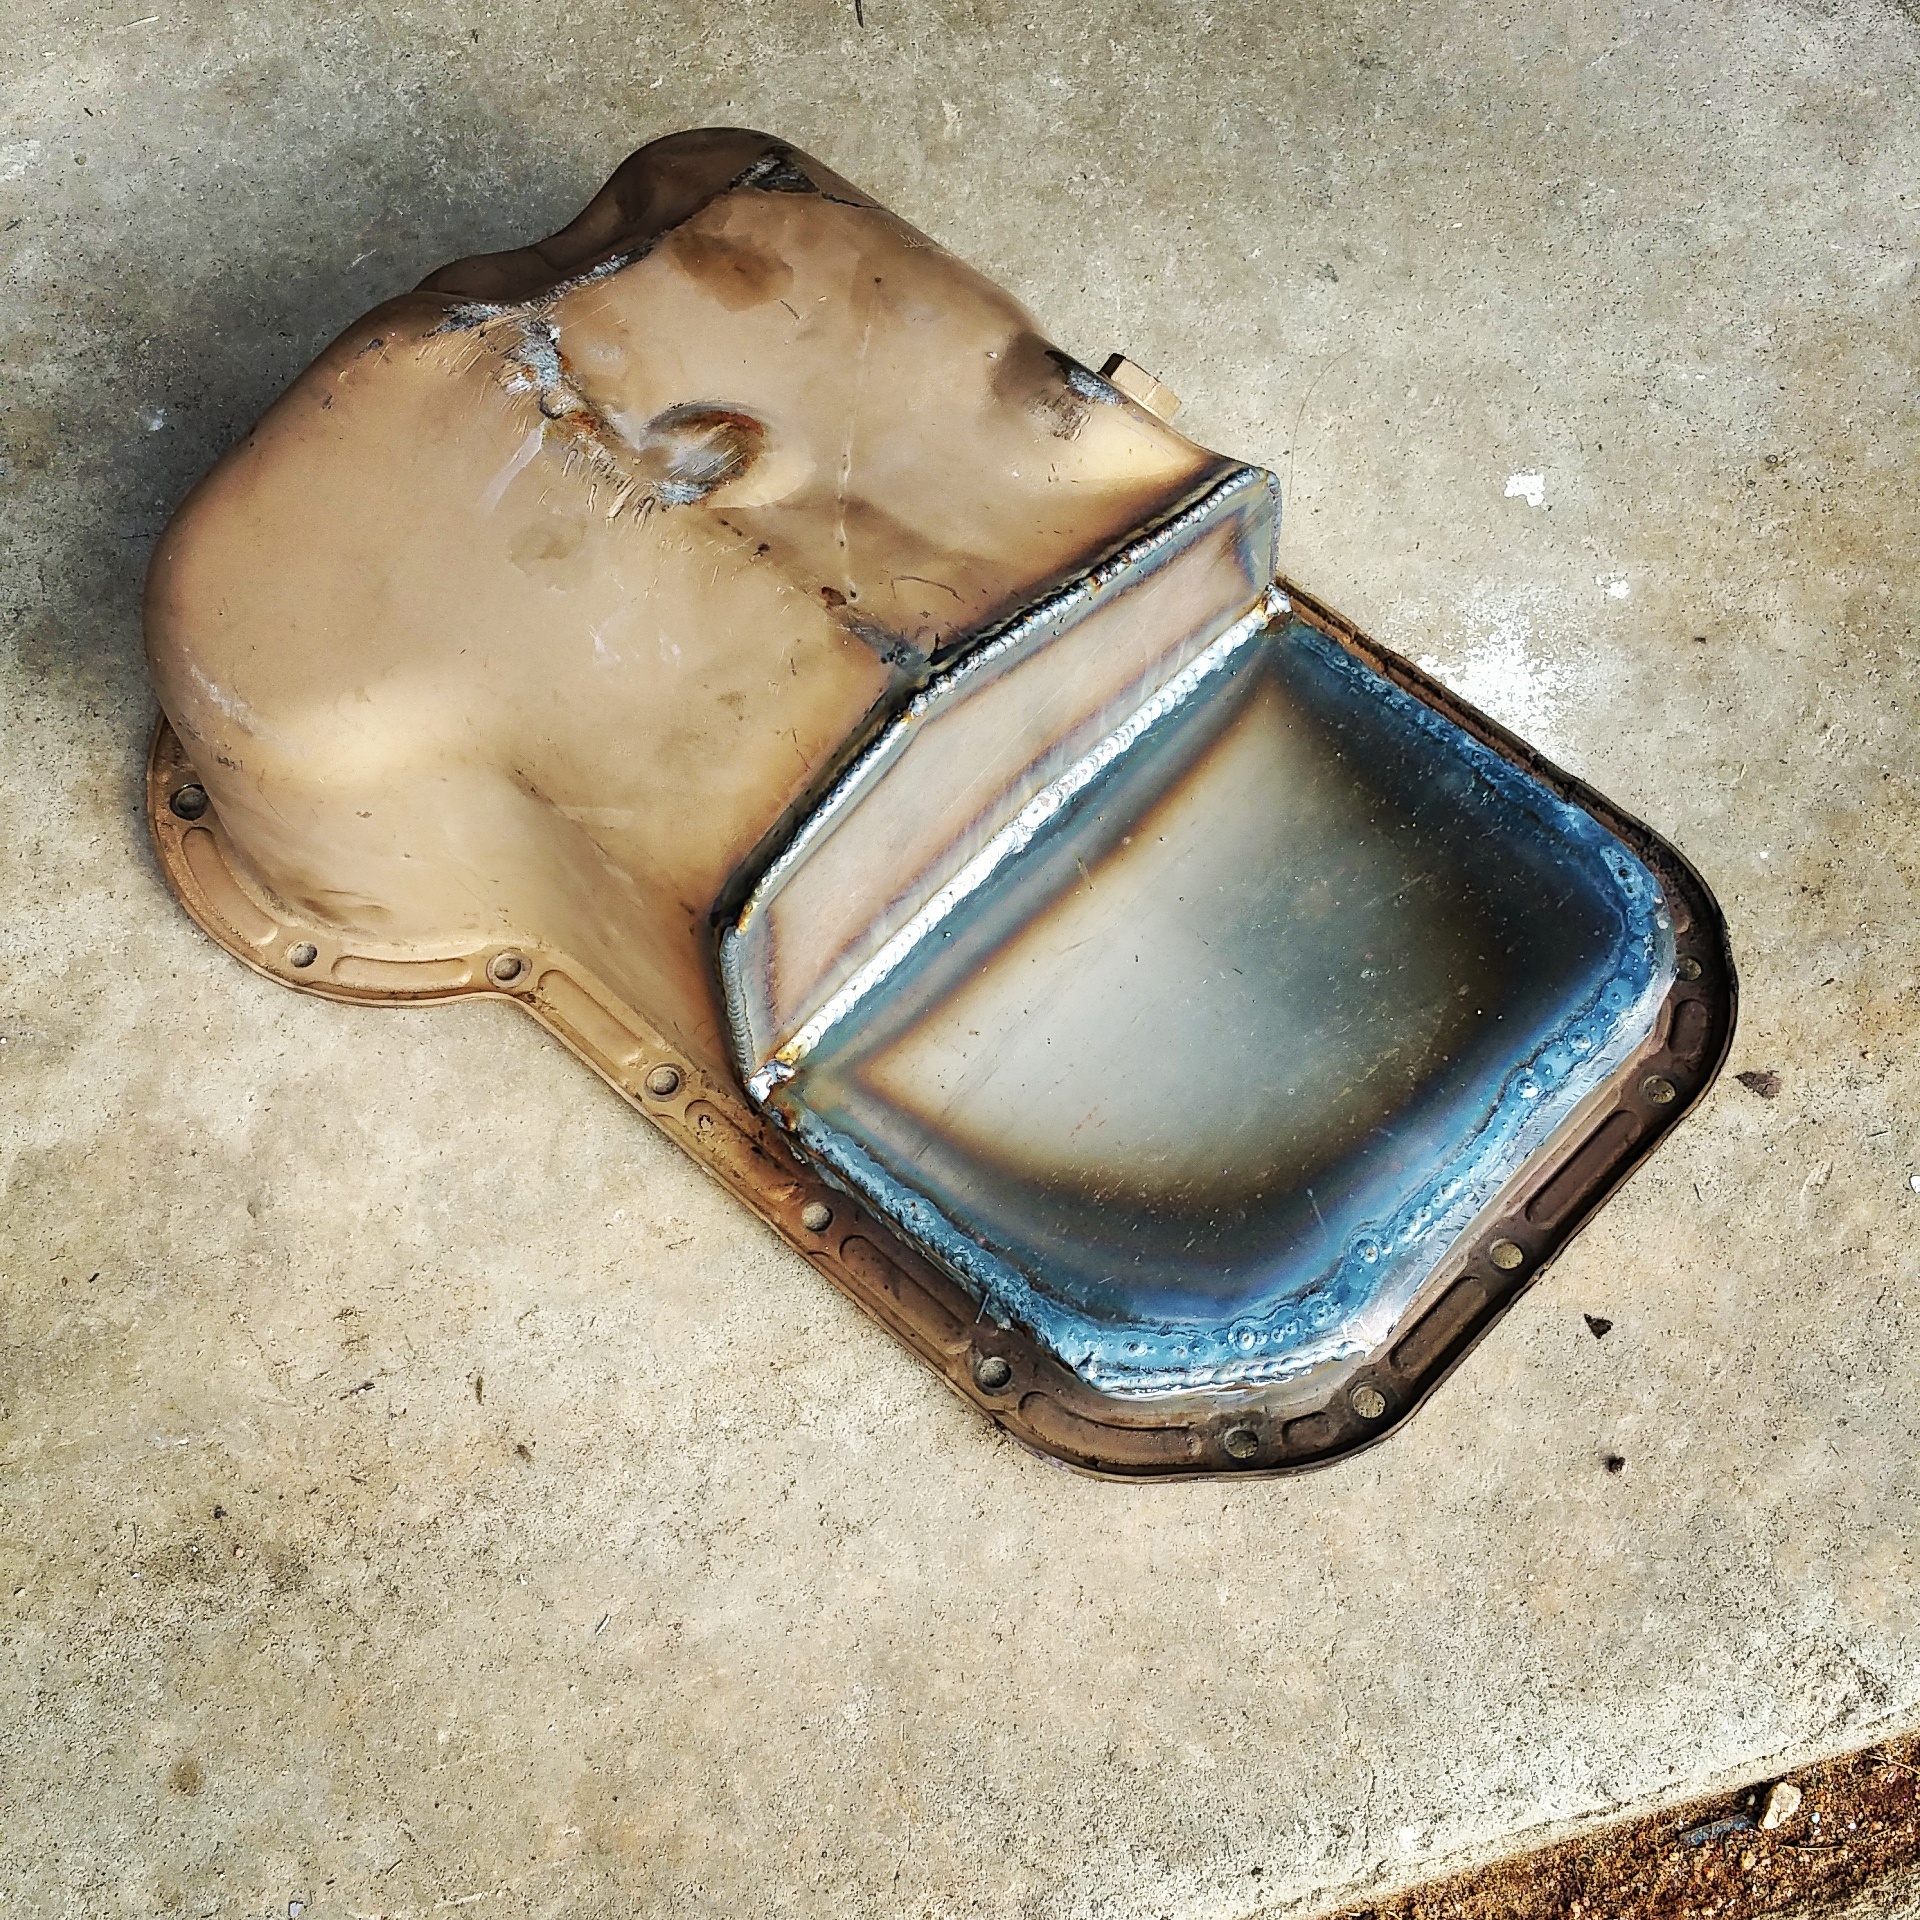
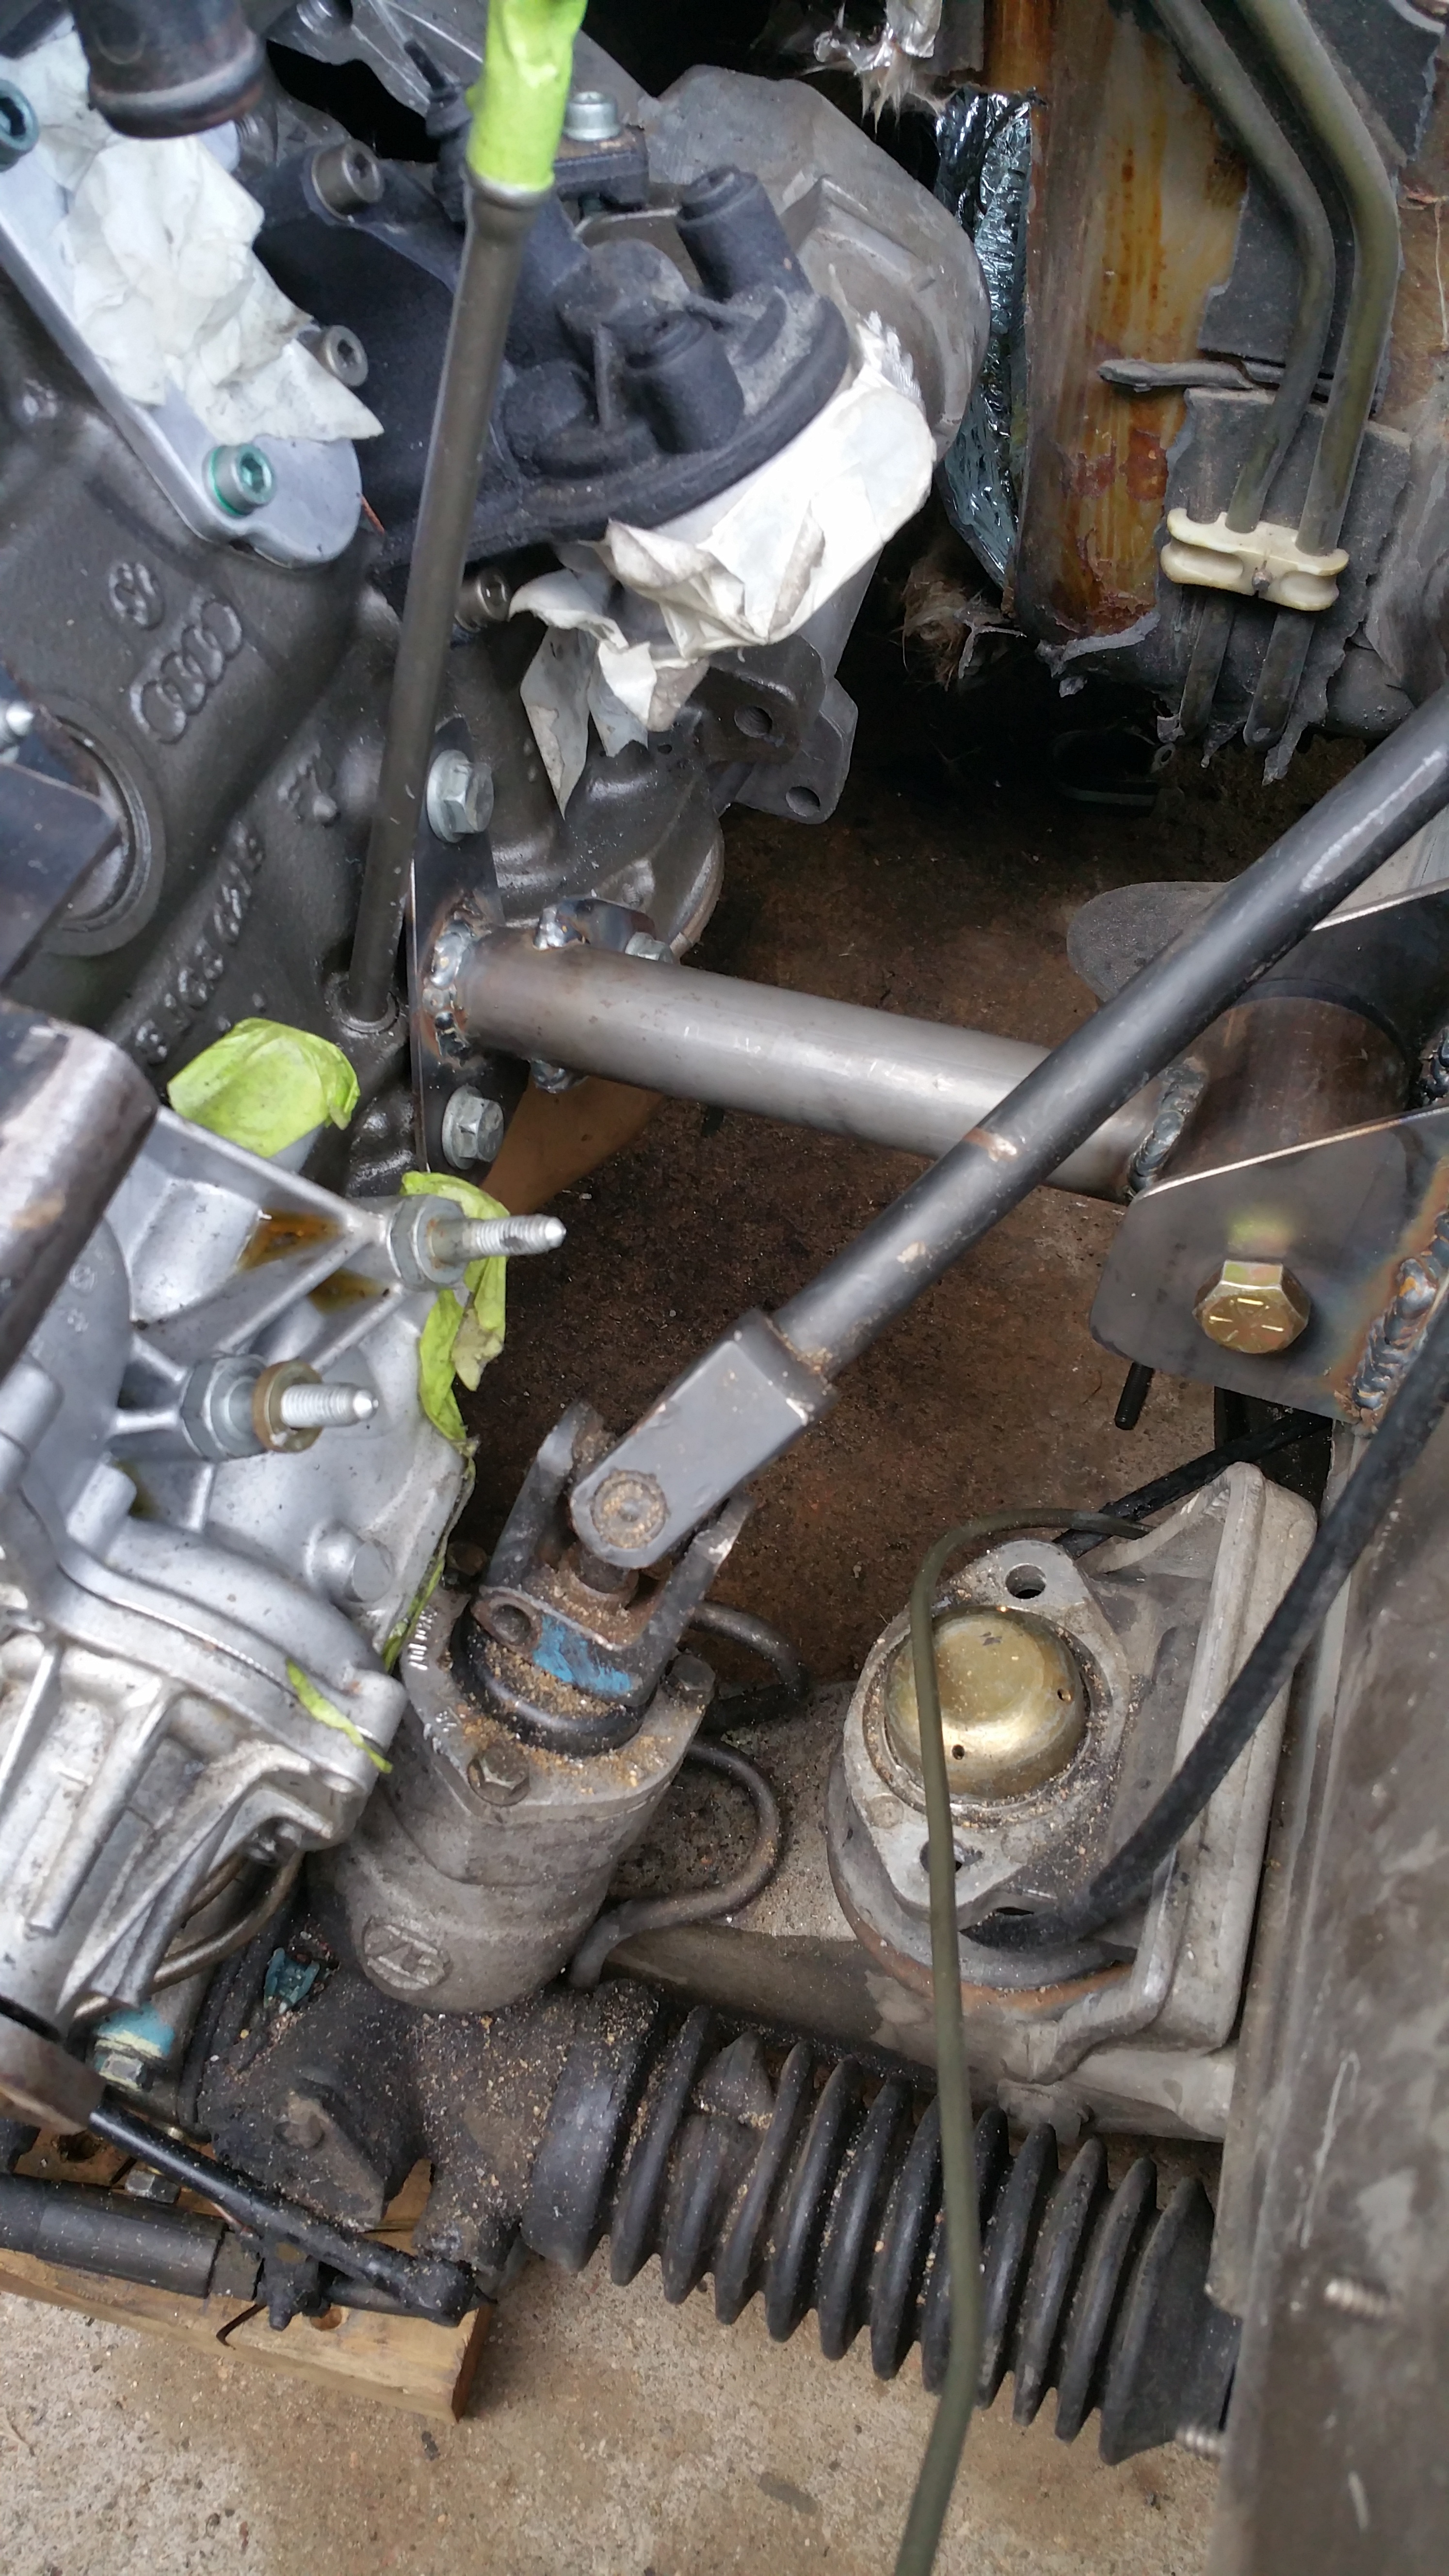
Cut the pan down to clear the crossmember. I will widen it to regain some oil capacity once I figure out what kind of room I have to work with.
I reinforced the frame rails with some 1/8" plate for the motor mount brackets. The tabs on the rails still need gussets add.
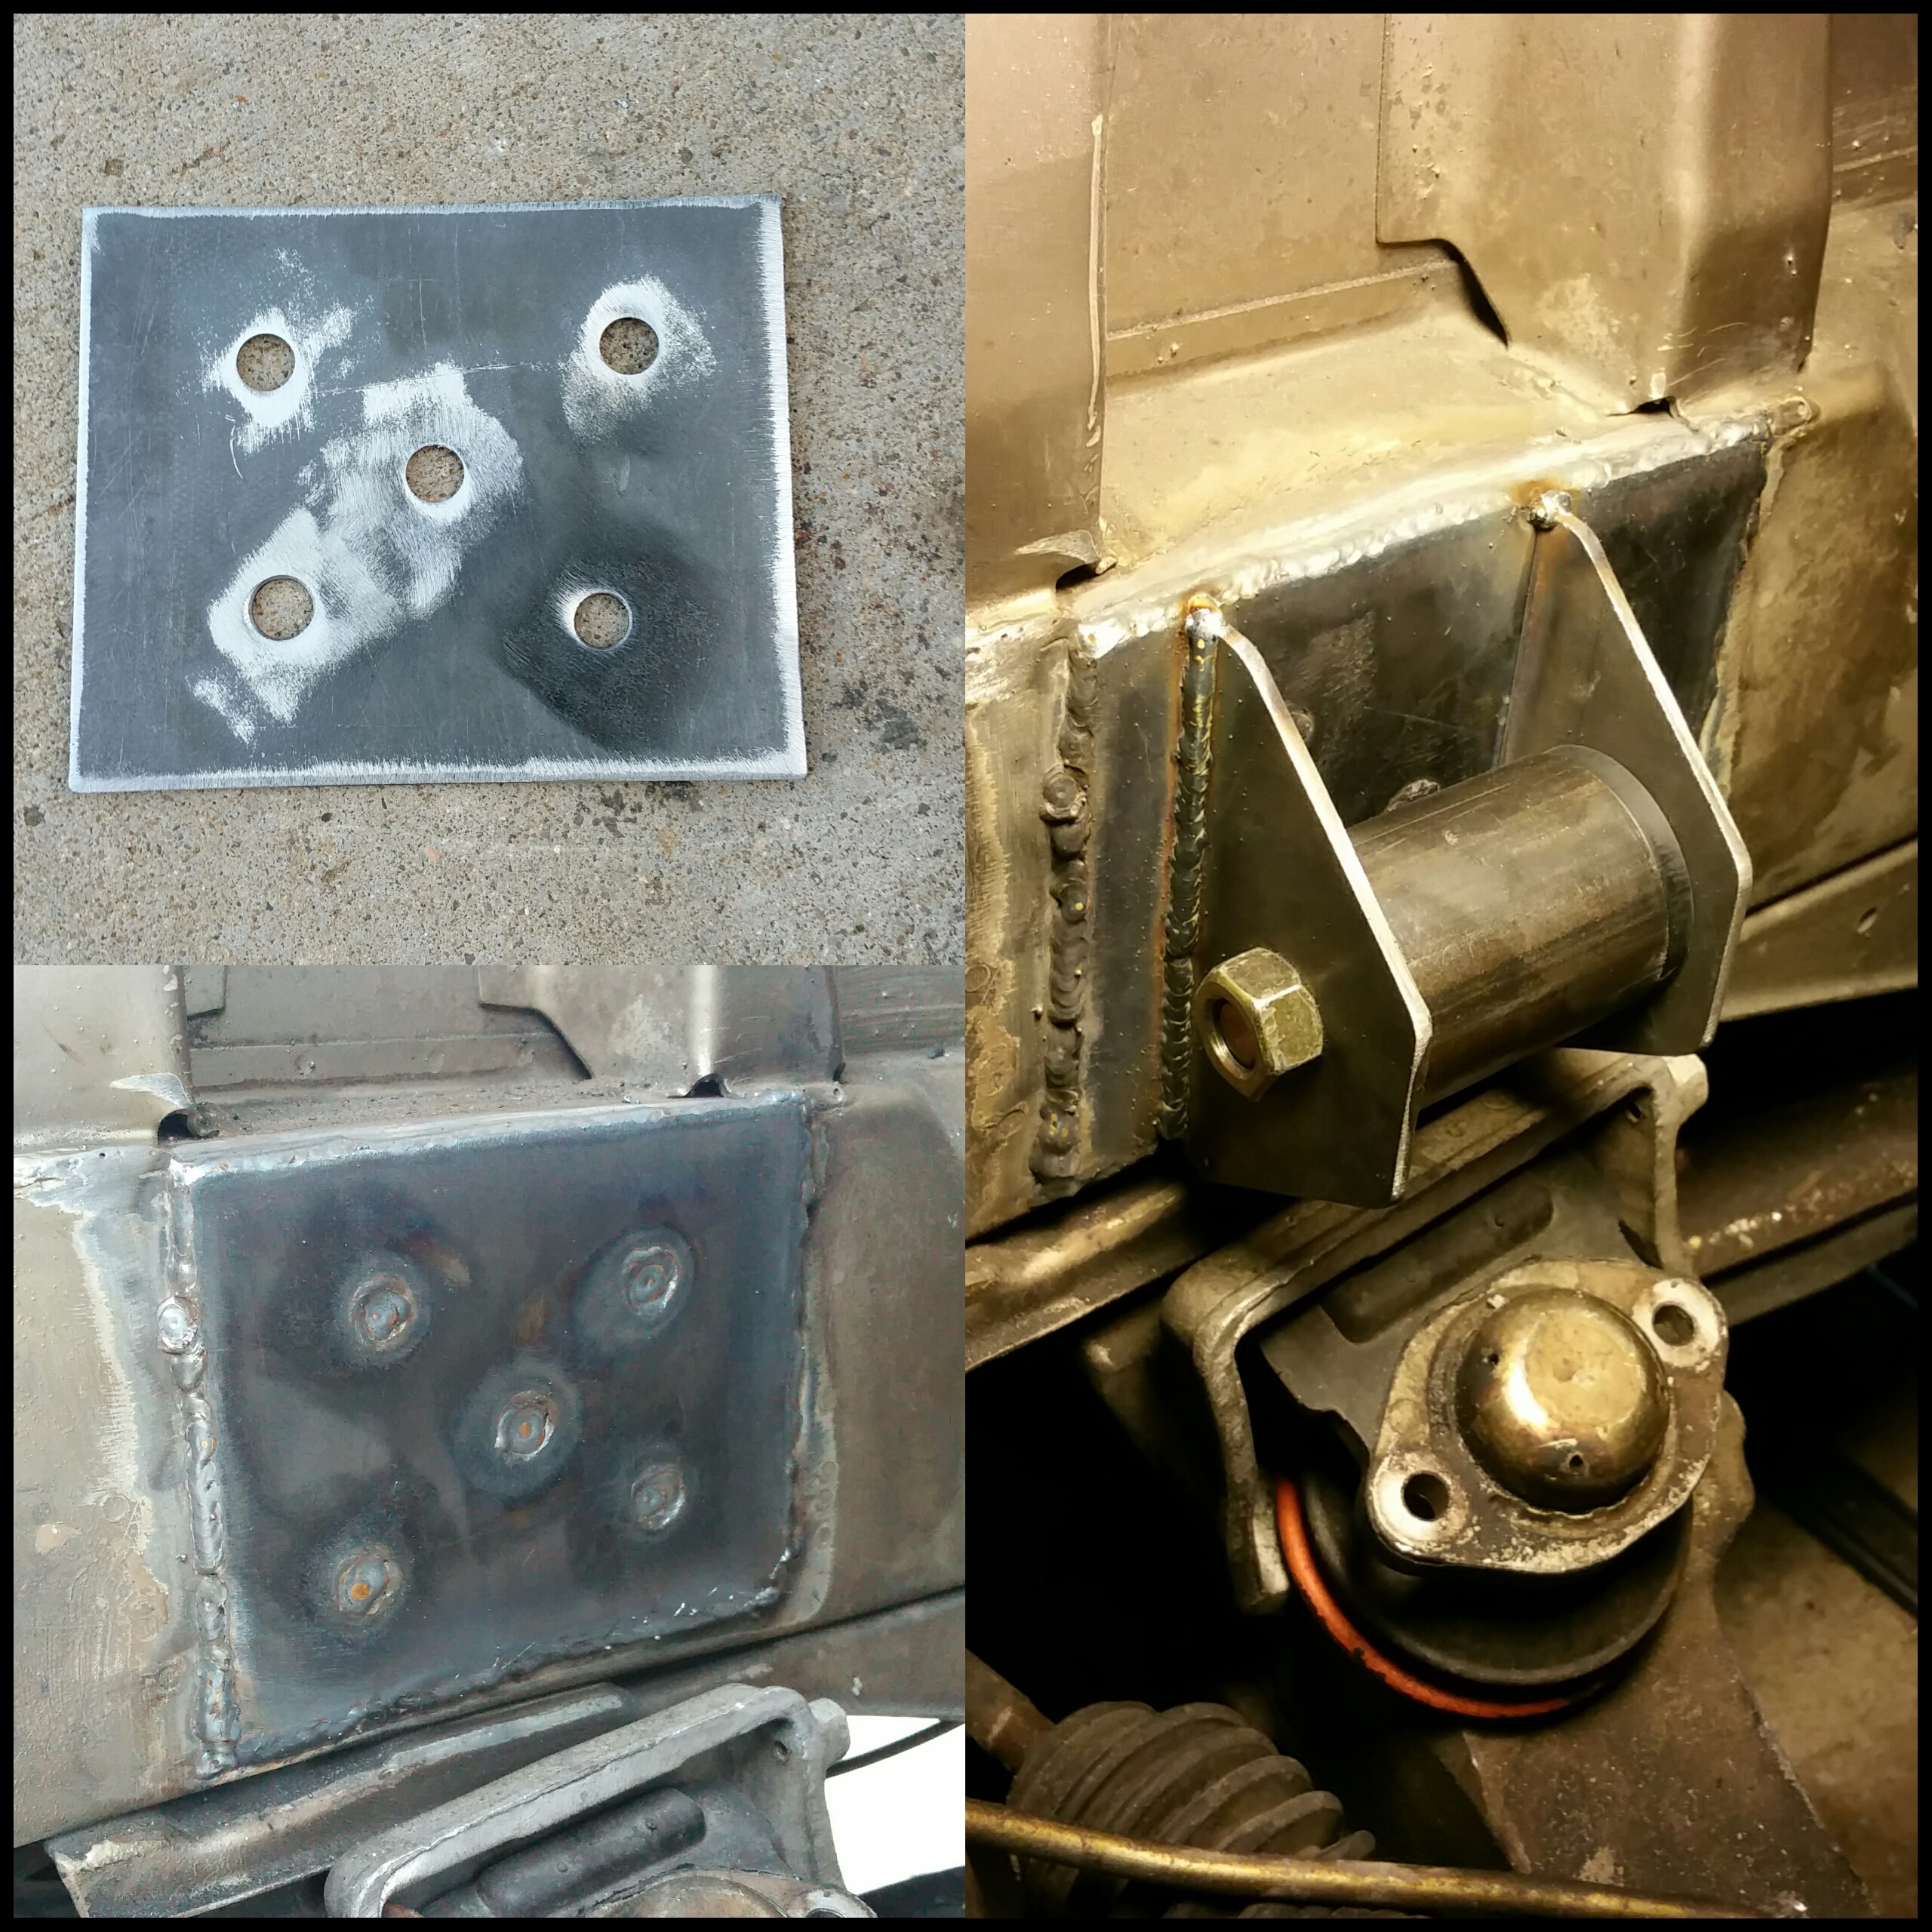
The passenger side mount.
The driver side.
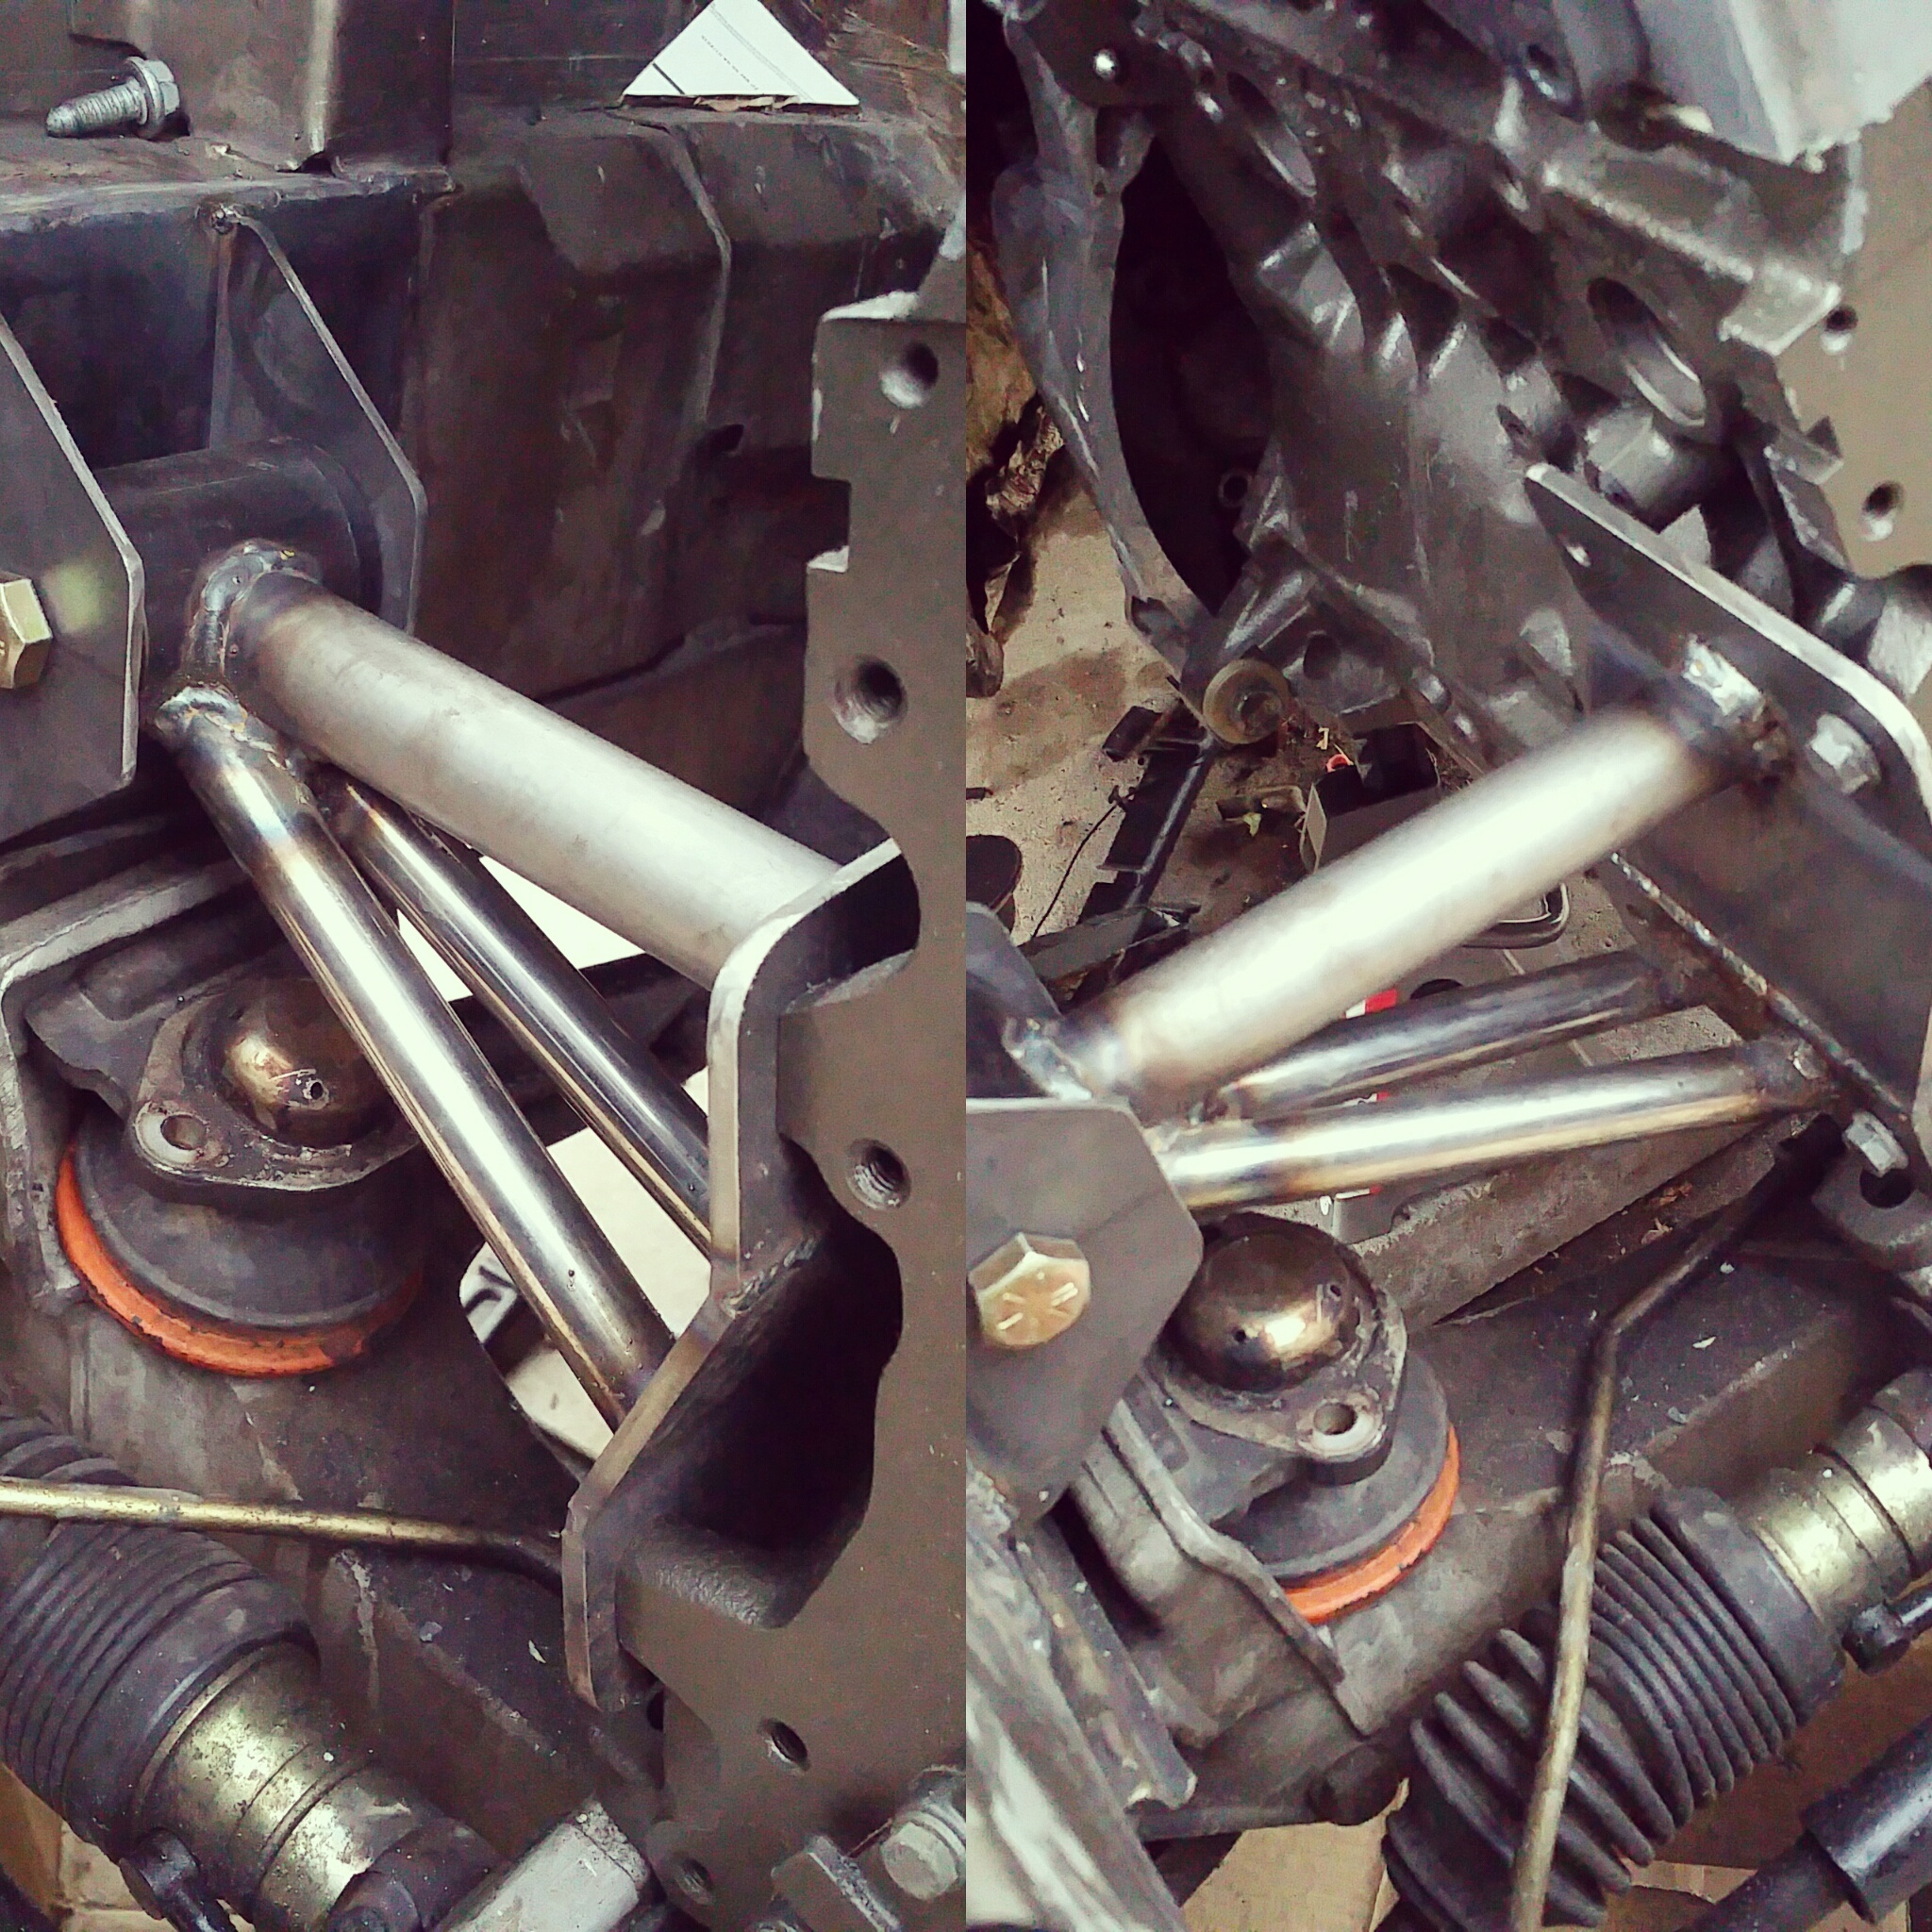
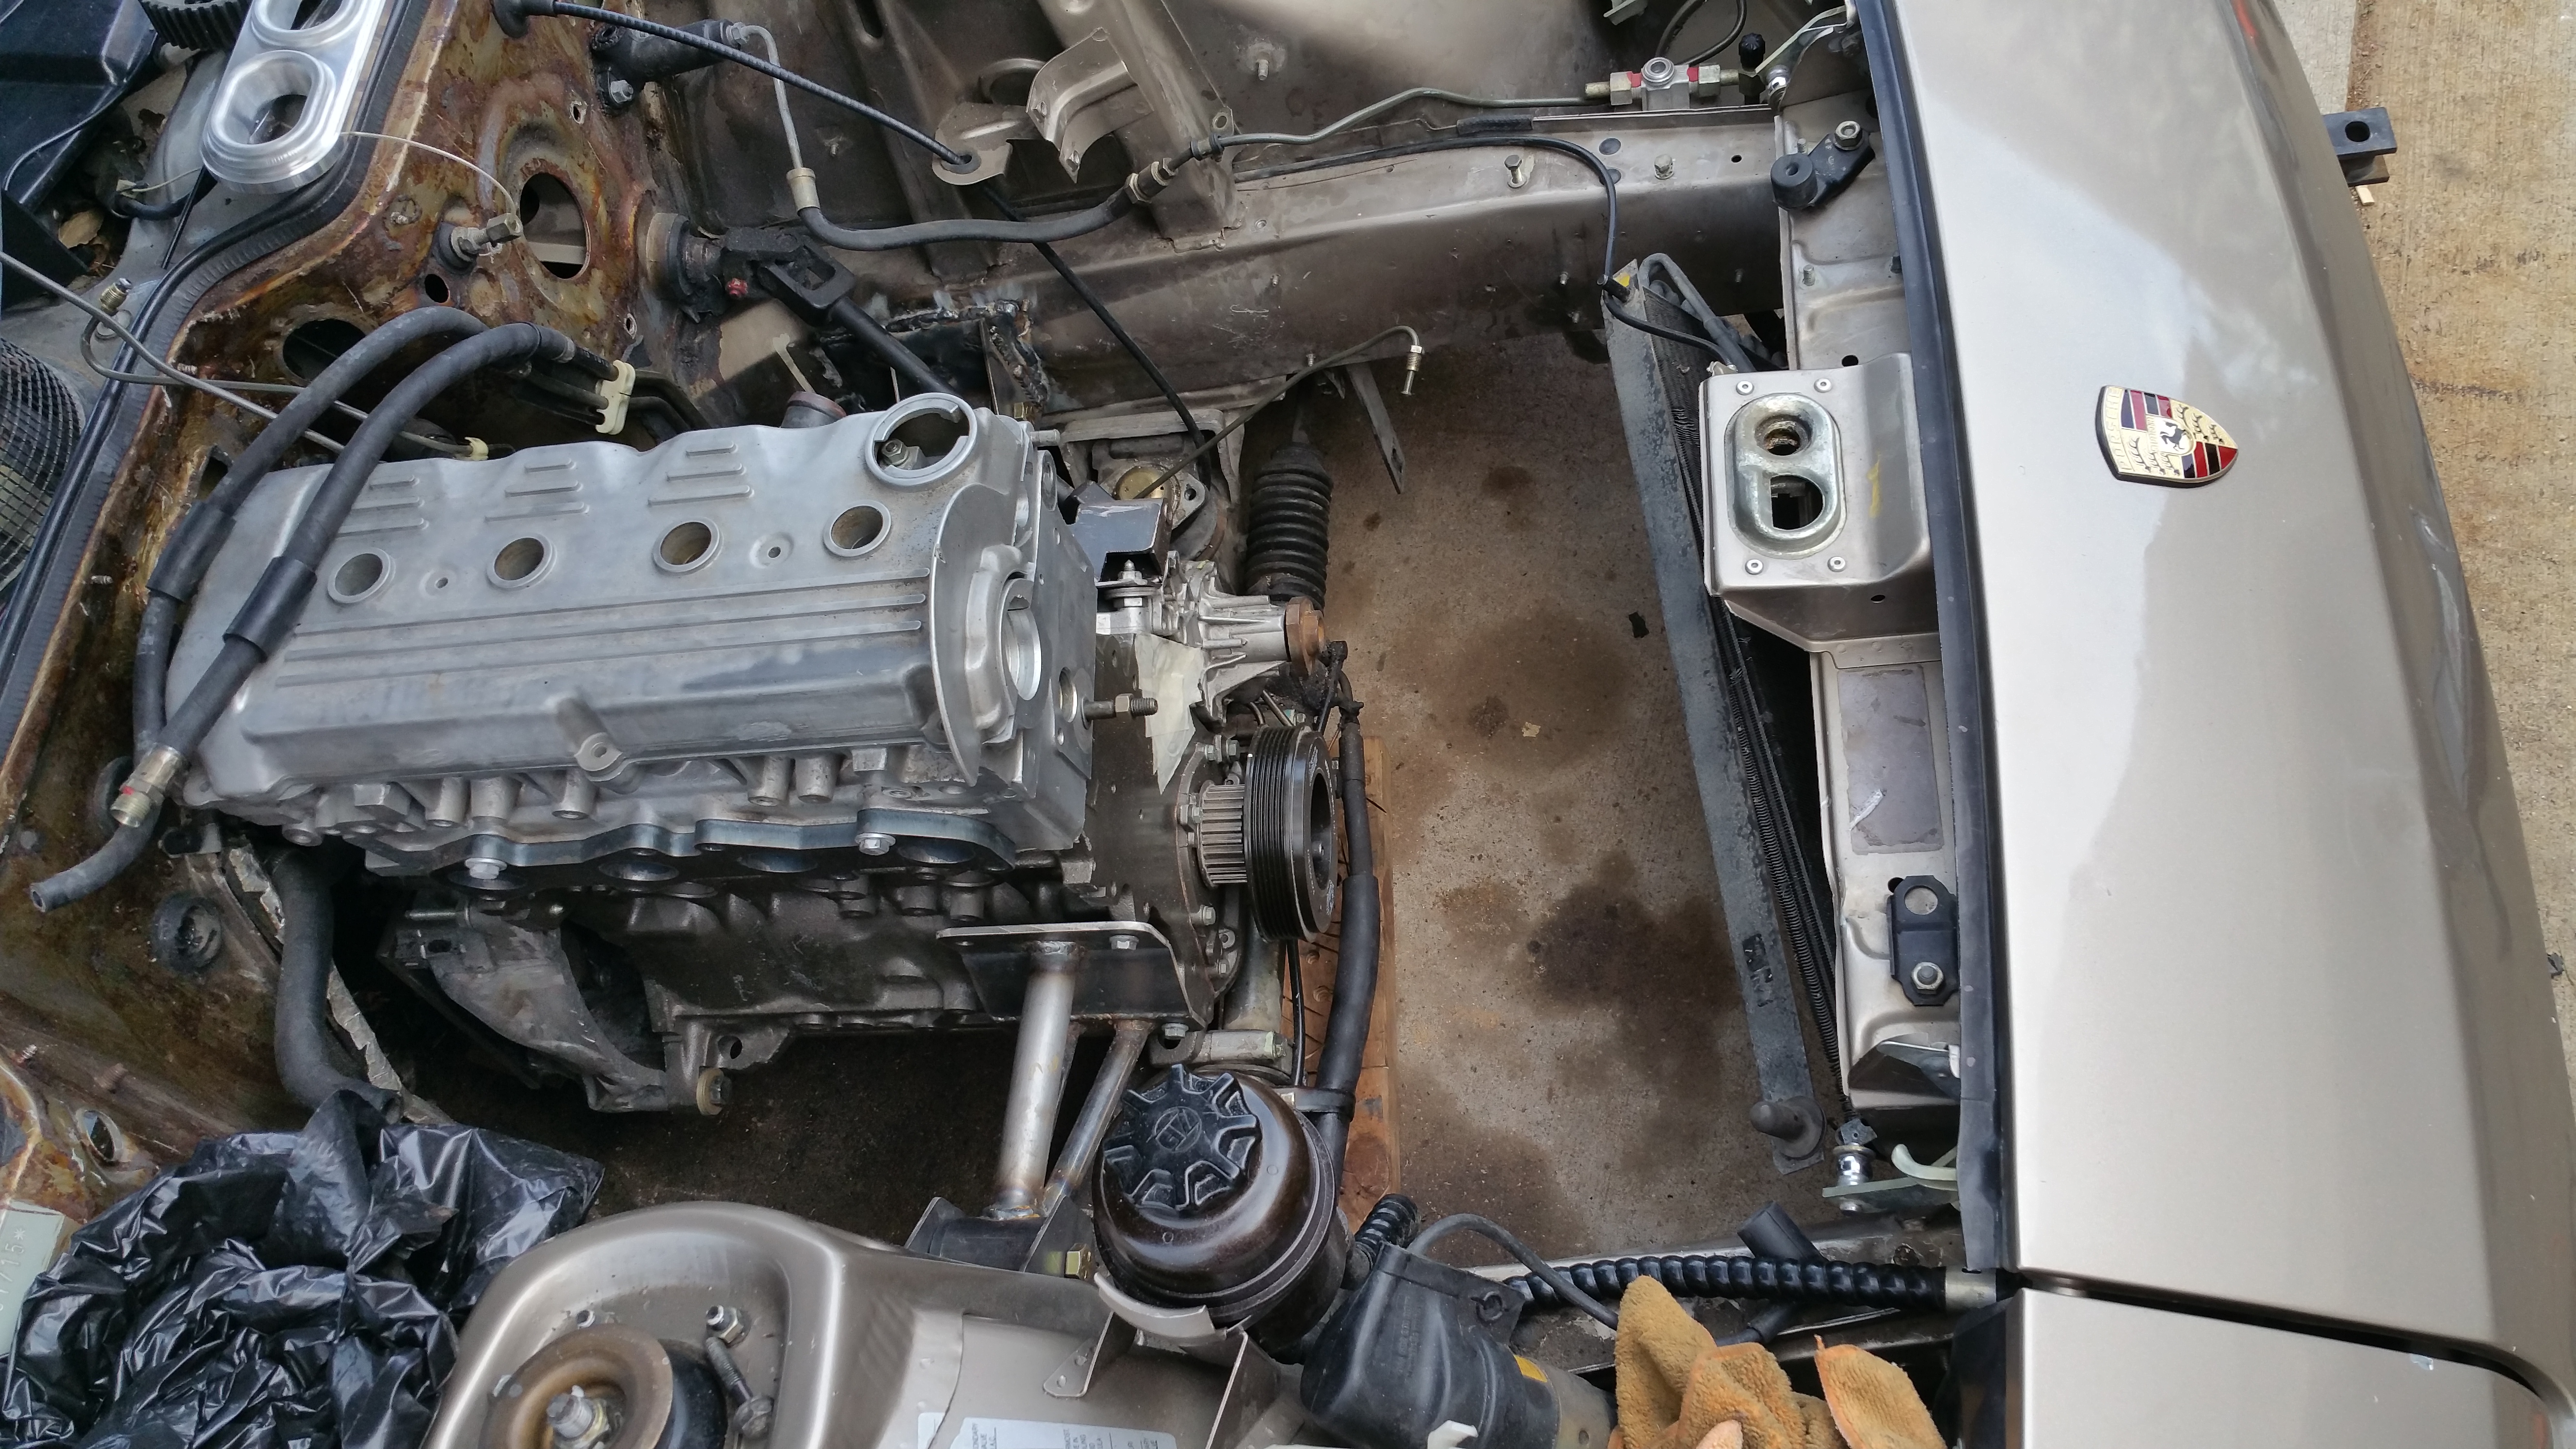
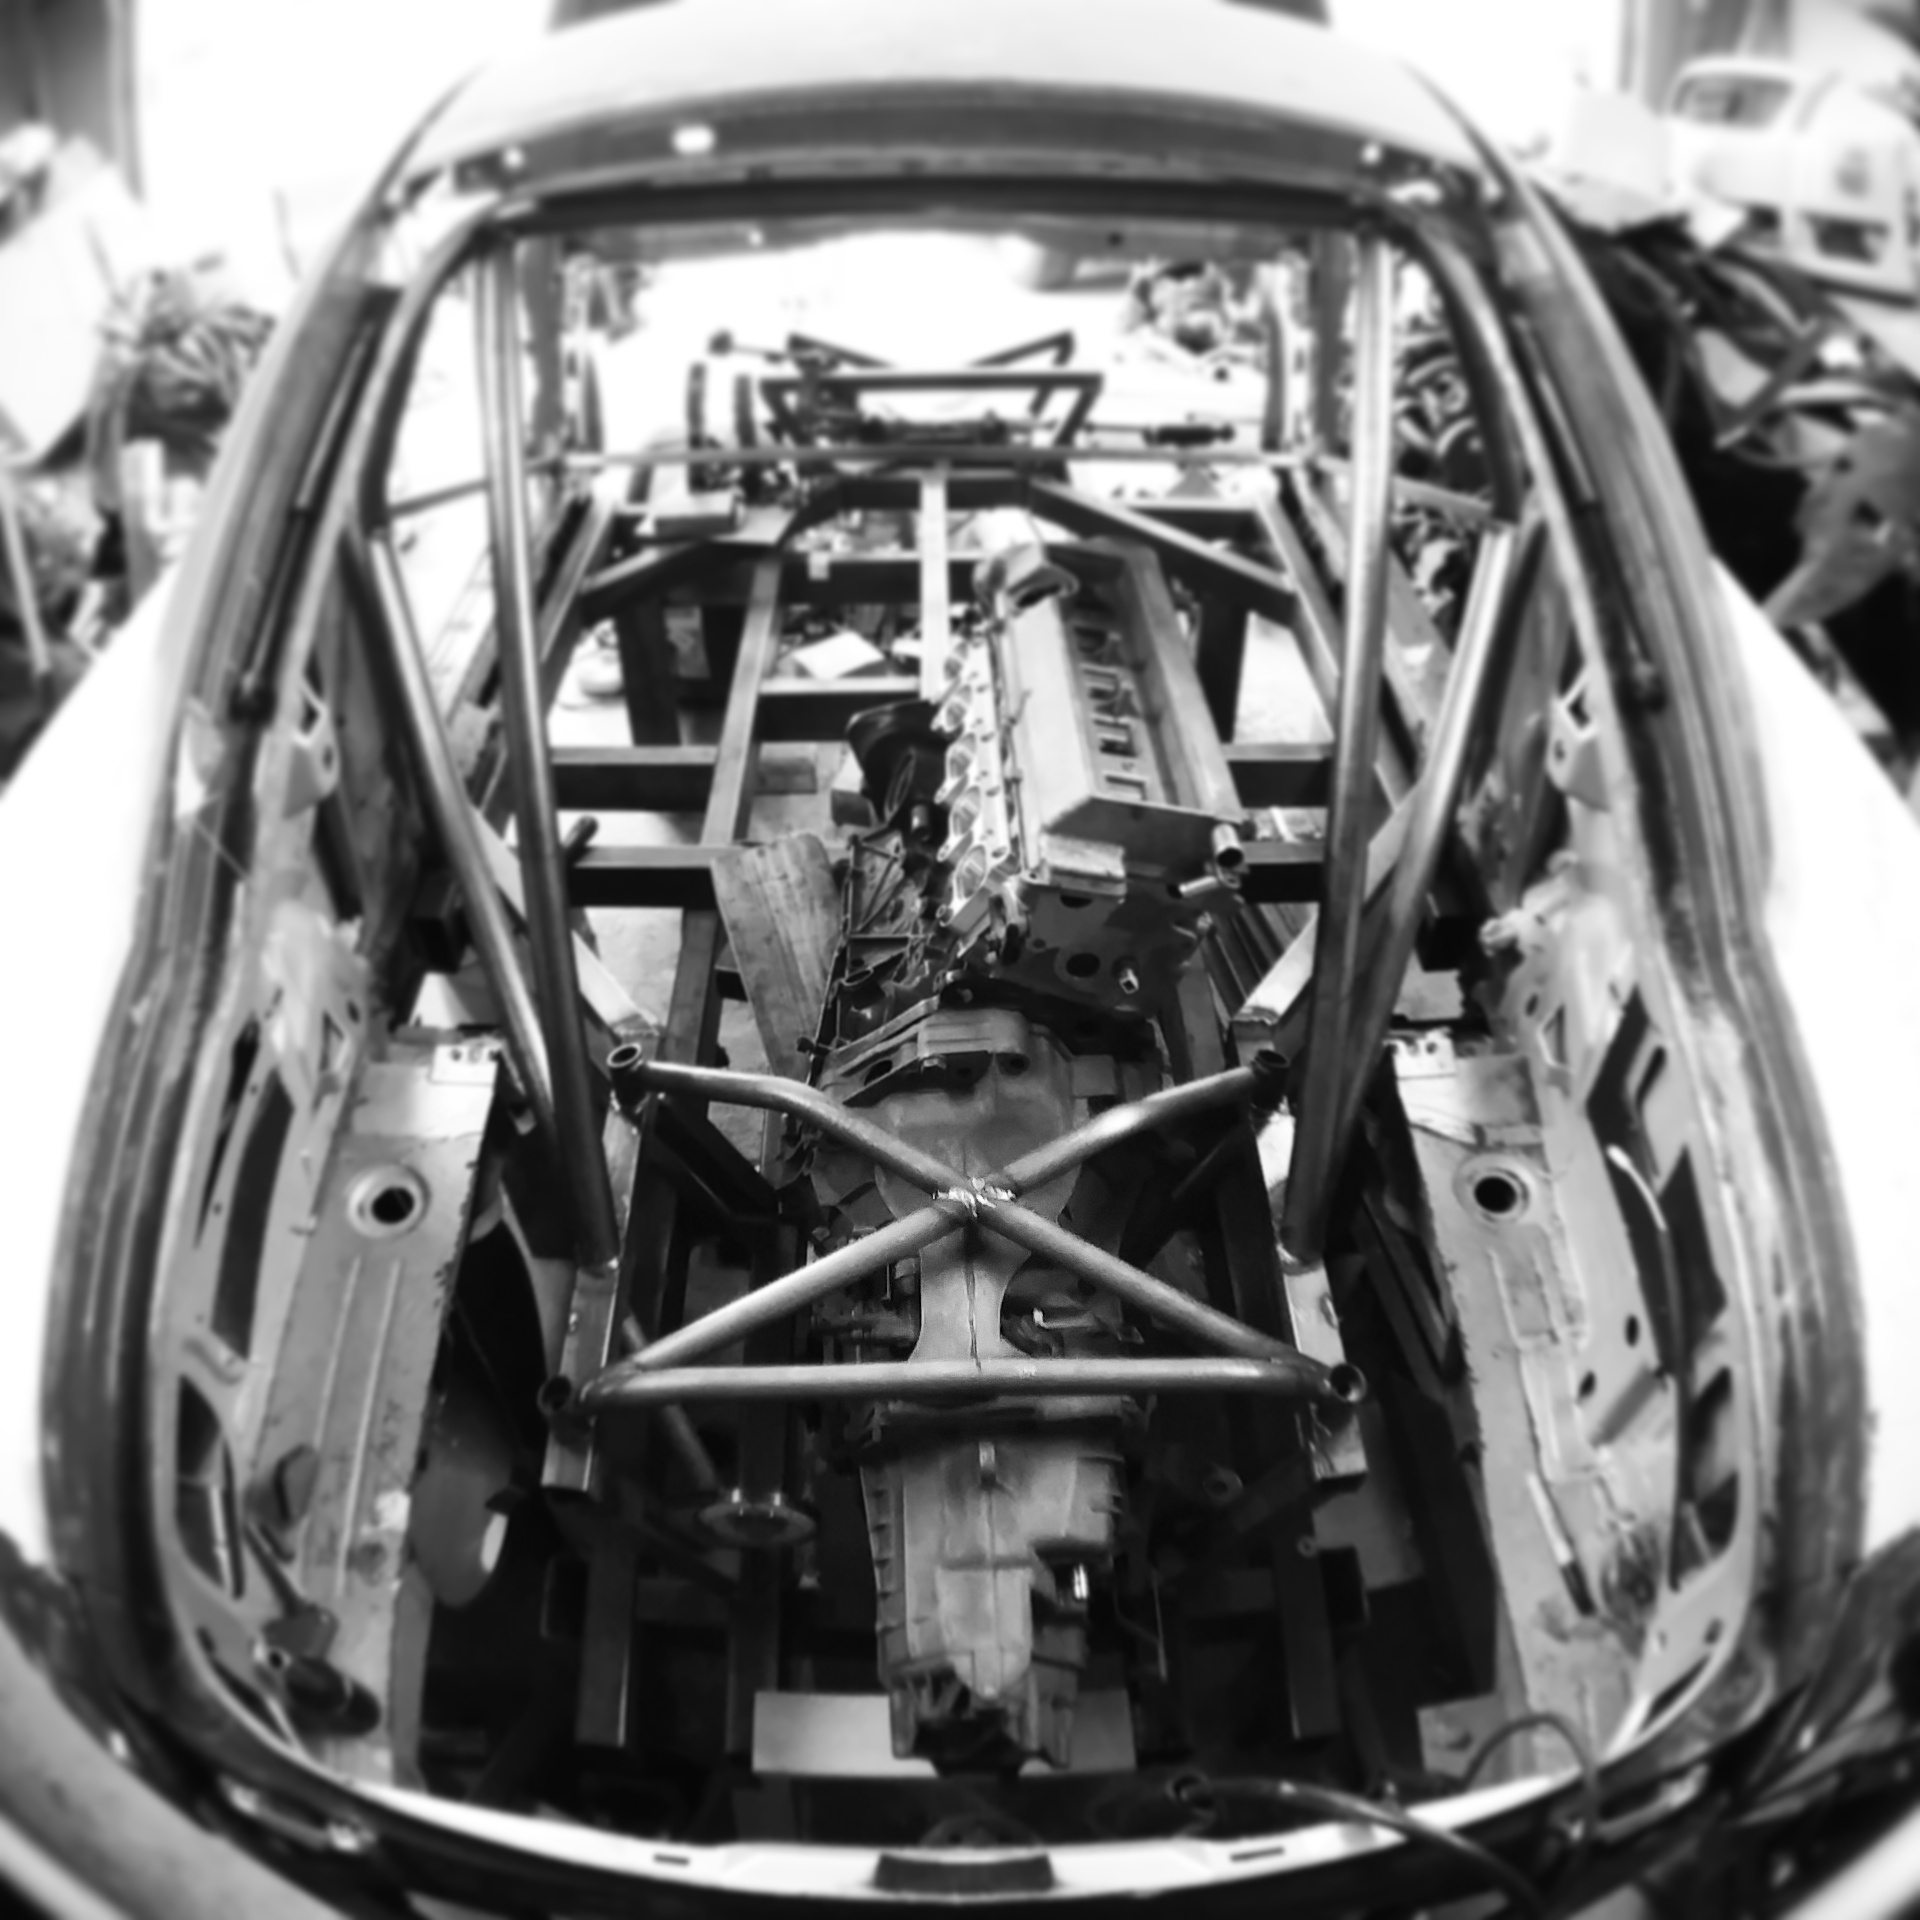
The motor supporting itself within the chassis.

All of the spare room in the front of the motor will be where the forward mounted turbo and air to water intercooler will be placed.
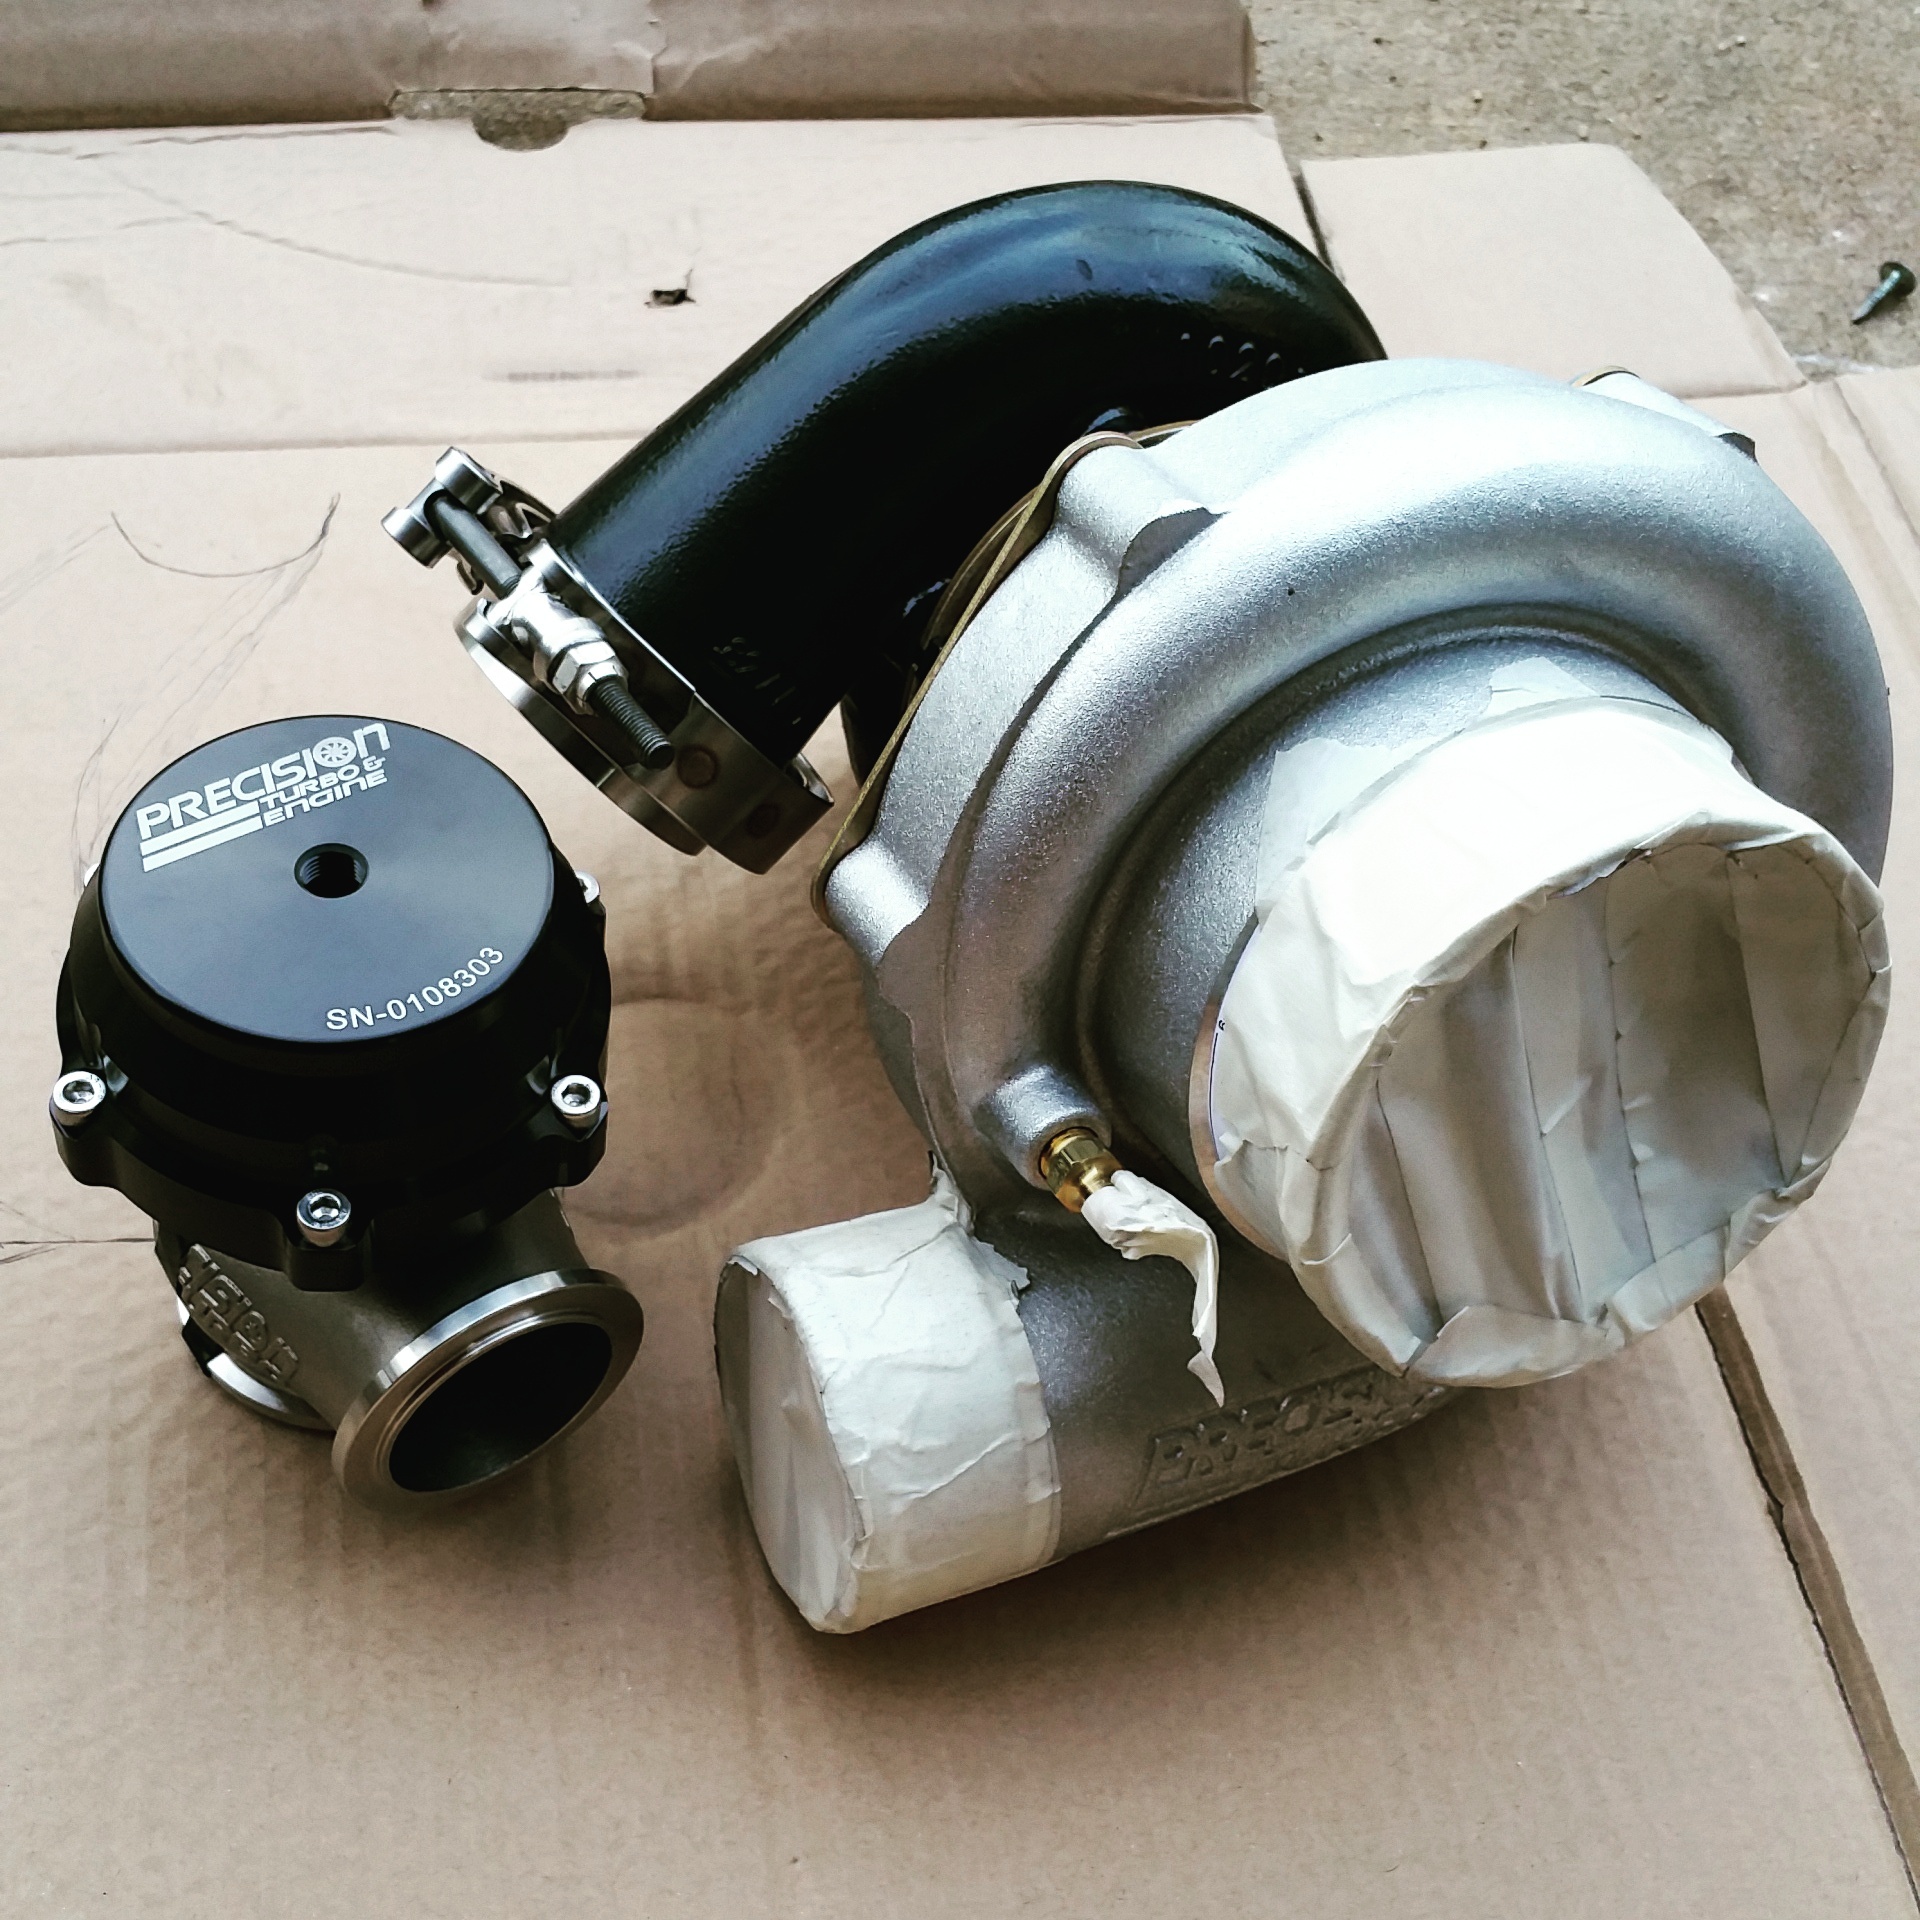
The more exciting parts.
The brake master cylinder/booster will be an issue for the intake manifold. I will be building it, but refuse to have the design compromised by the factory system. The plan is to use a dual master cylinder set.
I diassembled a spare Corrado o2a transmission I had hanging around, then cut it up for it's bellhousing.

Steel plates is what was available on short notice, so that is what I made the adapter plates out of.

Cut the pan down to clear the crossmember. I will widen it to regain some oil capacity once I figure out what kind of room I have to work with.

I reinforced the frame rails with some 1/8" plate for the motor mount brackets. The tabs on the rails still need gussets add.

The passenger side mount.

The driver side.

The motor supporting itself within the chassis.

All of the spare room in the front of the motor will be where the forward mounted turbo and air to water intercooler will be placed.

The more exciting parts.

The brake master cylinder/booster will be an issue for the intake manifold. I will be building it, but refuse to have the design compromised by the factory system. The plan is to use a dual master cylinder set.

 07-06-2015, 05:02 PM
#36
Does your starter clear the firewall? or did you not mount that part of it yet?
Its not bad to change the pan in the car, you get a cheap support bar from harbor freight and drop the crossmember, you can then do it. I did the rod bearings in my last car like that.
Its not bad to change the pan in the car, you get a cheap support bar from harbor freight and drop the crossmember, you can then do it. I did the rod bearings in my last car like that.
07-07-2015, 04:19 PM
#37
Advanced
Thread Starter
[QUOTE=Arominus;12411053]Does your starter clear the firewall? or did you not mount that part of it yet?
/QUOTE]
I had to notch the tunnel. It doesn't really have a firewall clearance problem. It does come close to the gas pedal, but not so close to be an issue. I am tall, so the angle of my foot on the pedal is from the left of the pedal anyway. (Heel between the brake and gas pedals) I find the pedal encroachment to be a non issue.
07-21-2015, 02:36 AM
#38
Advanced
Thread Starter
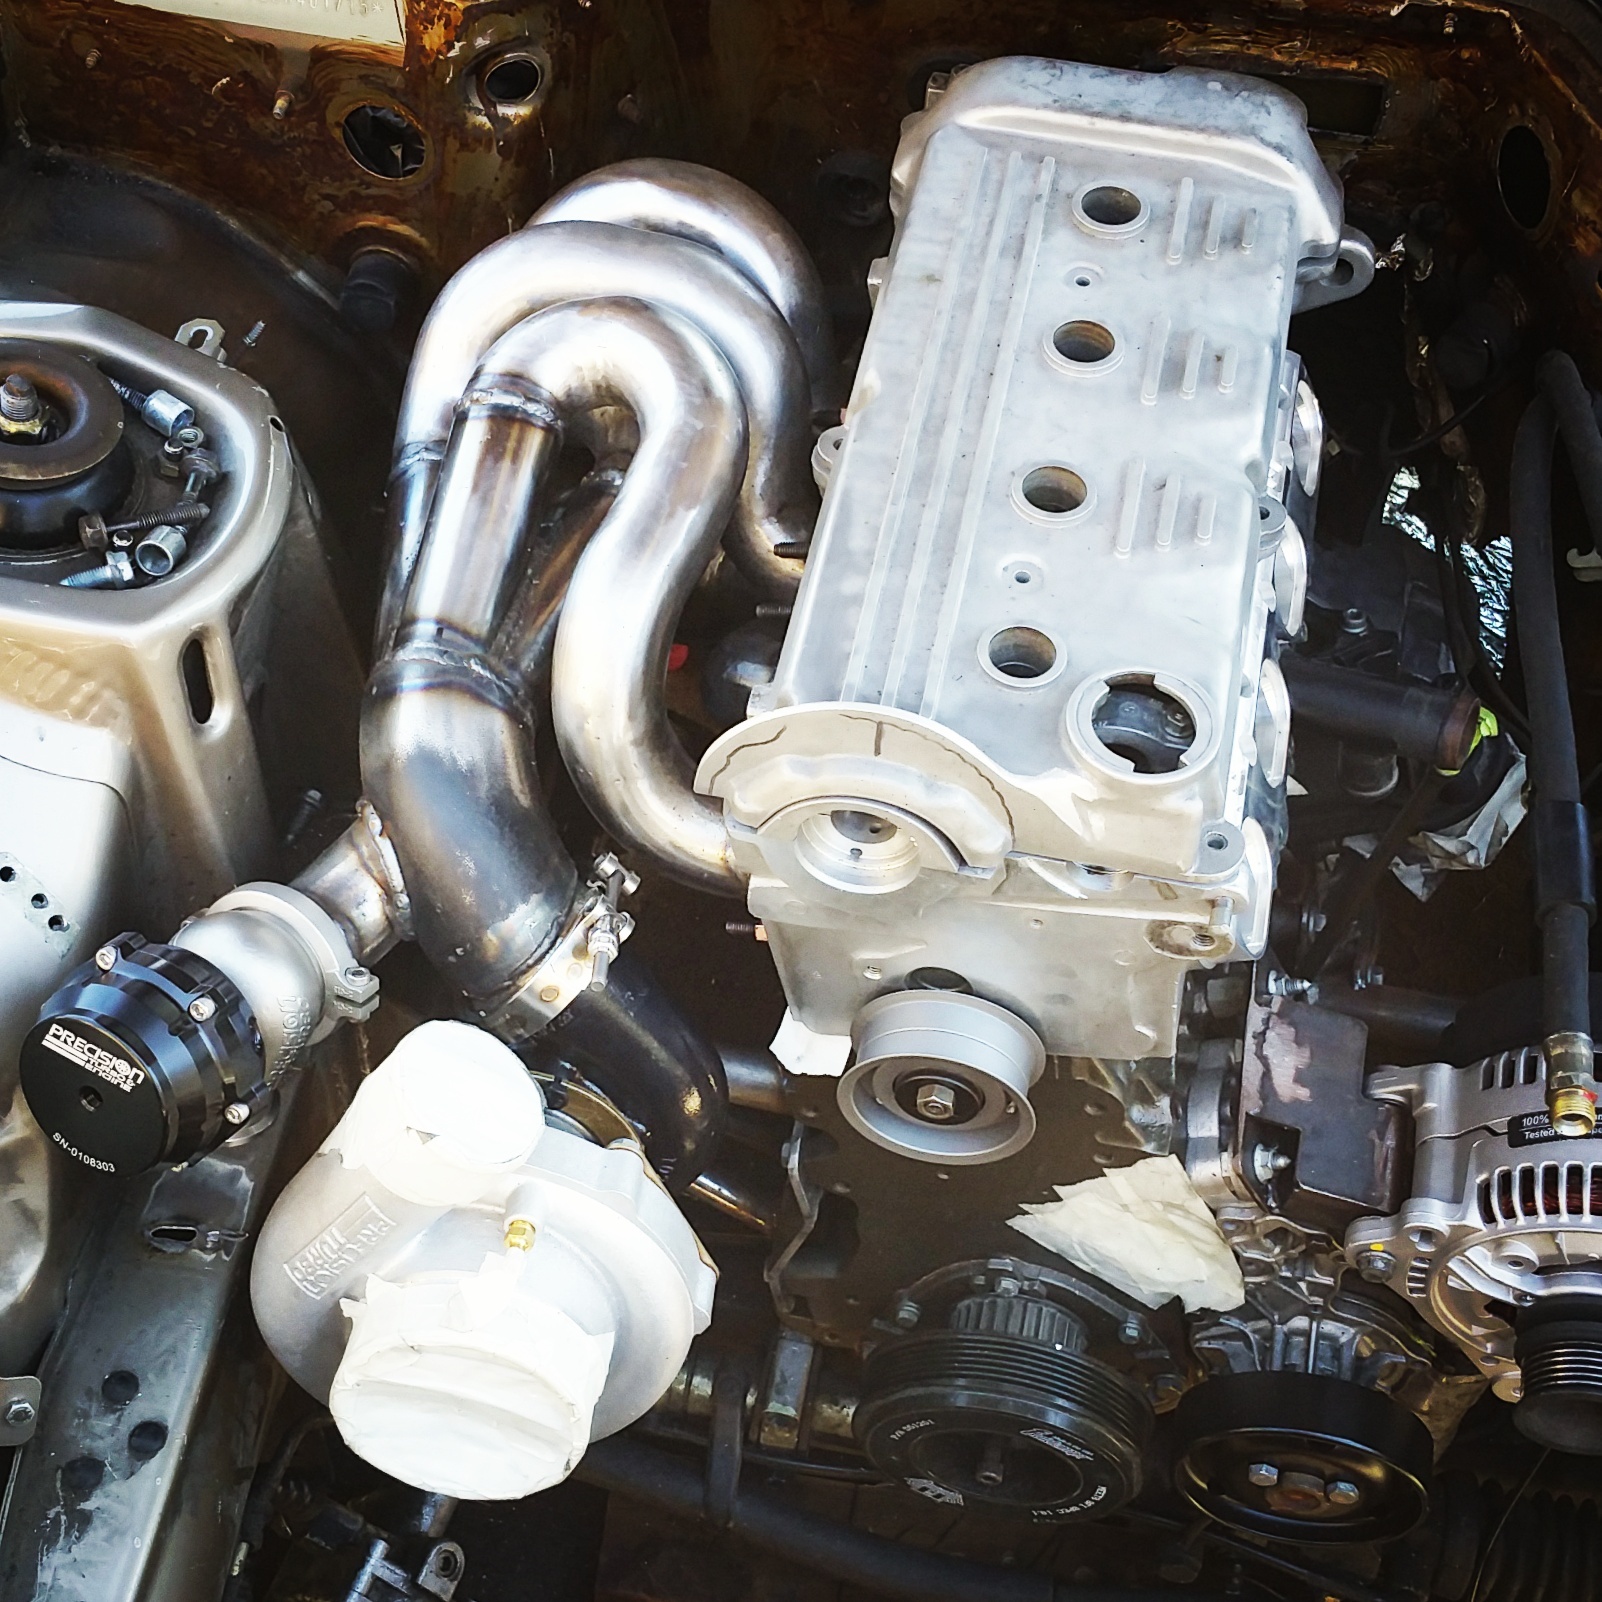
I'm nearly finished with the turbo manifold. It's been a fun build.
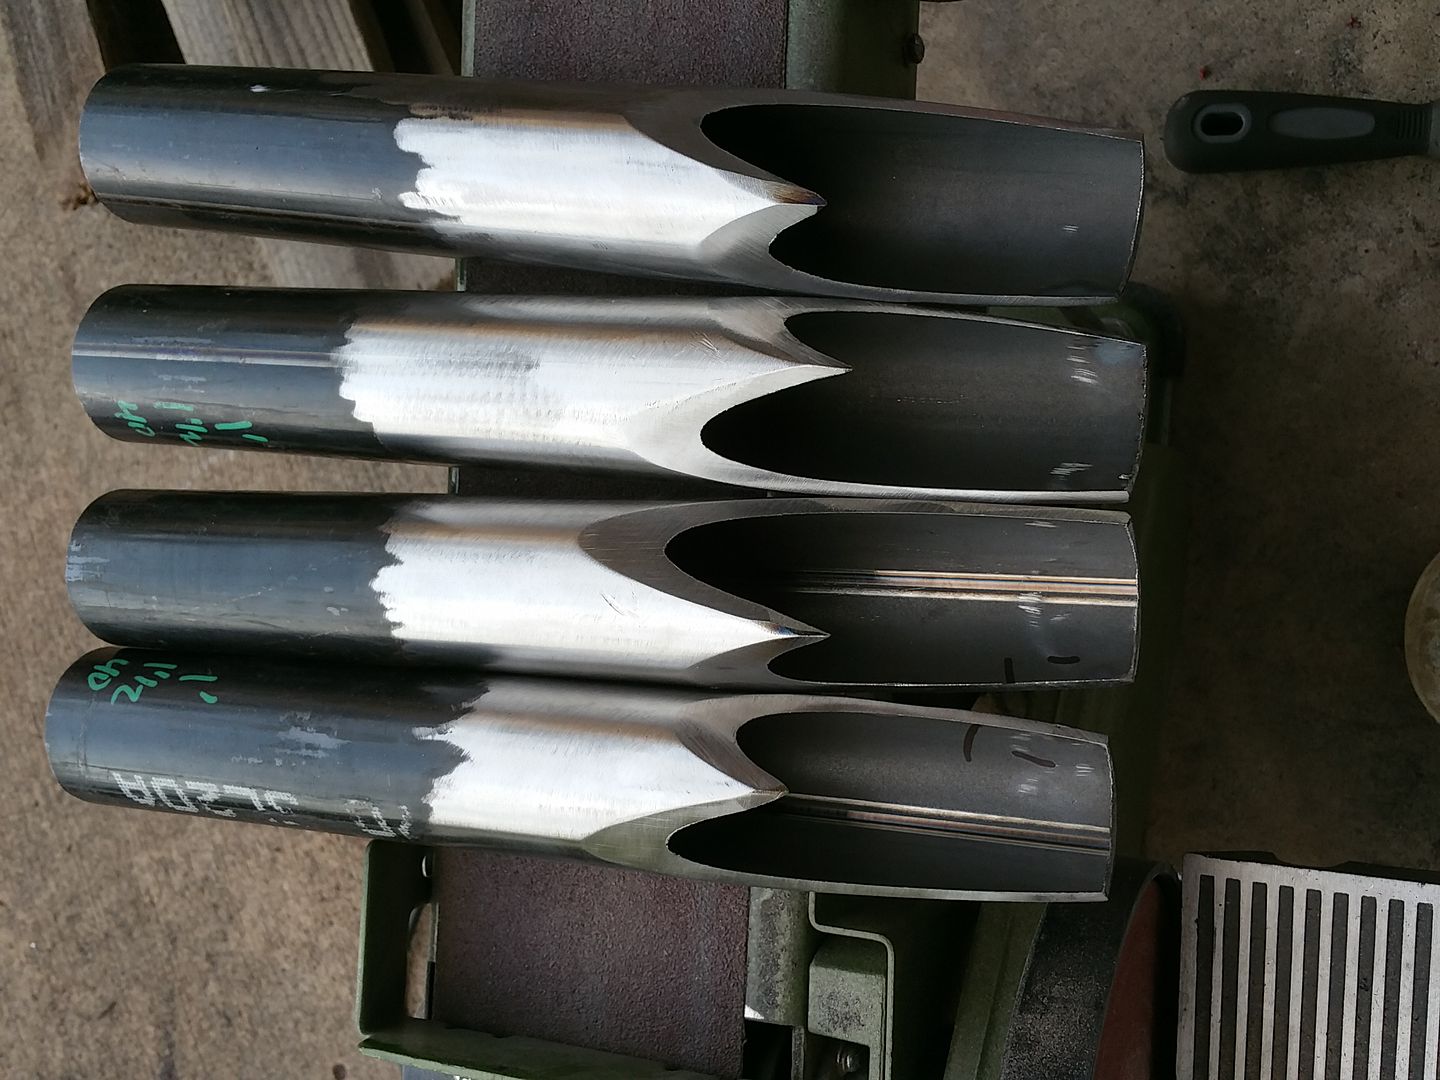
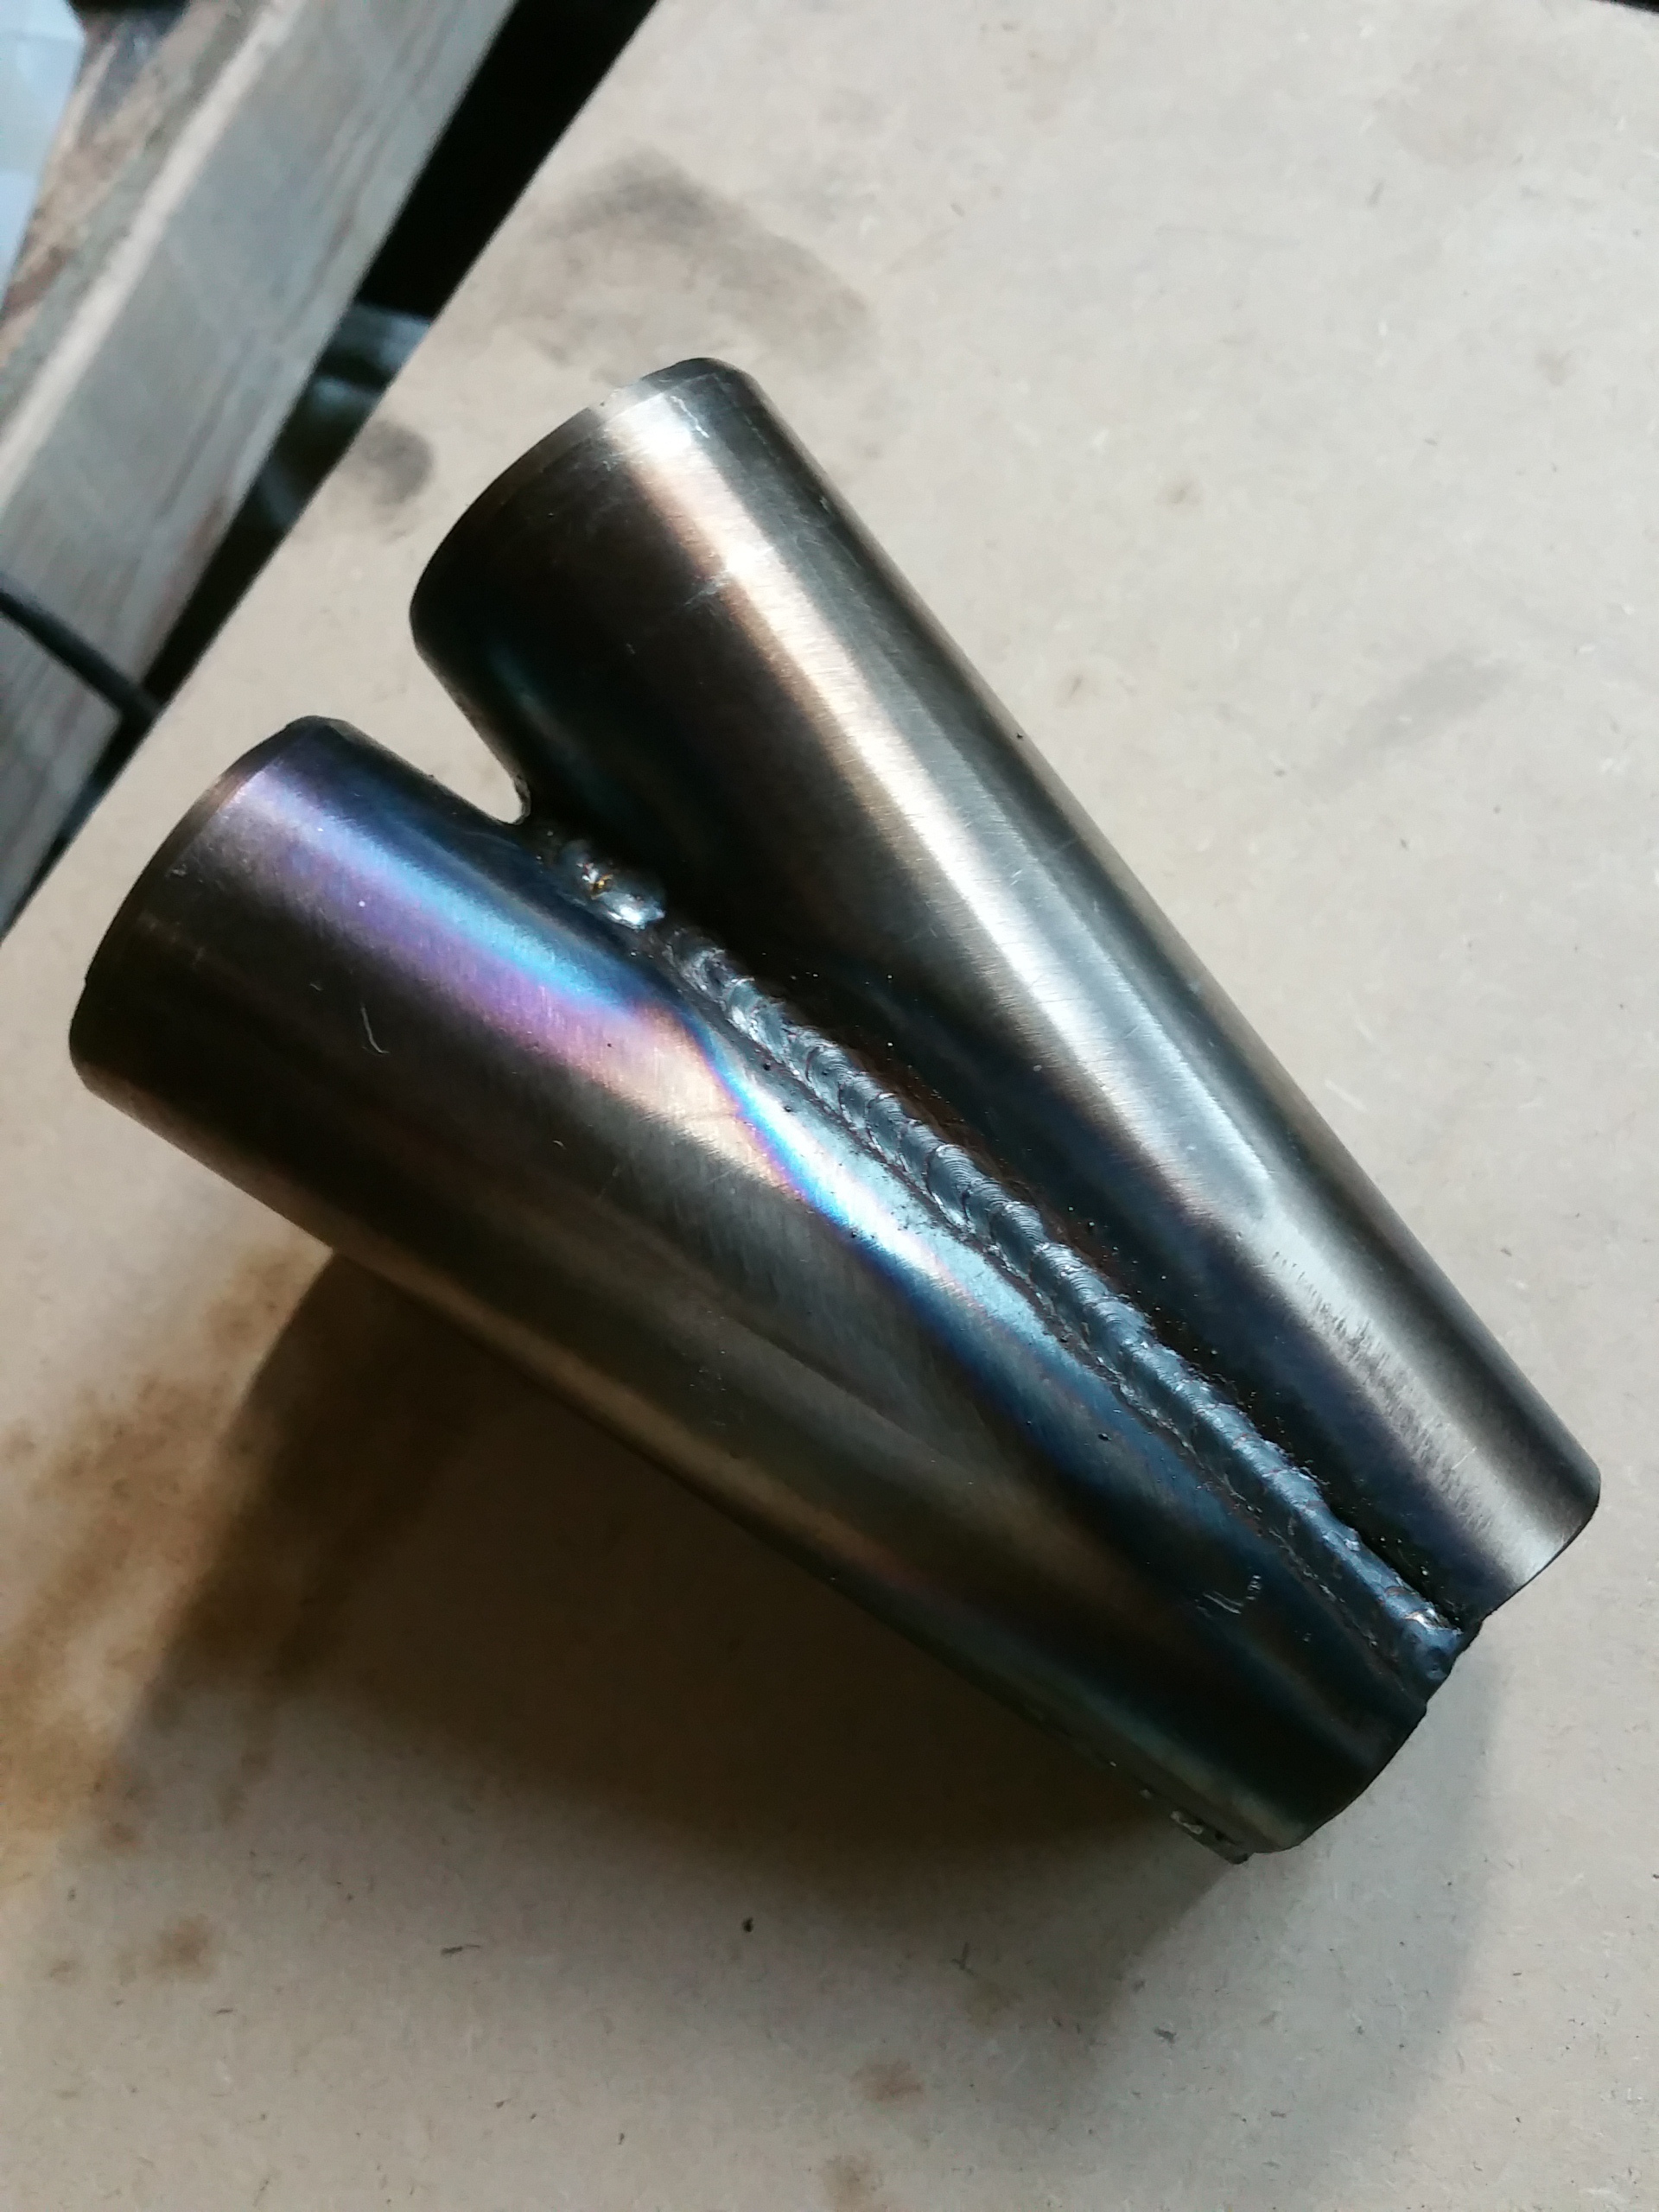

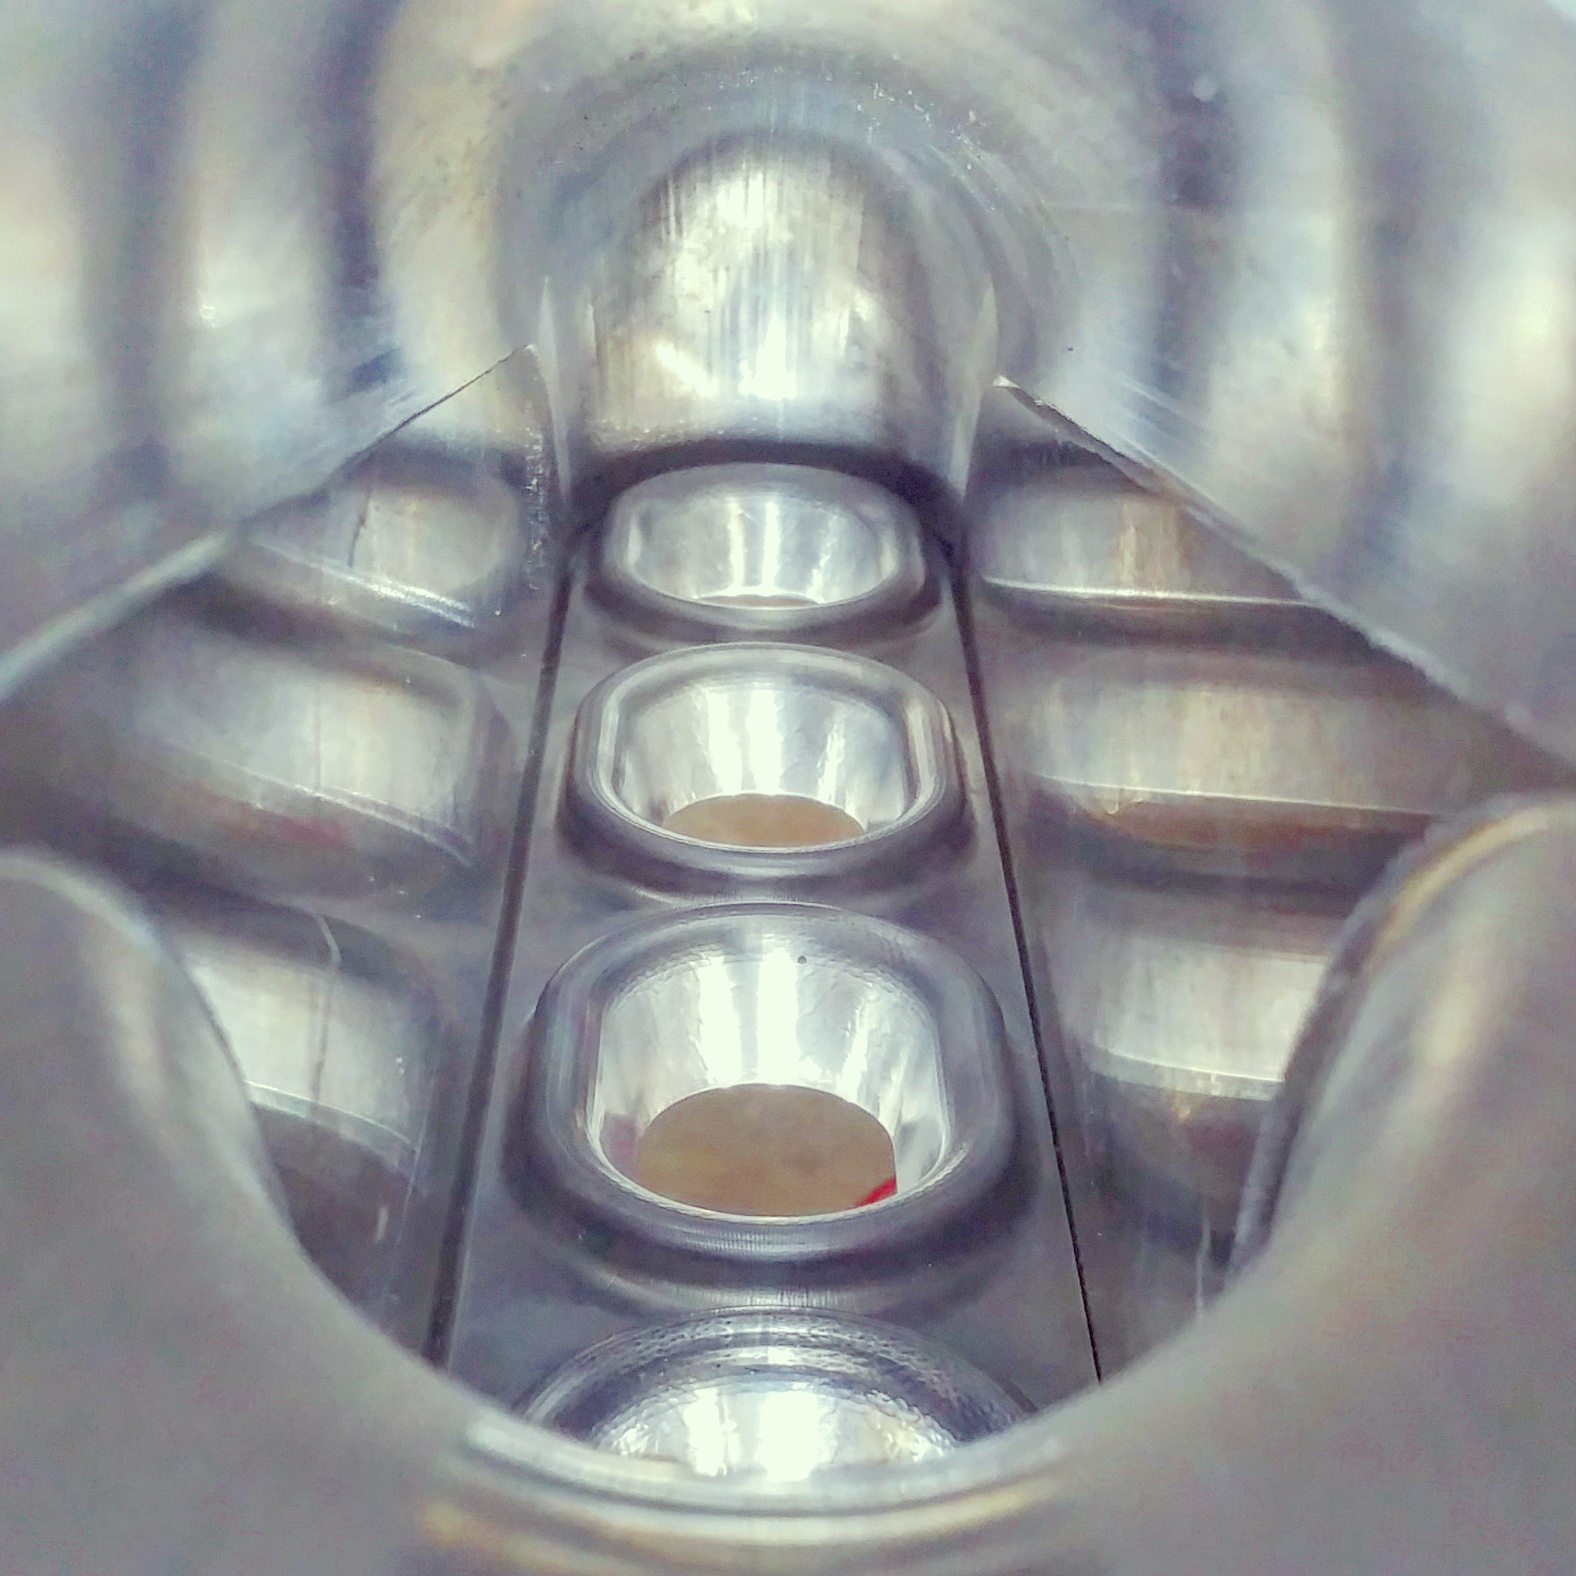
I still need to fit the wastegate. I have each runner welded up now, but haven't gotten to the point of reassembling the manifold. I am smoothing and detailing each runner before welding it the the head flange and collector. I will have it ceramic coated when it is finished.
The intake manifold build will probably be started this coming weekend.
09-07-2015, 06:18 AM
#40
Advanced
Thread Starter
An update. Not as much progress as I would like in the past month. Out of town work has claimed a good amount of my time.
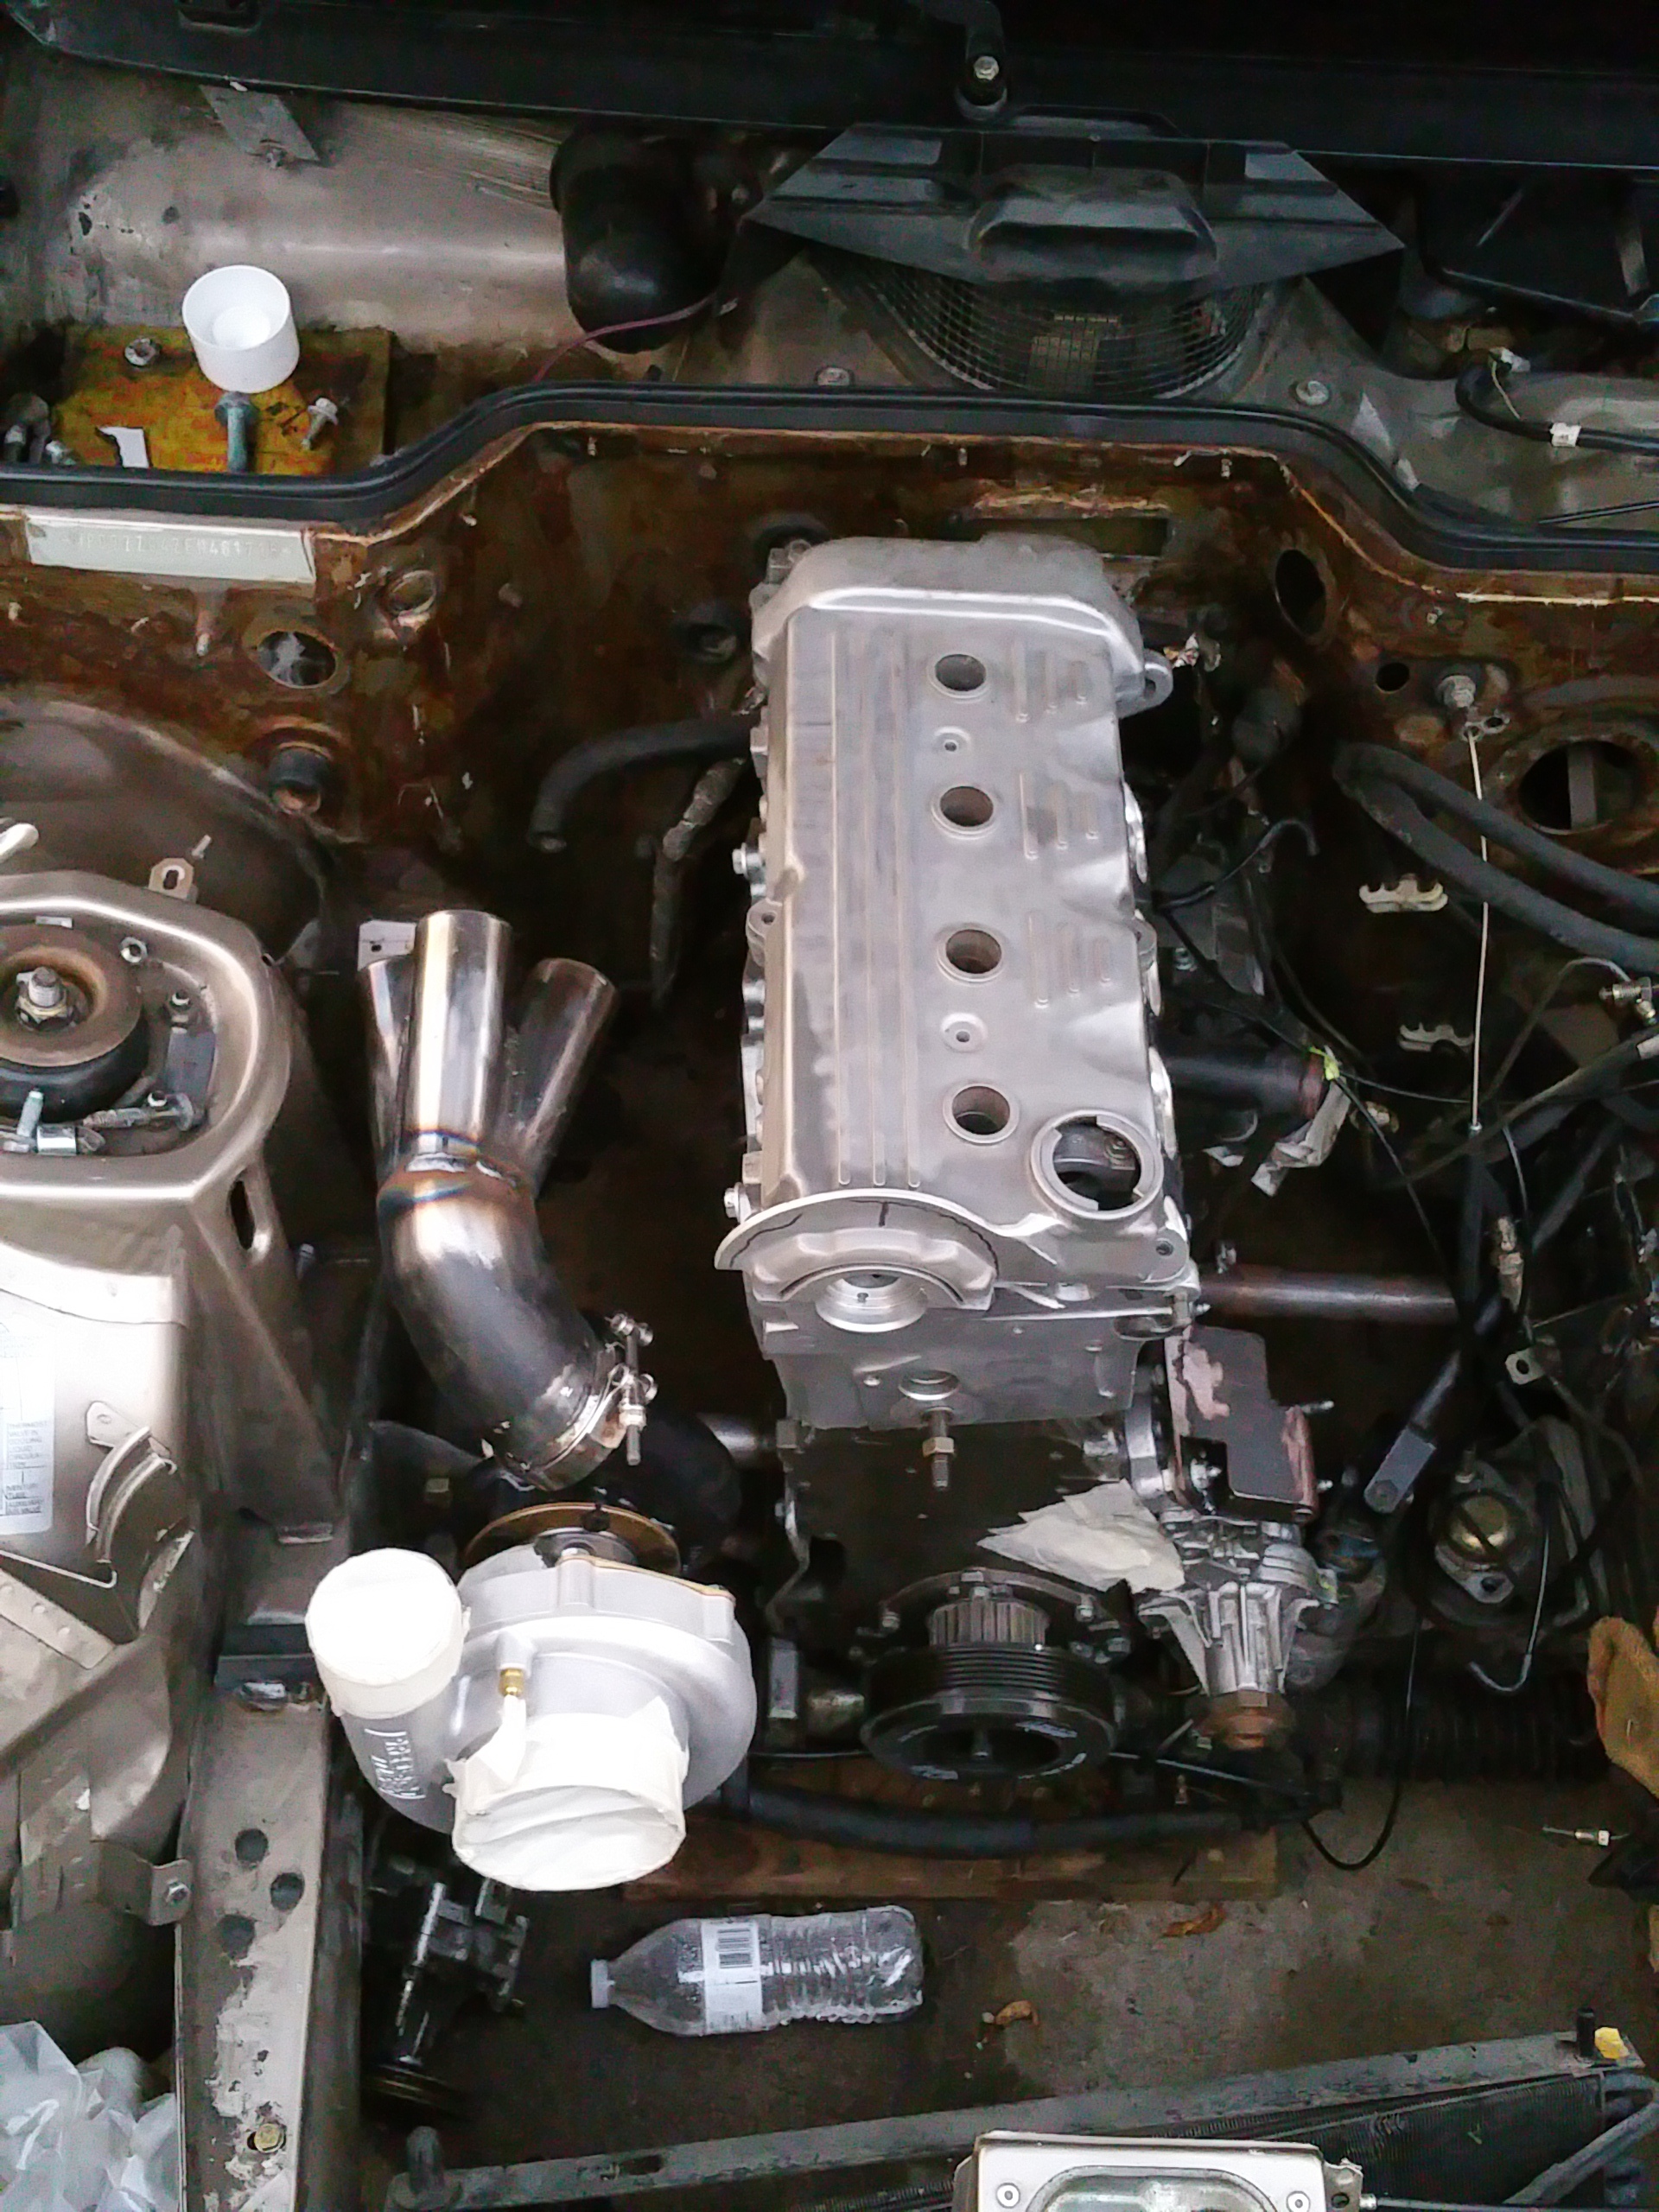
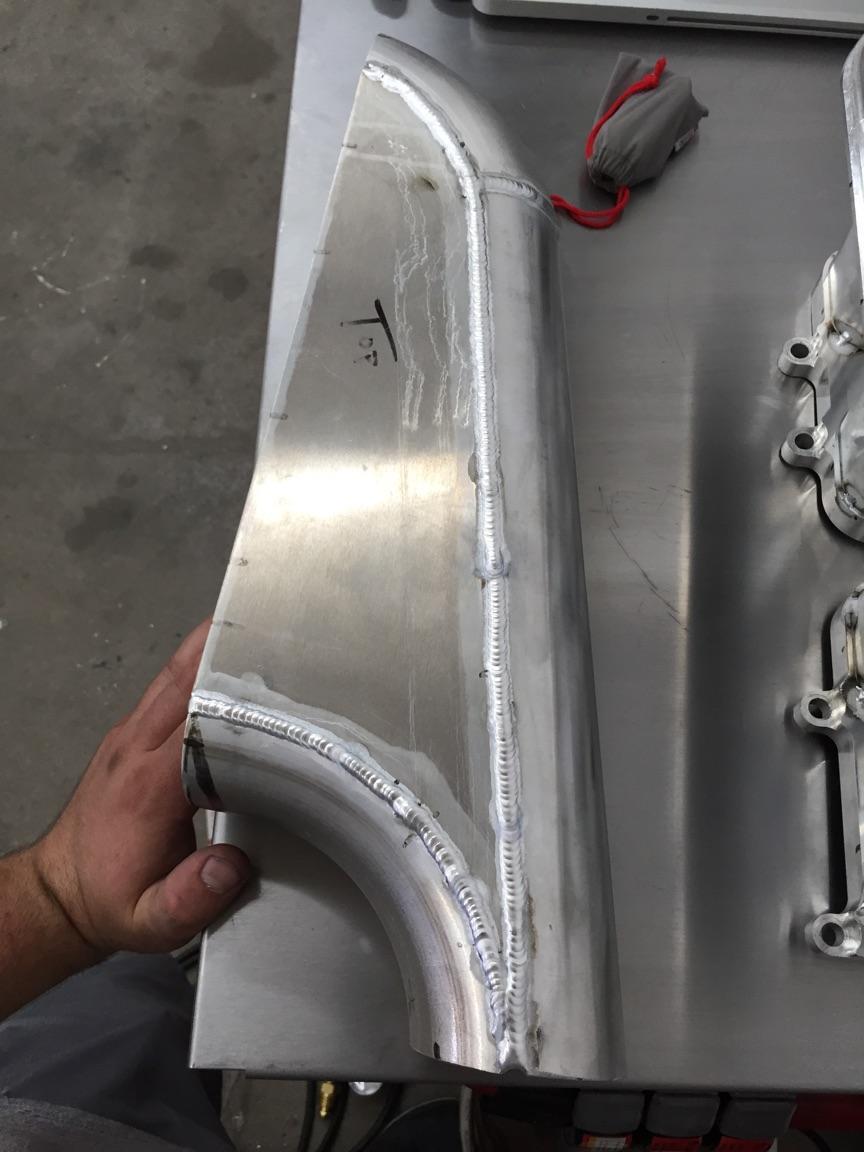
Fitted the wastegate and smoothed the welds on the manifold. I still have a little detail work to do before is ceramic coated.
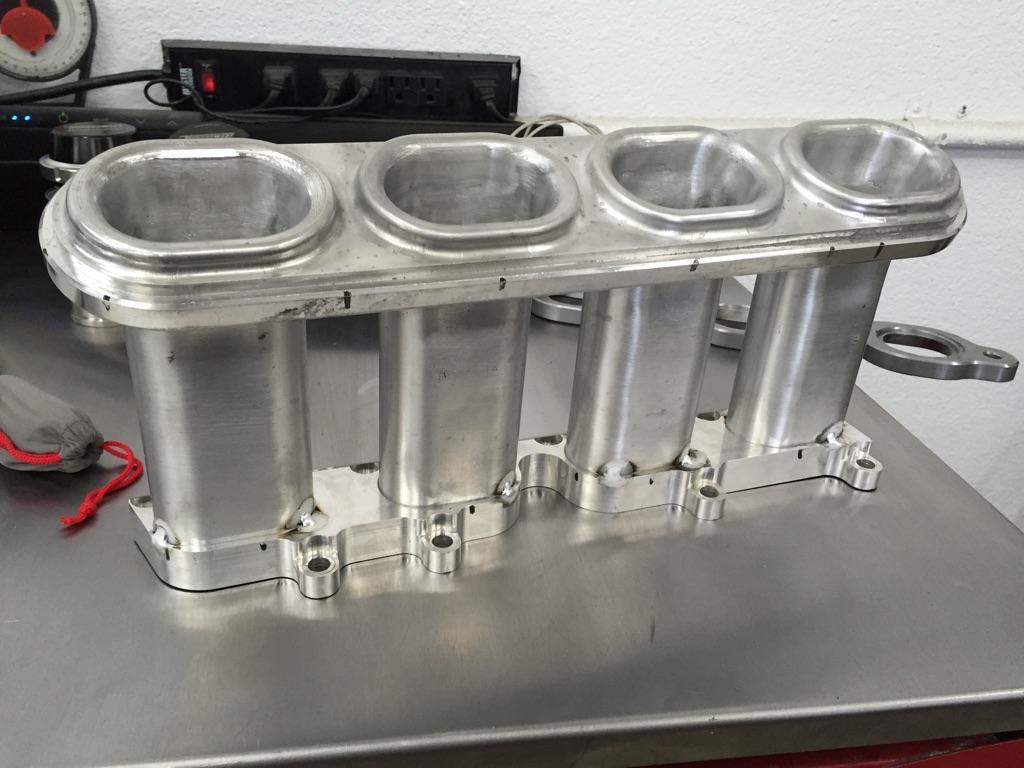
Intake manifold progress
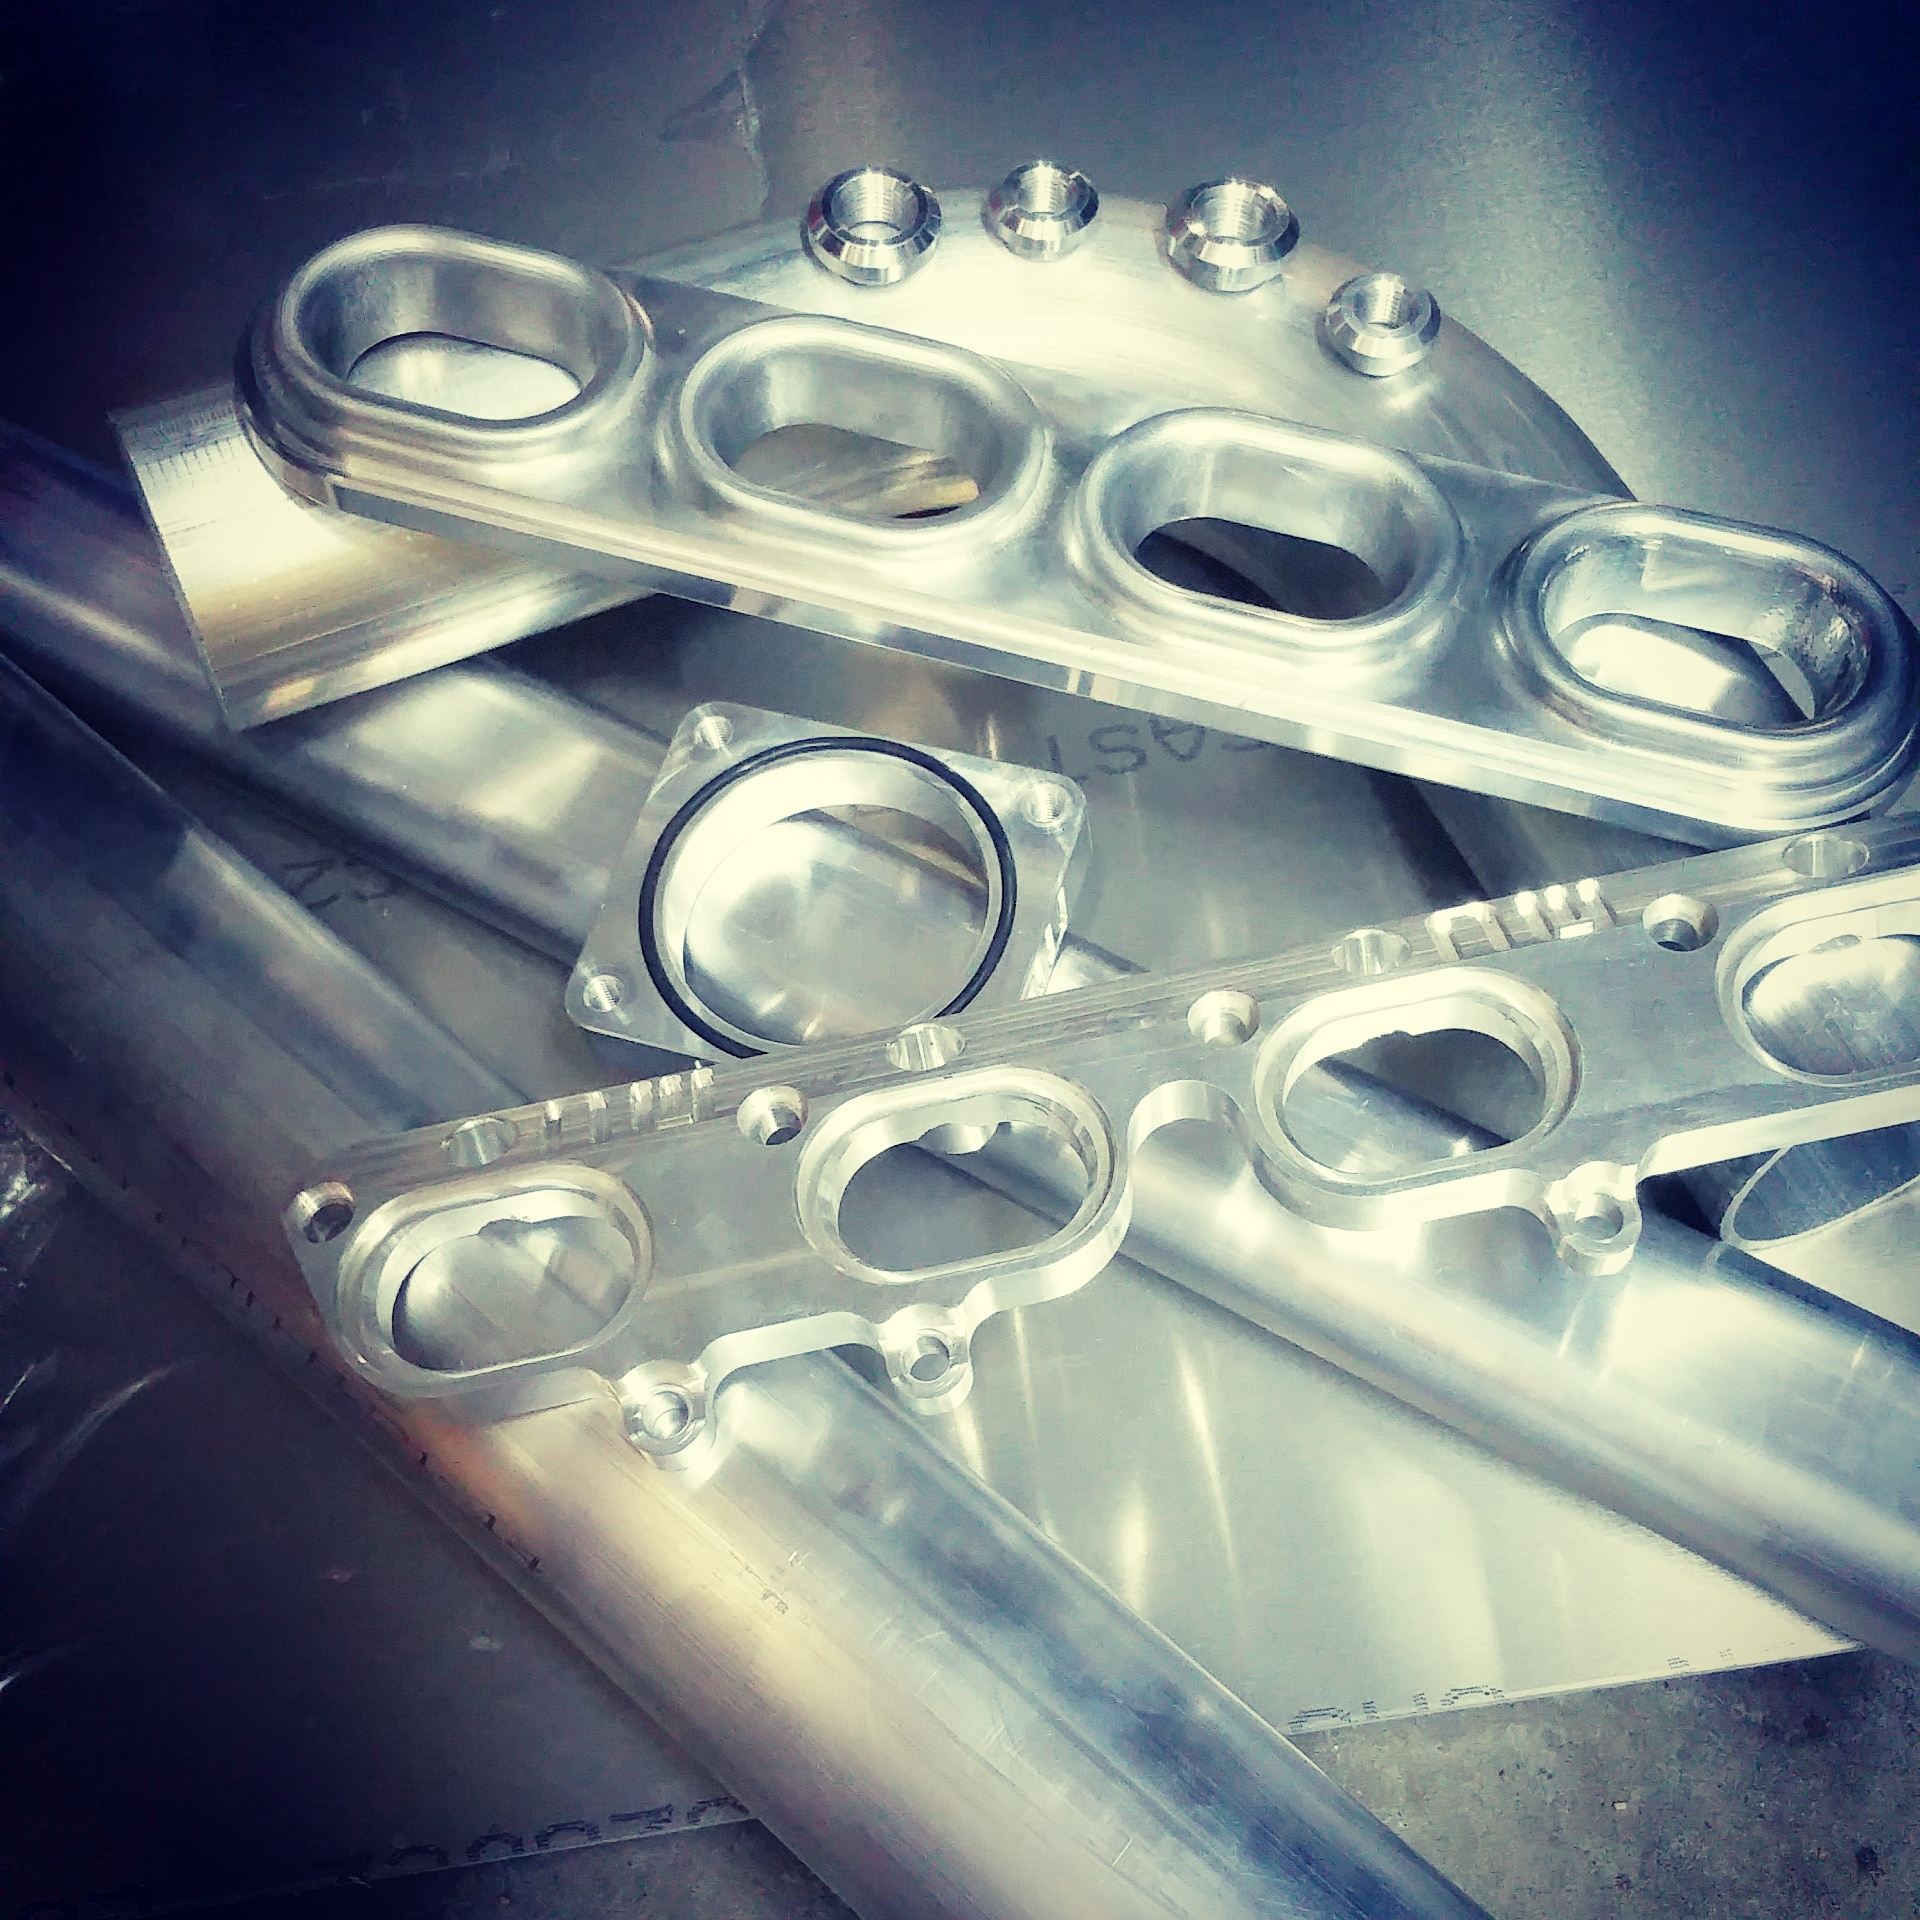
Tight fits

I'm getting excited to see things cone together.
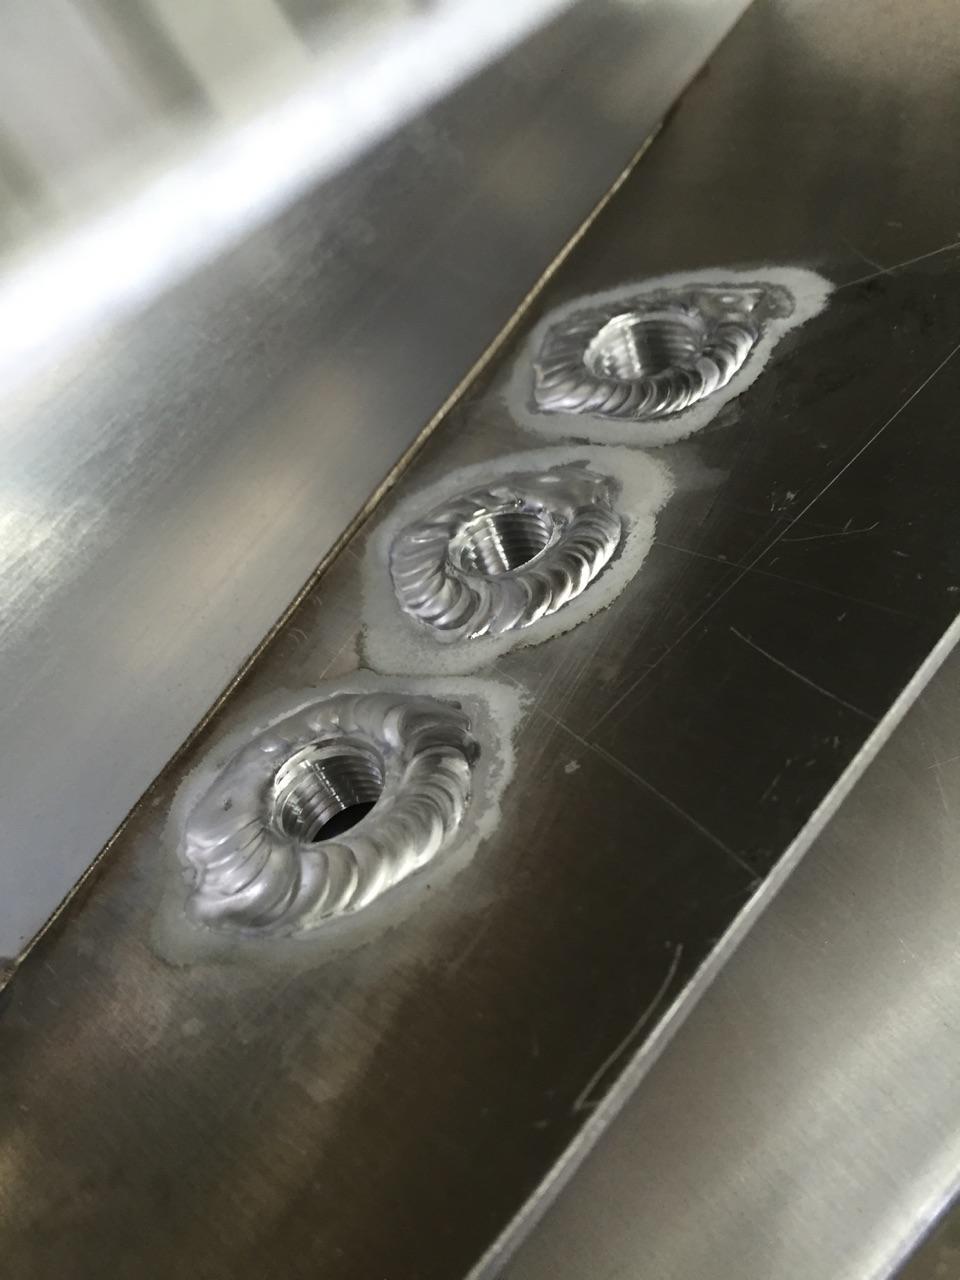
Welding progress.
The transitions are welded and smoothed.

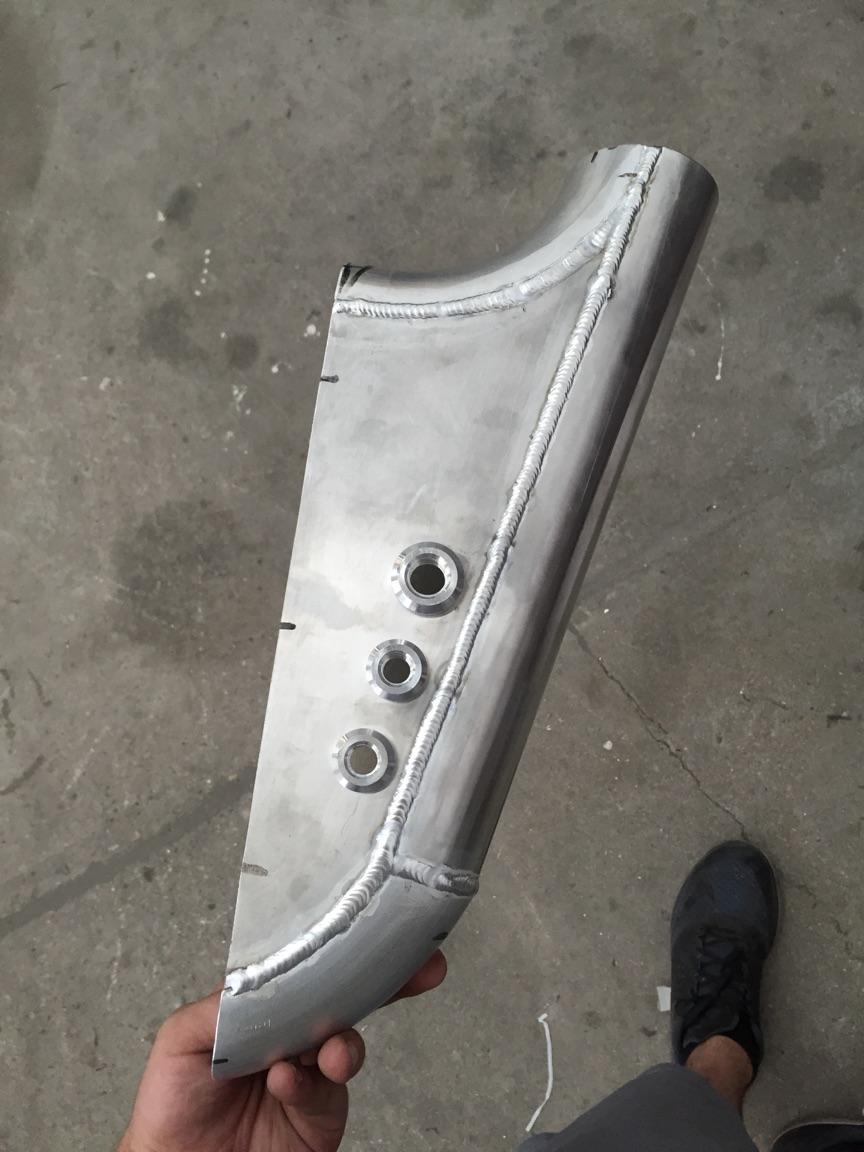
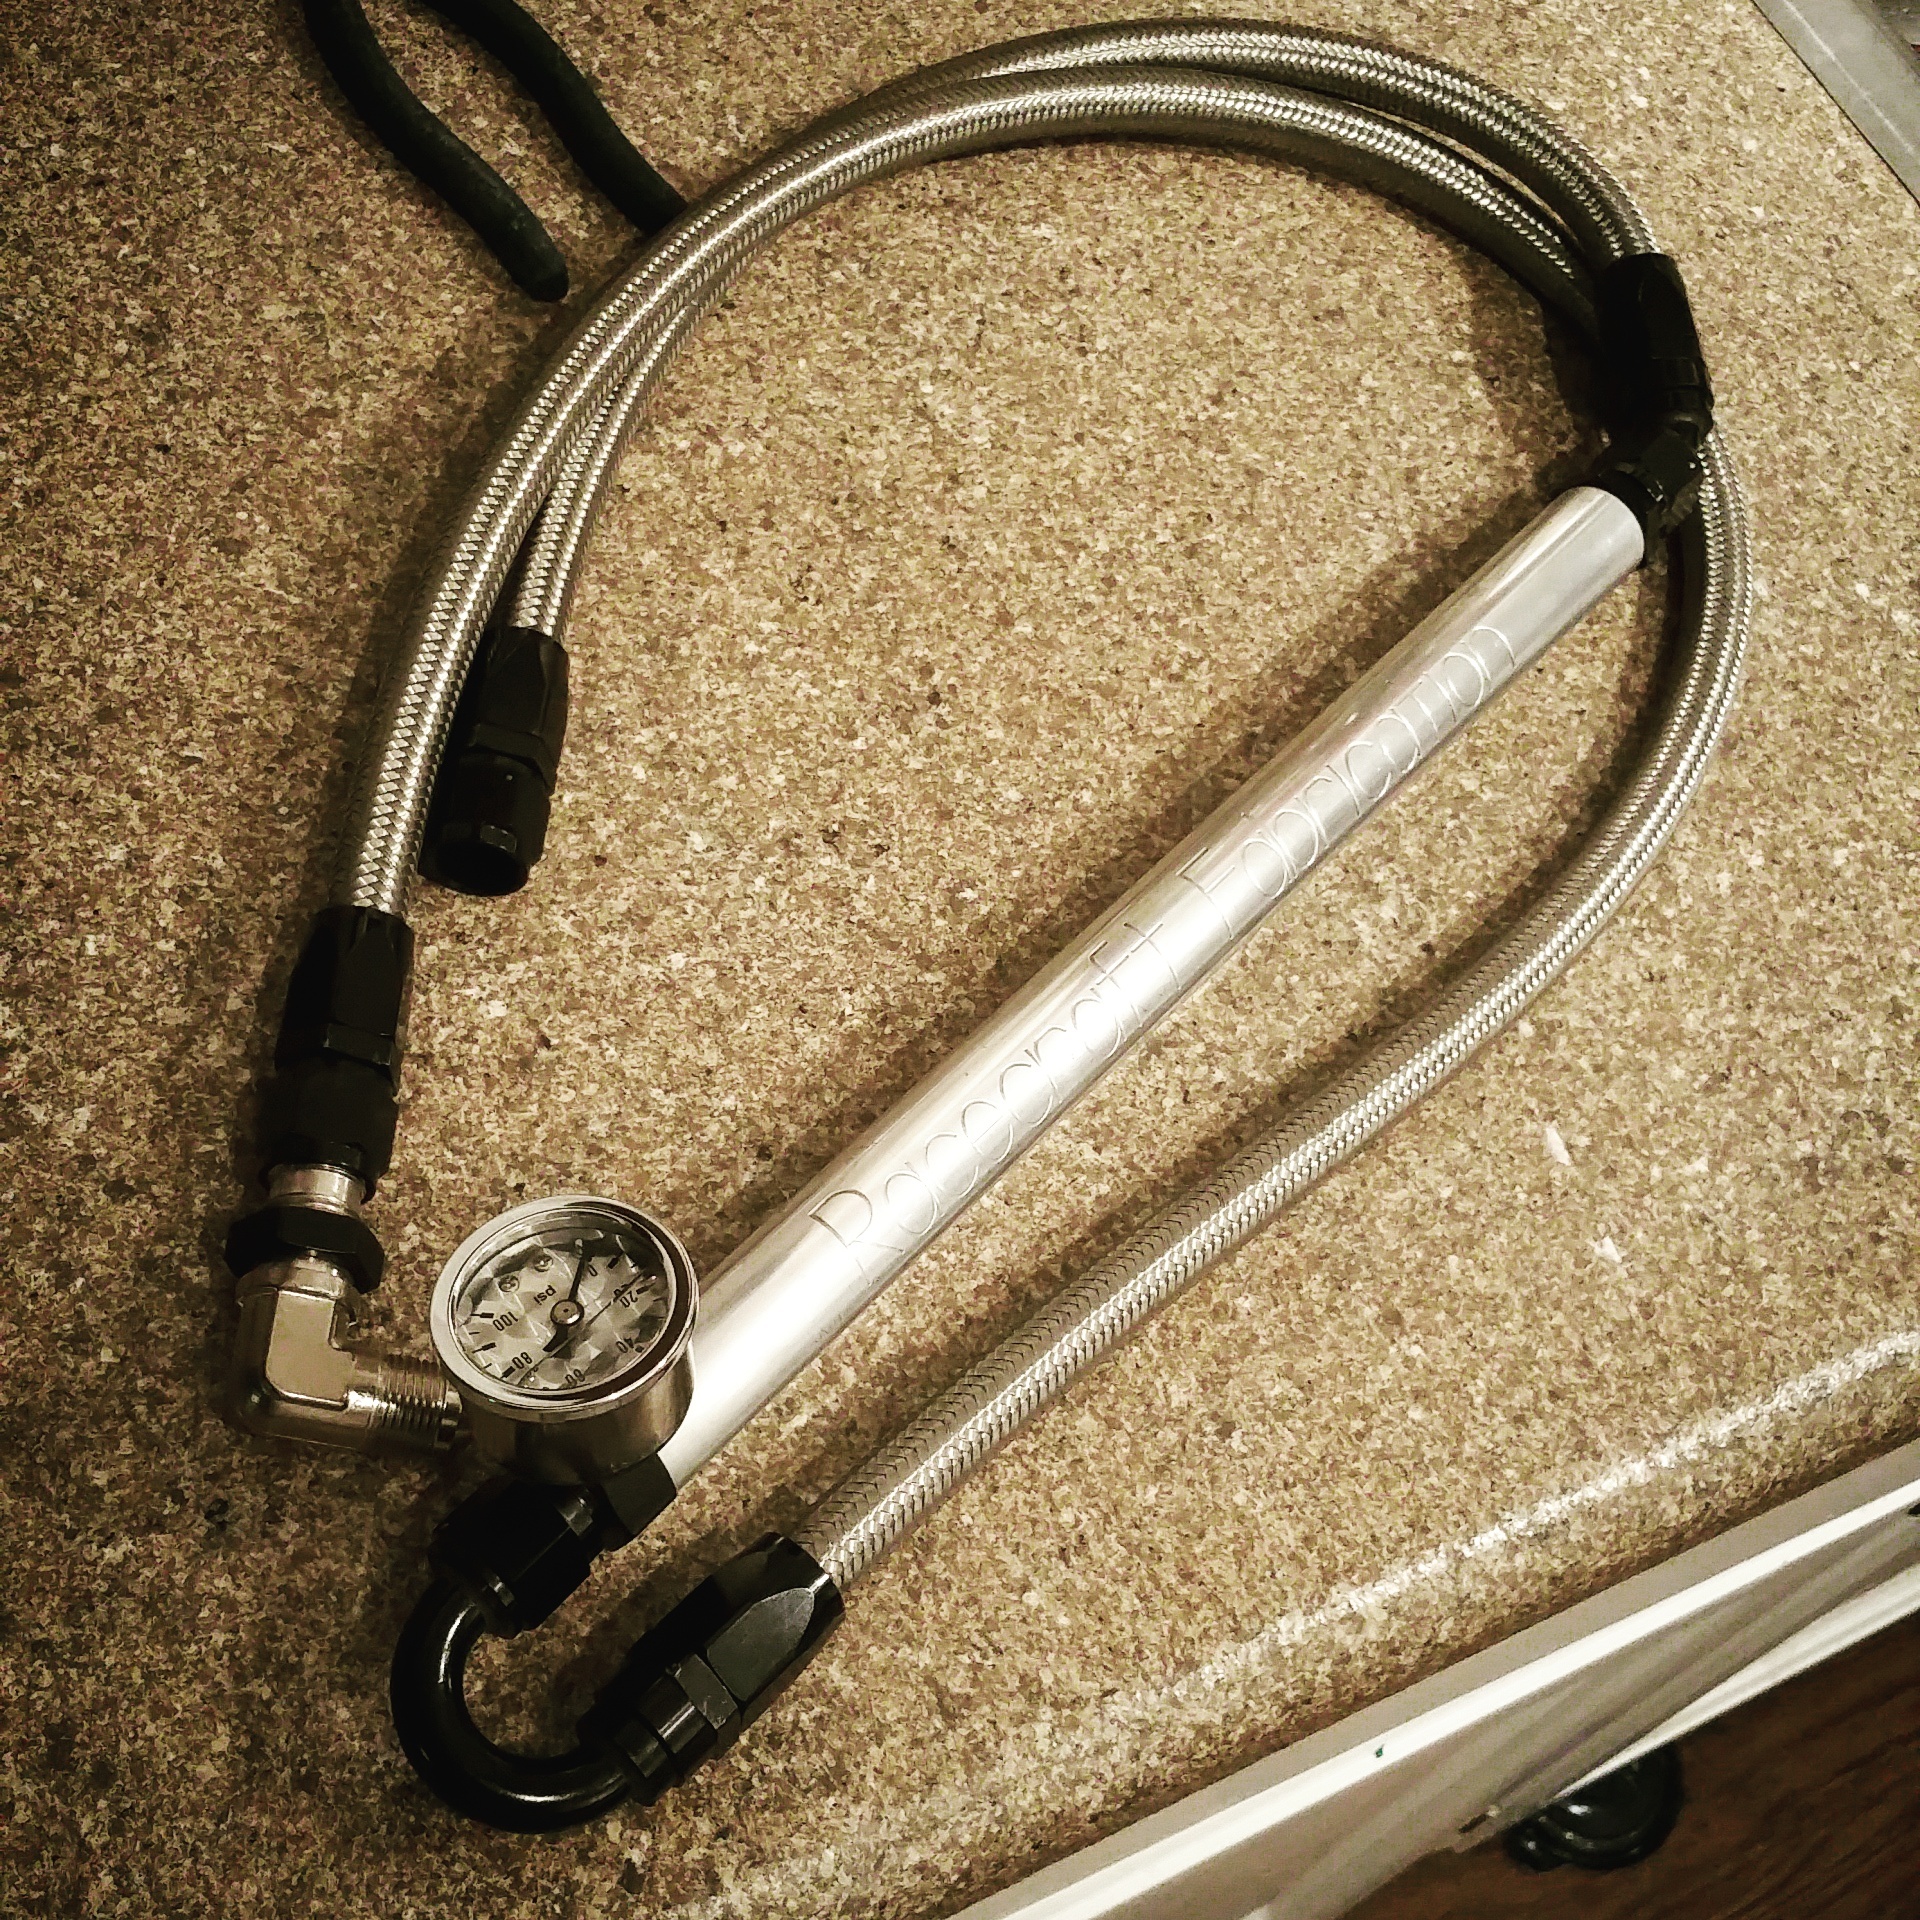
I have had this fuel rail setup hanging around for years now and have never used it. I'm working out the mounts for it now.
Fitted the wastegate and smoothed the welds on the manifold. I still have a little detail work to do before is ceramic coated.

Intake manifold progress


Tight fits


I'm getting excited to see things cone together.

Welding progress.
The transitions are welded and smoothed.


I have had this fuel rail setup hanging around for years now and have never used it. I'm working out the mounts for it now.
 09-07-2015, 12:48 PM
#42
Advanced
Thread Starter
Thank you! The frame rail ends of the mounts are poly bushings. I'm sure the vibrations will still be rattling at idle. I had a Corrado with fairly solid mounts years ago, with a motor very similar to this one. It had a mean vibration at idle, then would clear up completely by 1200 or so rpm.
09-07-2015, 01:31 PM
#43
welcome, nice tt!
09-08-2015, 01:33 PM
#44
Advanced
Thread Starter
Thanks! The TT is a completely different monster now days. It was my number one project until the 944 cut in line.
I'll get back to it next year.

I'll get back to it next year.
09-23-2015, 02:13 PM
#45
Advanced
Thread Starter
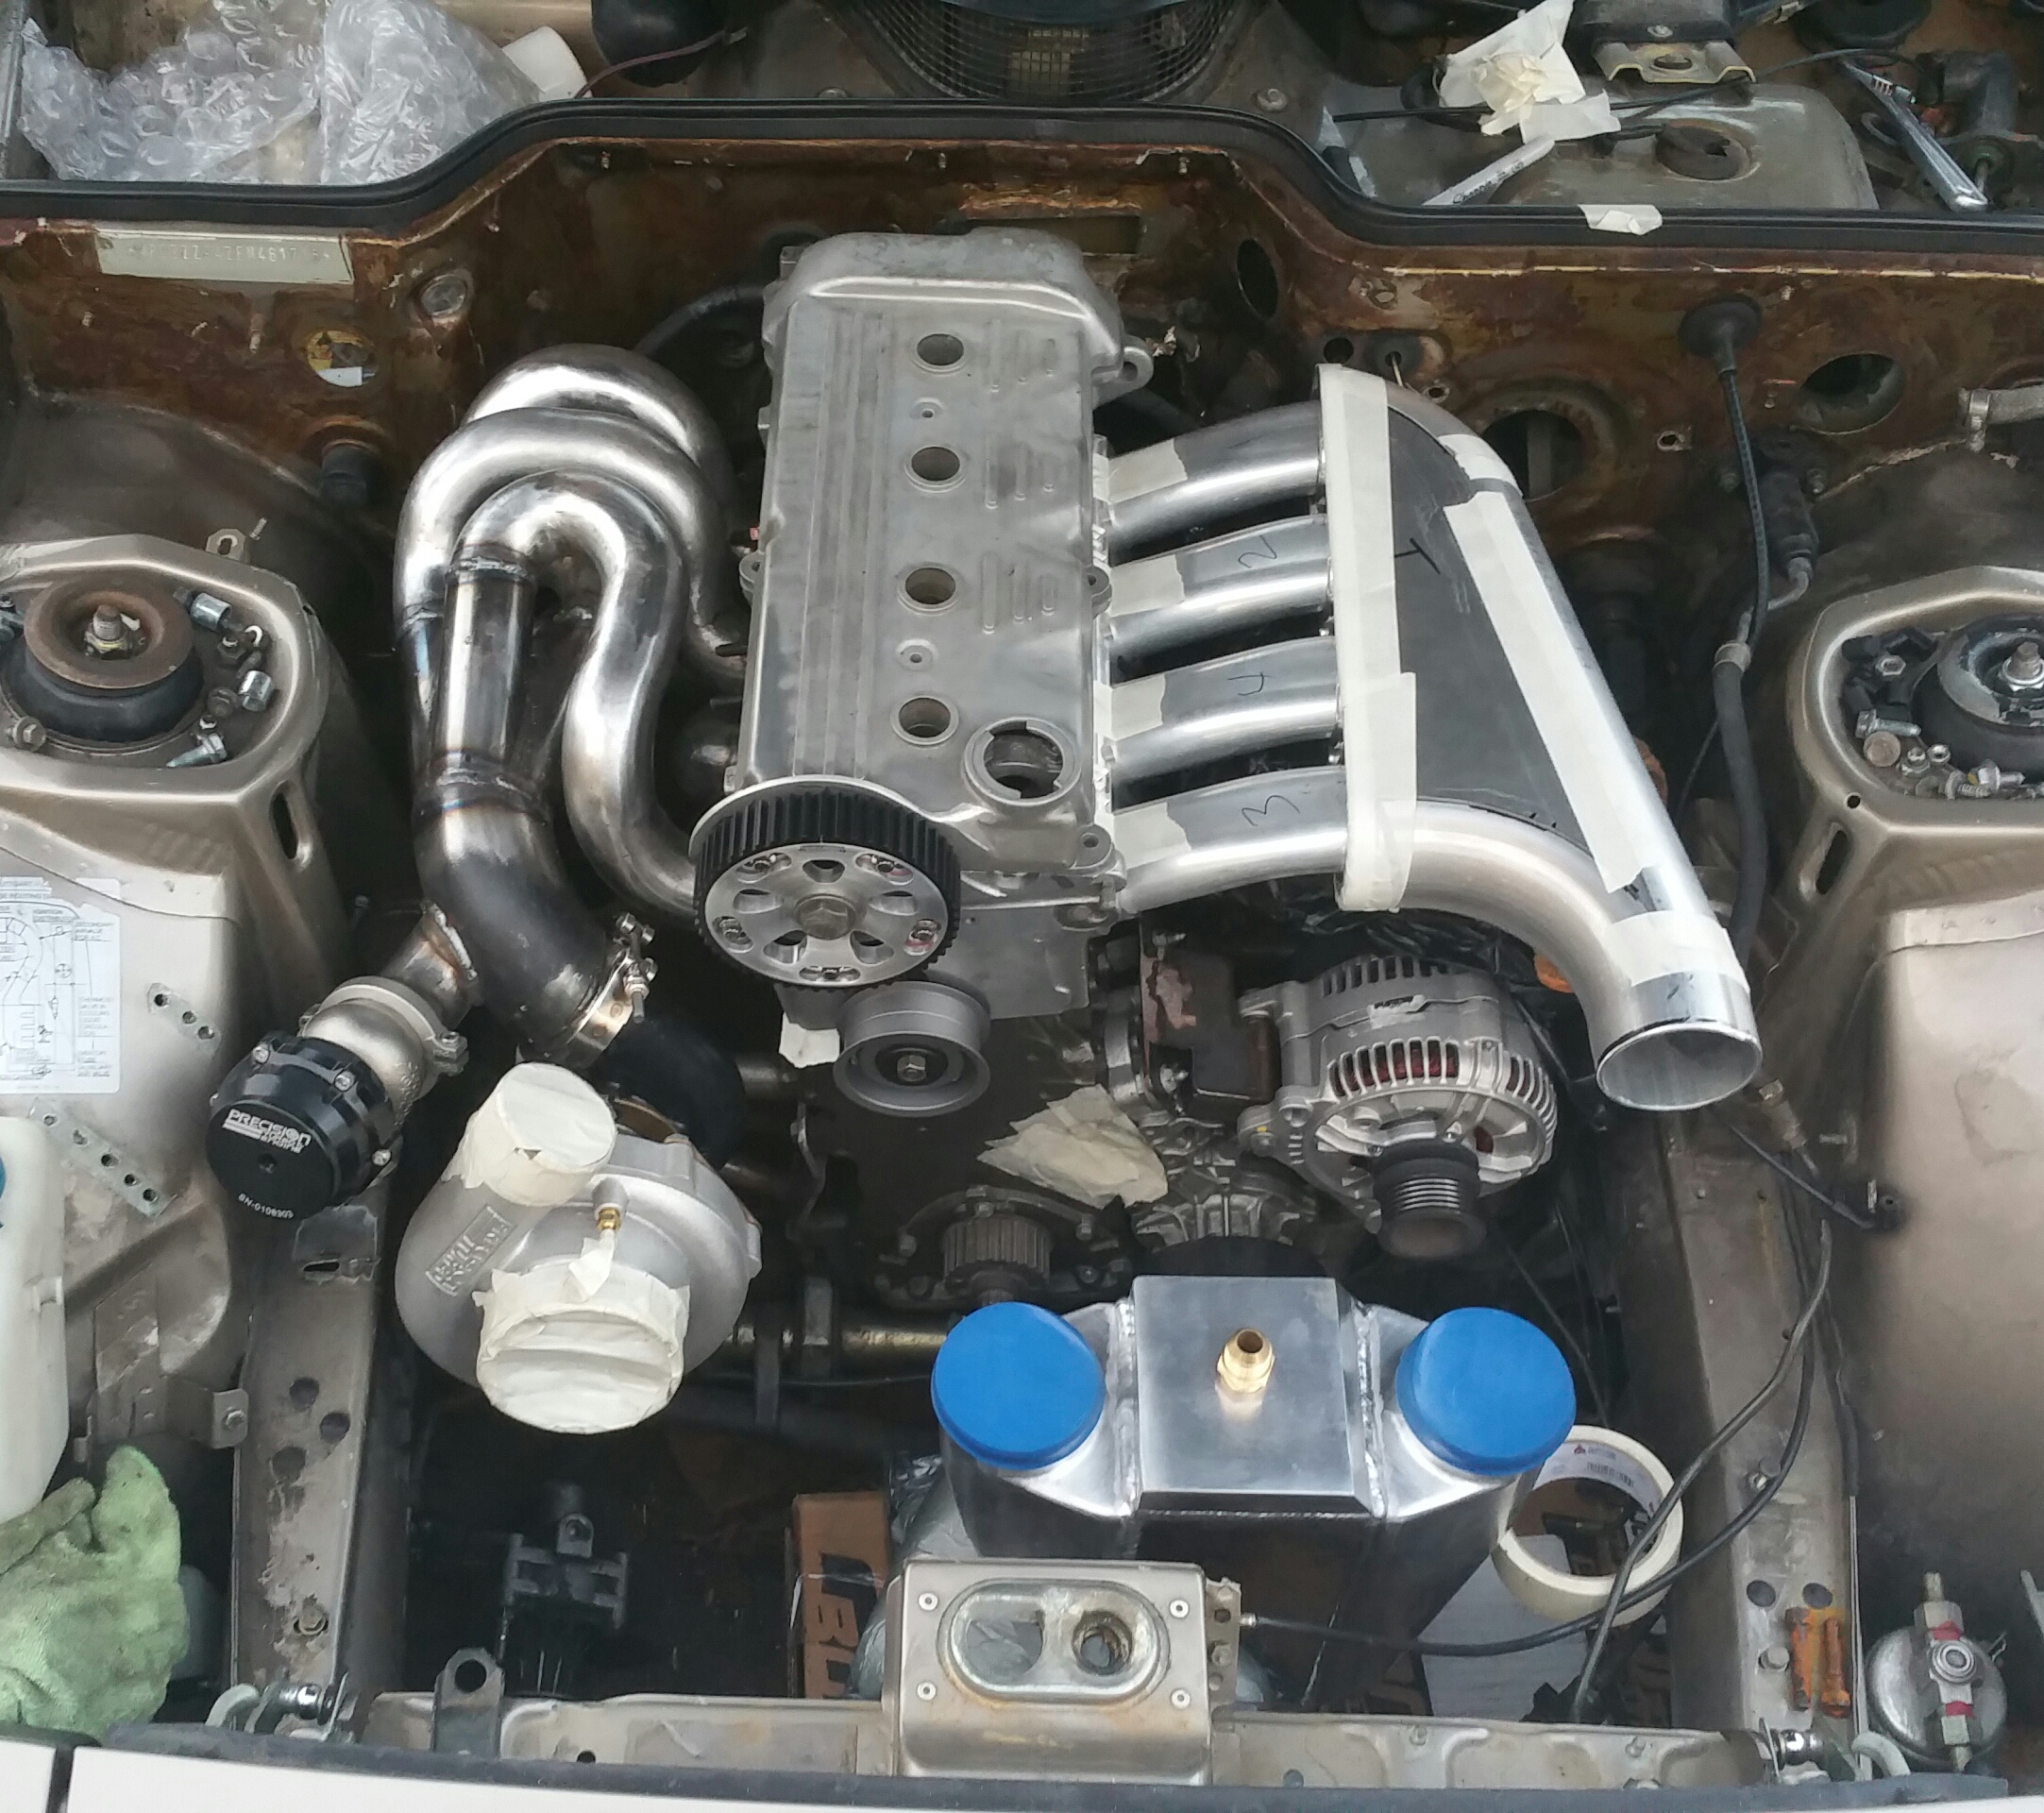
A couple new pictures.
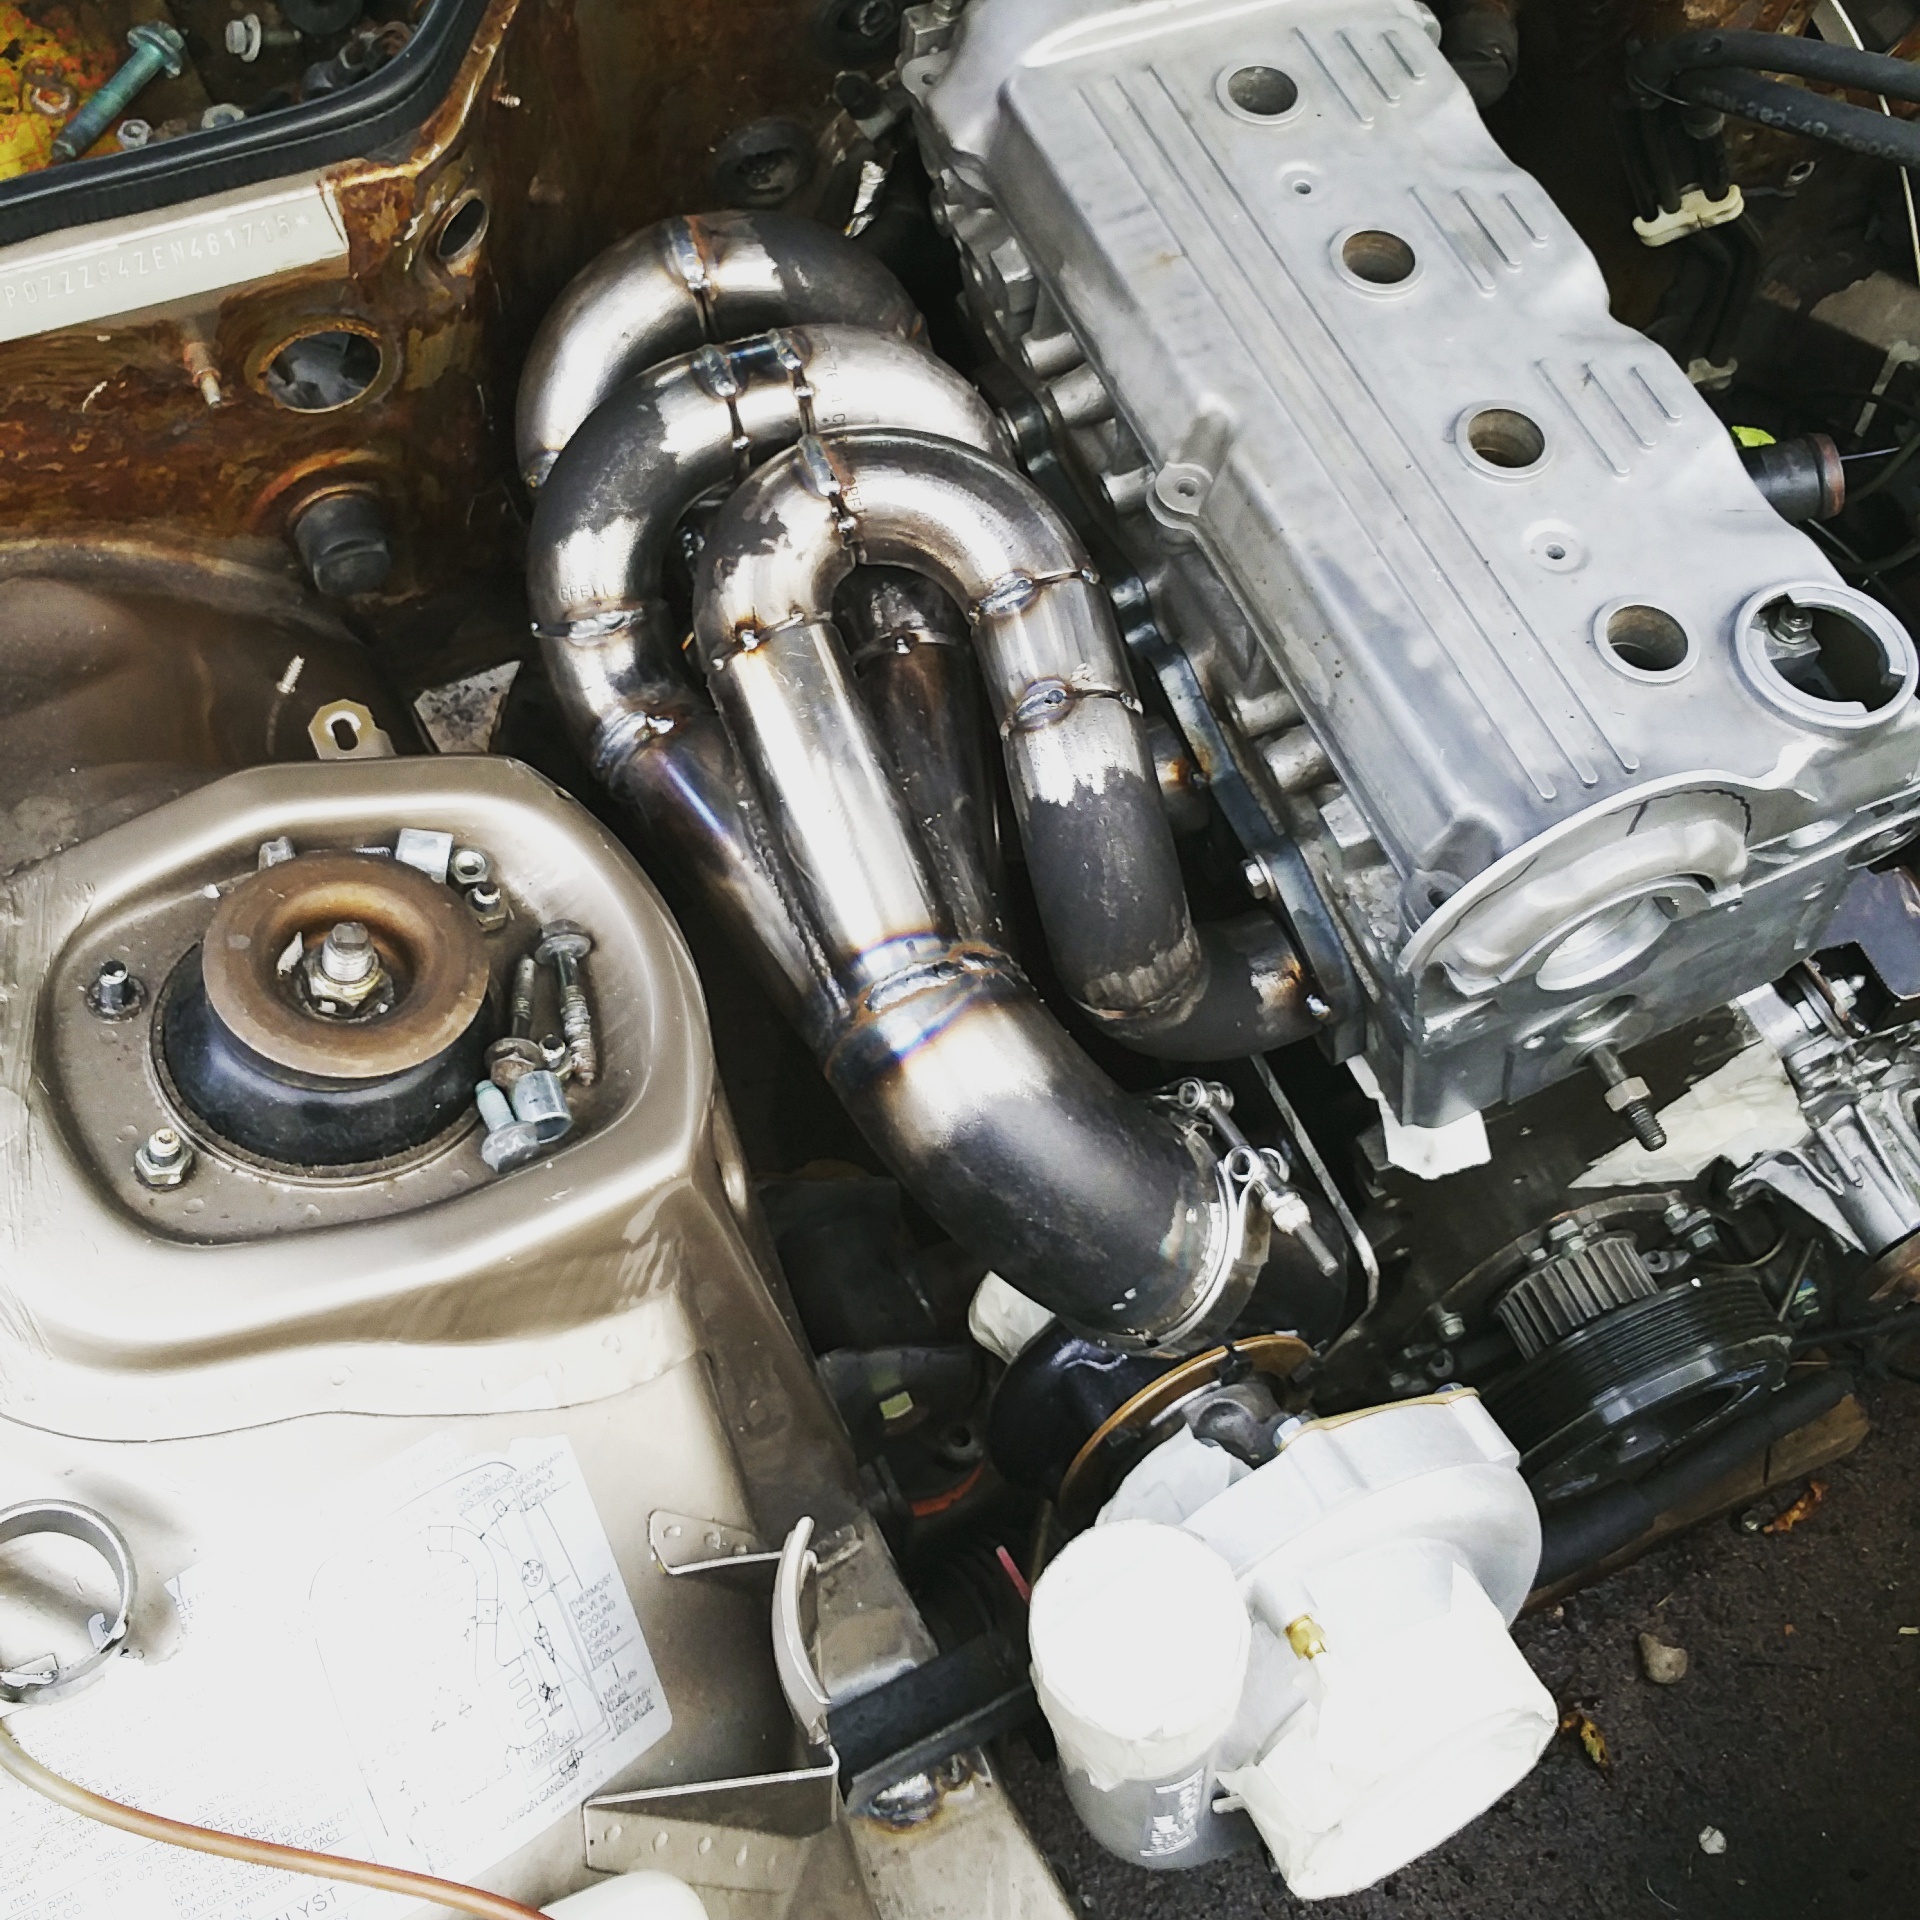
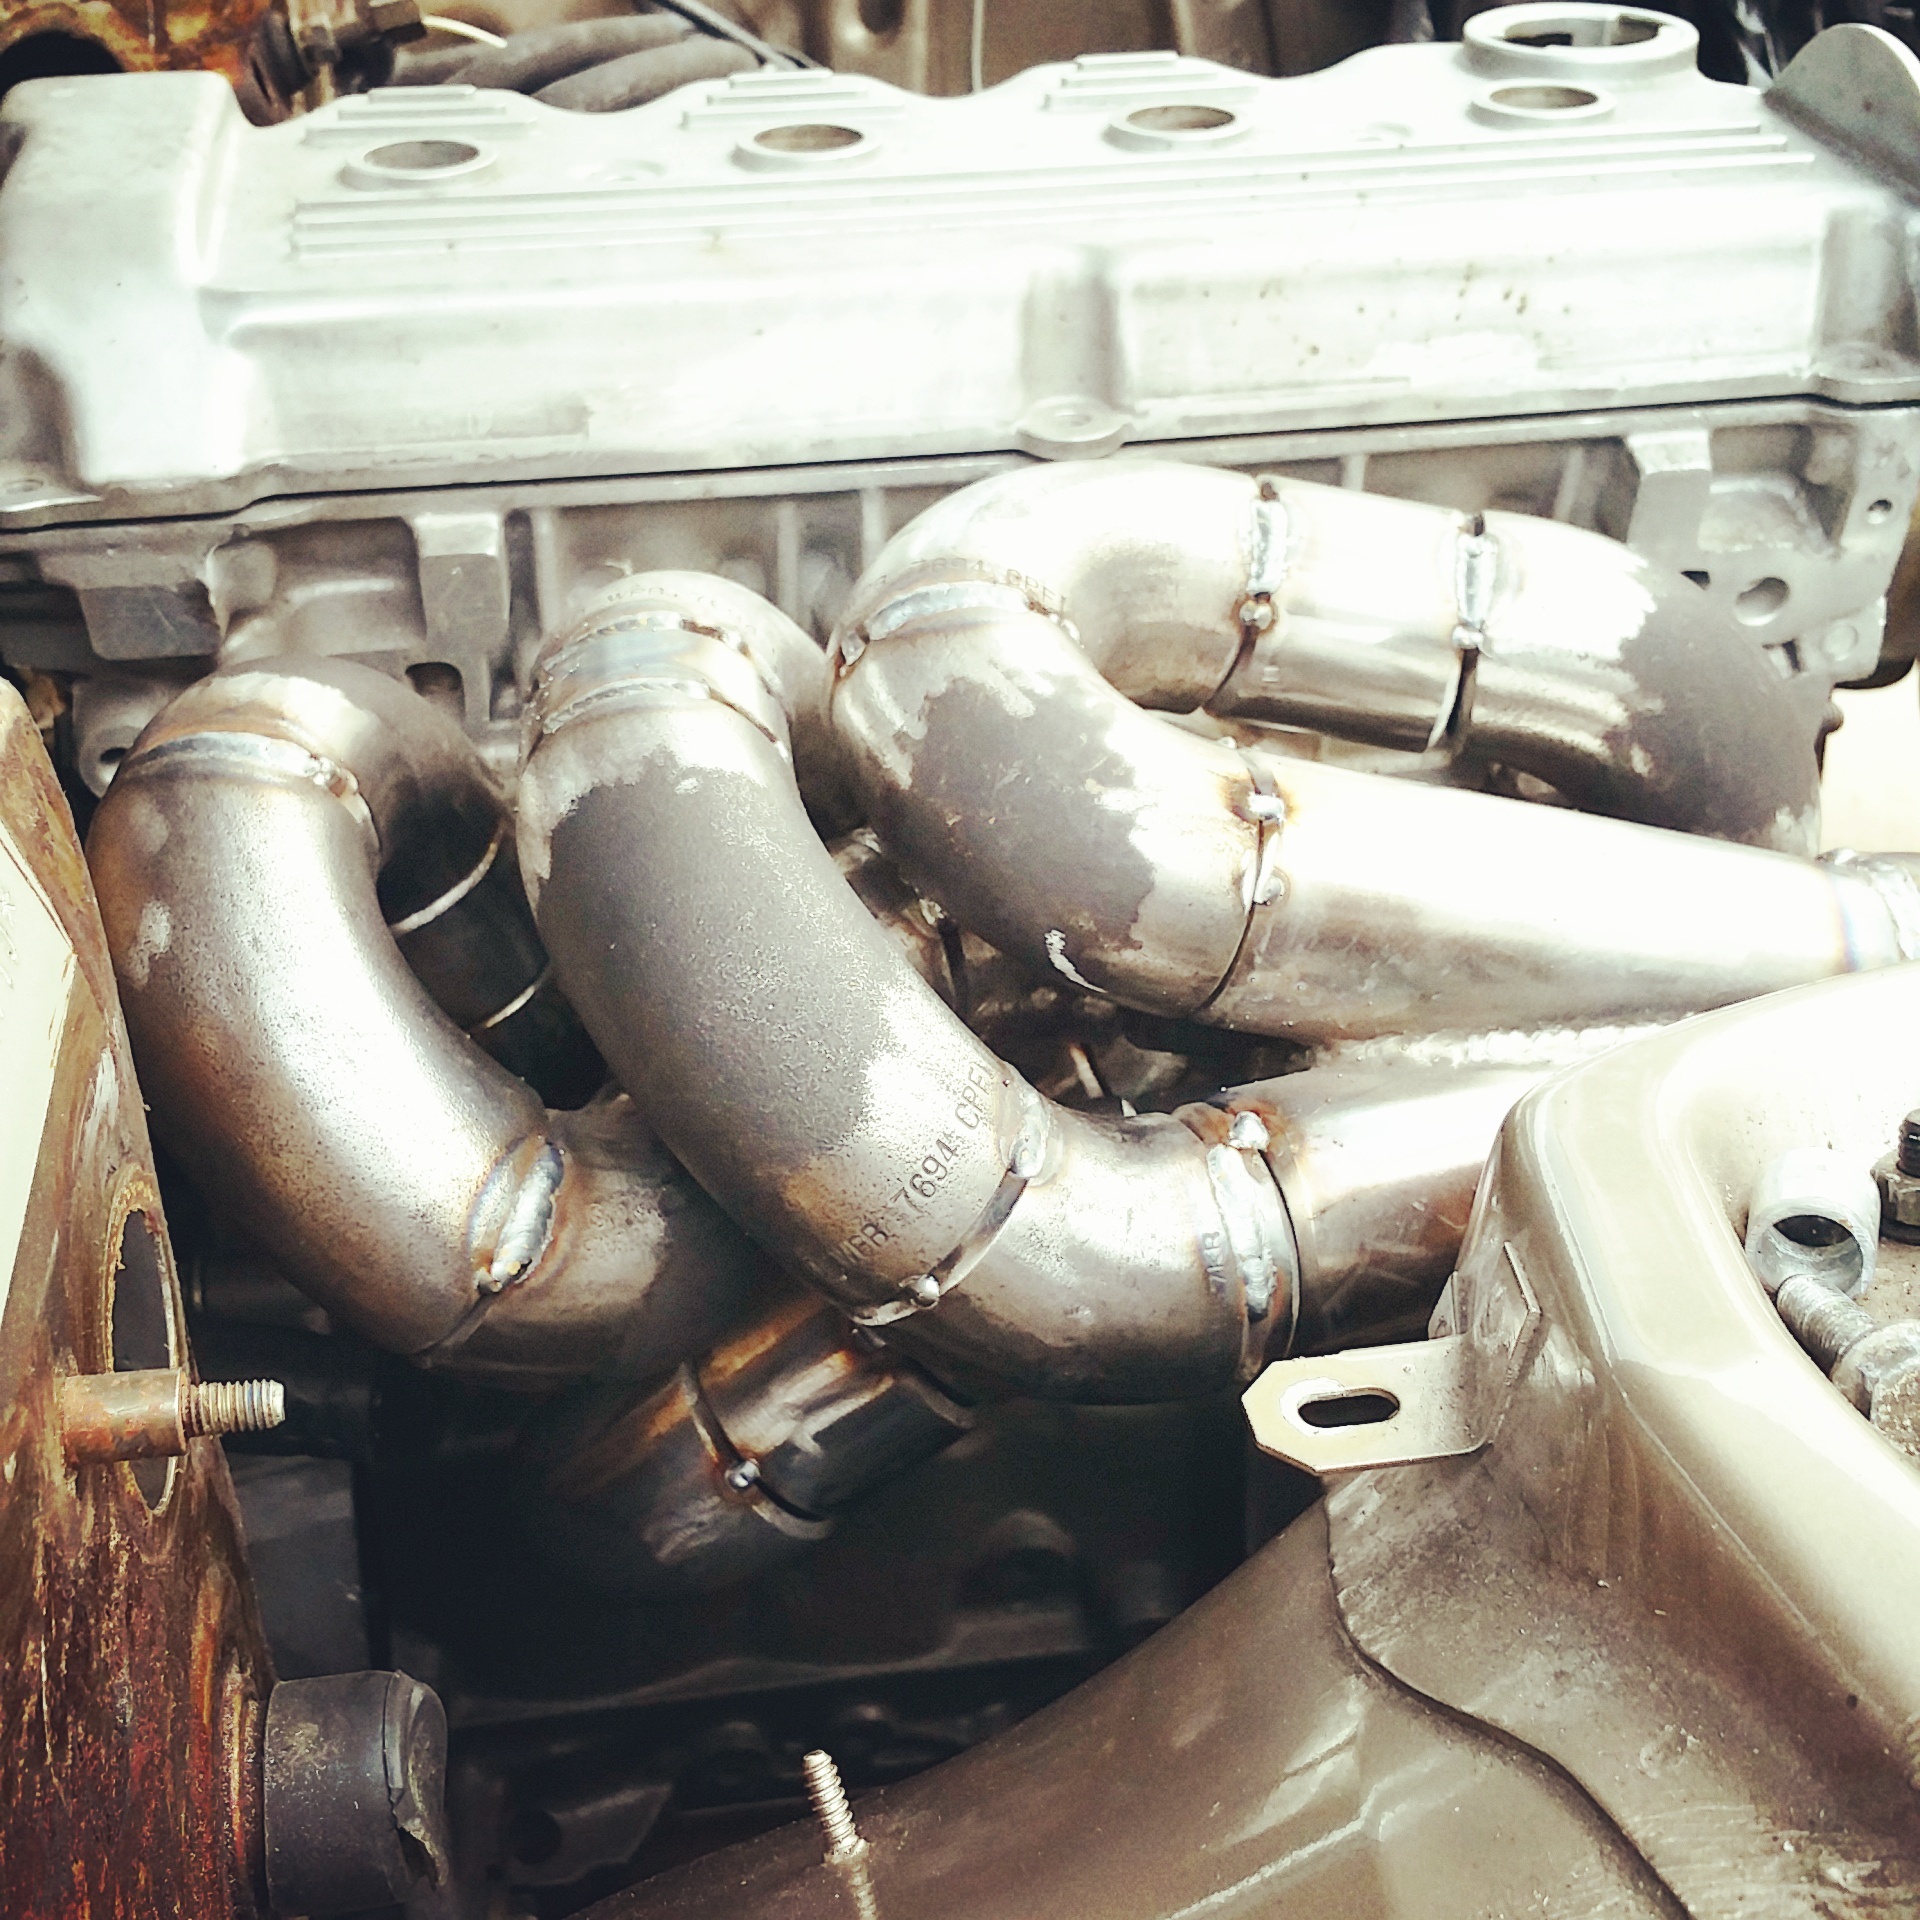
The finished manifold.
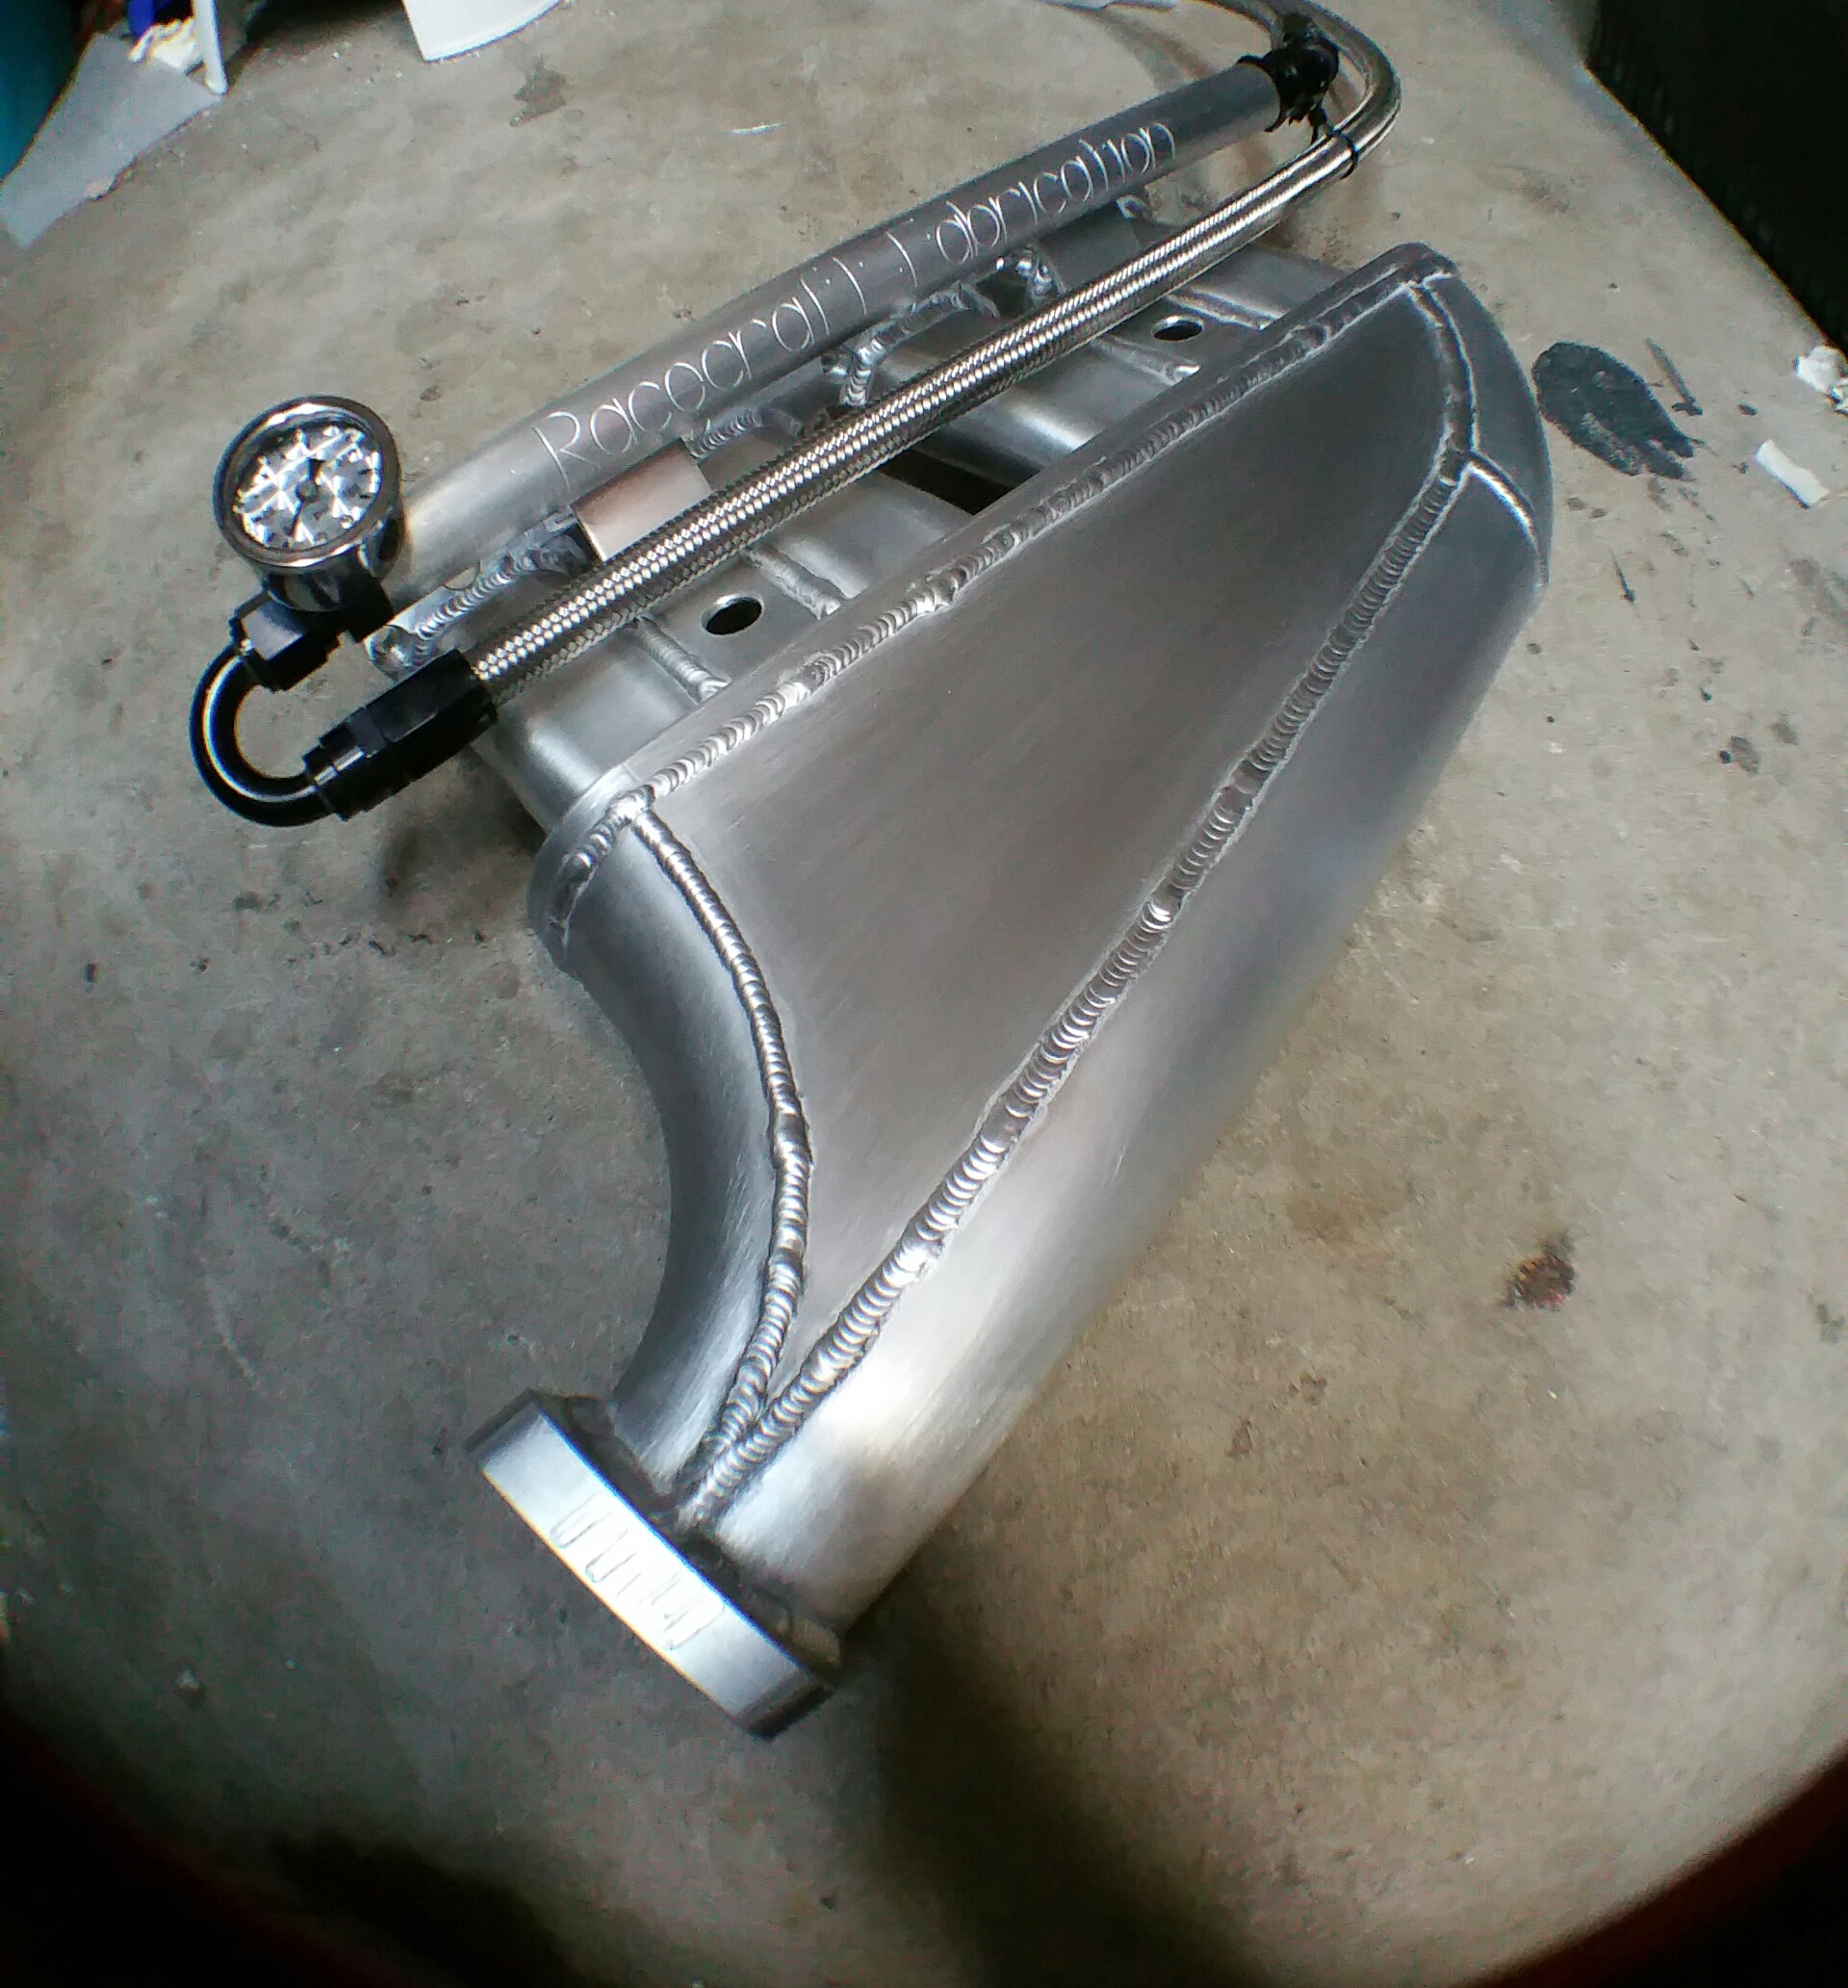
In place.
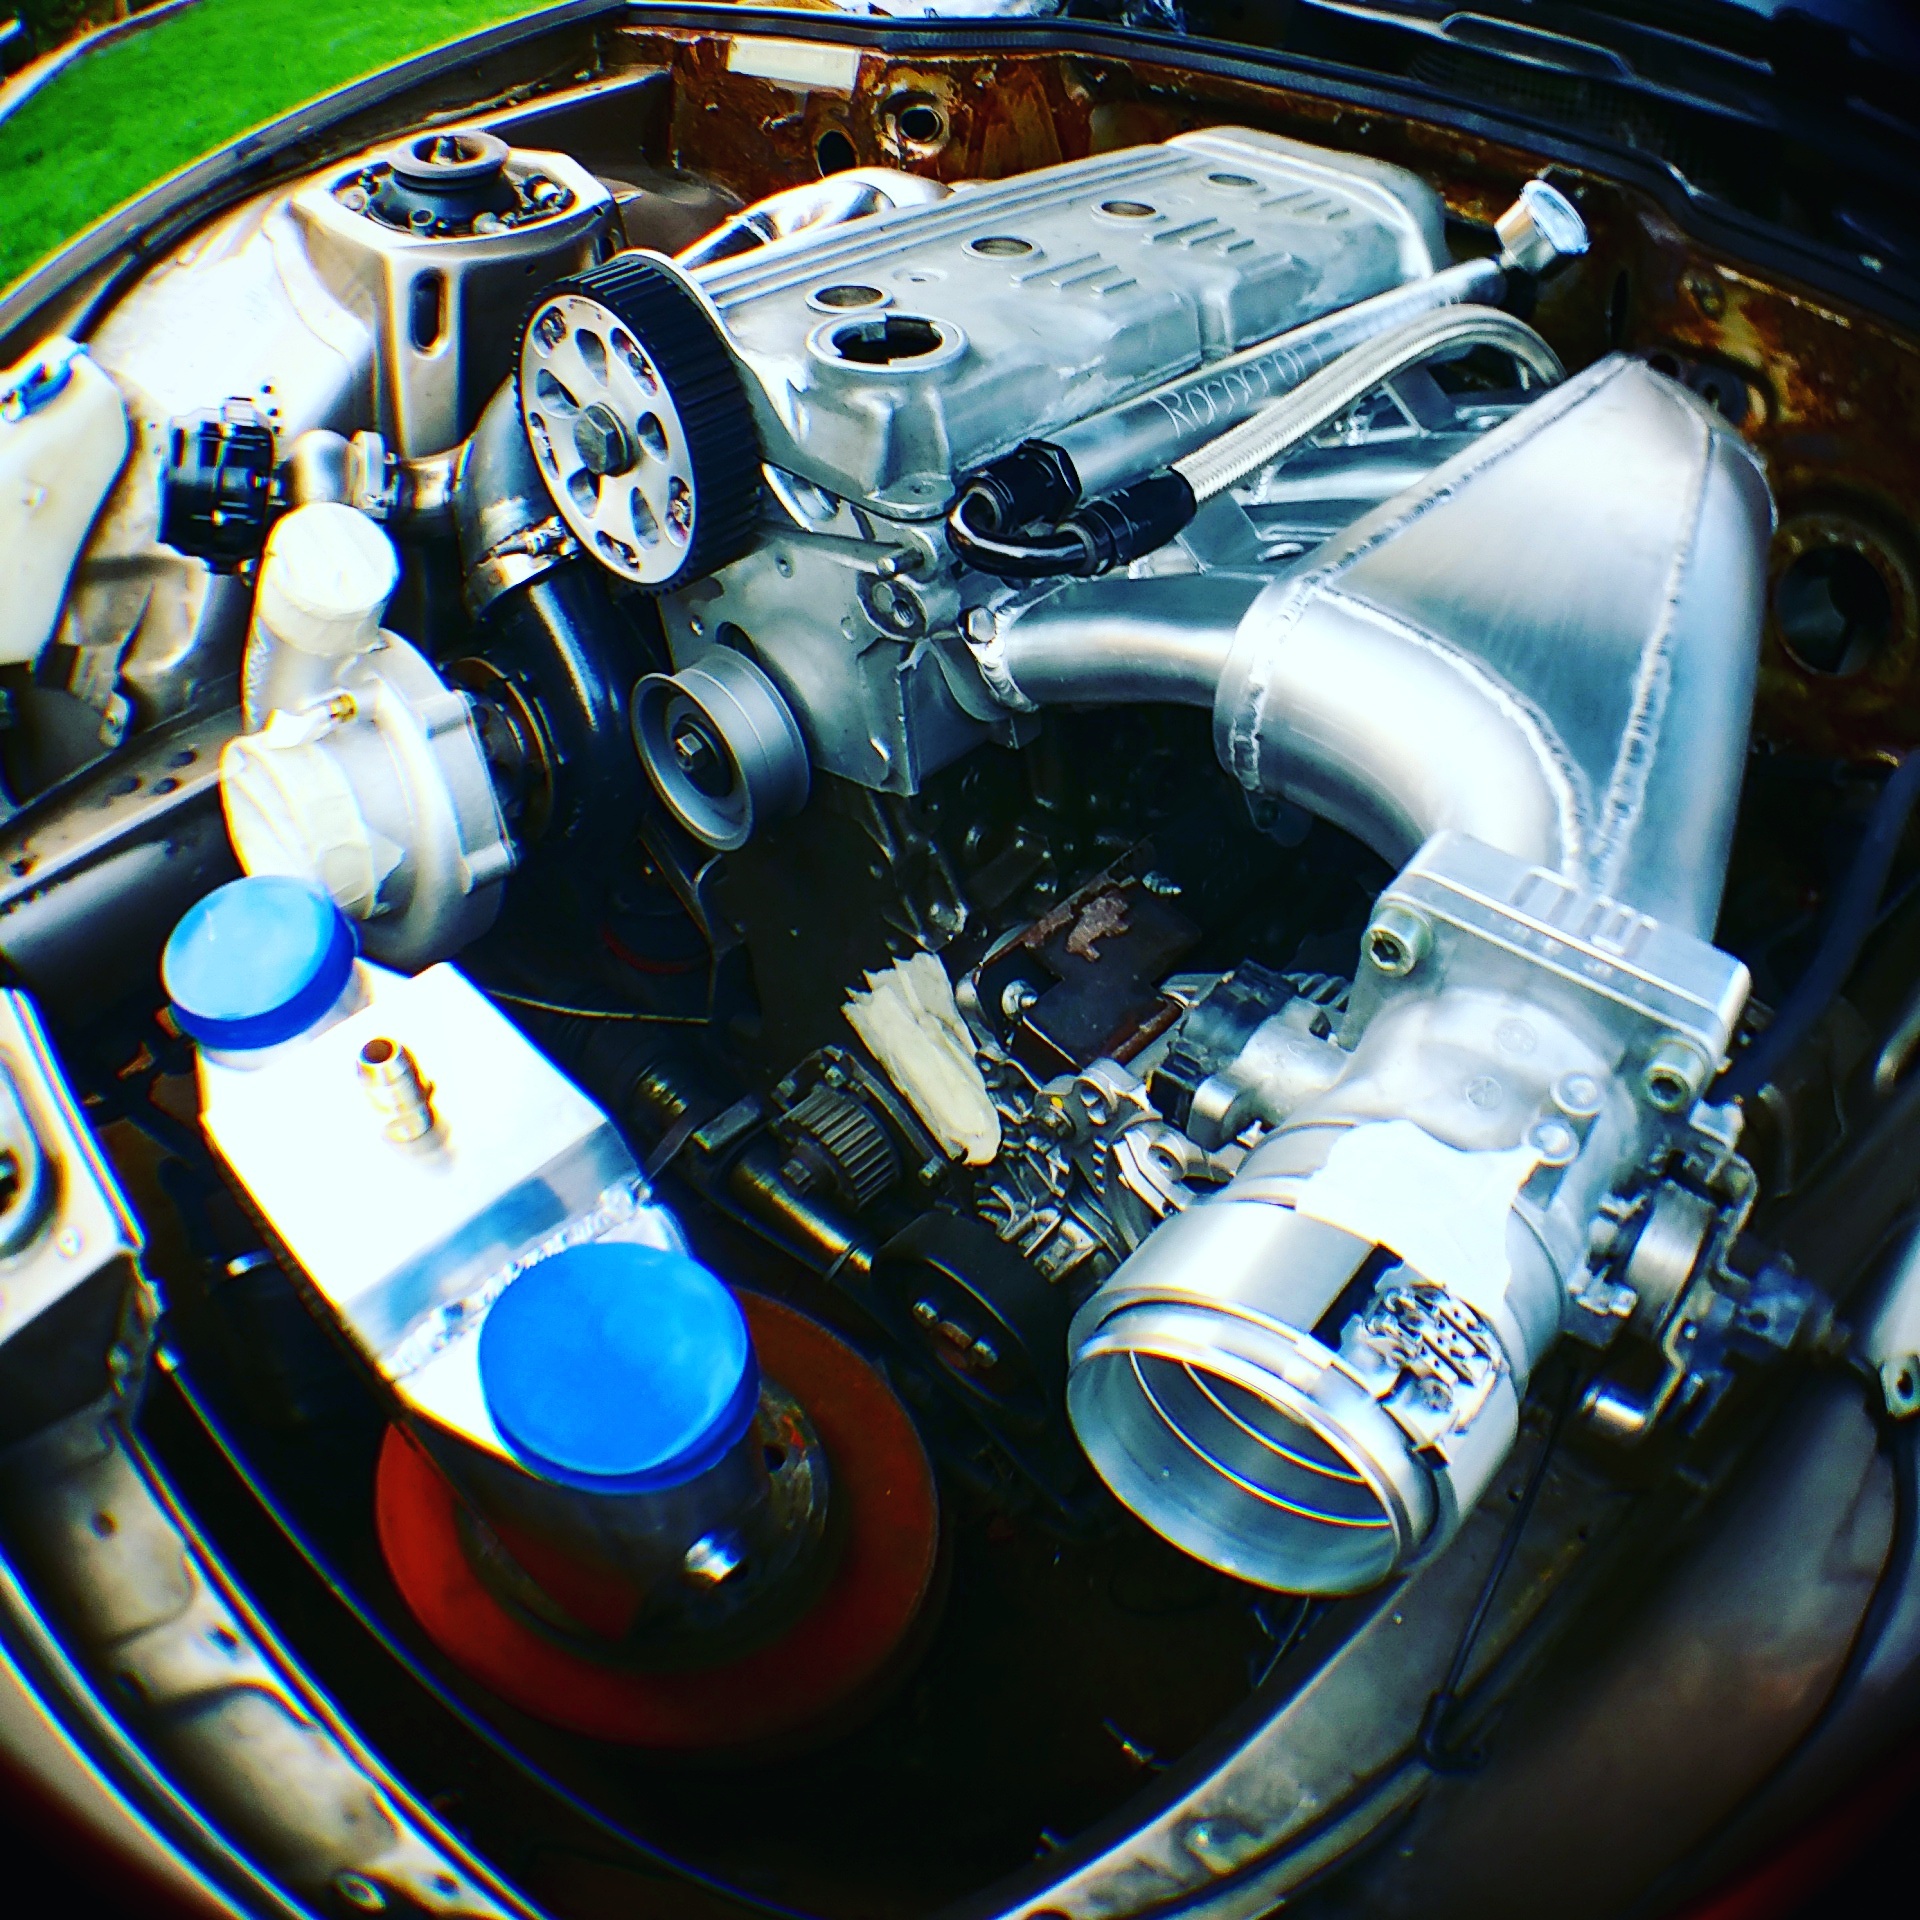
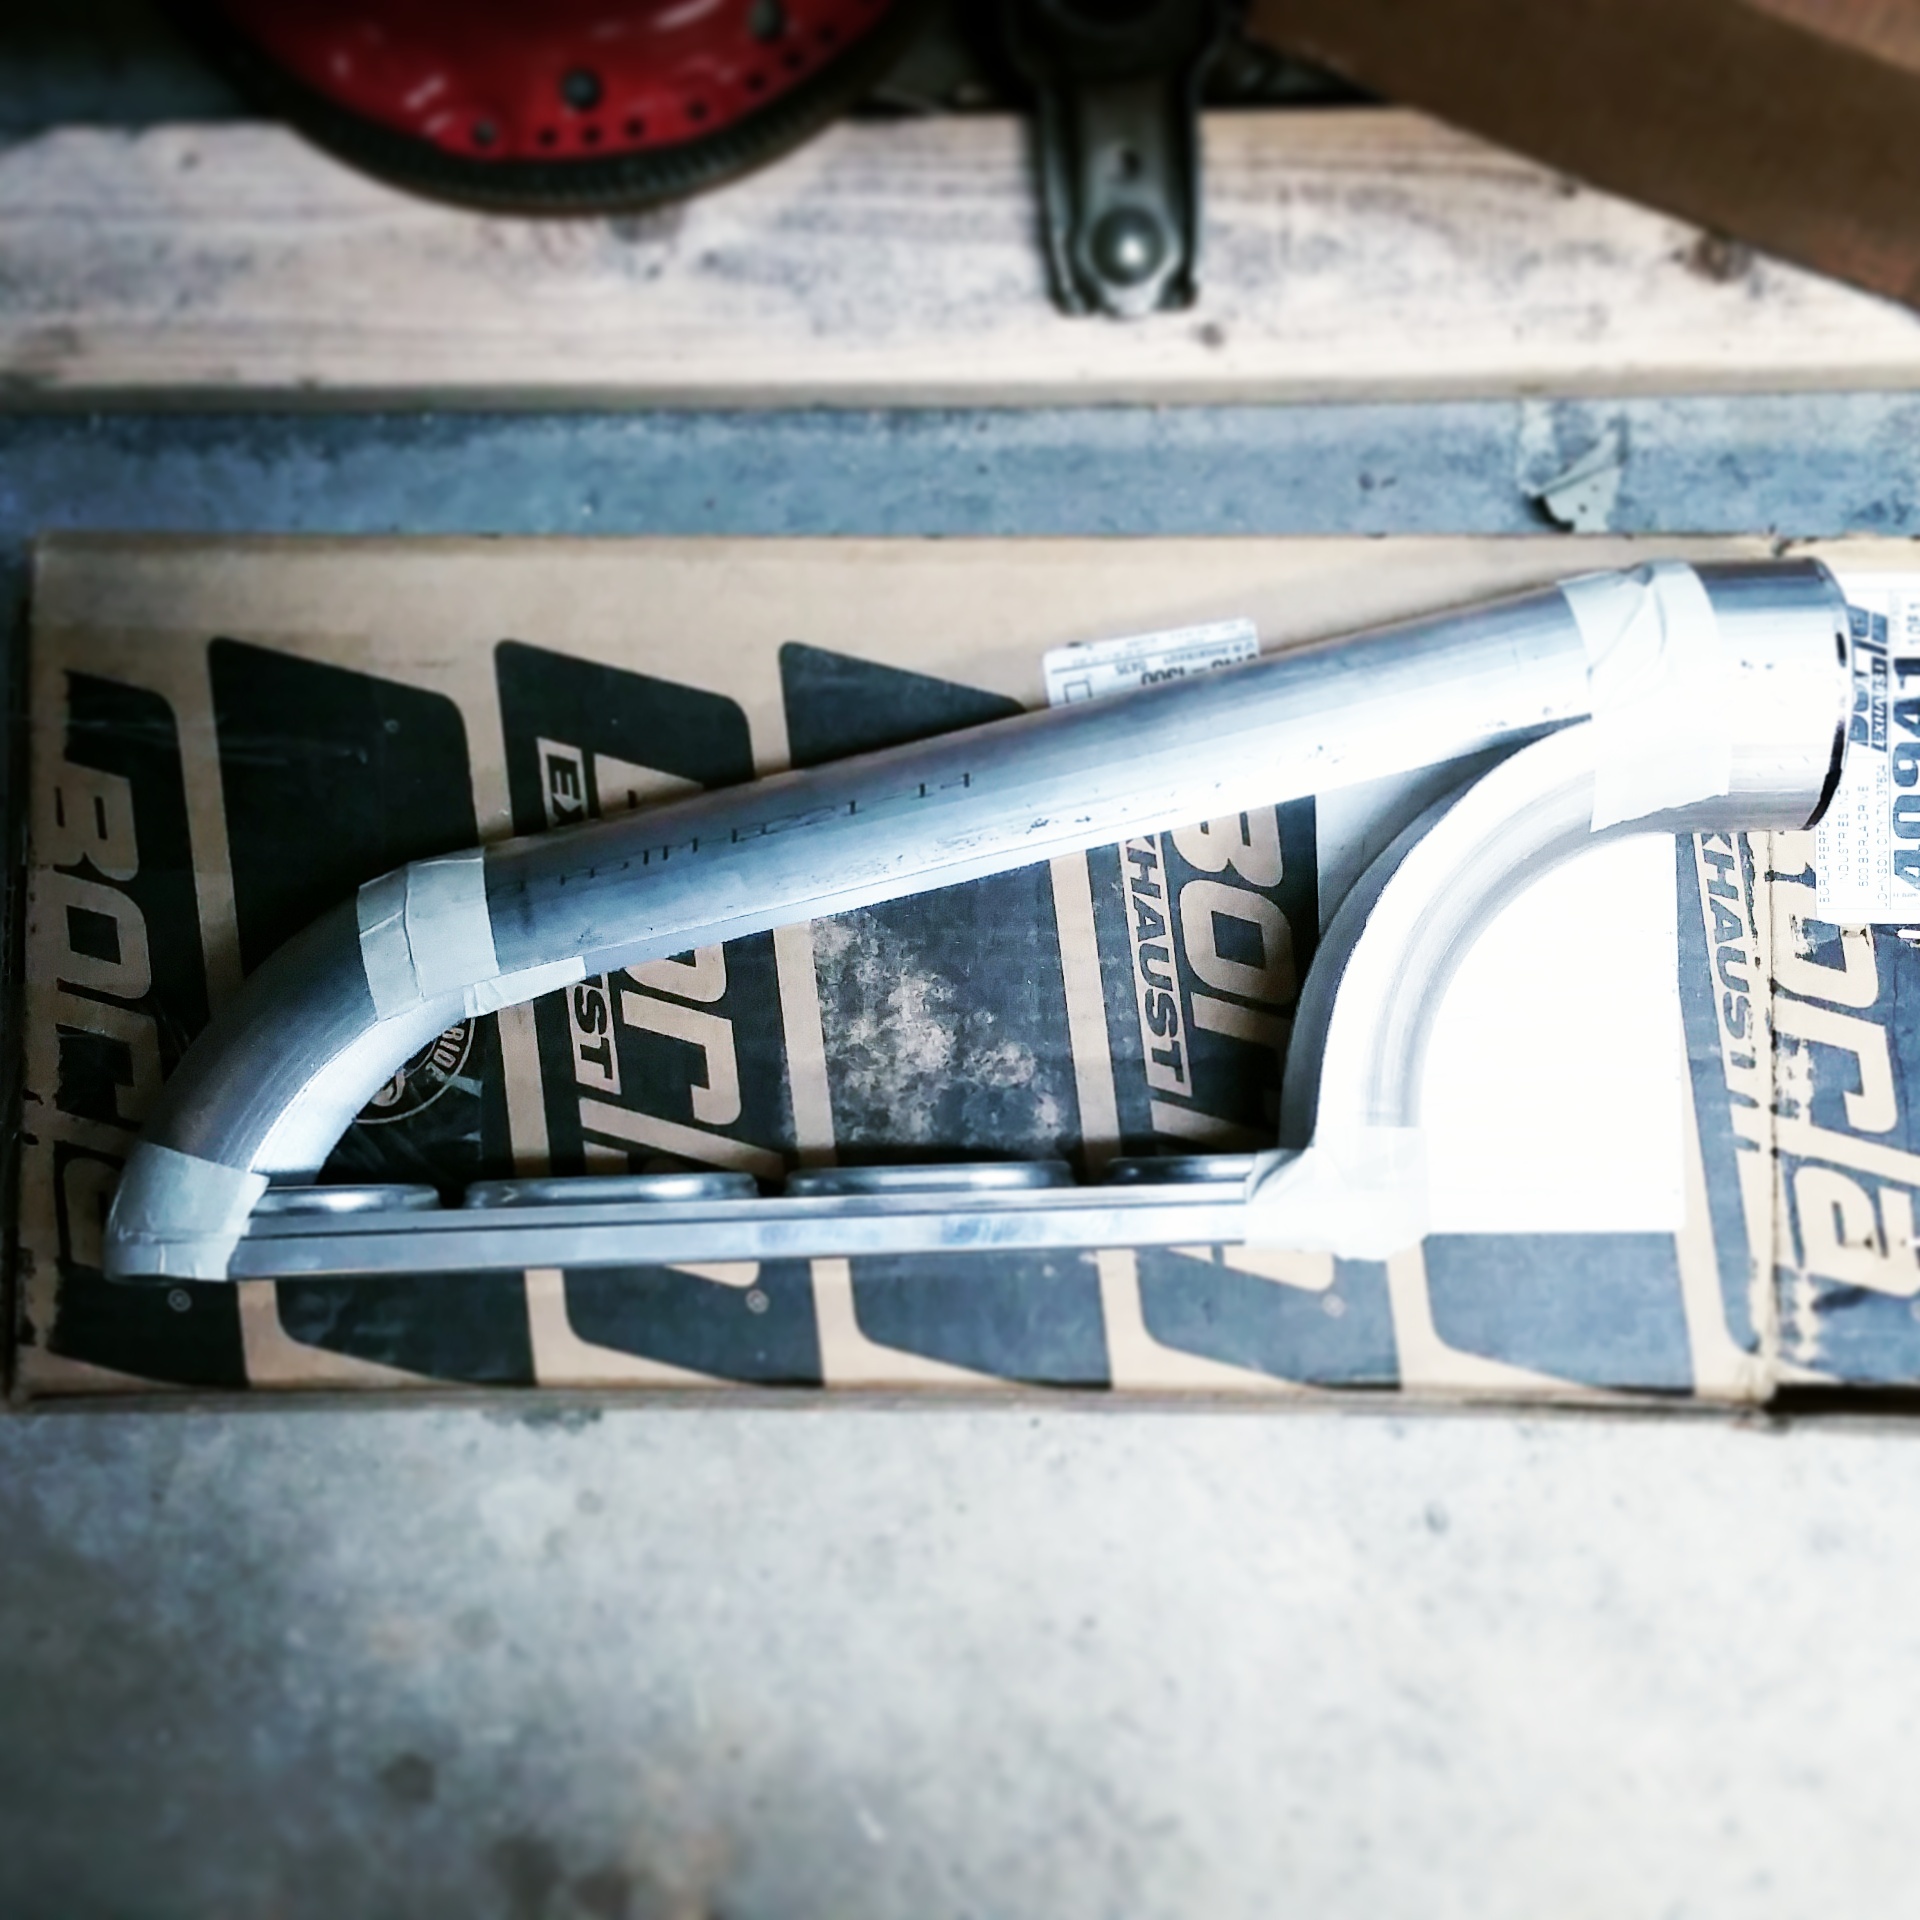
I am waiting on a couple mandrel bends and clamps for the piping. I'm getting pretty excited to move on to the next parts of the build.
I am framing up an addition to my garage this weekend, which will be the car's new home and work space. I have a custom restoration goal for the coming winter. It should be a fun endeavor.
I drew some on my exterior plans up recently.

I am really falling in love with this car the more I work on it.
The finished manifold.

In place.

I am waiting on a couple mandrel bends and clamps for the piping. I'm getting pretty excited to move on to the next parts of the build.
I am framing up an addition to my garage this weekend, which will be the car's new home and work space. I have a custom restoration goal for the coming winter. It should be a fun endeavor.
I drew some on my exterior plans up recently.

I am really falling in love with this car the more I work on it.
Last edited by Forty-six and 2; 09-24-2015 at 02:30 AM.