My 1967 912 Build Thread


 03-16-2014, 07:27 PM
#213
Professor of Pending Projects
Rennlist Member
Rennlist Member
Thread Starter
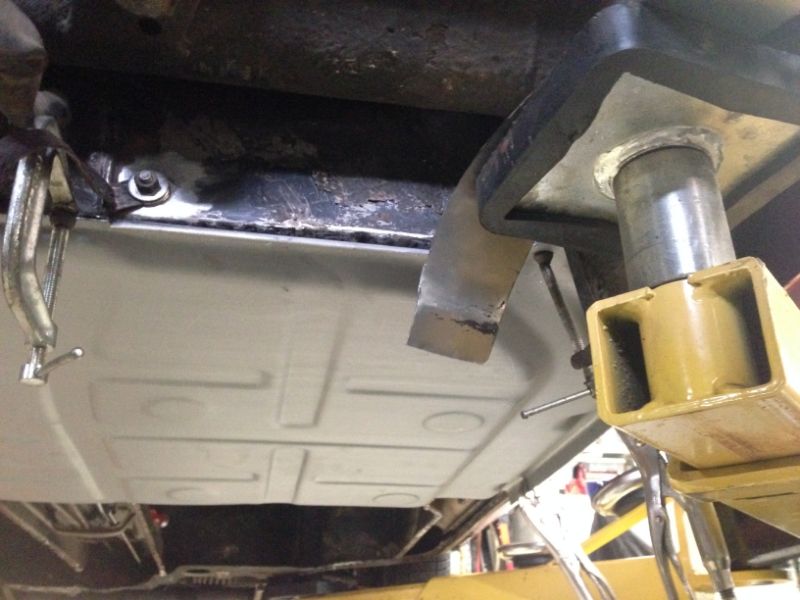
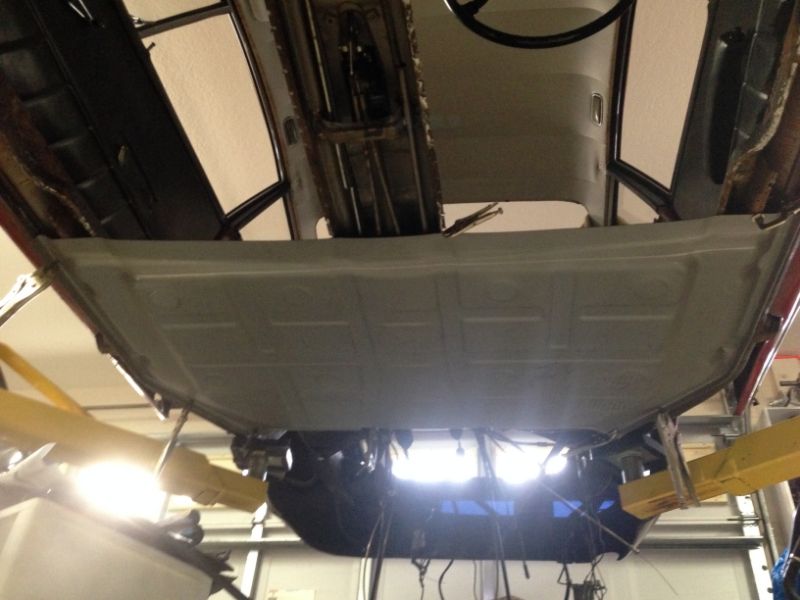
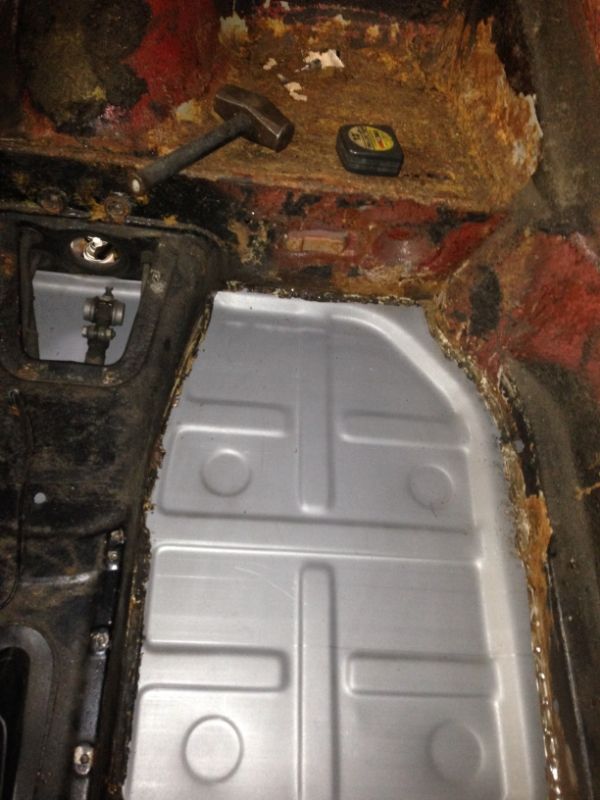
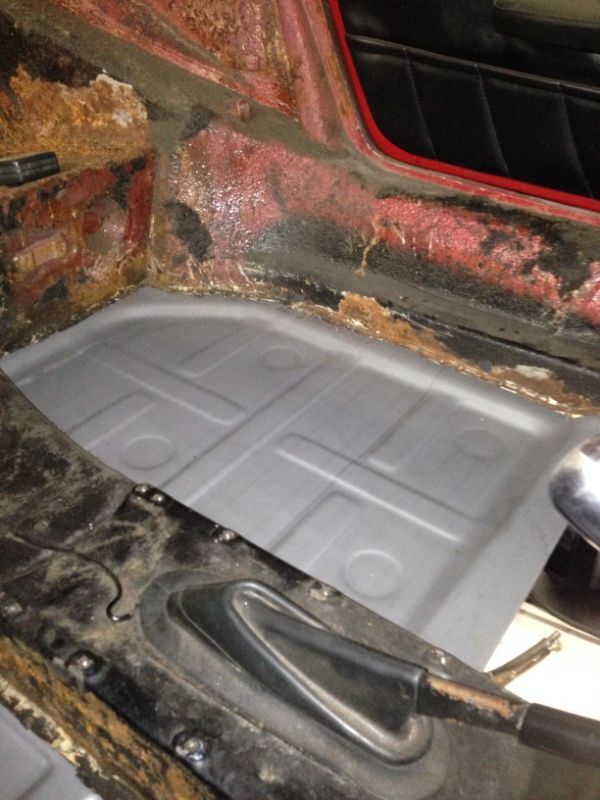
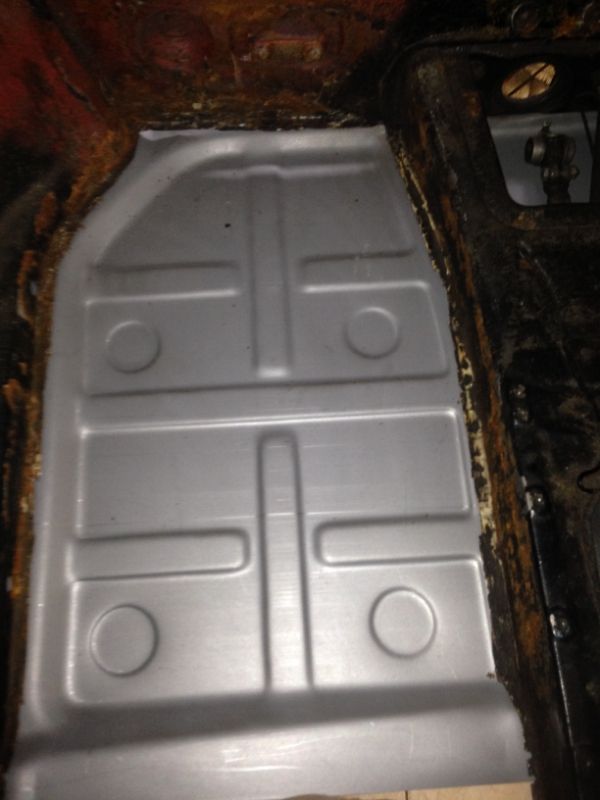
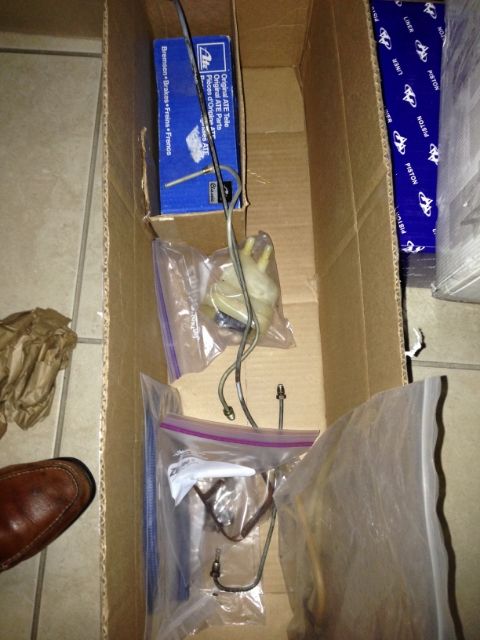
OK, I was able to test fit the rear floor pan... now I need to clean everything down to metal... Need to replace the brake line I cut by mistake (I already have the new line waiting to go in...) and weld this puppy in place...

03-18-2014, 03:15 PM
#214
Professor of Pending Projects
Rennlist Member
Rennlist Member
Thread Starter
Took the heads, valves, and connecting rods to the shop. Once I have those back I should be able to start building the engine!!!!

 03-21-2014, 01:25 PM
#216
Professor of Pending Projects
Rennlist Member
Rennlist Member
Thread Starter
Before:
After:
New springs ordered but had to take the photos with the electroplated units...
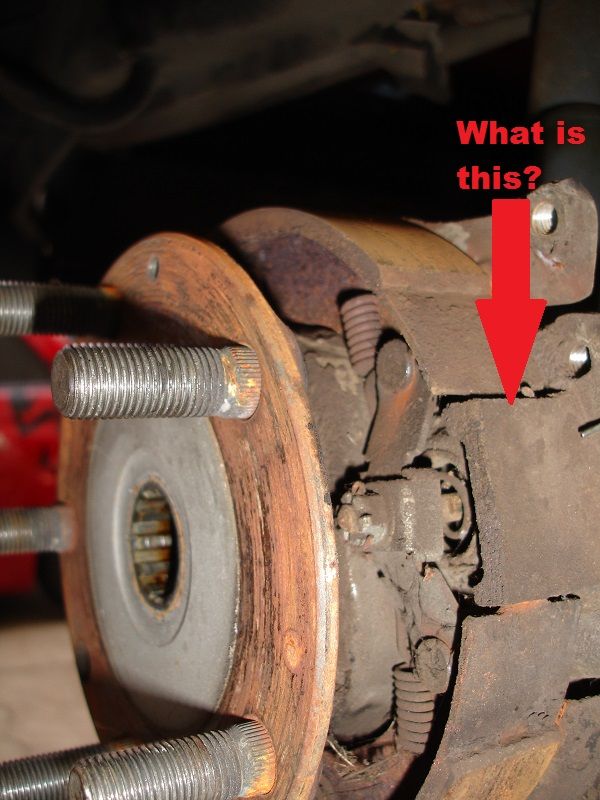
Also, can't seem to be able to find these. Anyone has a part number? They do not show on PET:
After:
New springs ordered but had to take the photos with the electroplated units...
Also, can't seem to be able to find these. Anyone has a part number? They do not show on PET:
03-21-2014, 02:49 PM
#217
Professor of Pending Projects
Rennlist Member
Rennlist Member
Thread Starter
 (and I don't throw anything away!! )... so glad that was not the case.
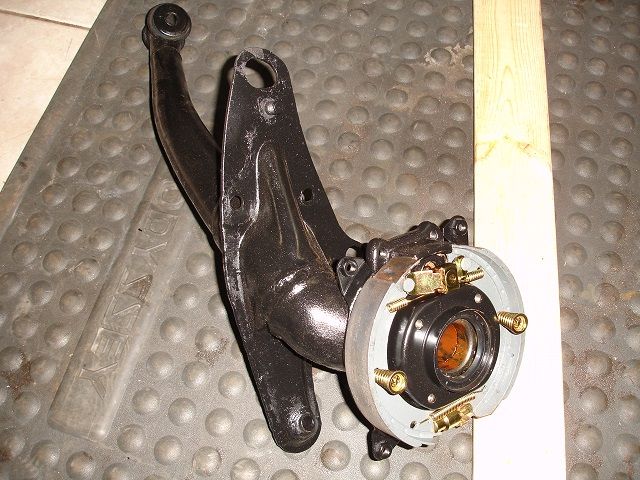
 03-21-2014, 11:37 PM
#218
Professor of Pending Projects
Rennlist Member
Rennlist Member
Thread Starter
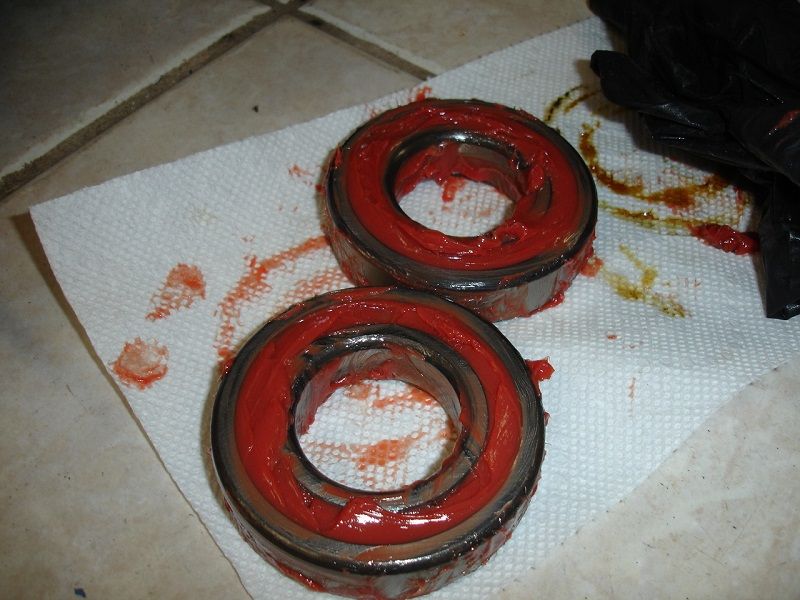
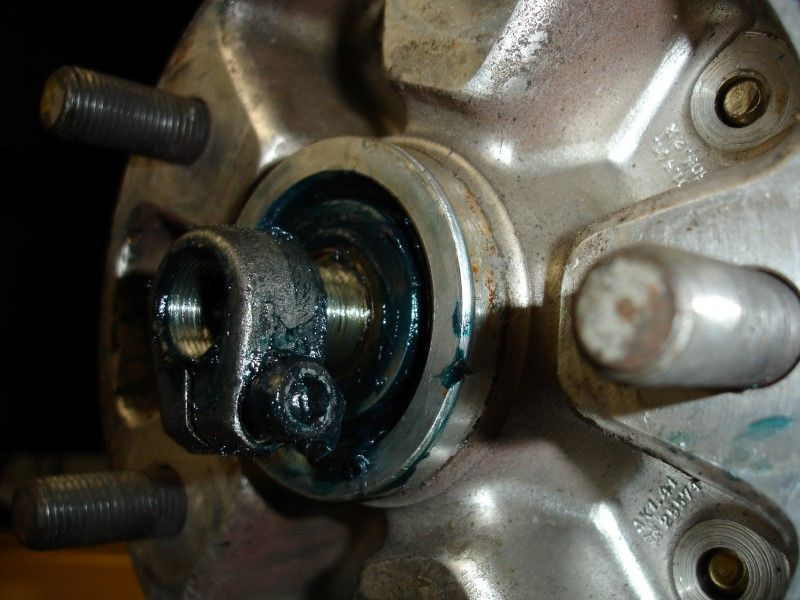
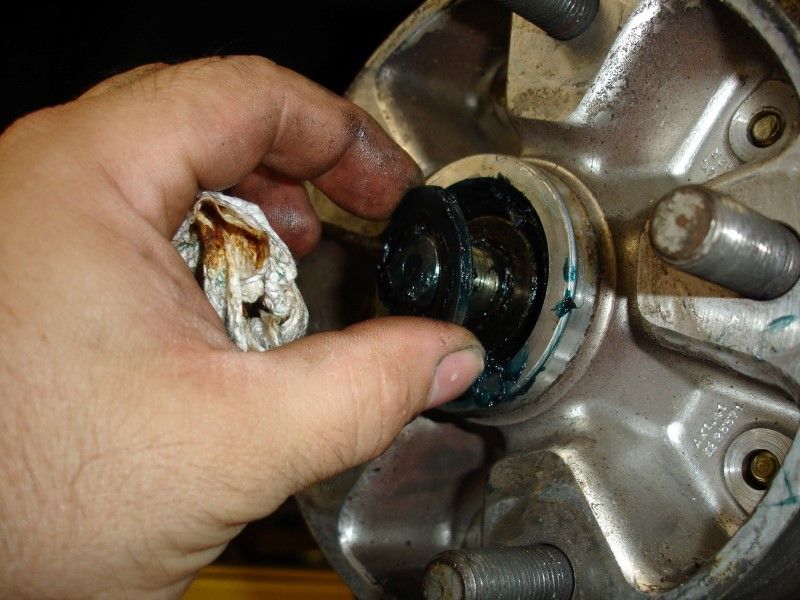
This is another one of those tasks that I have to thank the forum (in this case, Peter in the 912bbs forum) for calling out something that just did not looked right... Thanks to that comment, I decided to remove as much as possible, clean it all good and start repacking again. I did not do that the first time around thinking that removing that bearing would be a pita... it was very easy to do... Use a long punch from the inner side, the center spacer moves down enough for me to catch the lip of the outer bearing without problems...tap, tap, tap, and out it comes.
Outer bearing removed, spacer removed, everything cleaned. I will repack the inner bearing (because it is working fine and it is expensive as heck! ), get a new outer bearing (that one is the inexpensive one) and pack it as well, both with redline CV-2 grease... and put it all back together.

Outer bearing removed, spacer removed, everything cleaned. I will repack the inner bearing (because it is working fine and it is expensive as heck! ), get a new outer bearing (that one is the inexpensive one) and pack it as well, both with redline CV-2 grease... and put it all back together.
03-22-2014, 05:44 PM
#219
Professor of Pending Projects
Rennlist Member
Rennlist Member
Thread Starter
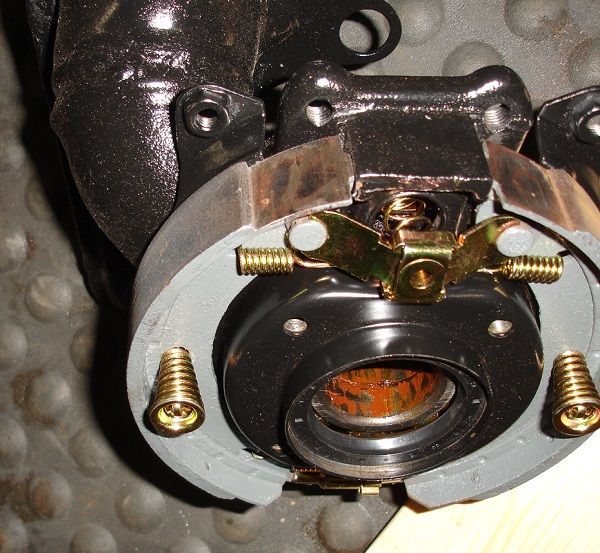
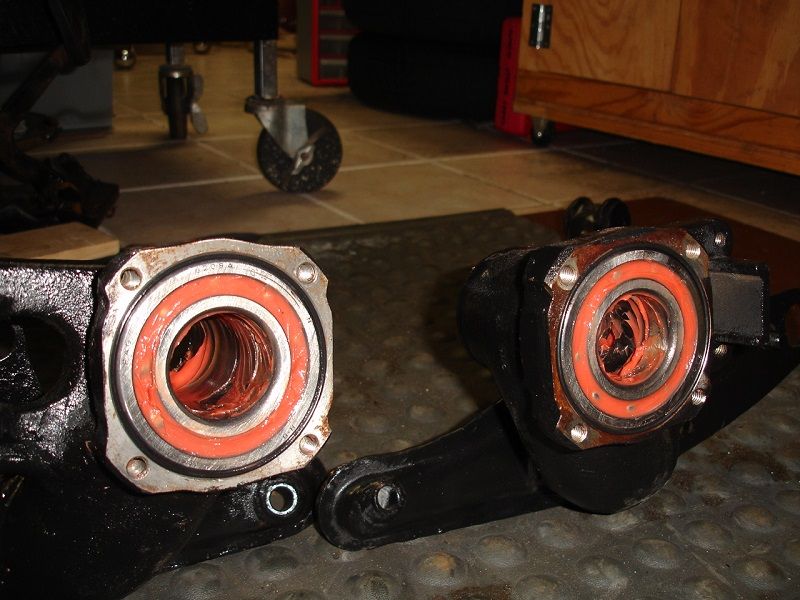
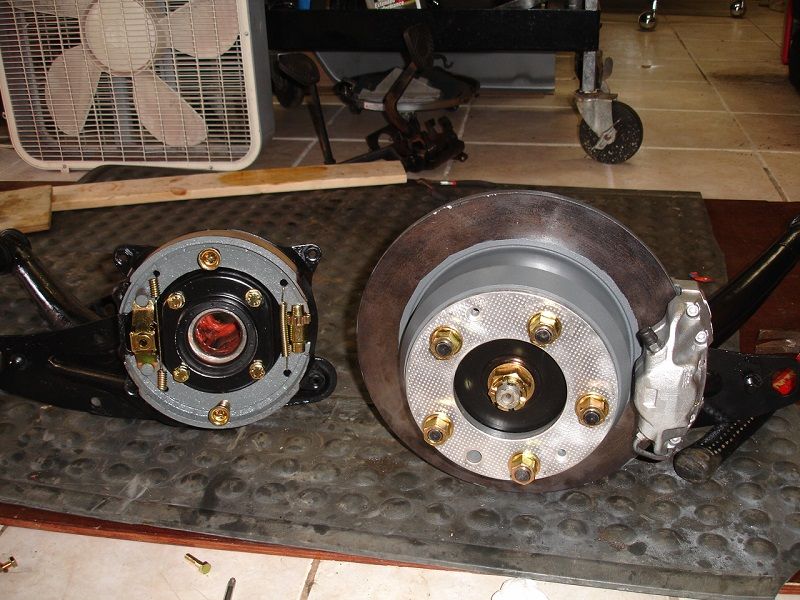
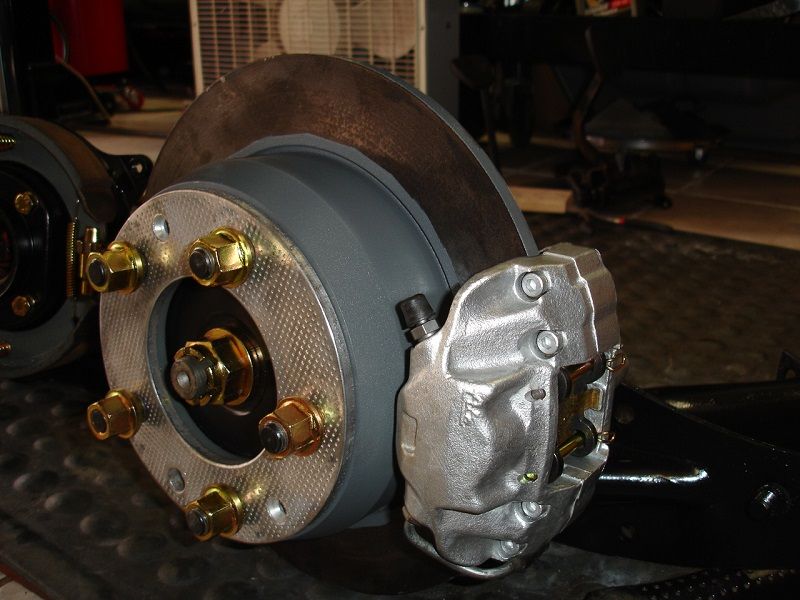
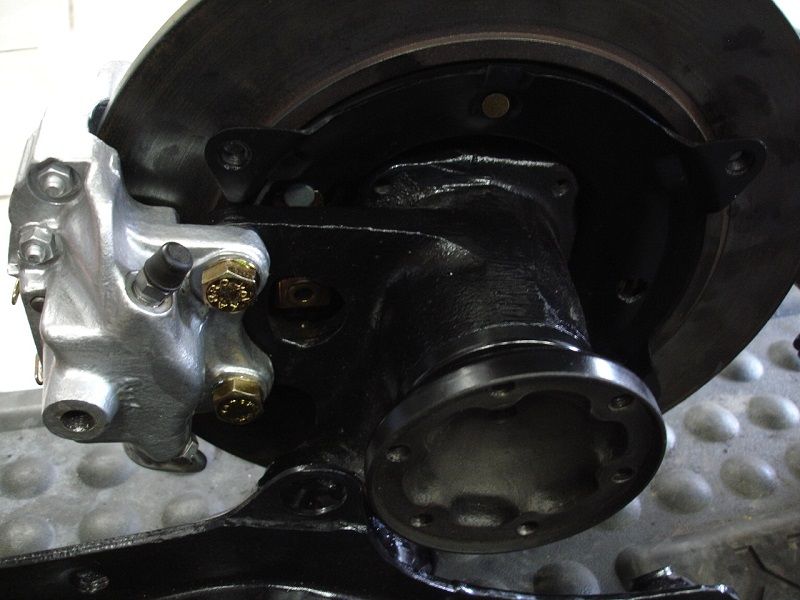
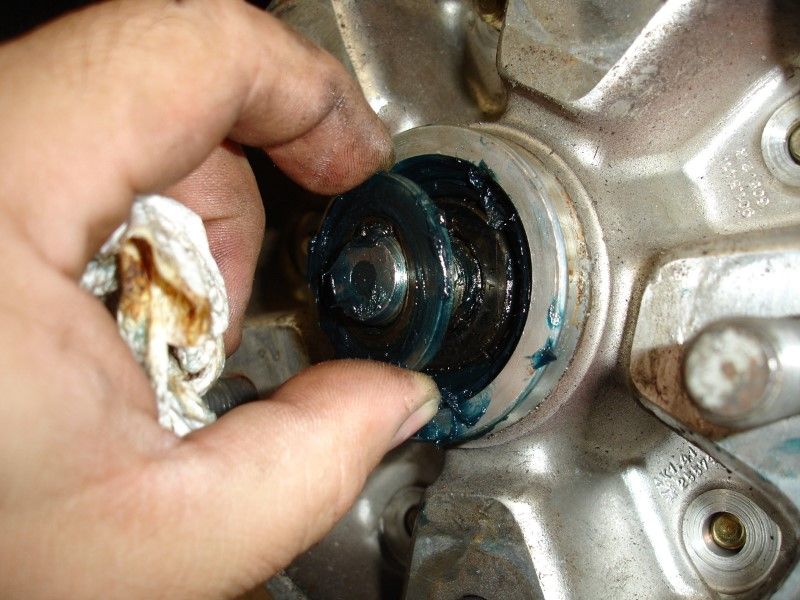
After cleaning everything I repacked the inner bearing, filled the cavity with grease, slid the spacer in...
I could not find anything wrong with the outer bearing, in fact, I think it was replaced not too long ago. So I cleaned it again, repacked it and back in it went...
O-ring installed
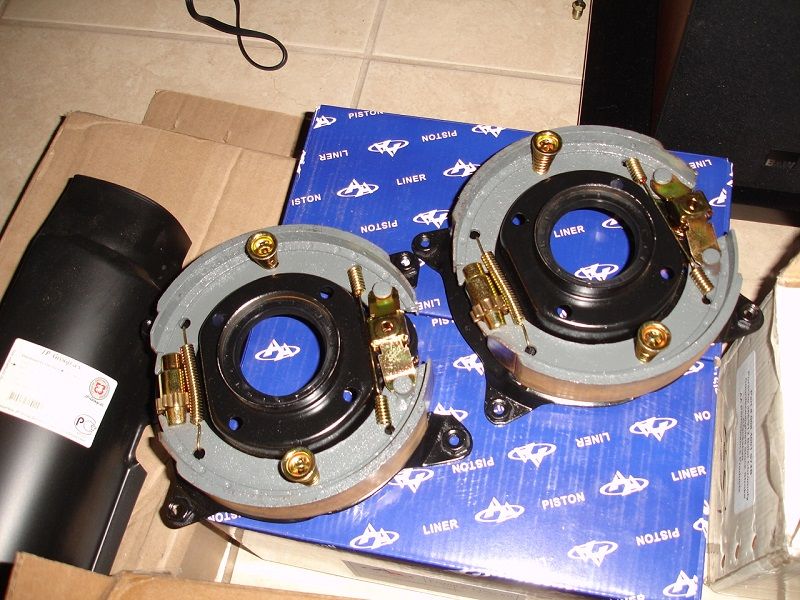
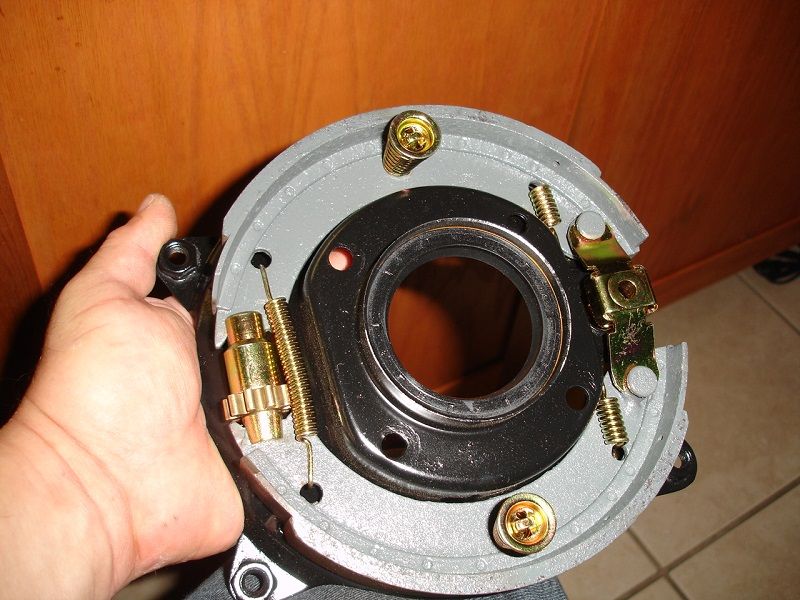
E-brake assembly installed (I know, all new springs ordered from SMC, these will be replaced after the car is back on the road, they should last that long...)
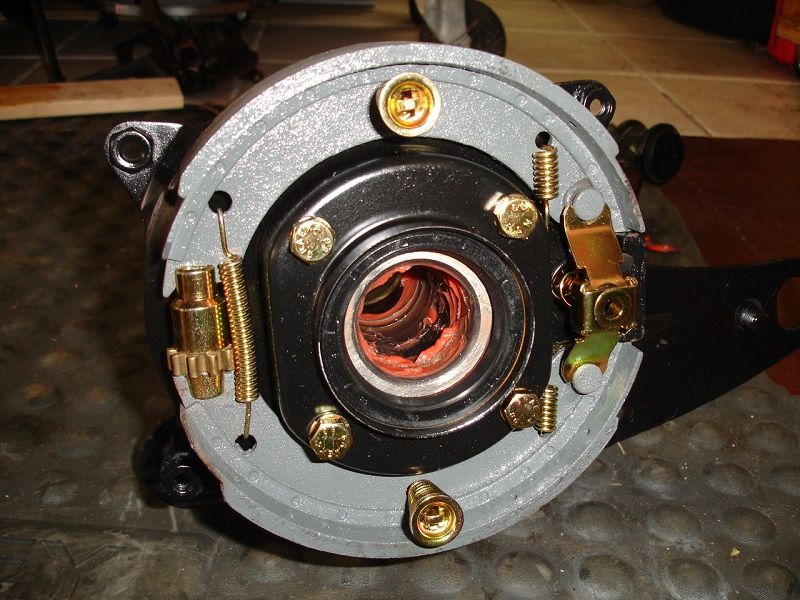
Could not resist... let's put it all together with the excuse that it will take less space assembled than spread all over the garage...
Ok, let me get back to working the floors... more later...
I could not find anything wrong with the outer bearing, in fact, I think it was replaced not too long ago. So I cleaned it again, repacked it and back in it went...
O-ring installed
E-brake assembly installed (I know, all new springs ordered from SMC, these will be replaced after the car is back on the road, they should last that long...)
Could not resist... let's put it all together with the excuse that it will take less space assembled than spread all over the garage...
Ok, let me get back to working the floors... more later...
03-22-2014, 11:52 PM
#220
Professor of Pending Projects
Rennlist Member
Rennlist Member
Thread Starter
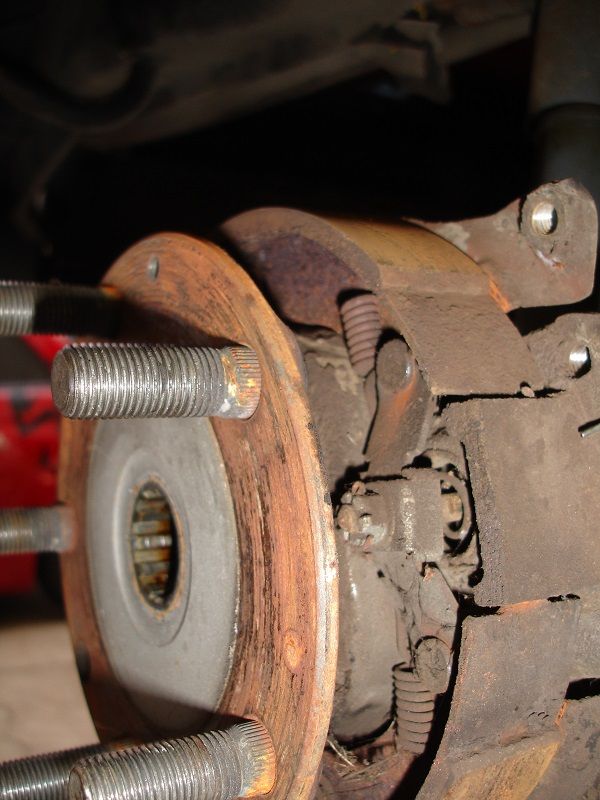
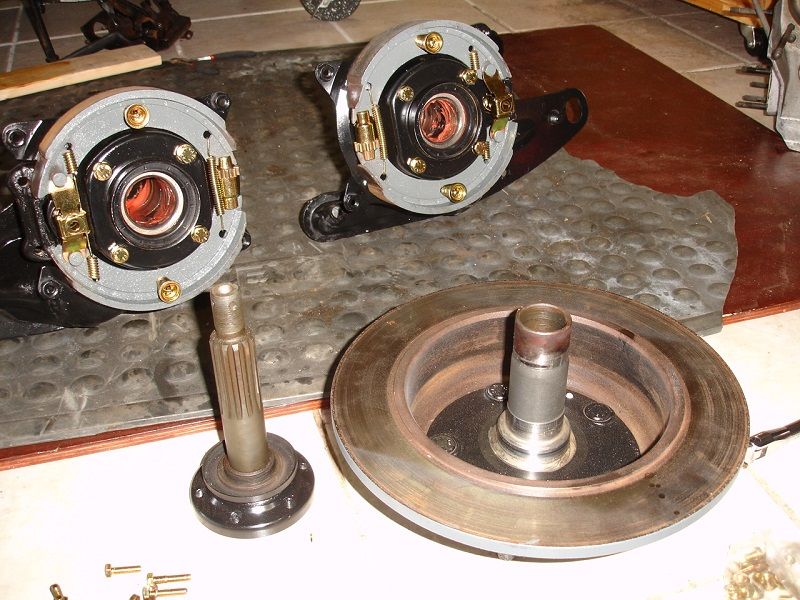
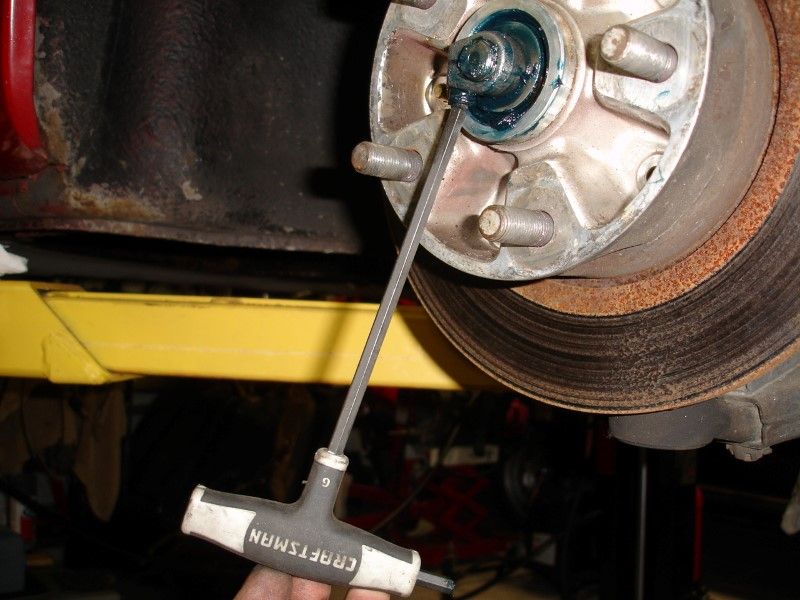
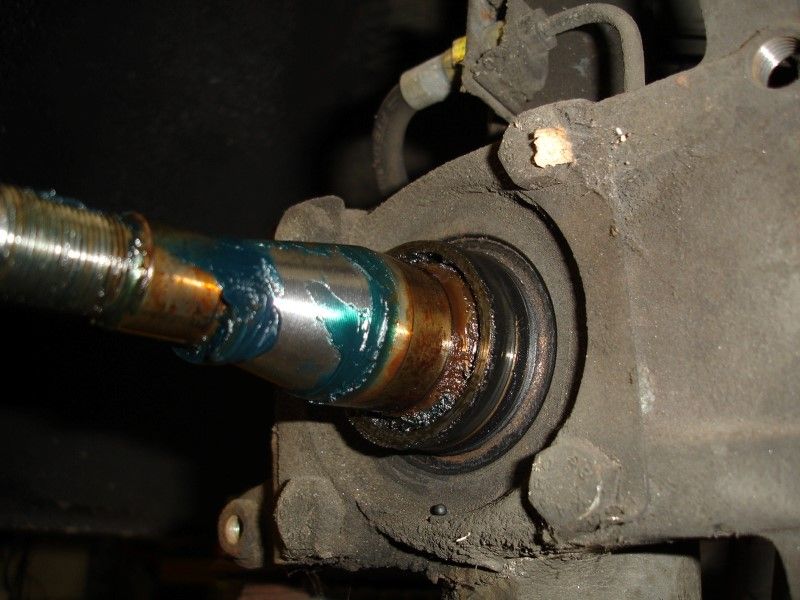
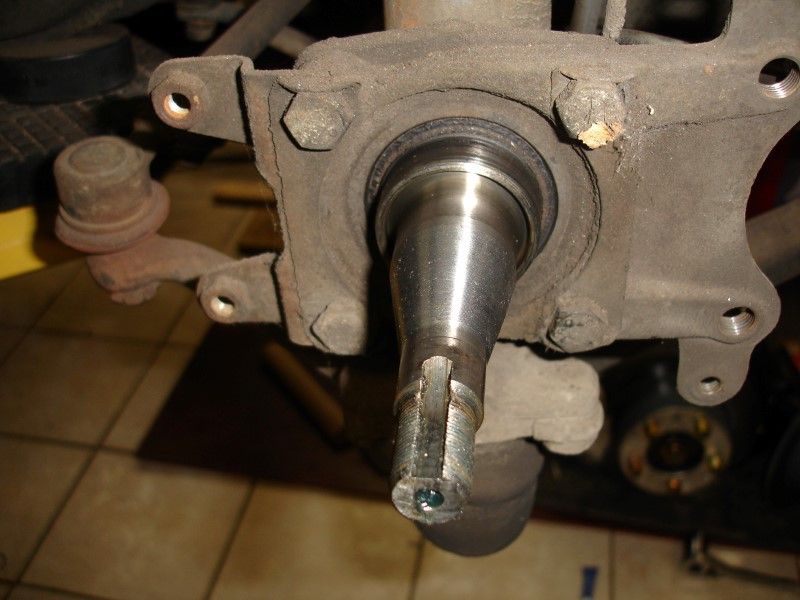
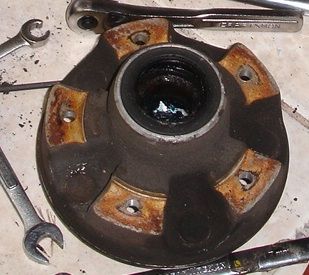
Decided to start taking off the front suspension... rotors first
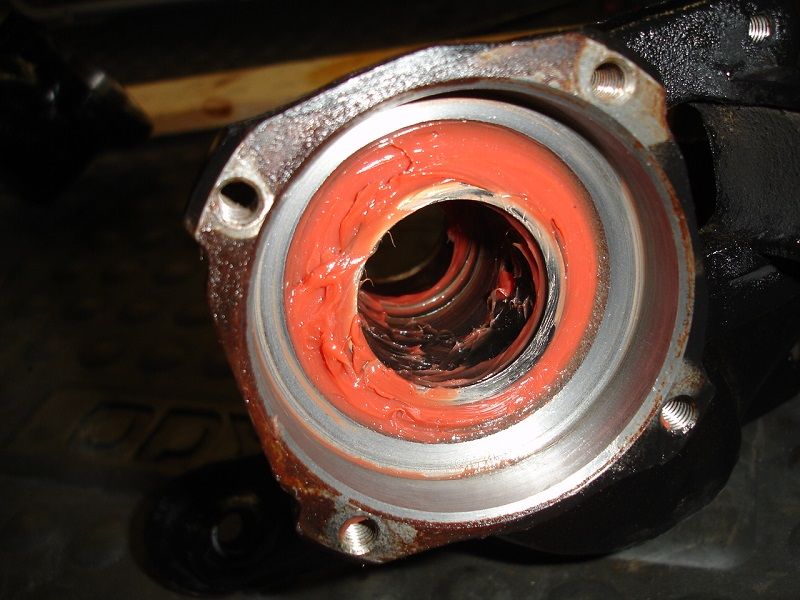
Remove cap, comes out easy with a large pry bar supported against the hub. New grease, indication this had been worked not too long ago. Maybe during the time the brakes were looked at.

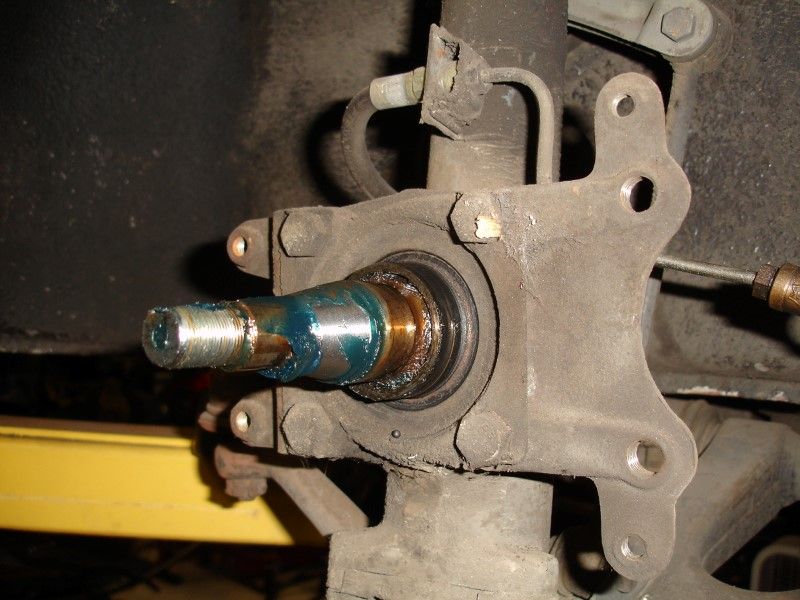
Loosen hex bolt to remove nut...
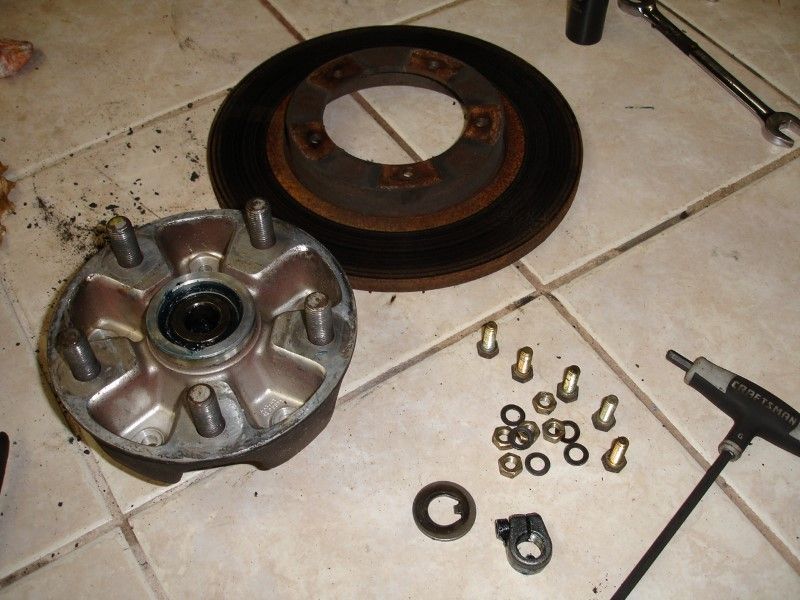
Well... looks like the job they did was to only replace and grease the outer bearing... rear looks to be with old grease. I will order new seals...
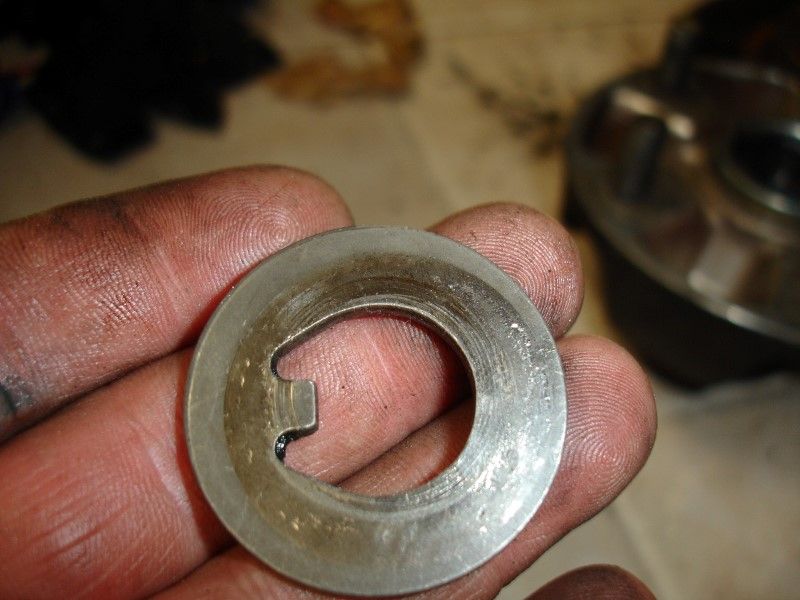
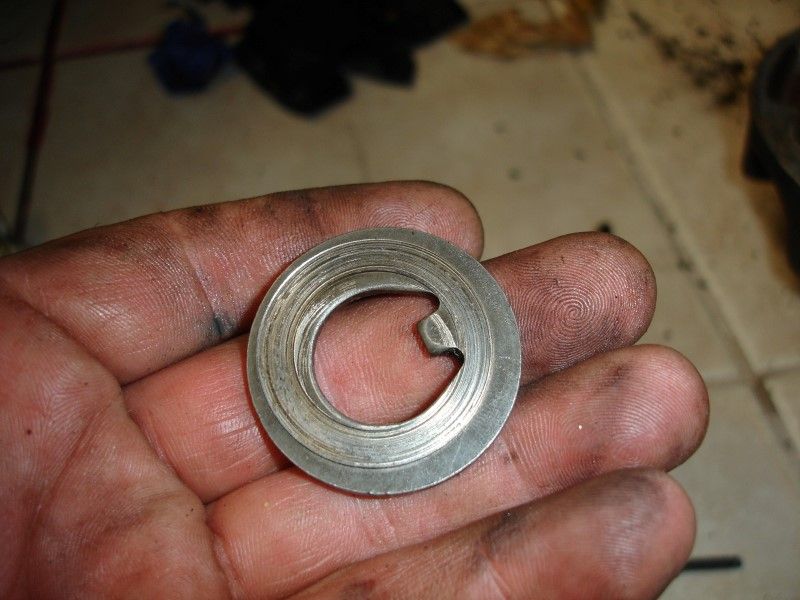
Condition of the washer... looks good but plan to order a new one anyway and new bearings...
Now clean, but plan to take everything out to paint the strut housing and replace the cartridge with the Koni that I got a few days ago...
Remove cap, comes out easy with a large pry bar supported against the hub. New grease, indication this had been worked not too long ago. Maybe during the time the brakes were looked at.
Loosen hex bolt to remove nut...
Well... looks like the job they did was to only replace and grease the outer bearing... rear looks to be with old grease. I will order new seals...
Condition of the washer... looks good but plan to order a new one anyway and new bearings...
Now clean, but plan to take everything out to paint the strut housing and replace the cartridge with the Koni that I got a few days ago...
03-23-2014, 05:01 PM
#221
Professor of Pending Projects
Rennlist Member
Rennlist Member
Thread Starter
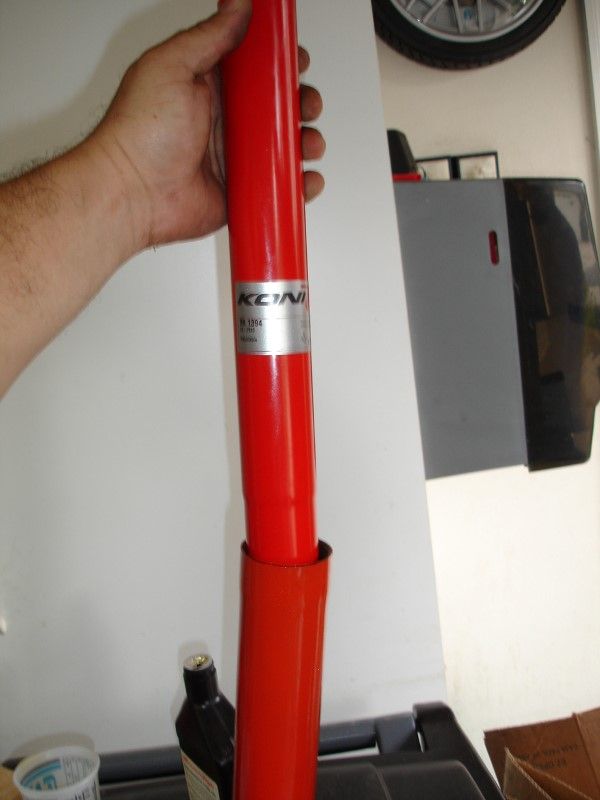
I continue to disassemble the front struts to replace the insert. Found out that the front were replaced at some point with Koni inserts, but these are shot... Also took the time to make a list (and order from SMC) of a few parts that I will need to finish the work in the front suspension/brake area...
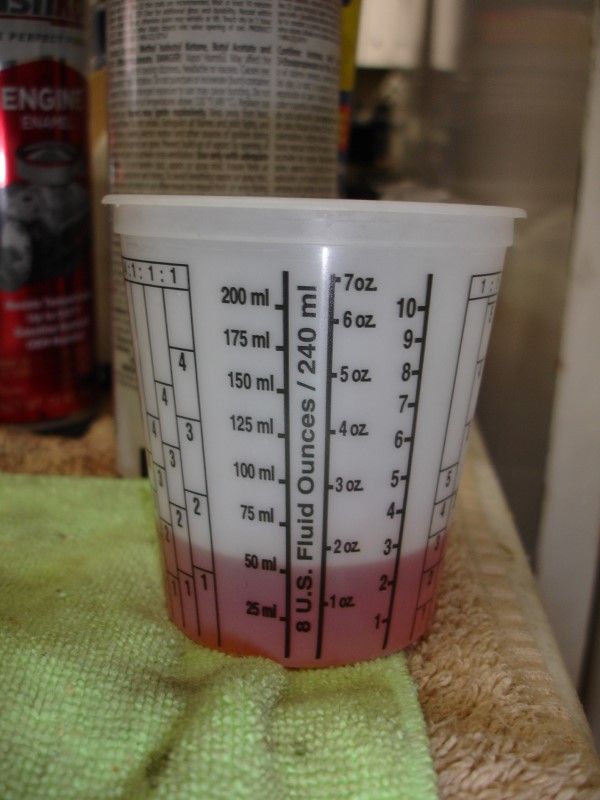
Also, Koni instructions call for the use of antifreeze in the strut assembly (50ml of it). Just out of principle, I refuse to use coolant in my Porsche, I will use some motorcycle shock oil that I have. I hope that provides the same cooling characteristics
2 - [901.341.663.00] Outer Bearing Washer
2 - [999.702.076.50] Rubber Sleeve Bushing
2 - [901.343.792.01] Front Sway Bar Bushing, 13mm
4 - [901.343.783.00] Front Sway Bar Drop Bushing
2 - [901.347.191.02] Rack and Pinion Boot
2 - [901.341.047.00] Ball Joint
2 - [ 477.405.641] Front Wheel Bearing Seal
2 - [999.059.098.00] Front Wheel Bearing, Inner
2 - [999.059.065.00] Front Wheel Bearing, Outer
1 - [914.355.667.00] Brake Line Distribution Joint
4 - [999.702.065.50] Rubber Sleeve, Gunniteulle
5 - [901.361.121.00] Tire Rim Valve Holder (Disc Brake Wheel)
1 - [999.611.918.20] Transmission Ground Strap
2 - [901.341.165.00] Steering Pan Seal
Also, Koni instructions call for the use of antifreeze in the strut assembly (50ml of it). Just out of principle, I refuse to use coolant in my Porsche
, I will use some motorcycle shock oil that I have. I hope that provides the same cooling characteristics 2 - [901.341.663.00] Outer Bearing Washer
2 - [999.702.076.50] Rubber Sleeve Bushing
2 - [901.343.792.01] Front Sway Bar Bushing, 13mm
4 - [901.343.783.00] Front Sway Bar Drop Bushing
2 - [901.347.191.02] Rack and Pinion Boot
2 - [901.341.047.00] Ball Joint
2 - [ 477.405.641] Front Wheel Bearing Seal
2 - [999.059.098.00] Front Wheel Bearing, Inner
2 - [999.059.065.00] Front Wheel Bearing, Outer
1 - [914.355.667.00] Brake Line Distribution Joint
4 - [999.702.065.50] Rubber Sleeve, Gunniteulle
5 - [901.361.121.00] Tire Rim Valve Holder (Disc Brake Wheel)
1 - [999.611.918.20] Transmission Ground Strap
2 - [901.341.165.00] Steering Pan Seal
03-23-2014, 06:07 PM
#222
Professor of Pending Projects
Rennlist Member
Rennlist Member
Thread Starter
Forgot the photos...
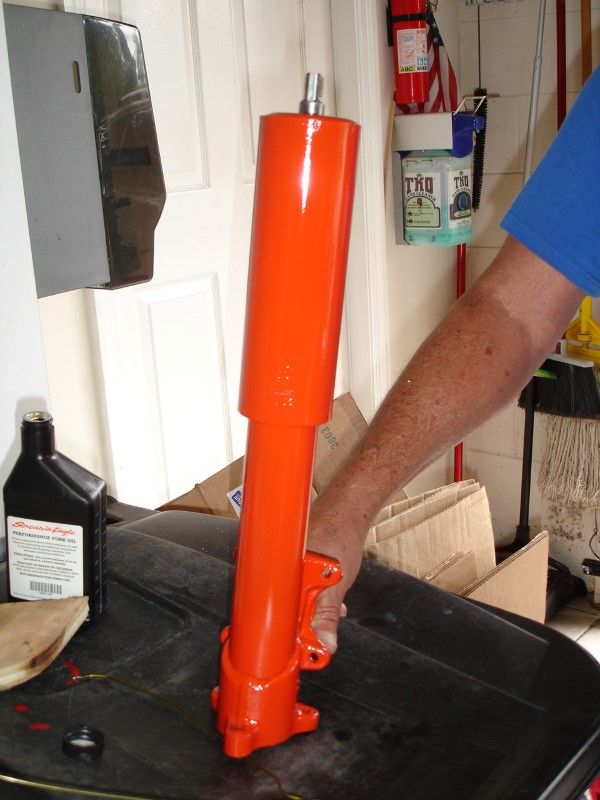
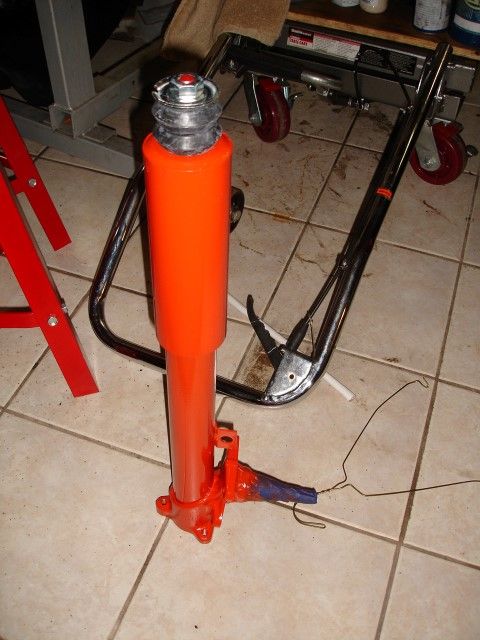
Strut housing painted

Using Fork Oil instead of coolant... (Coolant in an old Porsche!!? Please!!, lol )
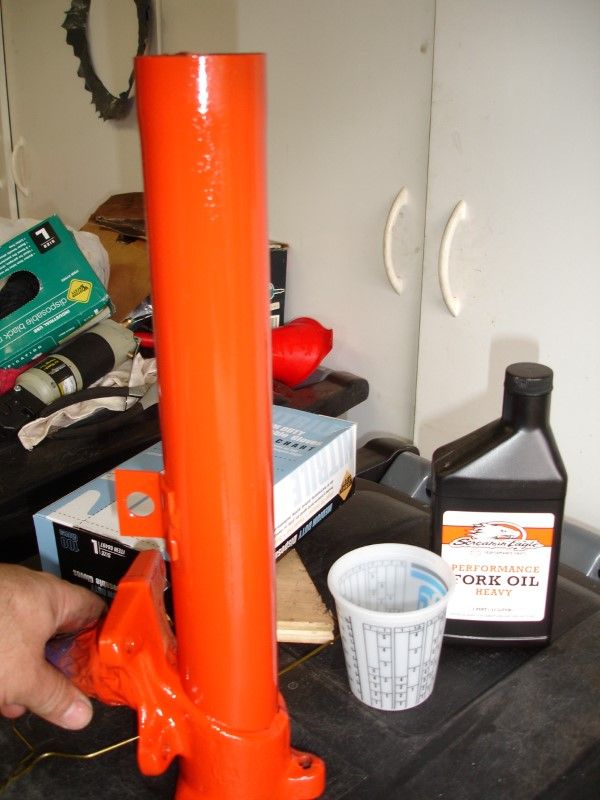
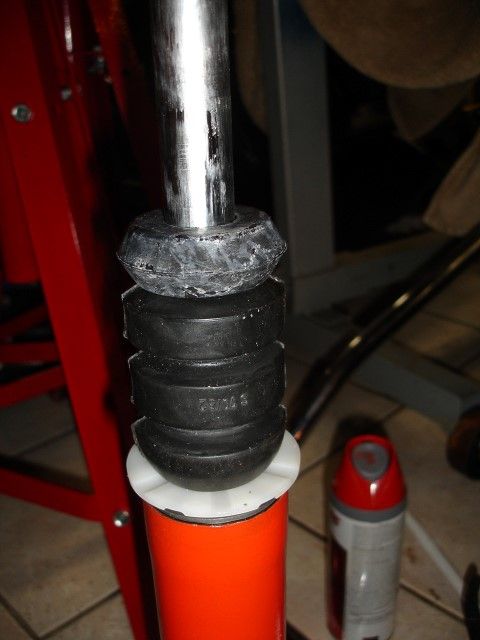
New Koni insert

Cover on... now I need to follow the directions that came with the insert... something about having to set it to 0 if it is for a 912...
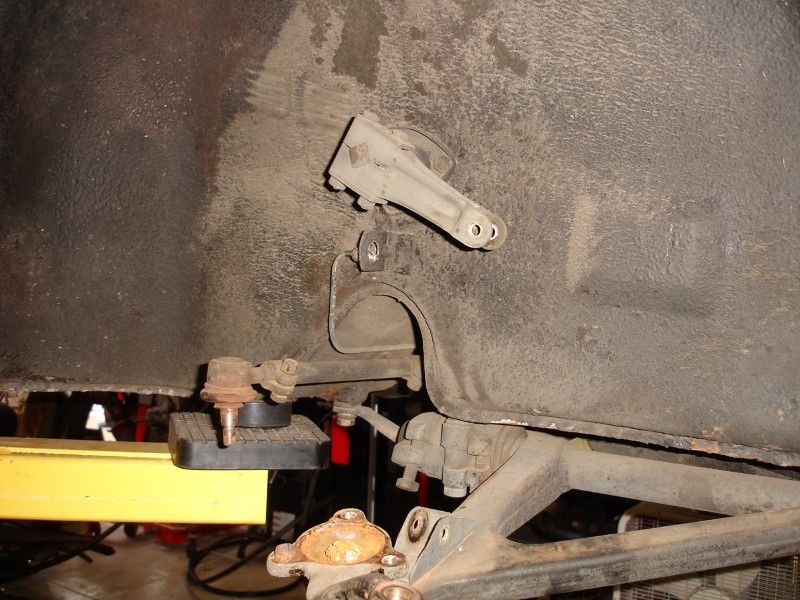
Then to clean the wheel well area, remove the A-arms for powder coating, replace all bushings and ball joints... paint the area with undercoating again... install everything back.
Strut housing painted
Using Fork Oil instead of coolant... (Coolant in an old Porsche!!? Please!!, lol )
New Koni insert
Cover on... now I need to follow the directions that came with the insert... something about having to set it to 0 if it is for a 912...
Then to clean the wheel well area, remove the A-arms for powder coating, replace all bushings and ball joints... paint the area with undercoating again... install everything back.
03-23-2014, 09:09 PM
#223
Professor of Pending Projects
Rennlist Member
Rennlist Member
Thread Starter
This is what the Koni inserts have in the instructions:
The instructions on how to adjust them is found on the back of one of the pages, but like the rest of the instructions, they are somewhat encrypted...
Found better instructions on how to adjust them in the Koni website...
http://www.koni.com/car-racing/technology/adjustment/
I also ordered two more tools...
Gland nut wrench (sorry, I could not bring myself to use a monkey wrench on that new nut...)
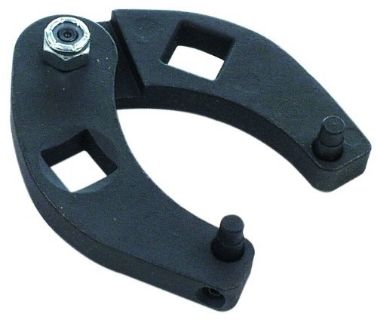
and some lock ring pliers
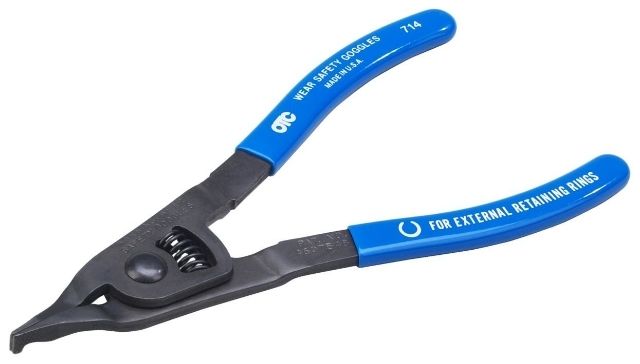
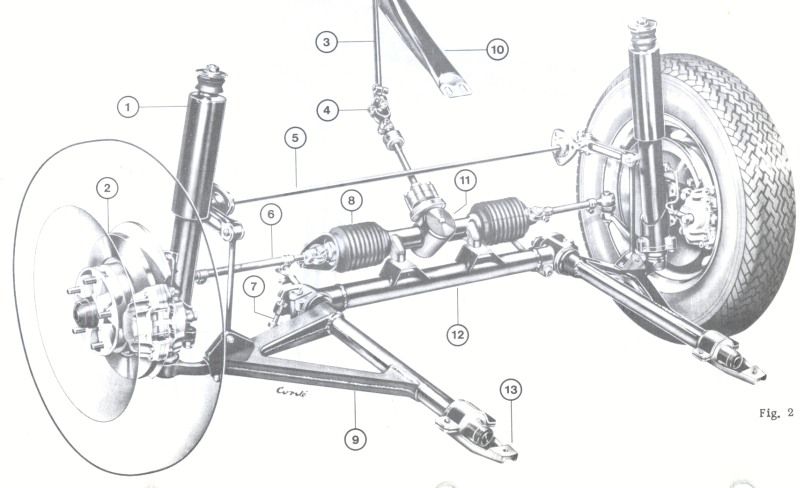
Diagram of the area I am working on...
Adjusting Instruction
These shock absorbers are delivered to you with two half turns of adjustment towards the heavy and they should be fitted as received on Porsche 911 cars. For Porsche 912 and all Targas they should be backed off to zero.
These shock absorbers are delivered to you with two half turns of adjustment towards the heavy and they should be fitted as received on Porsche 911 cars. For Porsche 912 and all Targas they should be backed off to zero.
Found better instructions on how to adjust them in the Koni website...
http://www.koni.com/car-racing/technology/adjustment/
Adjustment procedures:
Fully compress the left and right struts, at the same time turning the dust cap or piston rod slowly to the left (anti-clockwise), until it is felt that the cams of the adjusting nut engage in the recesses of the foot valve assembly.
NOTE:
Some shock absorbers include a bump rubber concealed under the dust cover and this must be removed prior to adjusting. Don’t forget to re-install.
Keeping the struts absorber compressed make 1 full turn (360�) to the right (clockwise).
The total range is about 5 half turns.
Extend the shock absorber vertically for at least 1 cm without turning in order to disengage
the adjusting mechanism. The dust cap or piston rod may now be turned freely.
Gland nut wrench (sorry, I could not bring myself to use a monkey wrench on that new nut...)
and some lock ring pliers
Diagram of the area I am working on...
Last edited by Wachuko; 03-23-2014 at 10:03 PM.
03-23-2014, 11:14 PM
#224
Professor of Pending Projects
Rennlist Member
Rennlist Member
Thread Starter
Two more photos of the front strut assembly...
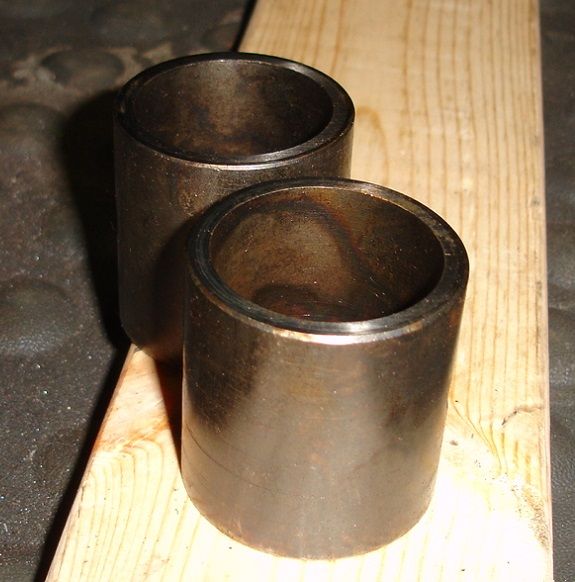
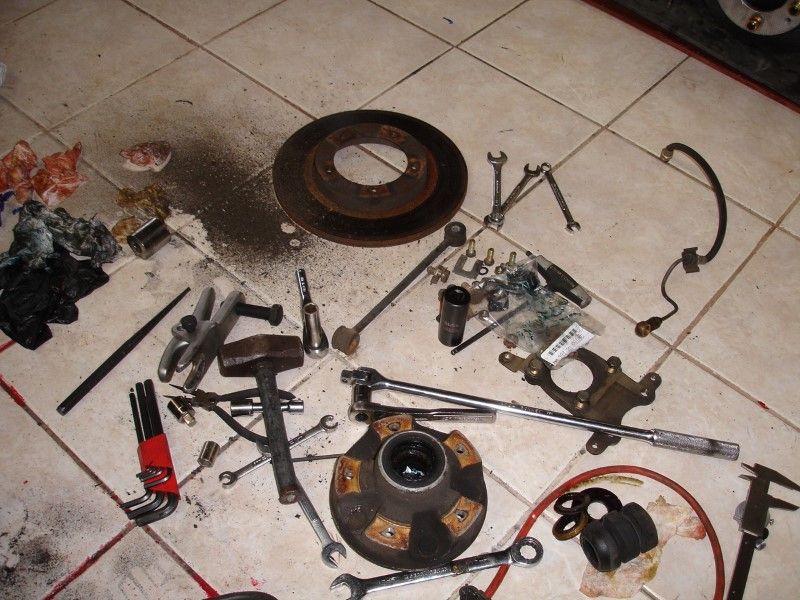
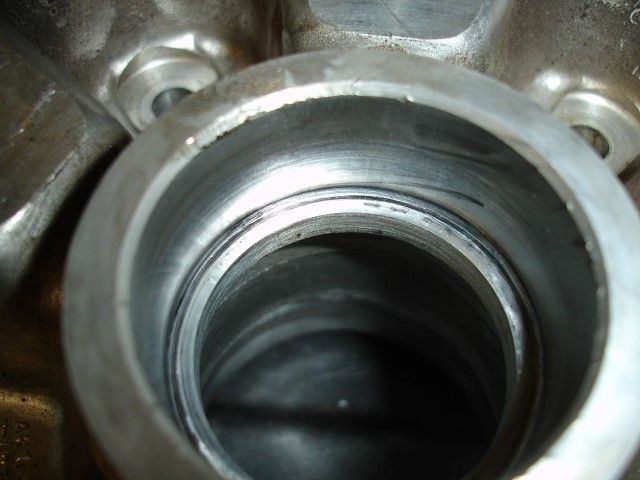
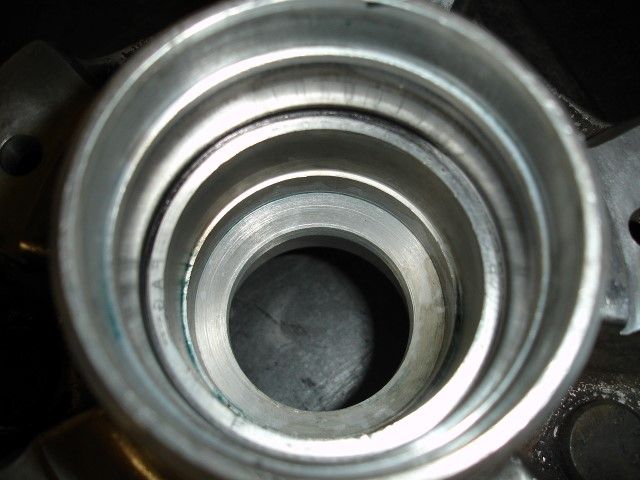
Also started to clean the wheel hub and remove the old bearing races...

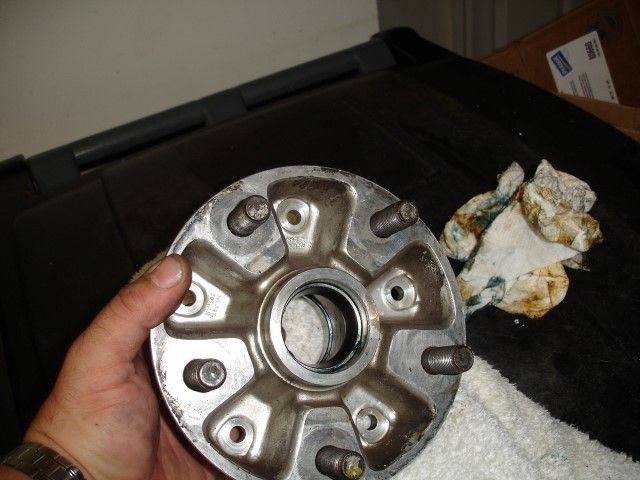
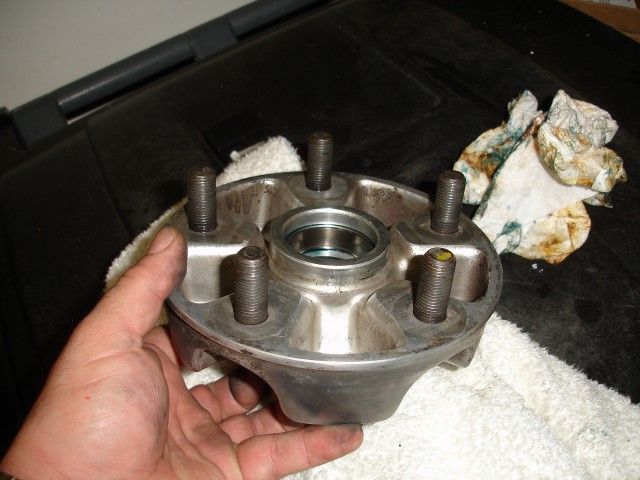

Both out... Now I need to completely clean the hub on the outside, lots of brake dust/grime stuck to it...
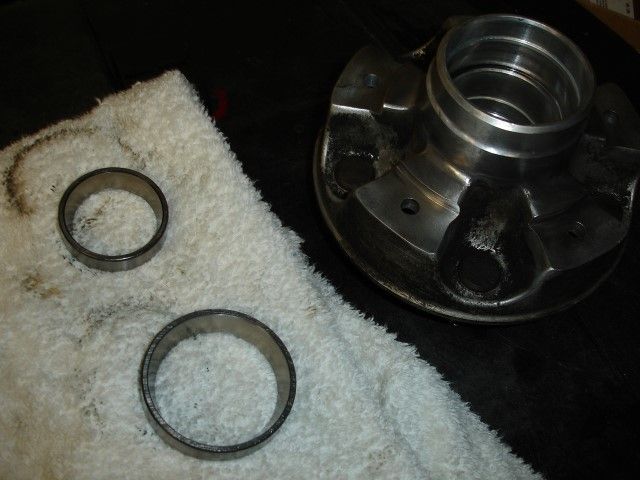
Also started to clean the wheel hub and remove the old bearing races...
Both out... Now I need to completely clean the hub on the outside, lots of brake dust/grime stuck to it...
03-24-2014, 02:33 AM
#225
OFF TOPIC:
Was the HEUER clock face plate difficult to install and does Merick still have these? I have been looking for one since I saw one on ebay but the whole clock was FS so I was not interested. Noticed that you got one last year. Also, how much are they?
Sorry for the off topic.
Was the HEUER clock face plate difficult to install and does Merick still have these? I have been looking for one since I saw one on ebay but the whole clock was FS so I was not interested. Noticed that you got one last year. Also, how much are they?
Sorry for the off topic.

