My 1967 912 Build Thread
 03-05-2014, 11:10 PM
#196
Professor of Pending Projects
Rennlist Member
Rennlist Member
Thread Starter
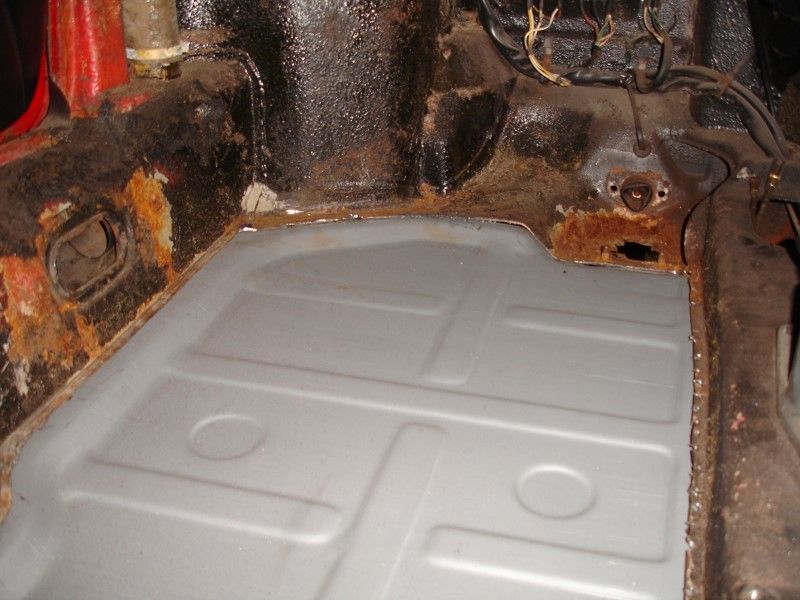
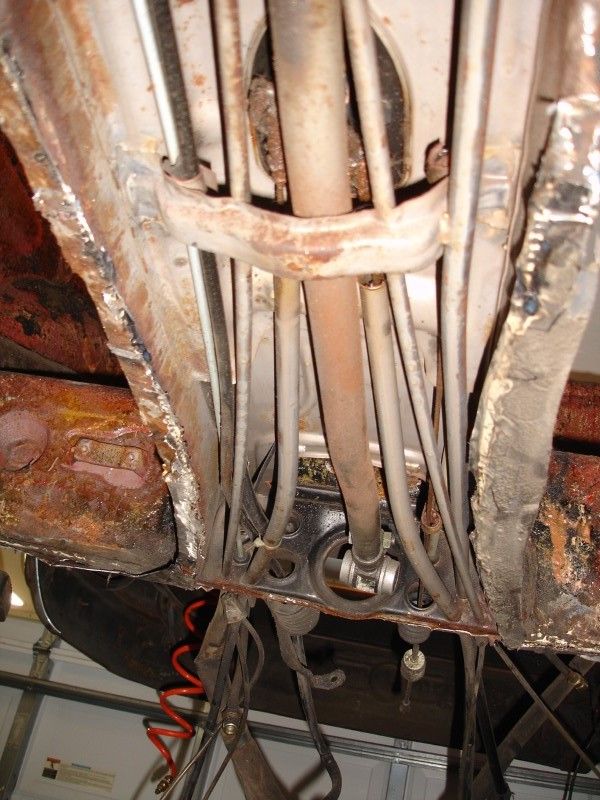
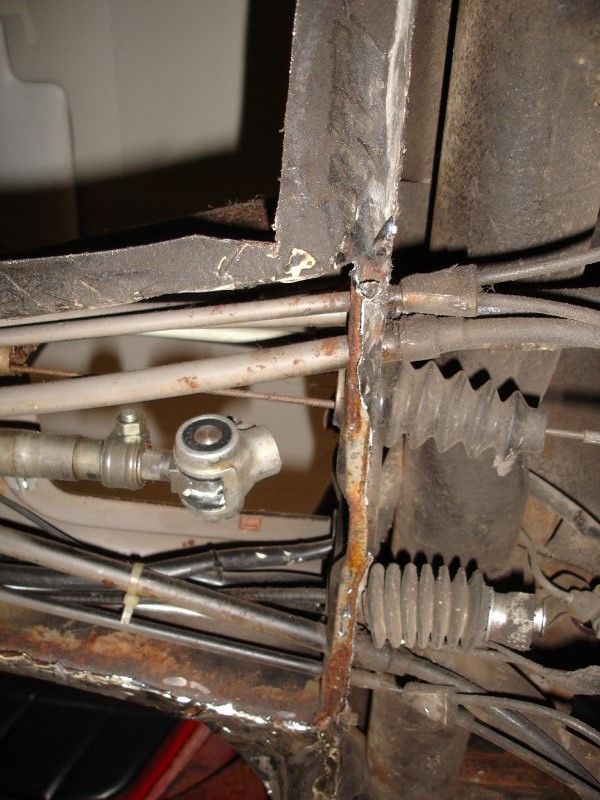
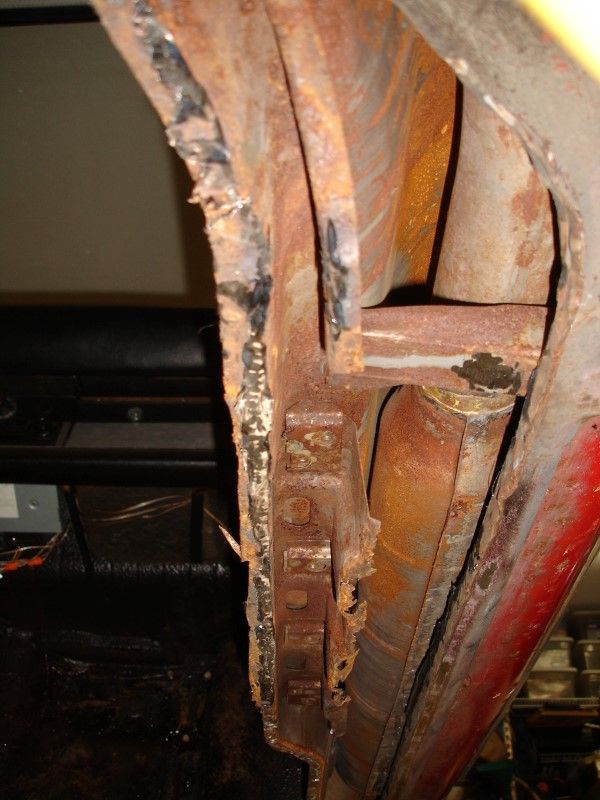
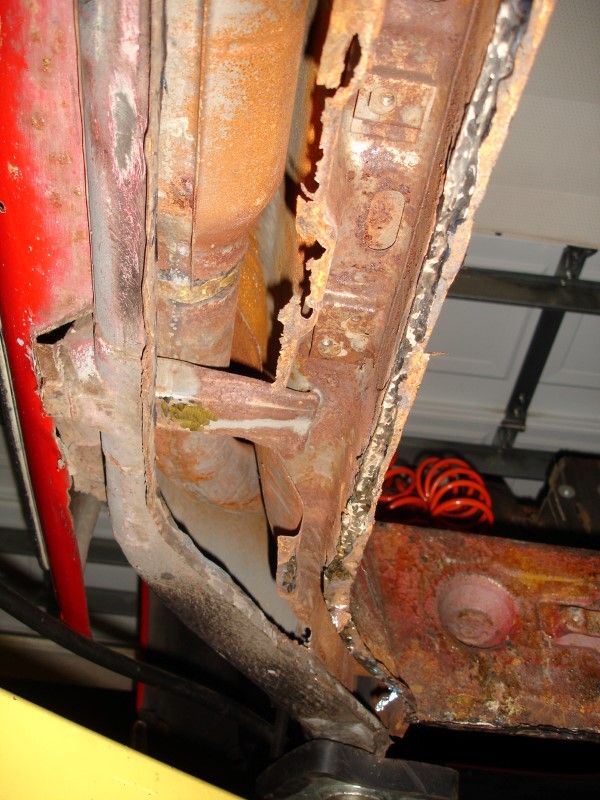
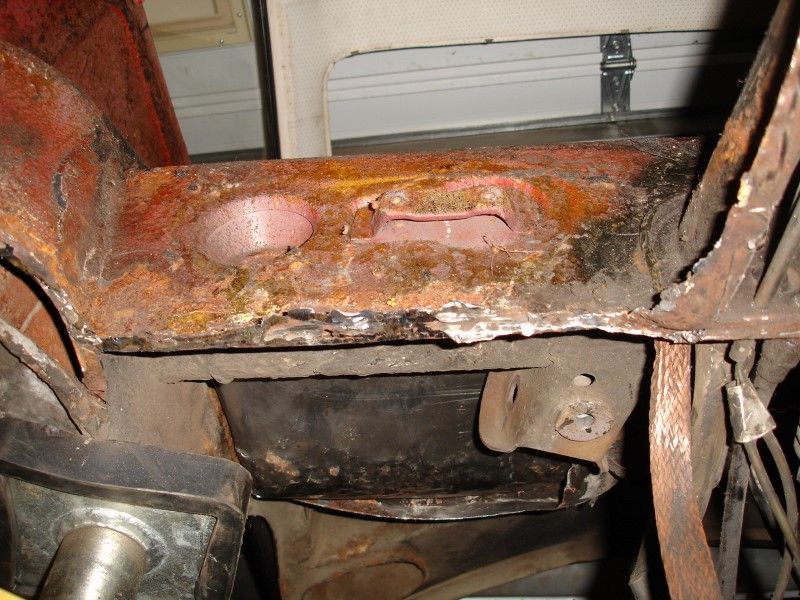
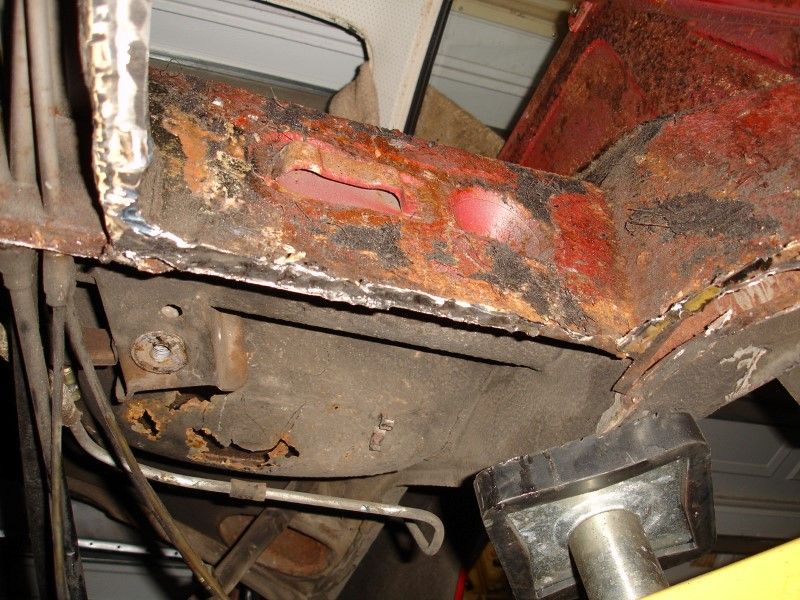
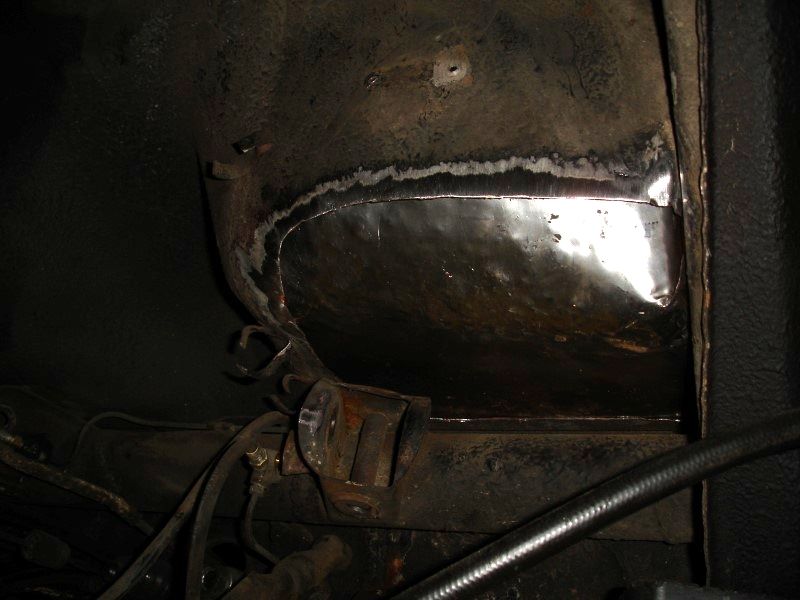
I continue to remove the floor...
but was able to remove enough of the front section to test fit the new panel...
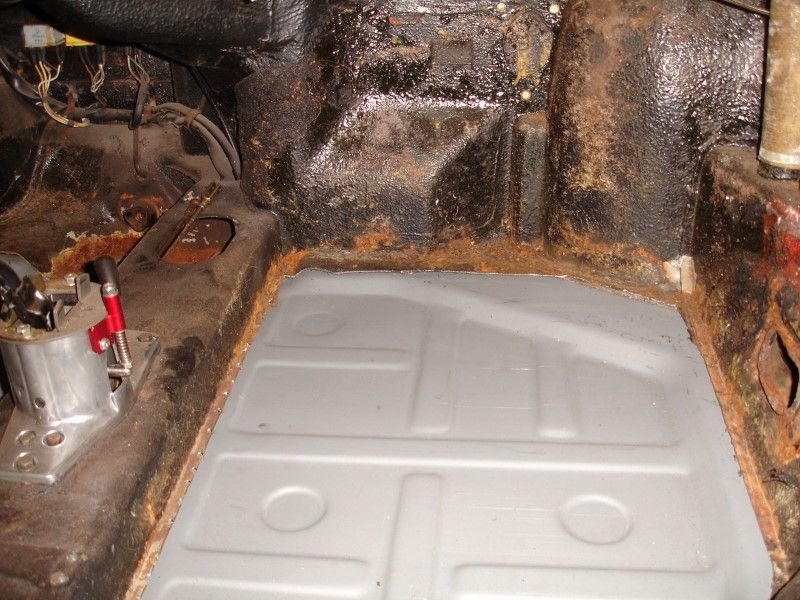
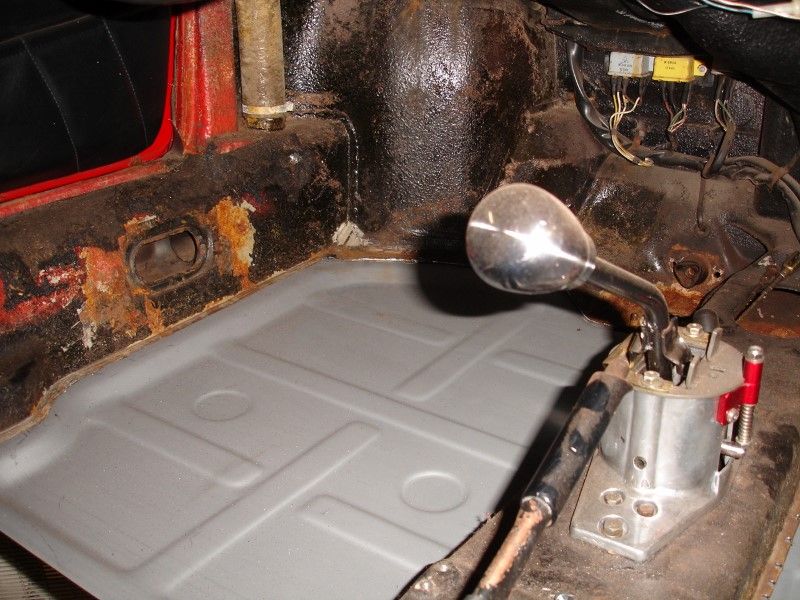
I still have to cut the front to match the new panel in preparation for butt-welding the two...
but was able to remove enough of the front section to test fit the new panel...
I still have to cut the front to match the new panel in preparation for butt-welding the two...
 03-07-2014, 02:07 PM
#197
Professor of Pending Projects
Rennlist Member
Rennlist Member
Thread Starter
Just doing research at this time... and documenting here for future reference...
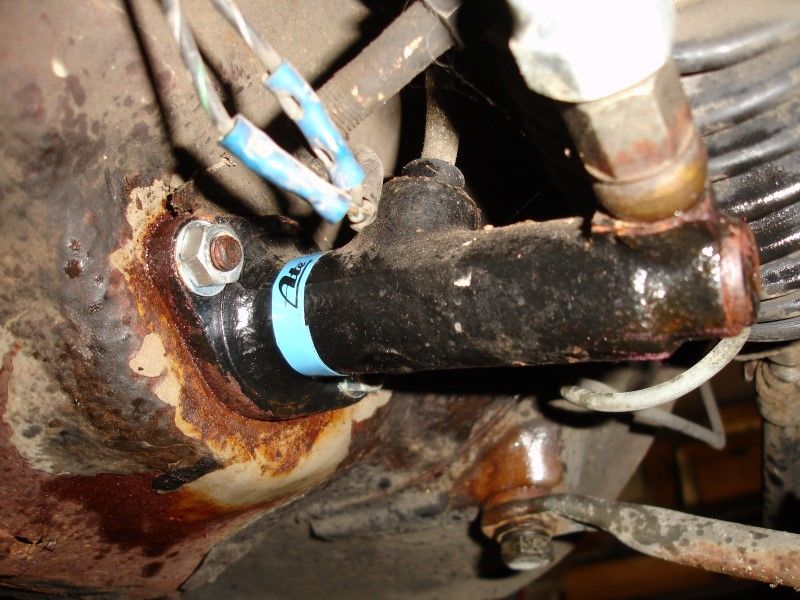
From the looks of all the parts, my car received a complete brake system overhaul by the previous owner. So everything is in working order.
Photo of the master cylinder in my car (I will remove to paint the area and the MC and install back)
Found in a few of the threads:
Single setup:

Dual setup:

I have found that a lot of folks make the dual master cylinder modification to improve or update to what Porsche later implemented in these cars...
Classic Speed Parts (CSP) sells a kit:
http://classicandspeedparts.com/inde...art&Itemid=127
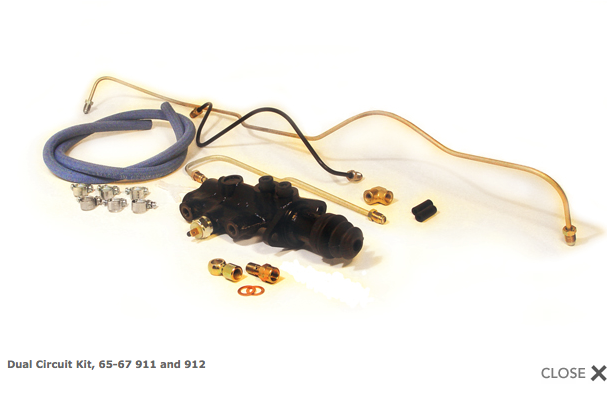
Their kit is setup to work with the stock fluid reservoir... best to get a dual reservoir

That will require getting the bracket and some additional lines... need to find part number for those...
Also, the correct actuating pin... more research required... I will update with all part numbers...
EDIT - Part numbers:
Piston Rod for 68-69 setup: 901.423.057.04
Reservoir: 911.355.013.13
Reservoir bracket: 901.355.015.00
Plastic from MC to Reservoir Line Front: PCG.355.061.00
Plastic from MC to Reservoir Line Rear: PCG.355.063.00
Rubber Grommets (2): 999.702.065.50
Hose Clamps (2): 999.512.055.02
Connecting hose from Lines to Reservoir (2): 901.355.927.02
From the looks of all the parts, my car received a complete brake system overhaul by the previous owner. So everything is in working order.
Photo of the master cylinder in my car (I will remove to paint the area and the MC and install back)
Found in a few of the threads:
Single setup:
Dual setup:
I have found that a lot of folks make the dual master cylinder modification to improve or update to what Porsche later implemented in these cars...
Classic Speed Parts (CSP) sells a kit:
http://classicandspeedparts.com/inde...art&Itemid=127
Their kit is setup to work with the stock fluid reservoir... best to get a dual reservoir
That will require getting the bracket and some additional lines... need to find part number for those...
Also, the correct actuating pin... more research required... I will update with all part numbers...
EDIT - Part numbers:
Piston Rod for 68-69 setup: 901.423.057.04
Reservoir: 911.355.013.13
Reservoir bracket: 901.355.015.00
Plastic from MC to Reservoir Line Front: PCG.355.061.00
Plastic from MC to Reservoir Line Rear: PCG.355.063.00
Rubber Grommets (2): 999.702.065.50
Hose Clamps (2): 999.512.055.02
Connecting hose from Lines to Reservoir (2): 901.355.927.02
Last edited by Wachuko; 03-07-2014 at 04:13 PM.
03-08-2014, 12:42 AM
#198
Professor of Pending Projects
Rennlist Member
Rennlist Member
Thread Starter
These came in today... So now I should have all the metal parts needed to repair the car...
Right side outer rocker panel:
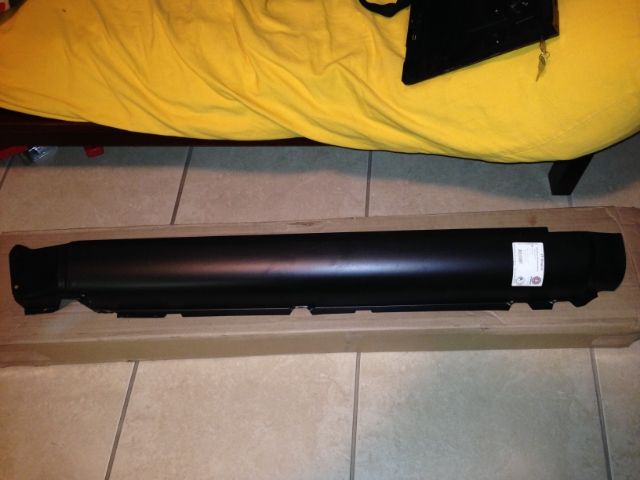
Right side outer rocker panel:
03-08-2014, 04:19 PM
#199
Professor of Pending Projects
Rennlist Member
Rennlist Member
Thread Starter
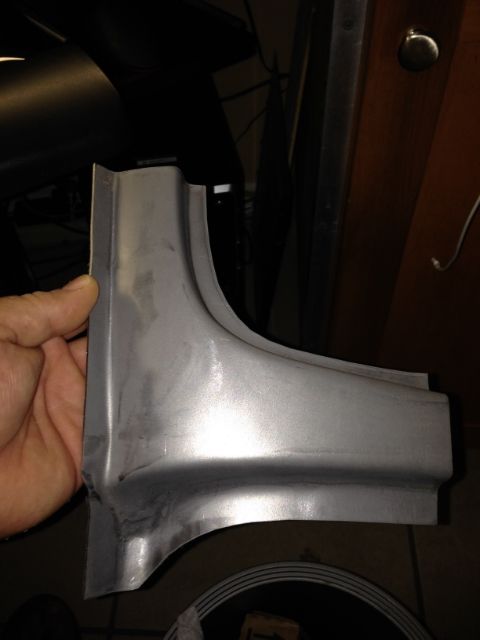
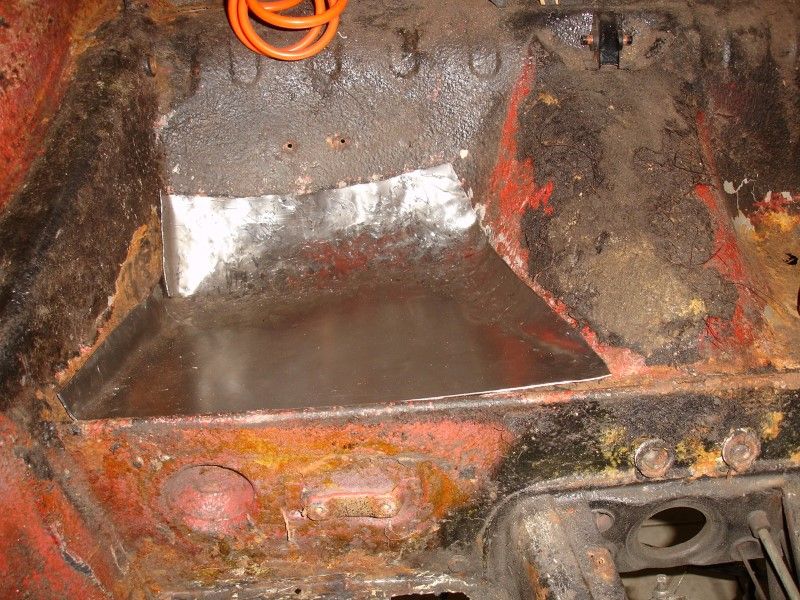
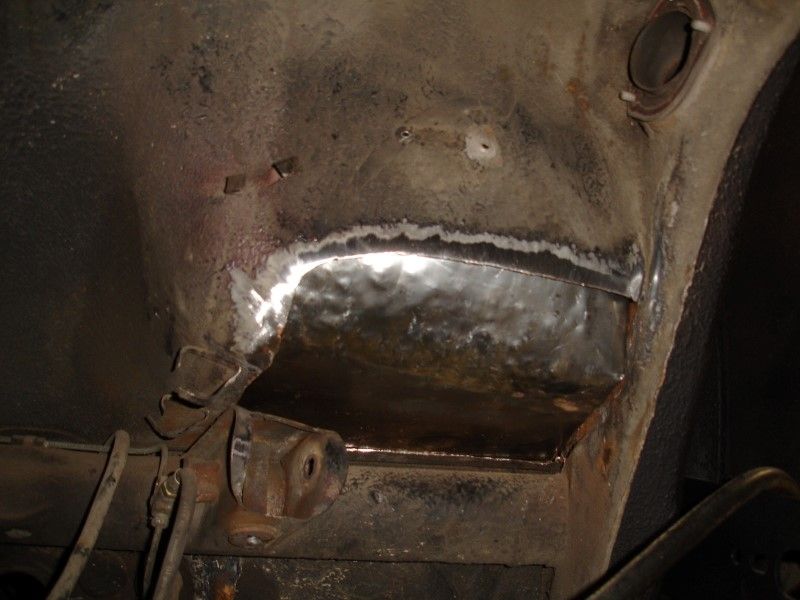
Well... I need to reset my time tables... made the first patch. Not welded...only did the cutout and the new metal replacement. And it only took me 3 hours 

Last edited by Wachuko; 03-08-2014 at 10:53 PM.
03-08-2014, 10:34 PM
#200
Professor of Pending Projects
Rennlist Member
Rennlist Member
Thread Starter
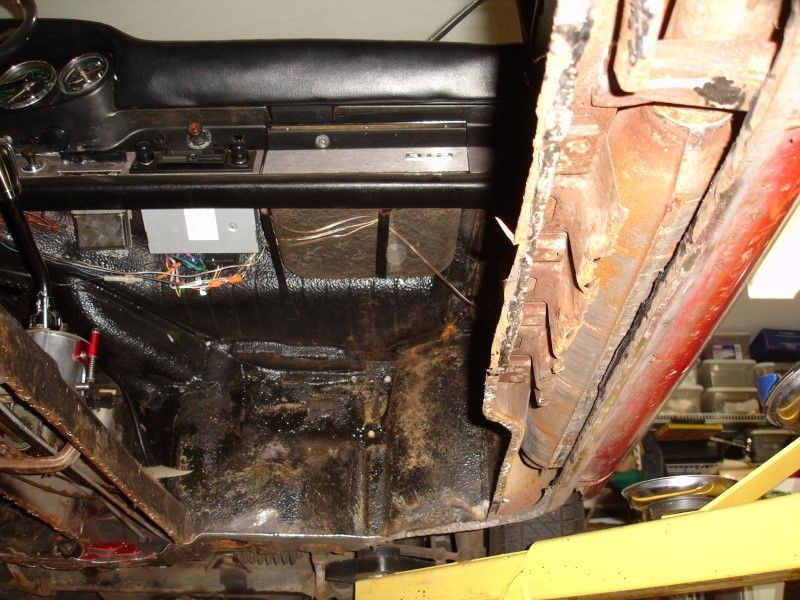
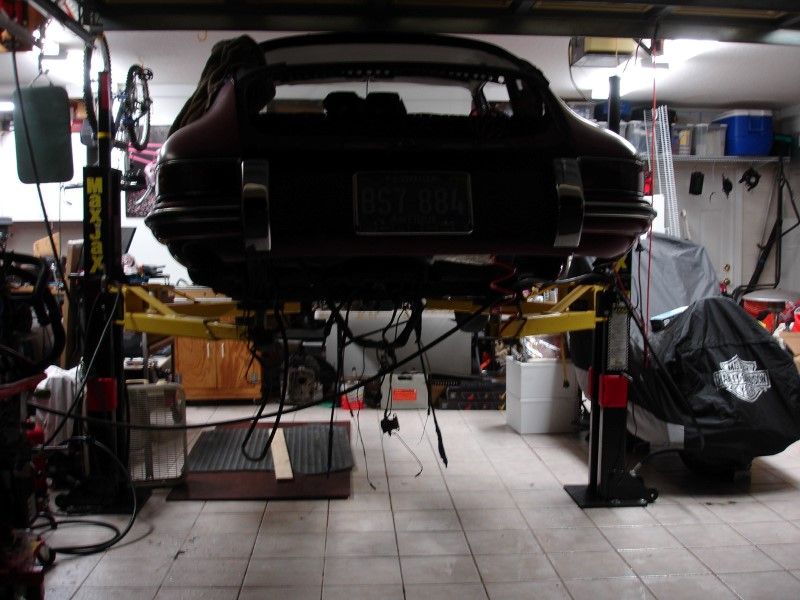
Almost done with removing the rear section of the old floor pan
Still need to grind the weld under the lift point so that this remaining metal comes out...after that, then I can test fit the rear section of the floor pan.
Still need to grind the weld under the lift point so that this remaining metal comes out...after that, then I can test fit the rear section of the floor pan.
Last edited by Wachuko; 03-09-2014 at 09:30 AM.
03-10-2014, 08:48 AM
#201
Professor of Pending Projects
Rennlist Member
Rennlist Member
Thread Starter
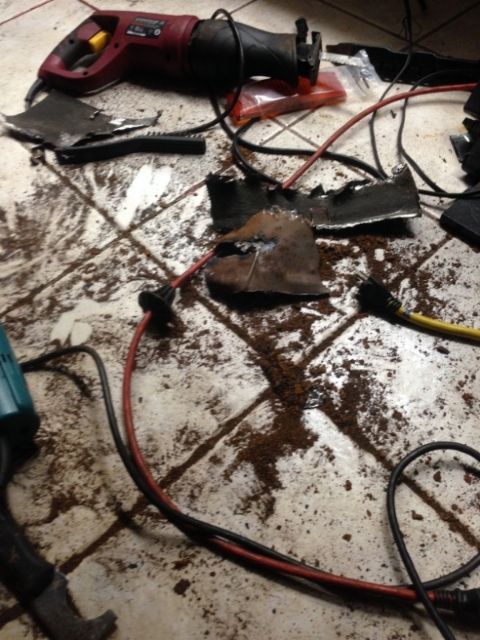
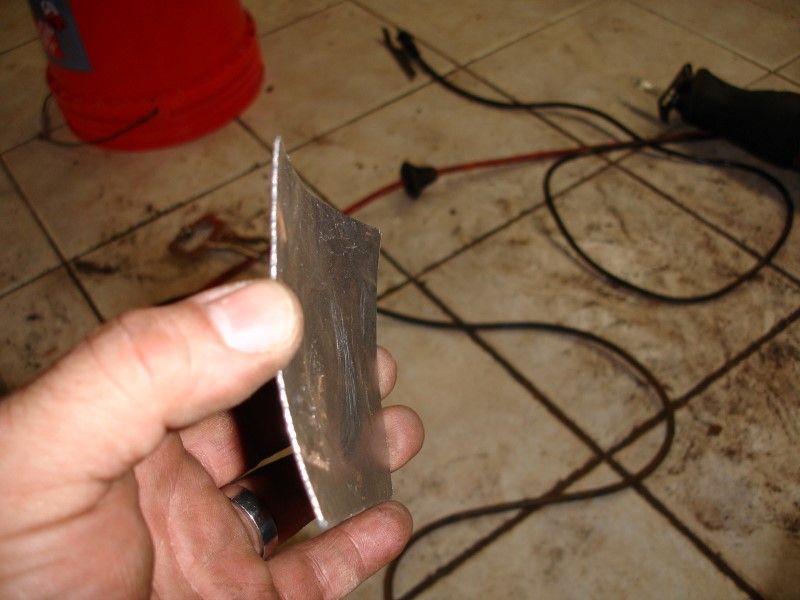
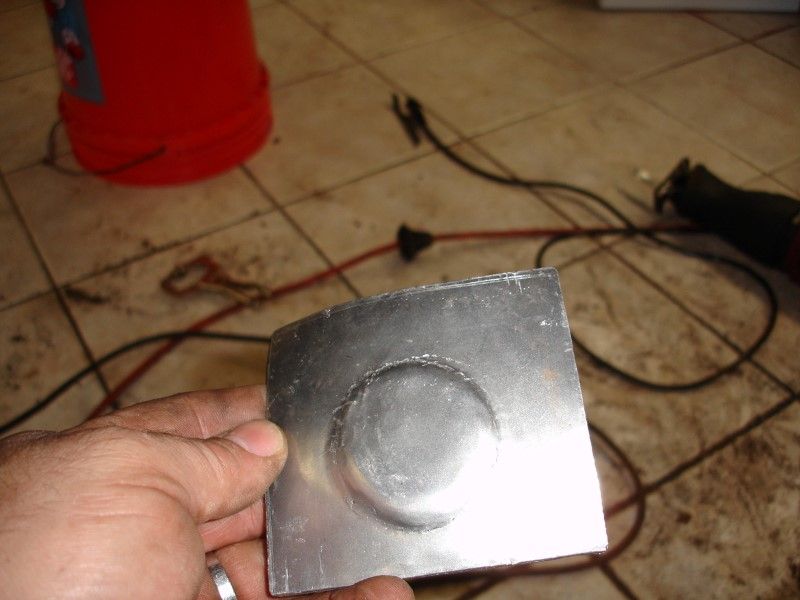
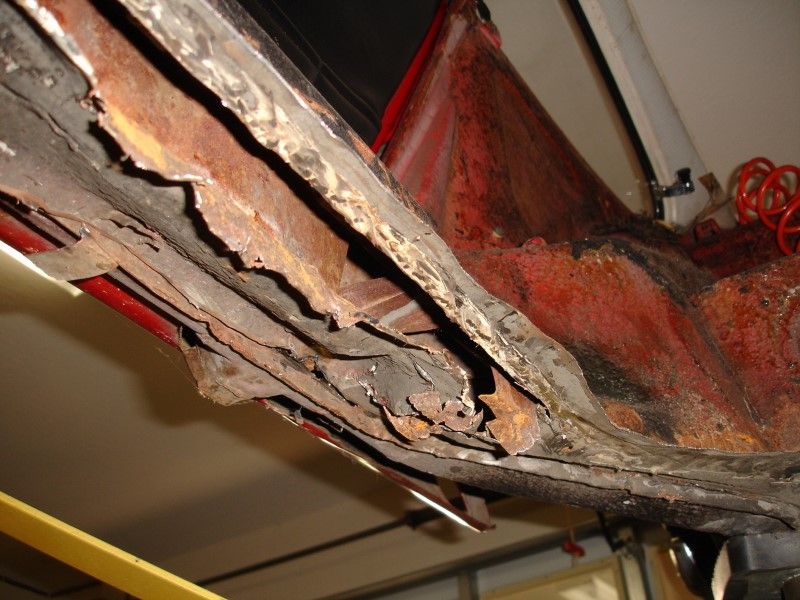
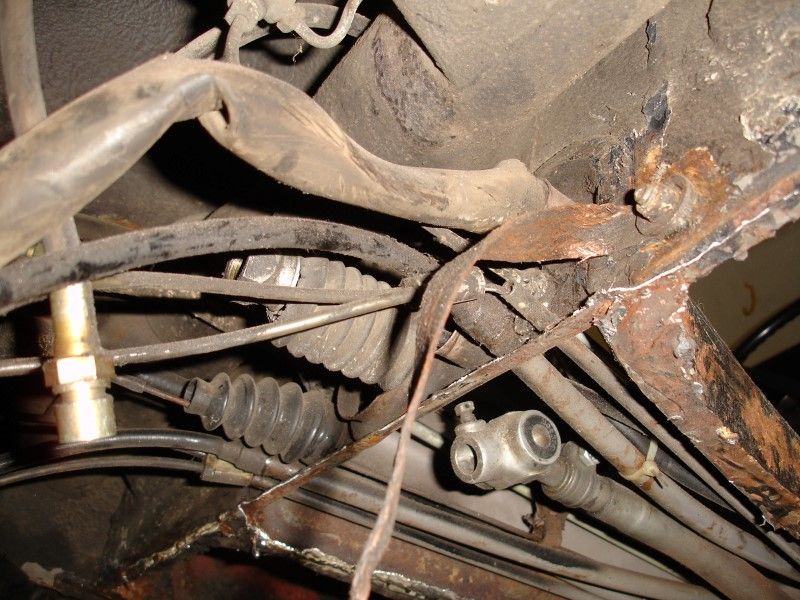
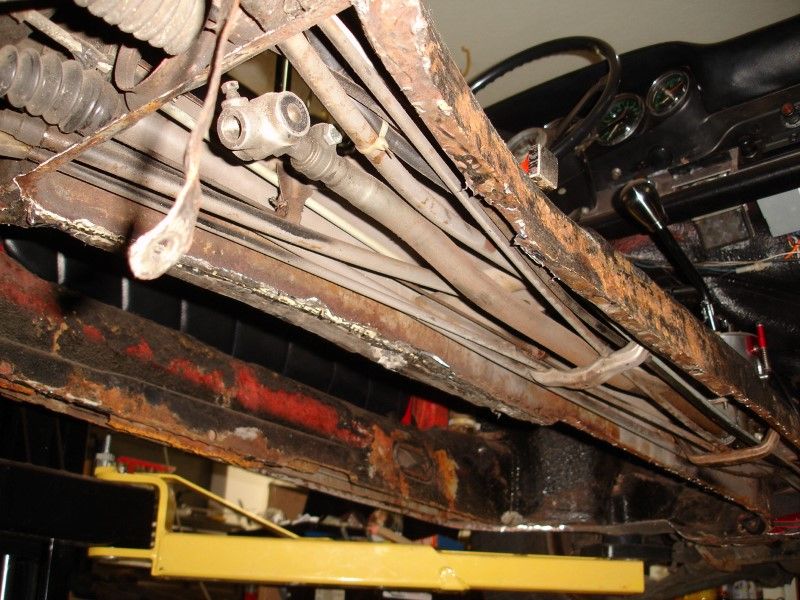
I continue to remove the old floor pan... man does this take time!
I tried to make the rear seat pan... first attempt was no good... a bit frustrated, but still not 310.00 per side frustrated, so I will try again later...
Also, where can I find these rubber plugs? Can't find a part number in PET for them... these are the ones that go under the floor pan, center section, from front to back...
And, as my Dad used to say, clean as you go, clean as you go...
03-11-2014, 11:07 PM
#202
Professor of Pending Projects
Rennlist Member
Rennlist Member
Thread Starter
Got a call that the hardware is done... 
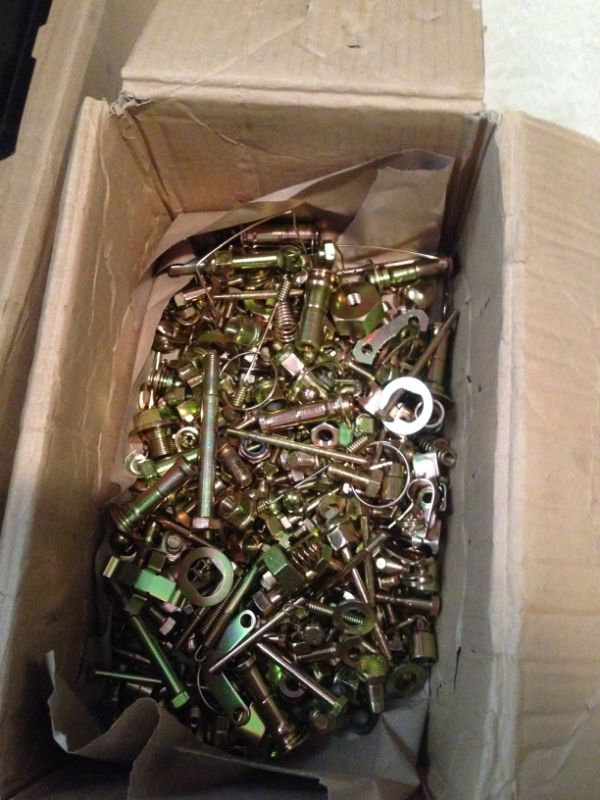
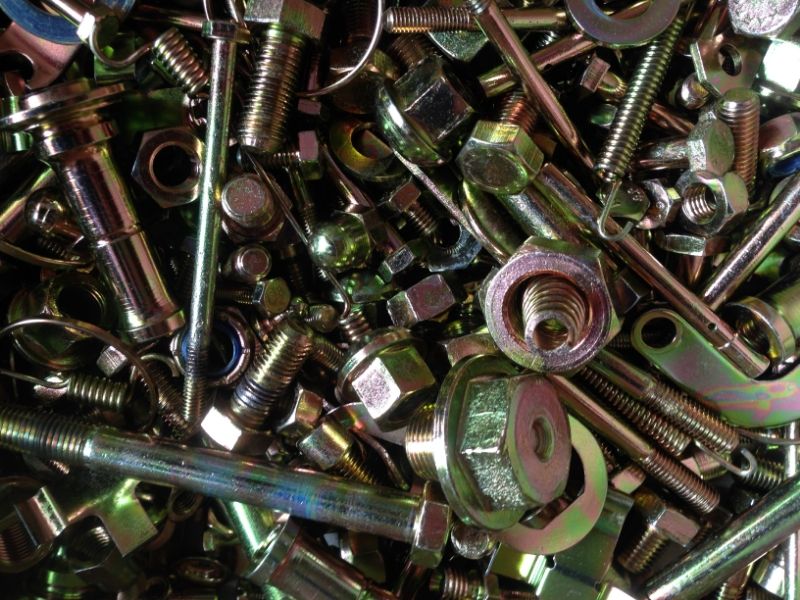
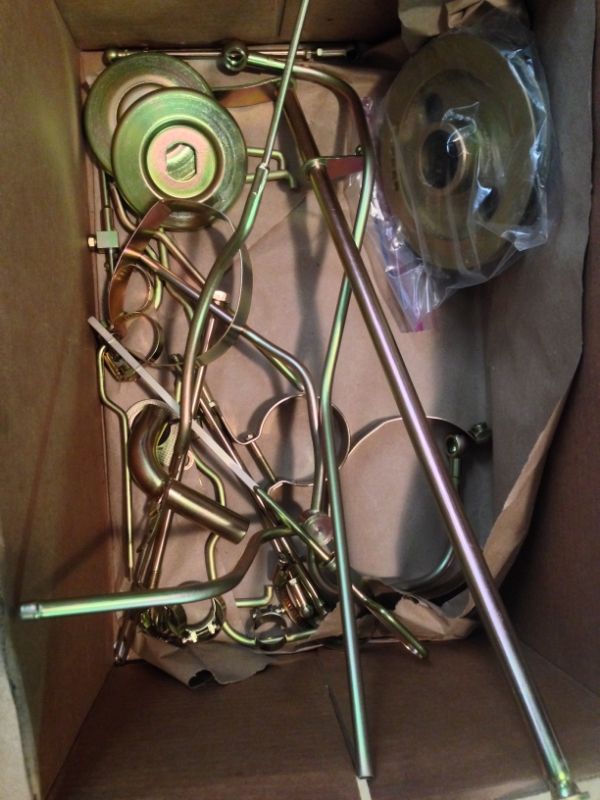
Started to sort everything and placed them in ziploc bags:
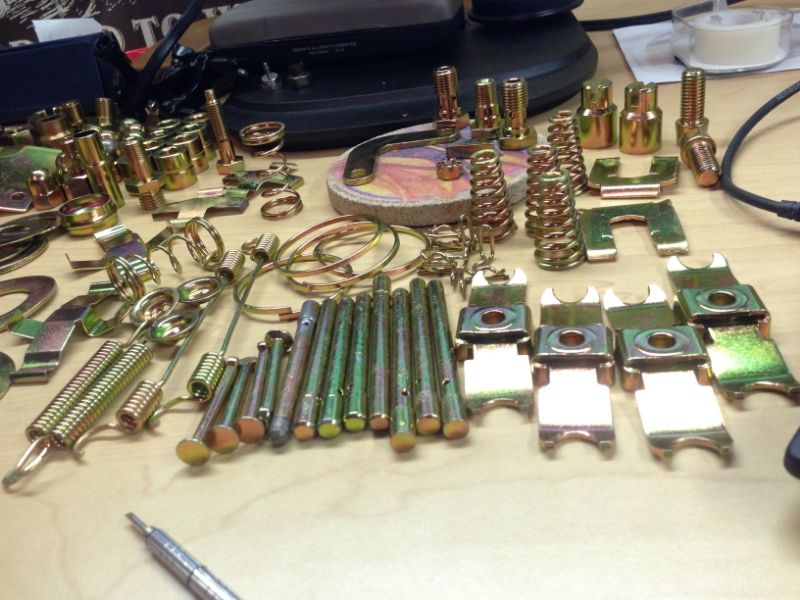
Started to sort everything and placed them in ziploc bags:
Last edited by Wachuko; 03-12-2014 at 08:07 PM.
03-15-2014, 03:17 PM
#205
Professor of Pending Projects
Rennlist Member
Rennlist Member
Thread Starter
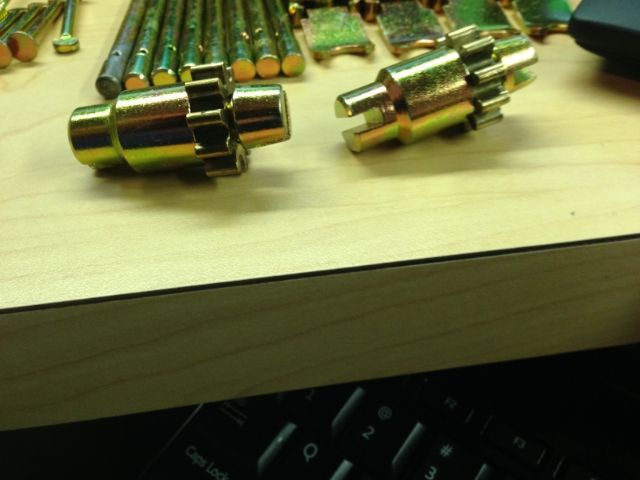
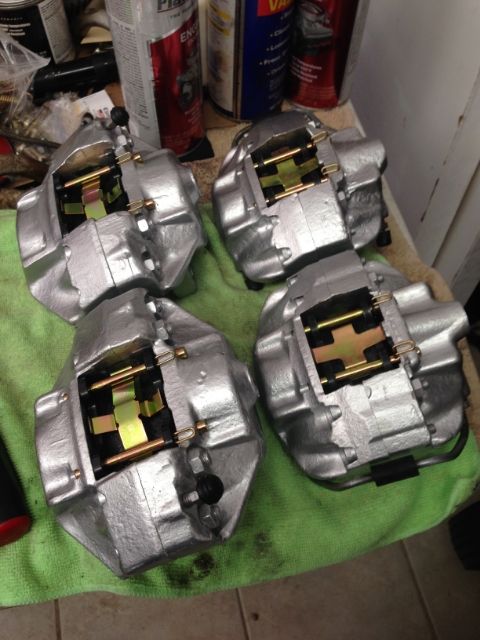
I should be under the car finishing removing the old floor... instead, I am distracted by so much nice looking hardware...
Calipers ready to go:
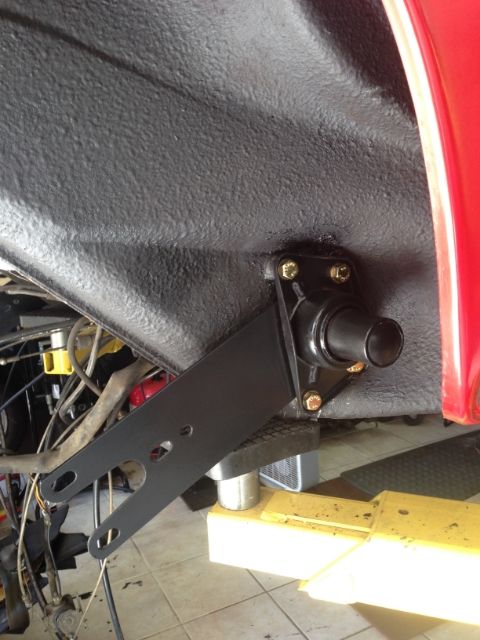
Bolts on side suspension in place:
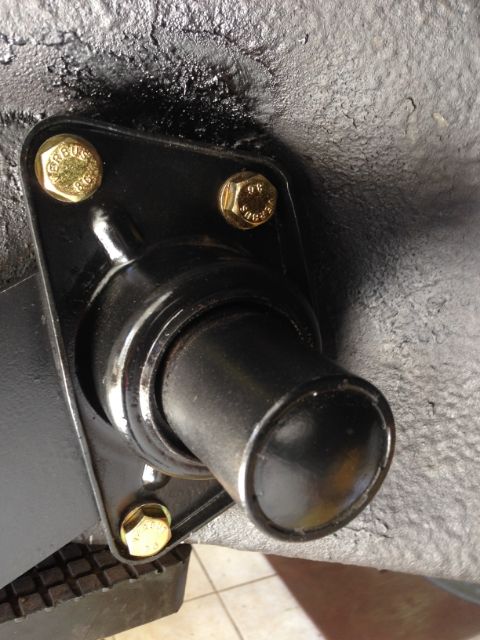
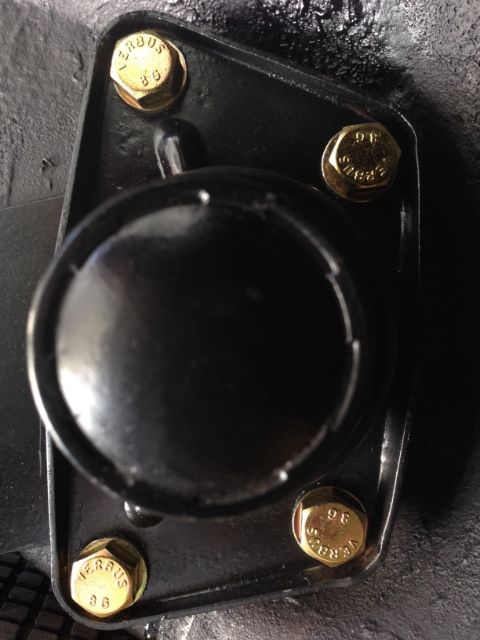
These are ready as well...
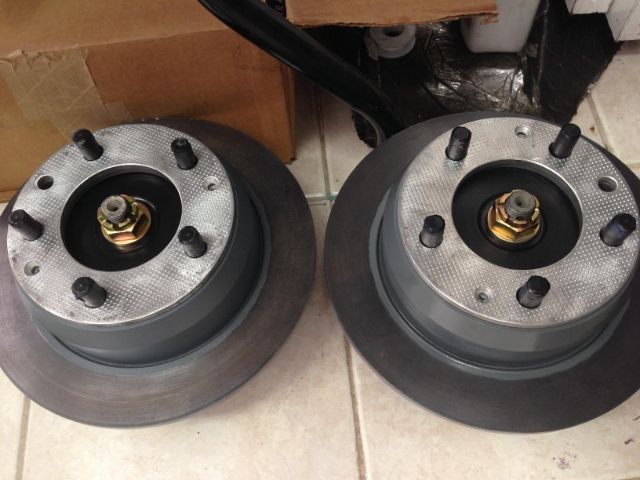
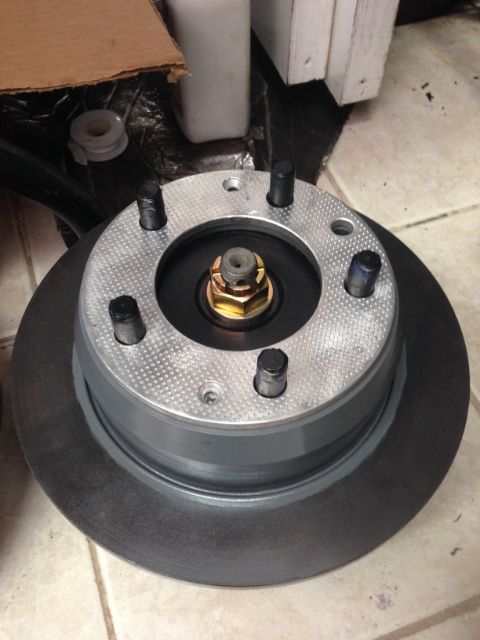
Enough wasting time... let me get back to removing the floor...
Calipers ready to go:
Bolts on side suspension in place:
These are ready as well...
Enough wasting time... let me get back to removing the floor...
03-15-2014, 03:48 PM
#206
Addict
You do realize how much this thread is going to cost me, don't you? 
LOL...
Hey, question: actually no question.....I see Ruby still has her http://www.seinesystems.com/GateShift-1.htm shifter. Guessing this is a good thing.
LOL...
Hey, question: actually no question.....I see Ruby still has her http://www.seinesystems.com/GateShift-1.htm shifter.
Guessing this is a good thing.
03-15-2014, 05:13 PM
#207
Professor of Pending Projects
Rennlist Member
Rennlist Member
Thread Starter
You do realize how much this thread is going to cost me, don't you?
LOL...
Hey, question: actually no question.....I see Ruby still has her http://www.seinesystems.com/GateShift-1.htm shifter. Guessing this is a good thing.
LOL...
Hey, question: actually no question.....I see Ruby still has her http://www.seinesystems.com/GateShift-1.htm shifter.
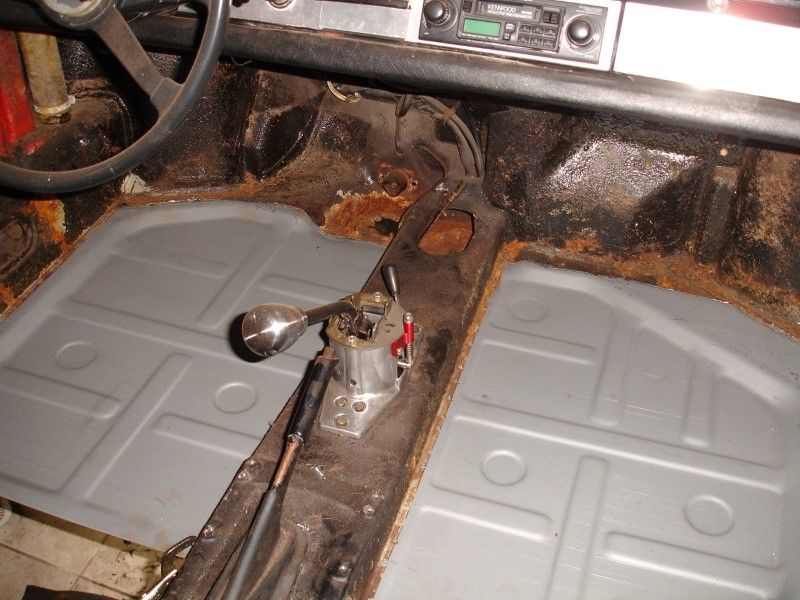
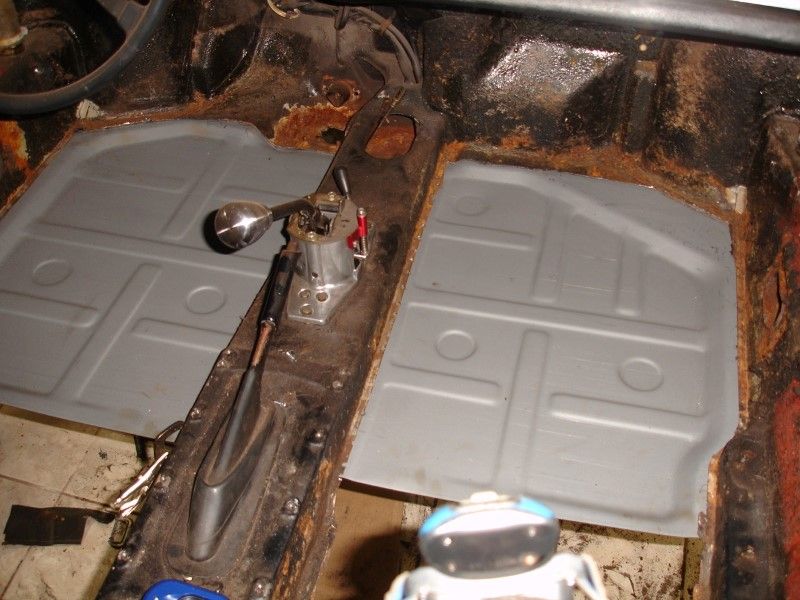
Guessing this is a good thing. Not only have you made me (well, encouraged me ) do this on the 912, but now I am going to have to go over the SC->RS and the SC->RSR projects and get all that done to them as well.... damn you amber lamps! 
On the shifter, yes, that is a good thing. I was able to use it on the 912 before I started working on it. Very nice indeed.
03-15-2014, 08:02 PM
#208
Professor of Pending Projects
Rennlist Member
Rennlist Member
Thread Starter
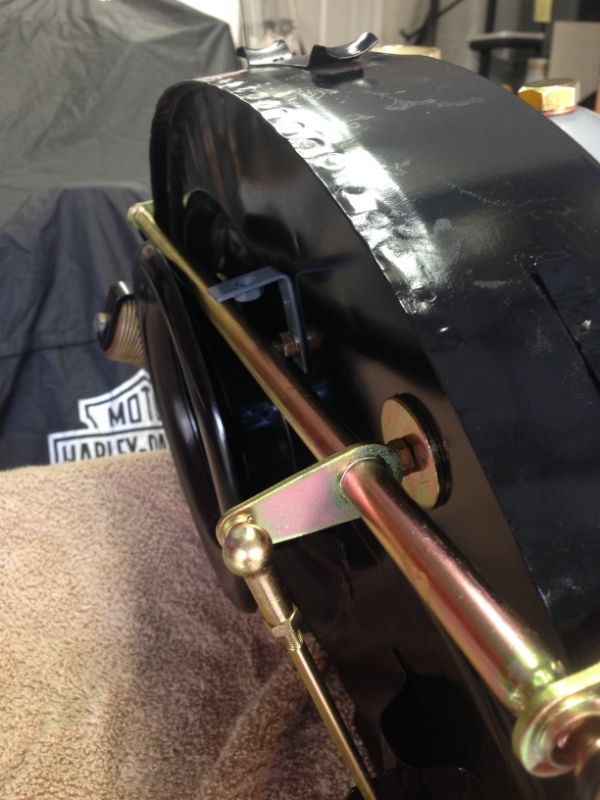
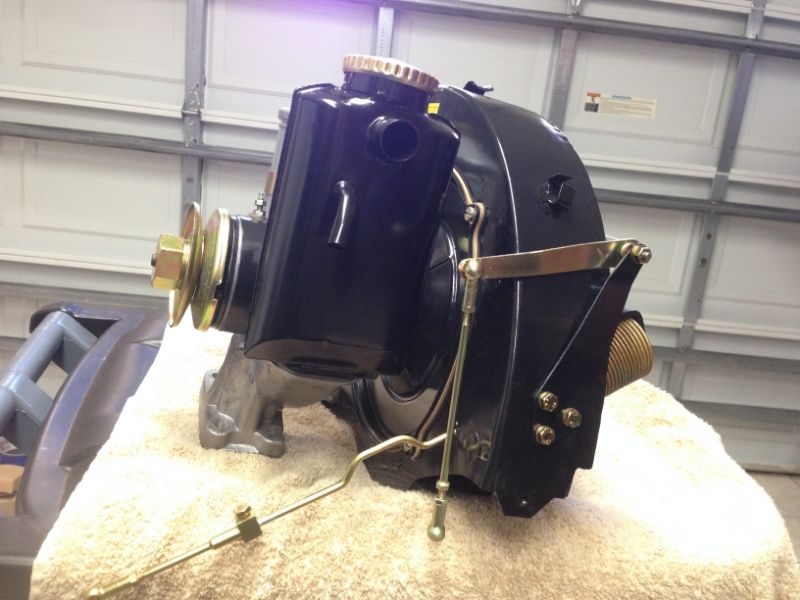
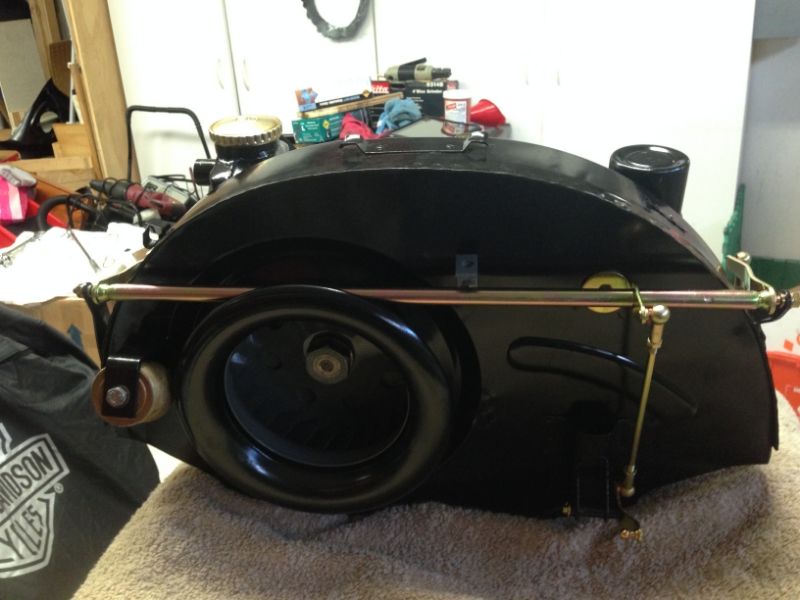
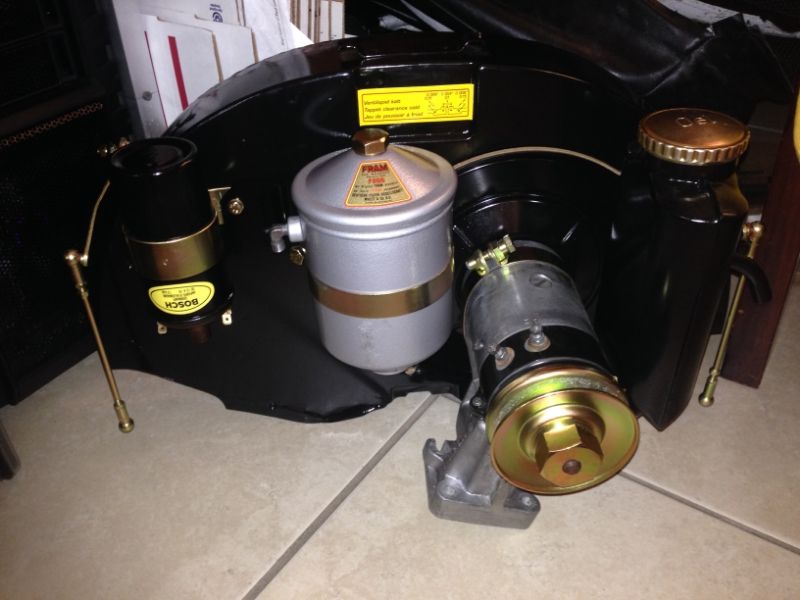
OK, I was just not in the mood to go under the car today... kept wasting time just putting together the fan housing with all the stuff that goes with it (I know that I will have to remove a few things to mount on the engine, just wanted to mount as much as possible for the photos...)
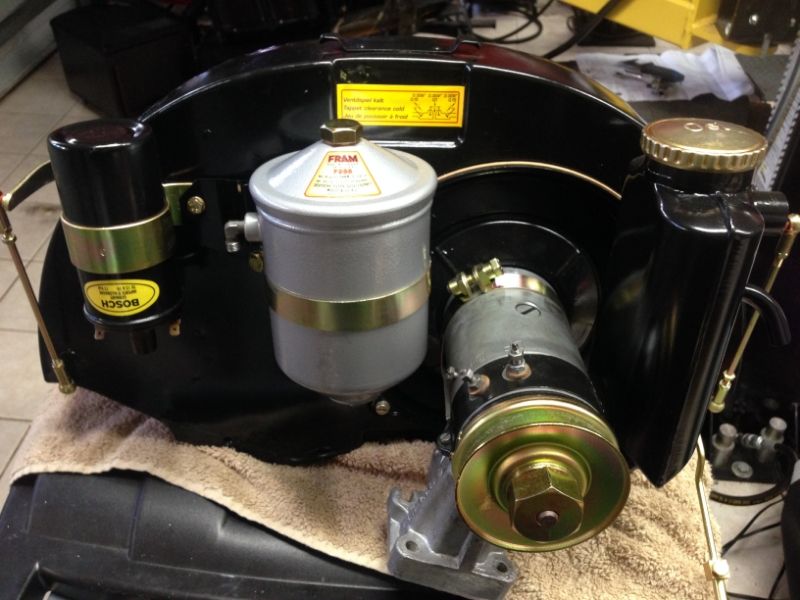
To a corner in the hose to avoid the dust and grime from the work in the floorpan to get it dirty

To a corner in the hose to avoid the dust and grime from the work in the floorpan to get it dirty
Last edited by Wachuko; 03-21-2014 at 01:21 PM.