My 1967 912 Build Thread
 02-16-2014, 06:54 PM
#136
Professor of Pending Projects
Rennlist Member
Rennlist Member
Thread Starter
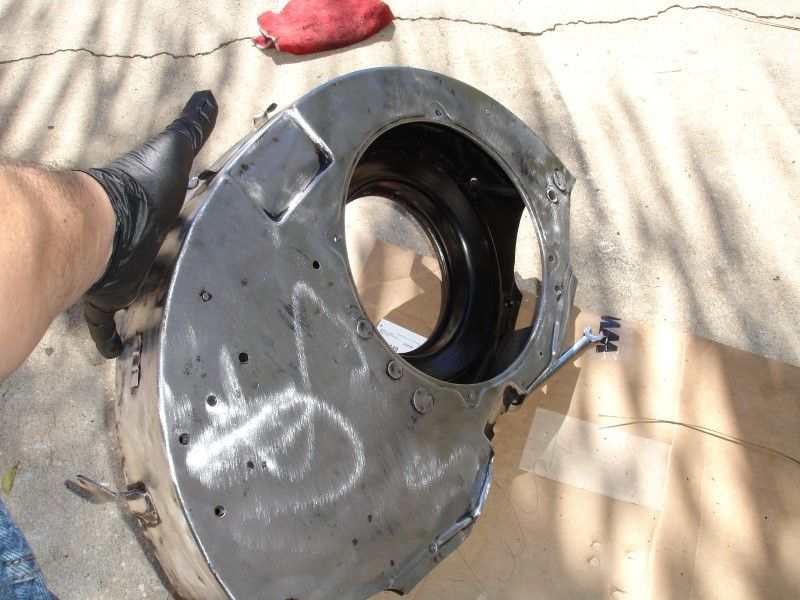
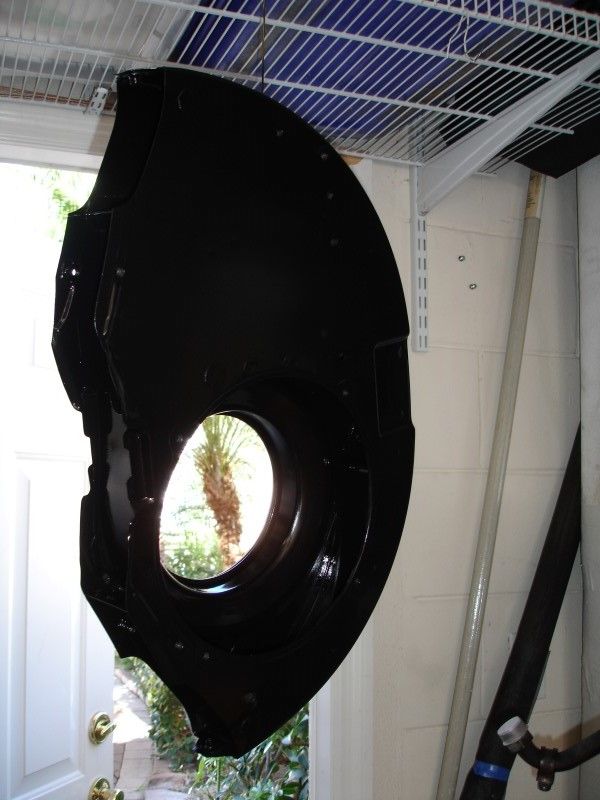
Now the fan housing:

Rebuilding the drive shafts... Cleaned everything, installing new rubber boots
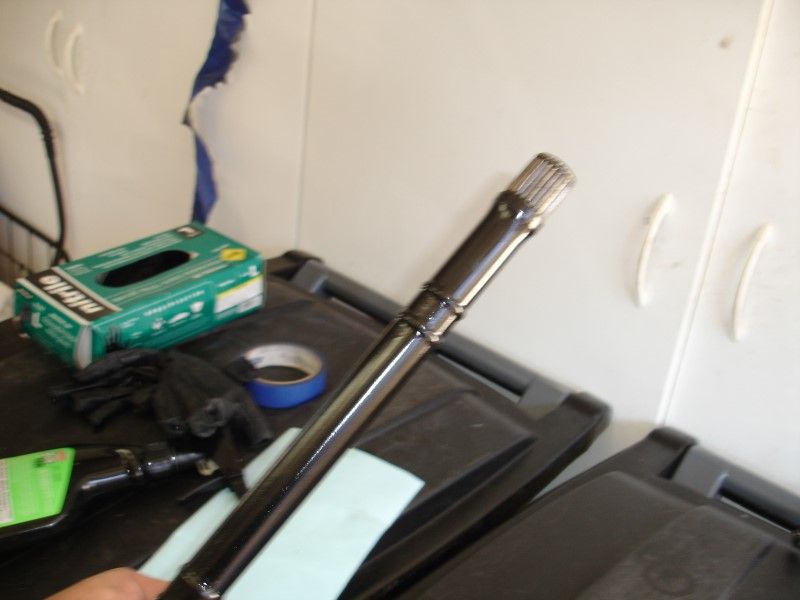
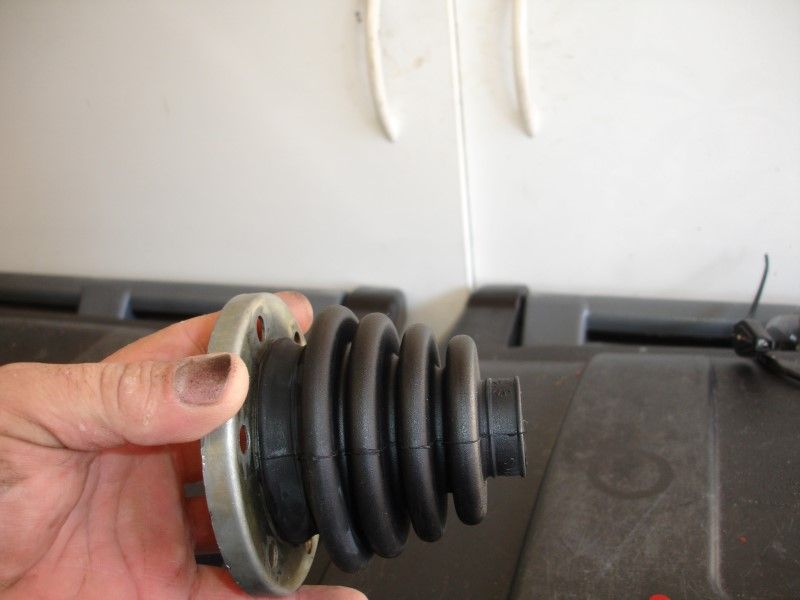

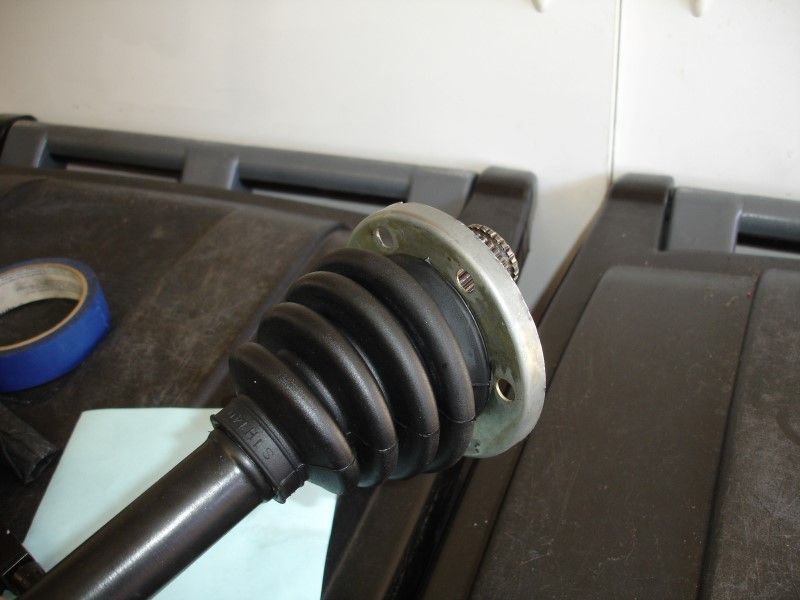
Done (I was going to clean and reuse the old tie-wraps but new metal tie-wraps get here next week).
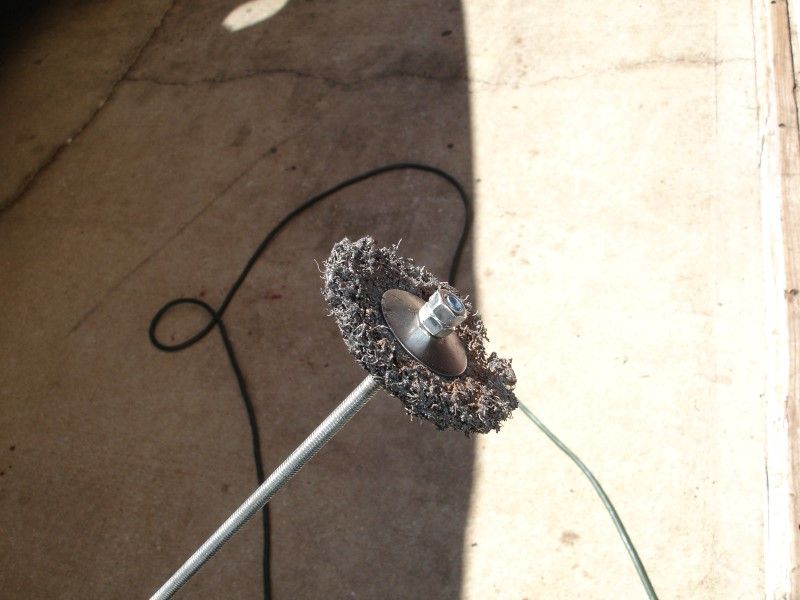
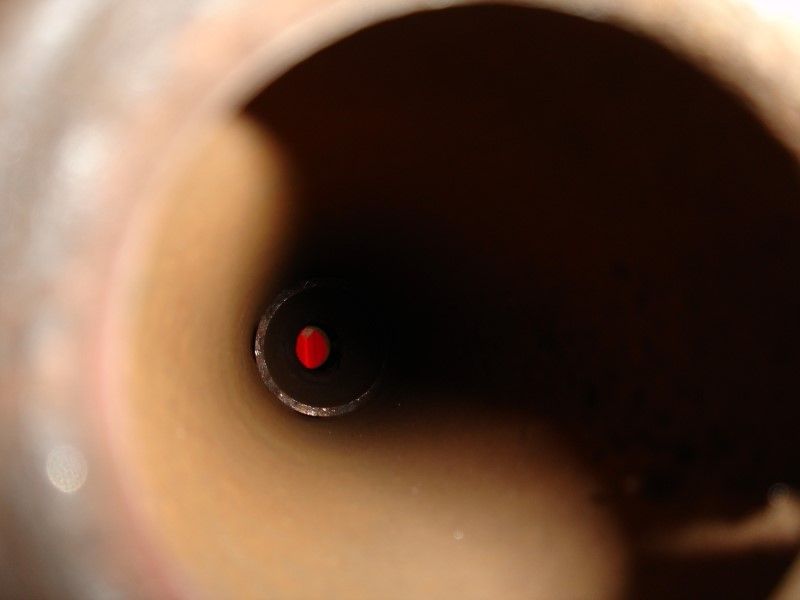
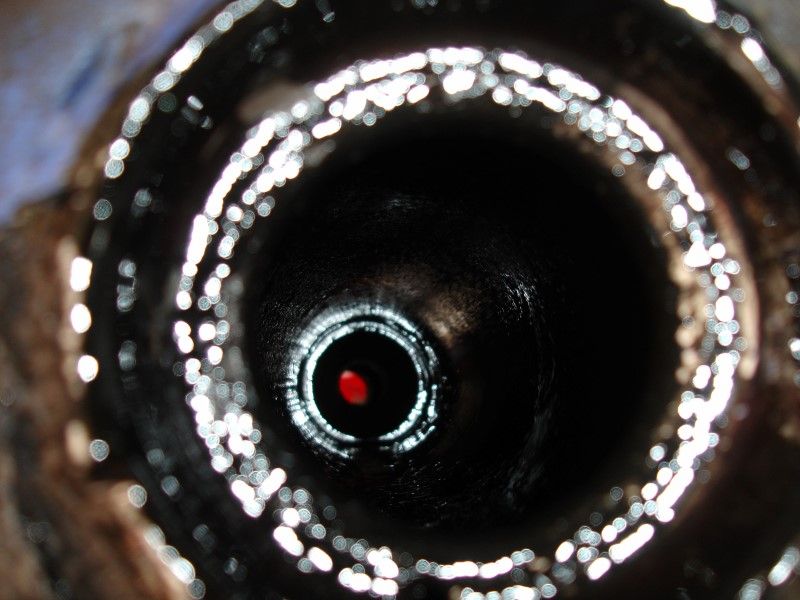
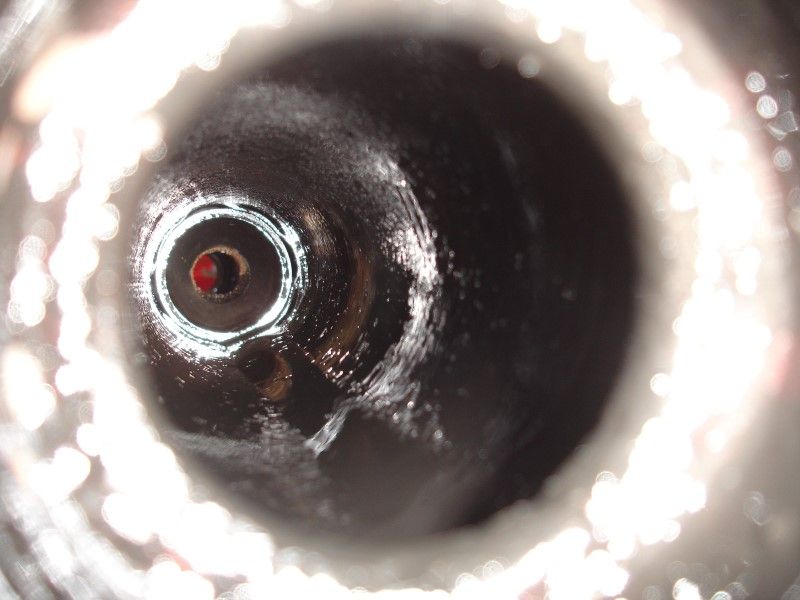
Ok, the rust removing wheel is small enough now to use in the torsion tube...
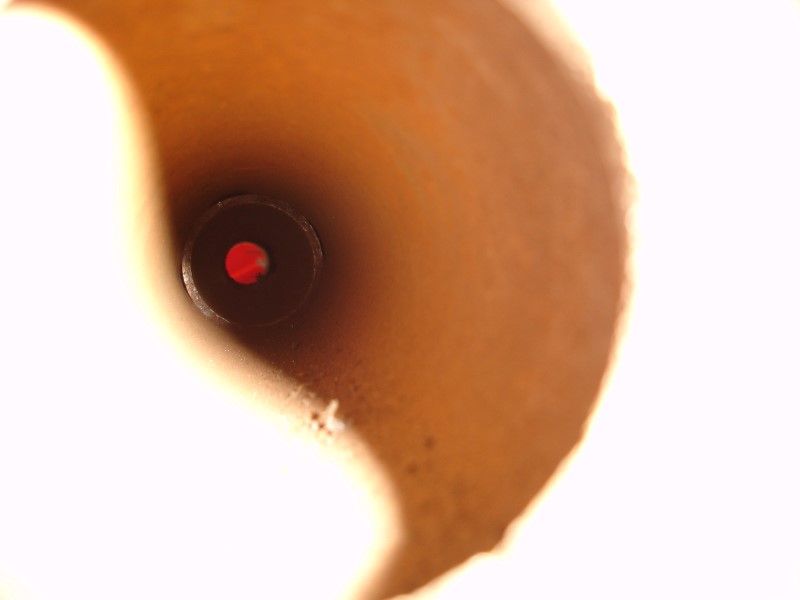
Nice and clean now... some rust neutralizer... some more cleaning... drying..
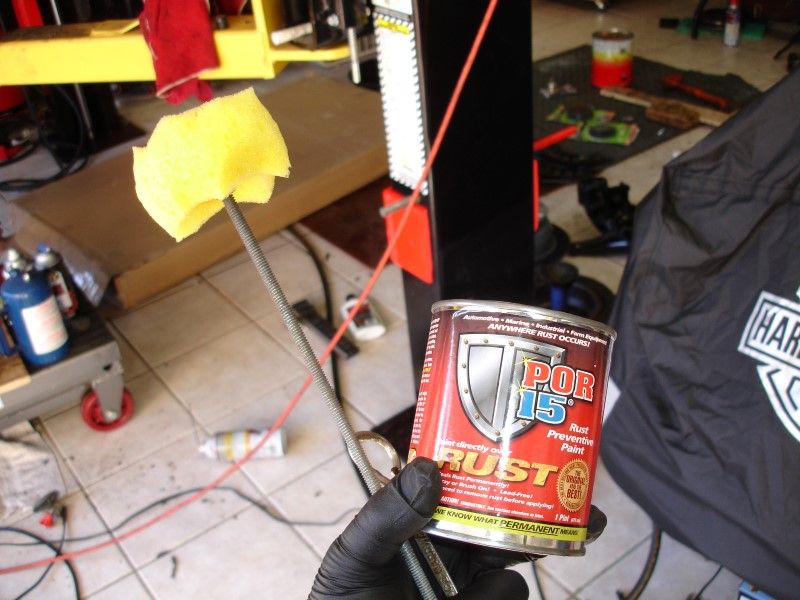
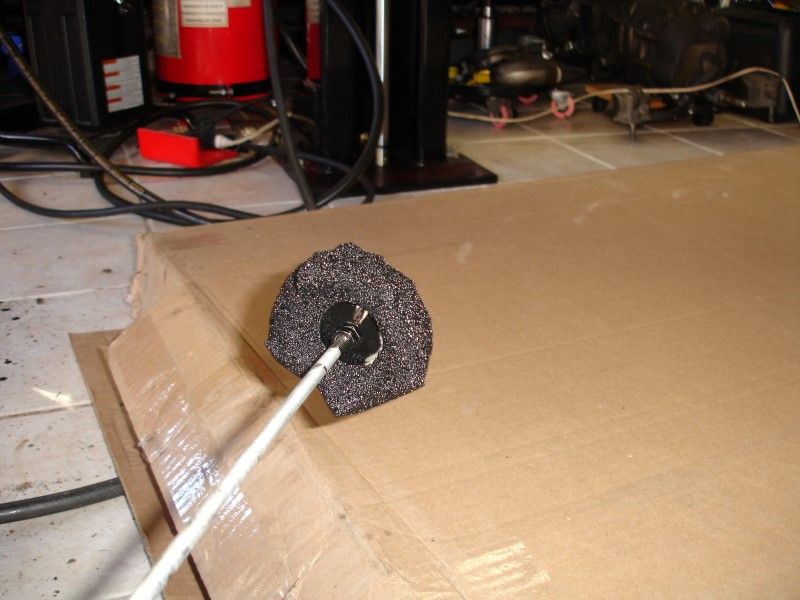
I wanted to use gray POR-15 but the only one that I had handy was black... so black it is. Used a sponge to spread it inside the torque tube...
Rebuilding the drive shafts... Cleaned everything, installing new rubber boots
Done (I was going to clean and reuse the old tie-wraps but new metal tie-wraps get here next week).
Ok, the rust removing wheel is small enough now to use in the torsion tube...
Nice and clean now... some rust neutralizer... some more cleaning... drying..
I wanted to use gray POR-15 but the only one that I had handy was black... so black it is. Used a sponge to spread it inside the torque tube...
Last edited by Wachuko; 02-17-2014 at 01:44 AM.
 02-16-2014, 06:57 PM
#137
Nordschleife Master
Well done ... POR-15 rocks!
02-16-2014, 11:17 PM
#138
Professor of Pending Projects
Rennlist Member
Rennlist Member
Thread Starter
Torsion bars and new bushings in place... waiting on the bolts to come from plating to finish that off...
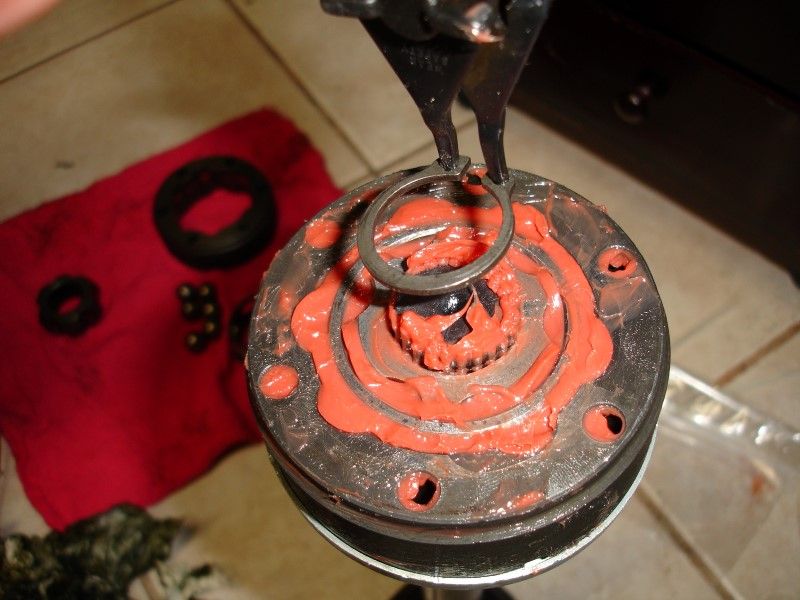
Packing the CVJs
Packing the CVJs
02-17-2014, 01:30 AM
#139
Professor of Pending Projects
Rennlist Member
Rennlist Member
Thread Starter
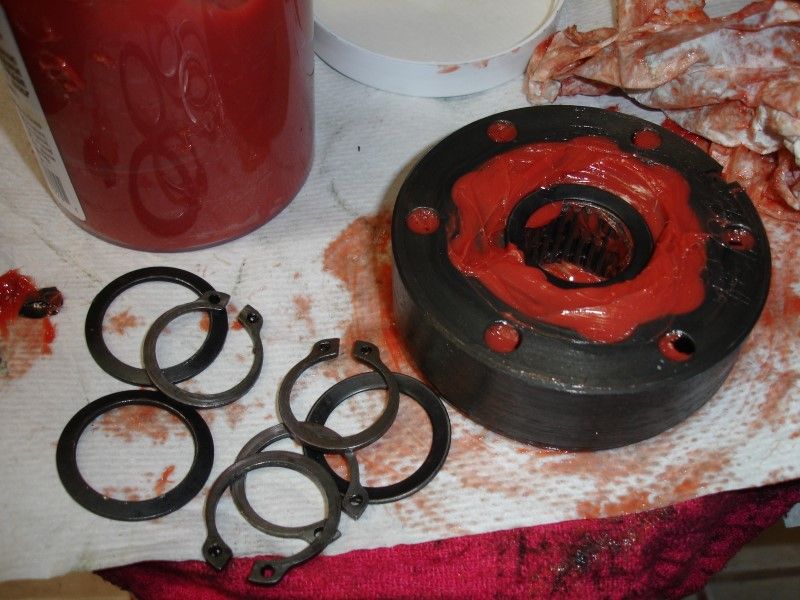
Ok... First insert washer

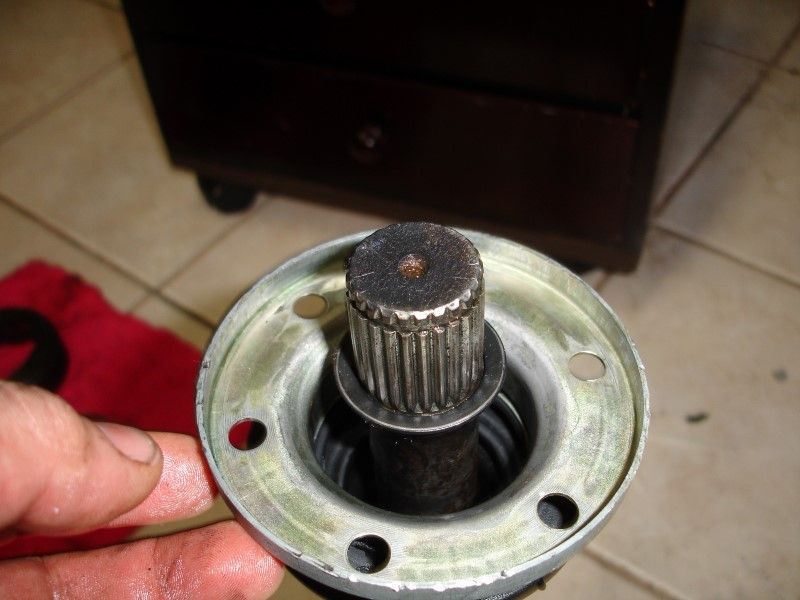
Install the CVJ with the machine side up (you really can't get this wrong as the other side would be loose against the metal cover with the boot)
Install cir-clip. Tap on the cir-clip to make sure it is inserted in the groove correctly...
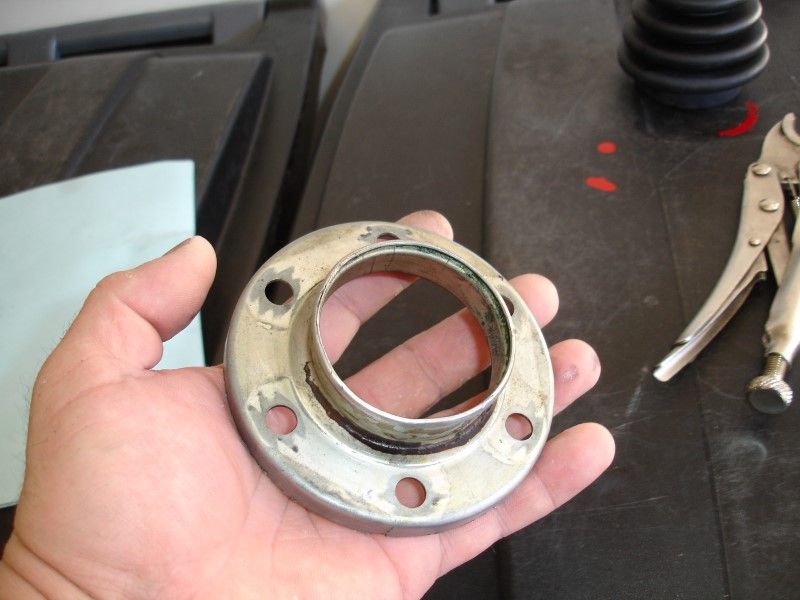
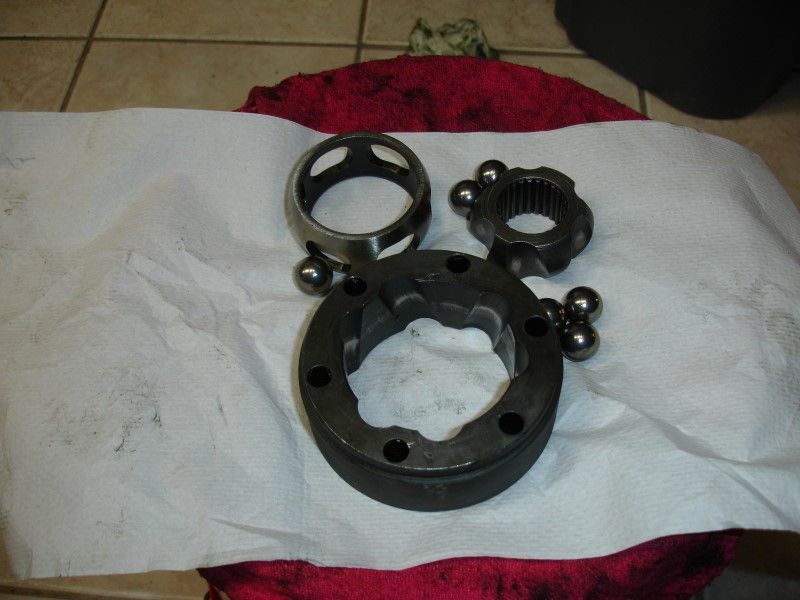
Something that I noticed when cleaning and repacking the CVJs... the small tab on the inner piece goes with the large section on the outer piece...
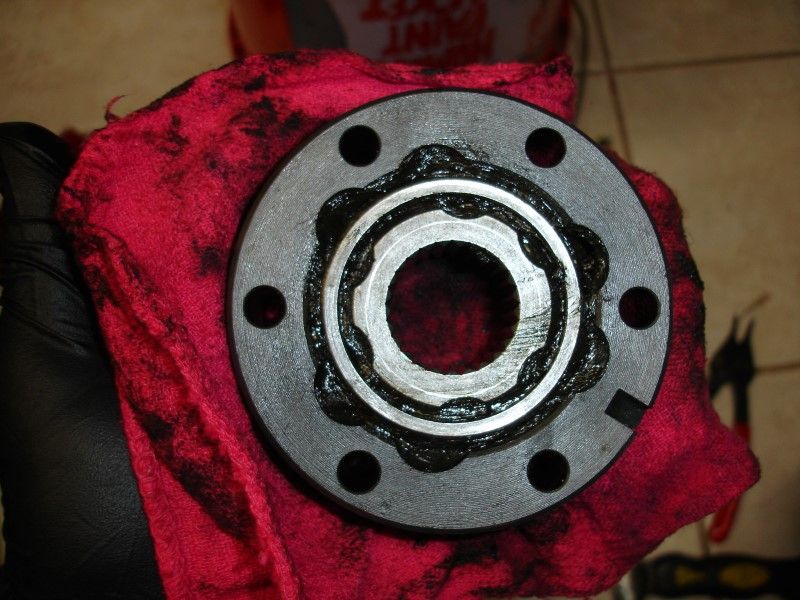
See here... pointing to the small tab on the inner piece

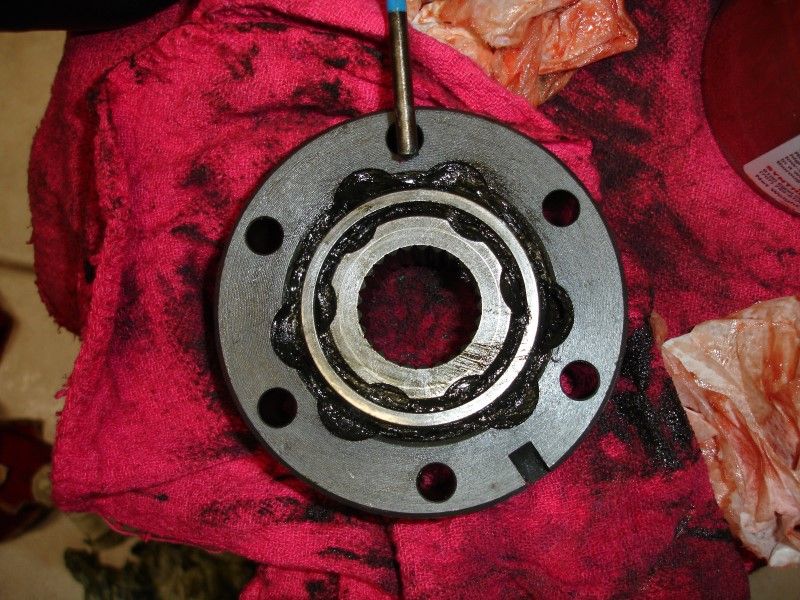
pointing to the large tab on the inner piece, look how it goes with the smaller tab in the outer piece... Not really sure if this has anything to do with how these are installed... I just made sure to install them in the same way...
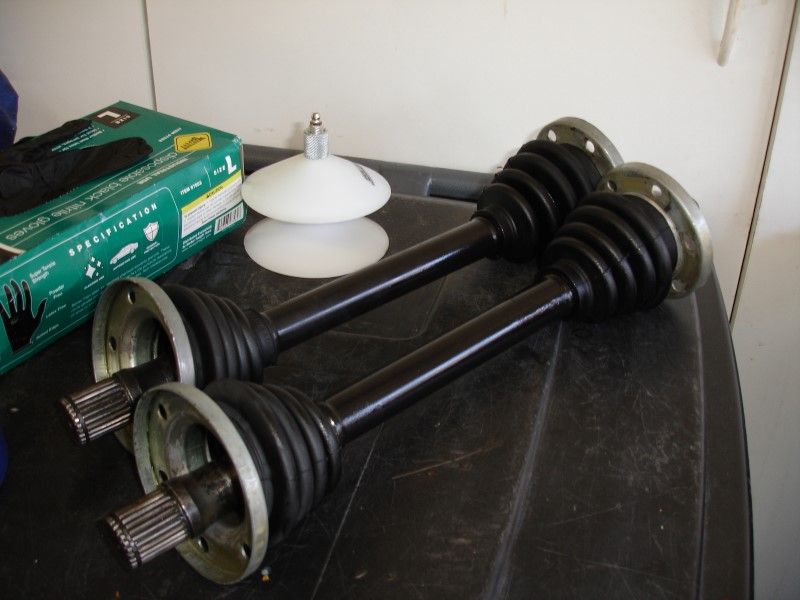
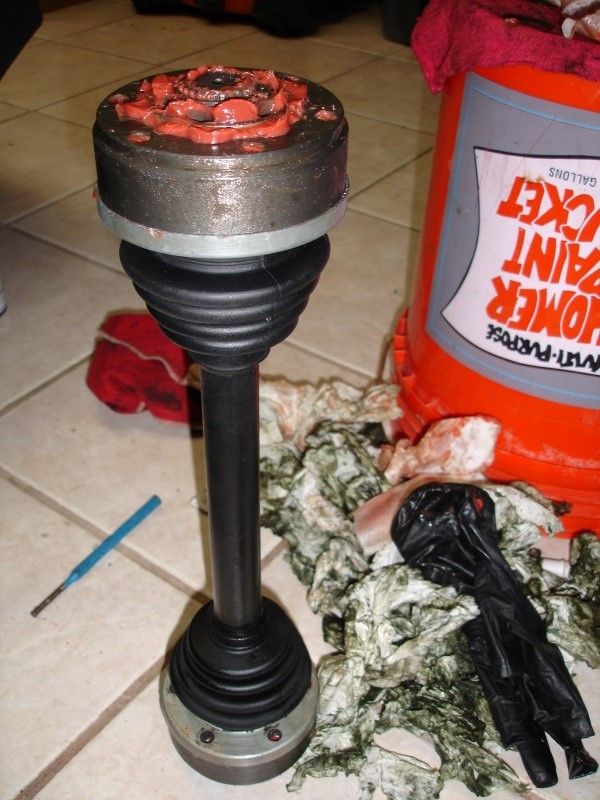
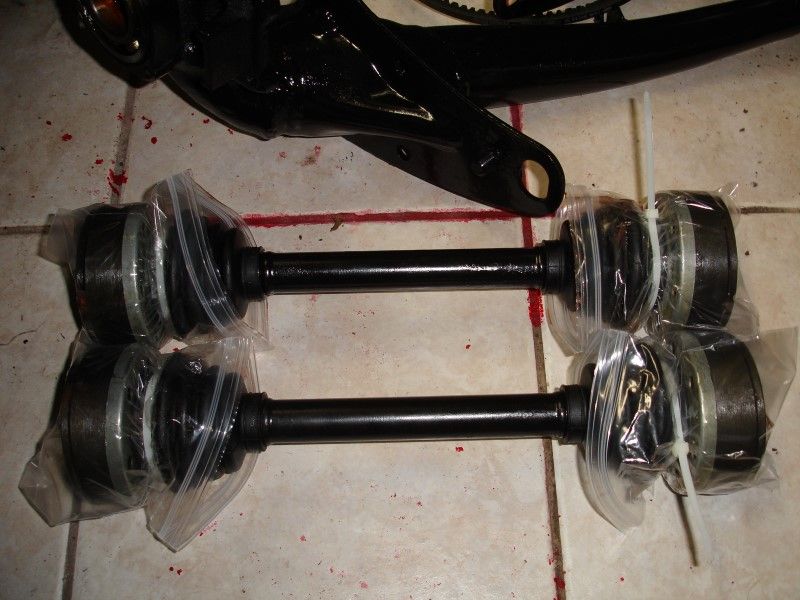
Both drive shafts done (well, still need to install the metal clamp on the rubber boots)... put a plastic bag over each end to avoid dust/dirt getting in the grease...
Install the CVJ with the machine side up (you really can't get this wrong as the other side would be loose against the metal cover with the boot)
Install cir-clip. Tap on the cir-clip to make sure it is inserted in the groove correctly...
Something that I noticed when cleaning and repacking the CVJs... the small tab on the inner piece goes with the large section on the outer piece...
See here... pointing to the small tab on the inner piece
pointing to the large tab on the inner piece, look how it goes with the smaller tab in the outer piece... Not really sure if this has anything to do with how these are installed... I just made sure to install them in the same way...
Both drive shafts done (well, still need to install the metal clamp on the rubber boots)... put a plastic bag over each end to avoid dust/dirt getting in the grease...
02-17-2014, 12:27 PM
#141
Addict
Rennlist Member
Rennlist Member
Suck thing about winter is not be able to do car projects!
02-17-2014, 03:44 PM
#142
Professor of Pending Projects
Rennlist Member
Rennlist Member
Thread Starter
 brrrrrrr
02-17-2014, 04:36 PM
brrrrrrr
02-17-2014, 04:36 PM
#143
Professor of Pending Projects
Rennlist Member
Rennlist Member
Thread Starter
A few more parts came in...
Aluminum oil cooler
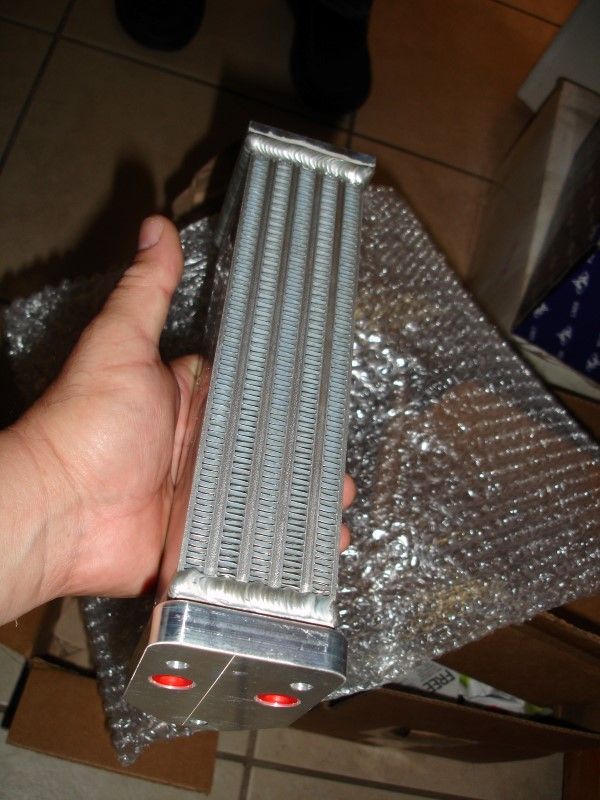
Note to self...remember to remove red plugs...
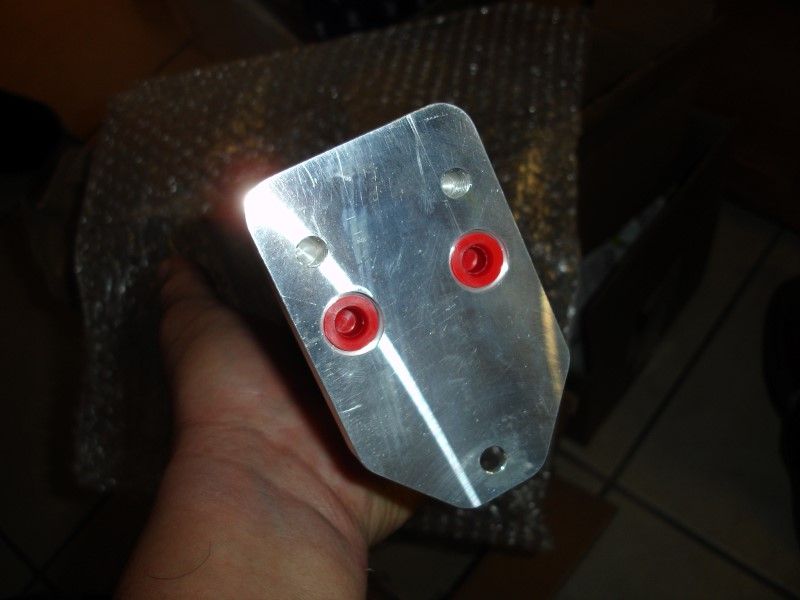
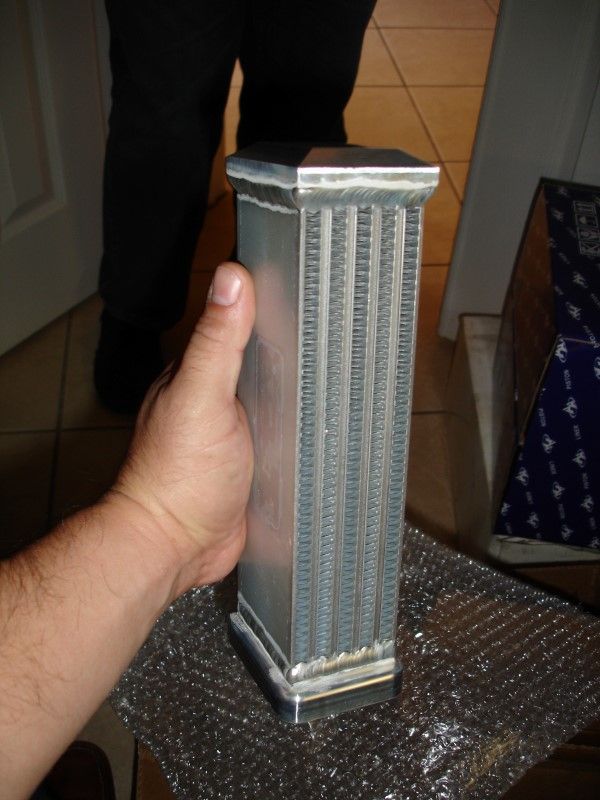
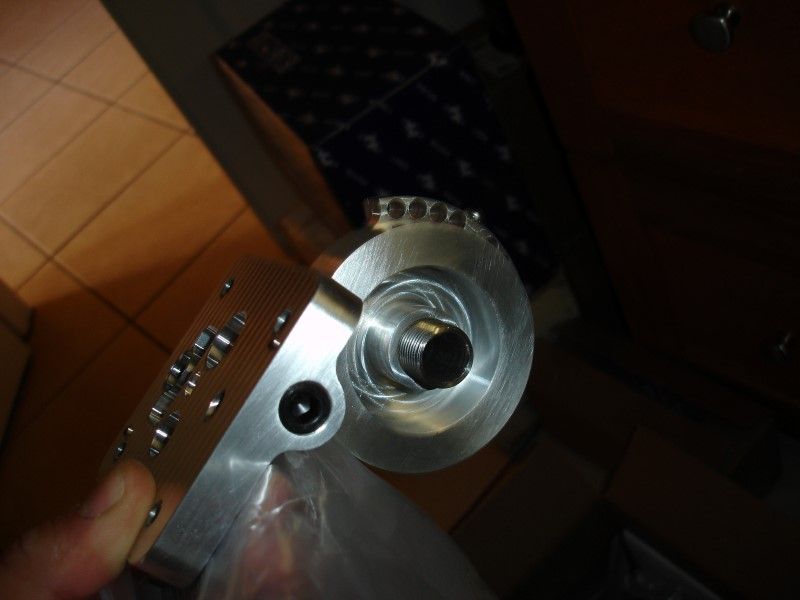
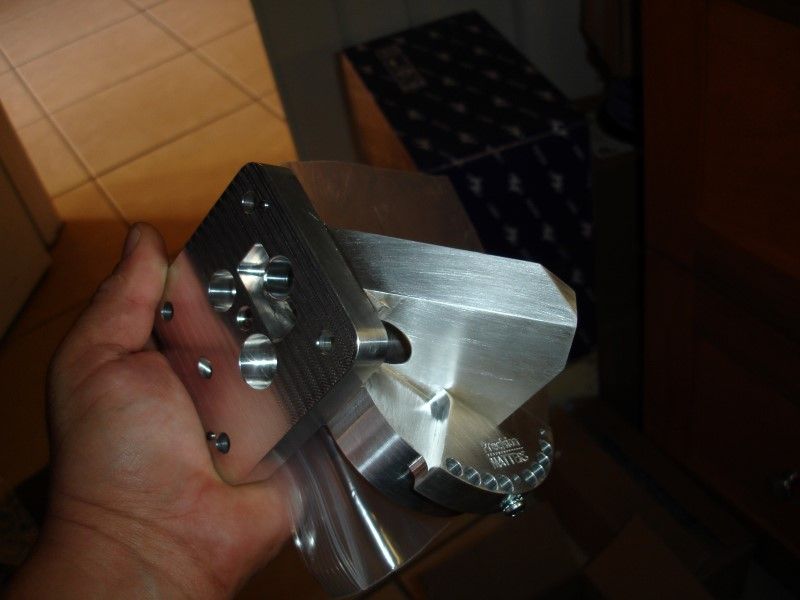
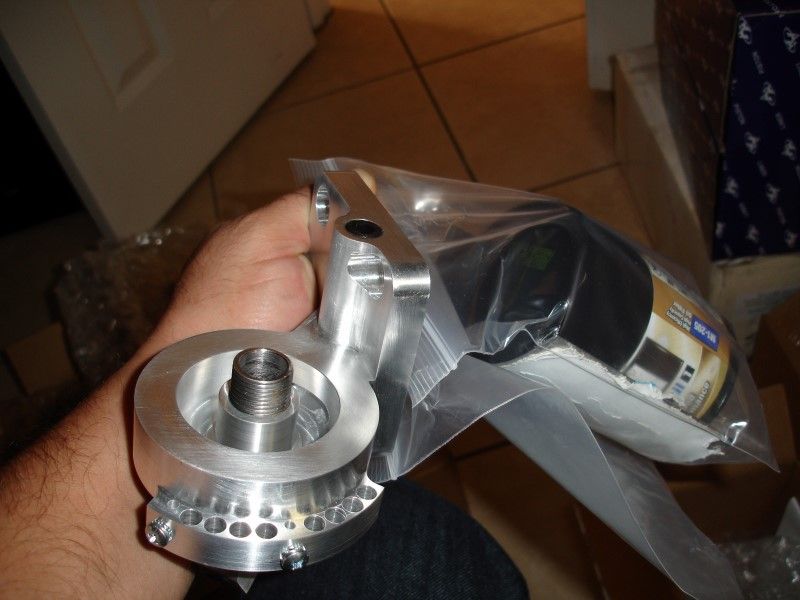
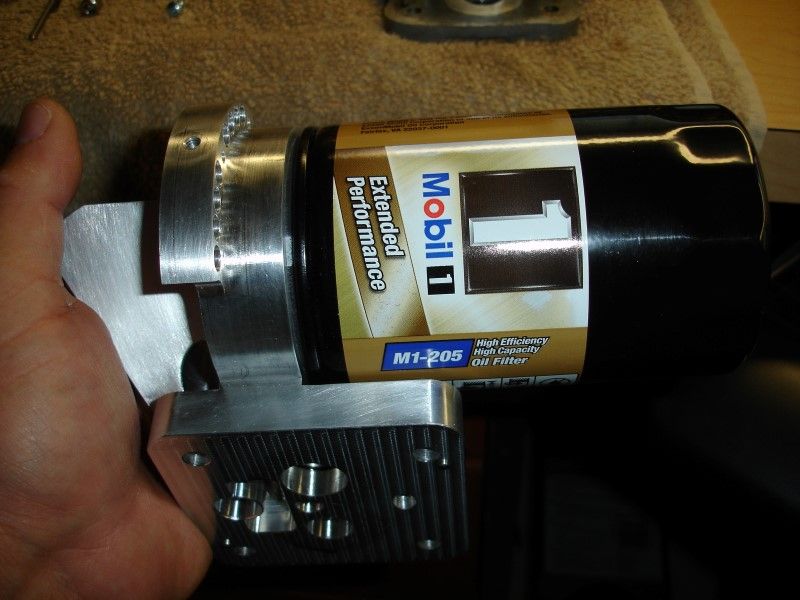
Full flow oil system... this is a work of art! From Ron LaDow@ Precision Matters
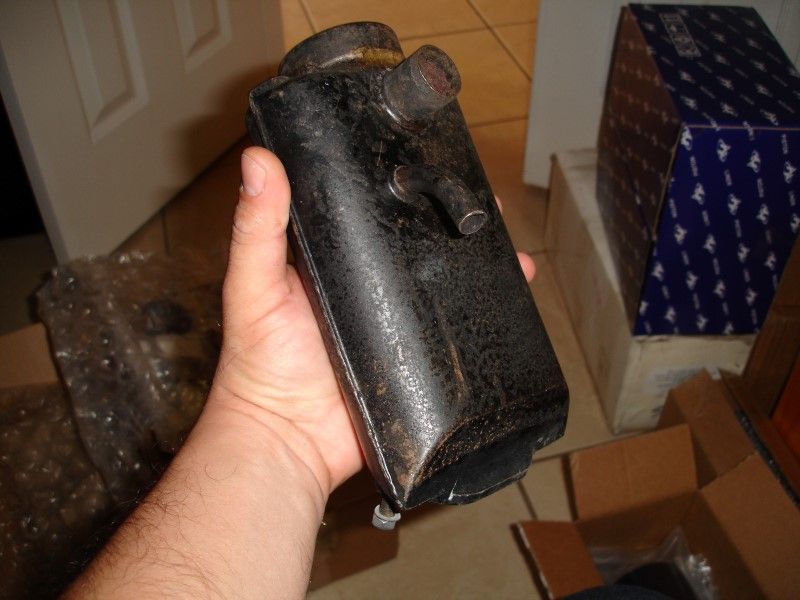
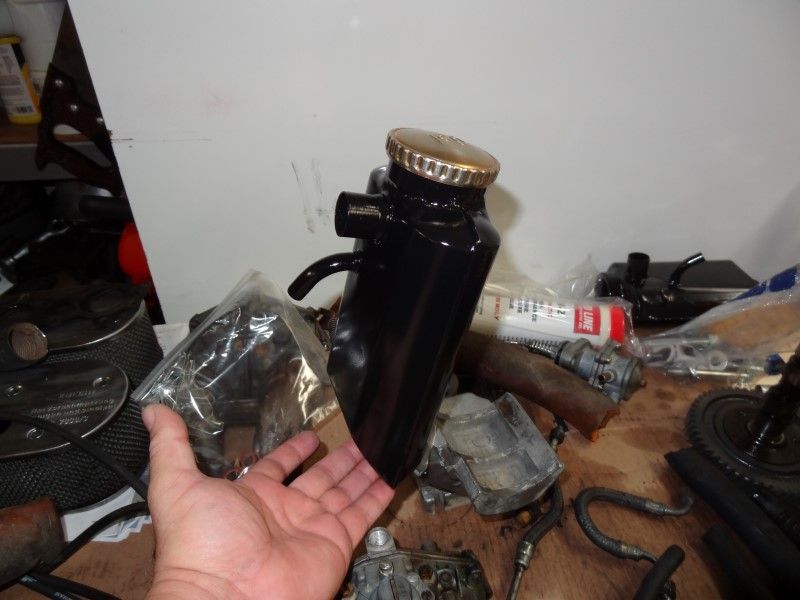
Look Mom! No pinholes! Used oil canister breather from Jim @ Easy Porsche. I will get it ready for paint tonight...
Aluminum oil cooler
Note to self...remember to remove red plugs...
Full flow oil system... this is a work of art! From Ron LaDow@ Precision Matters
Look Mom! No pinholes! Used oil canister breather from Jim @ Easy Porsche. I will get it ready for paint tonight...
Last edited by Wachuko; 02-18-2014 at 01:33 PM.
02-17-2014, 05:16 PM
#144
Professor of Pending Projects
Rennlist Member
Rennlist Member
Thread Starter
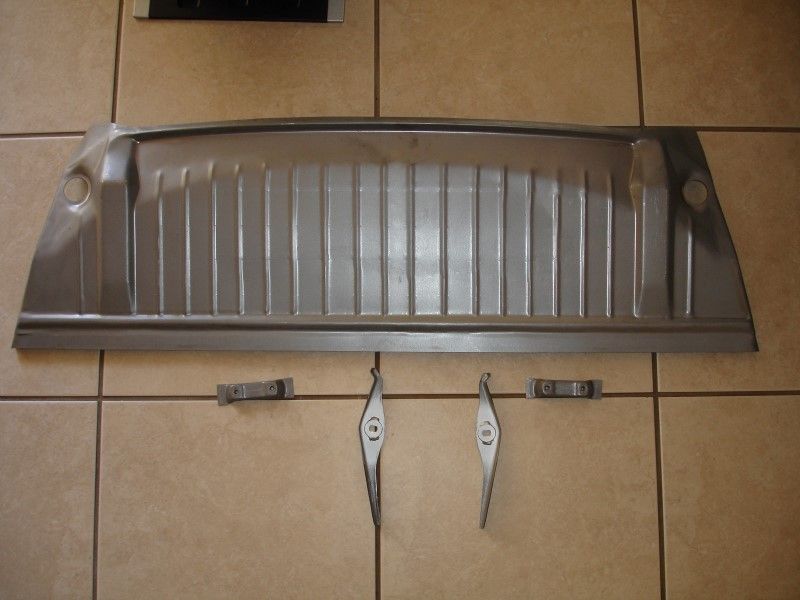
I ended ordering the front floor pan section from Restoration Design (and the rear parcel shelf, and the hinges support, and...)... (father-in-law modeling the new floor section)...
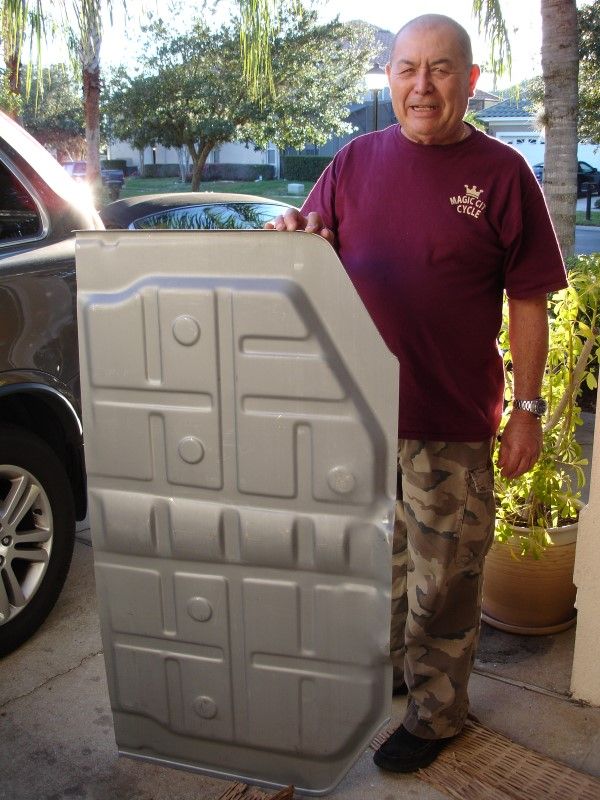
And now seeing that nice looking and solid new section makes me wonder if I should continue to help the national debt index and just order the rear section as well...")
And now seeing that nice looking and solid new section makes me wonder if I should continue to help the national debt index and just order the rear section as well...
02-18-2014, 12:52 PM
#146
Professor of Pending Projects
Rennlist Member
Rennlist Member
Thread Starter
 02-18-2014, 12:54 PM
#147
Professor of Pending Projects
Rennlist Member
Rennlist Member
Thread Starter
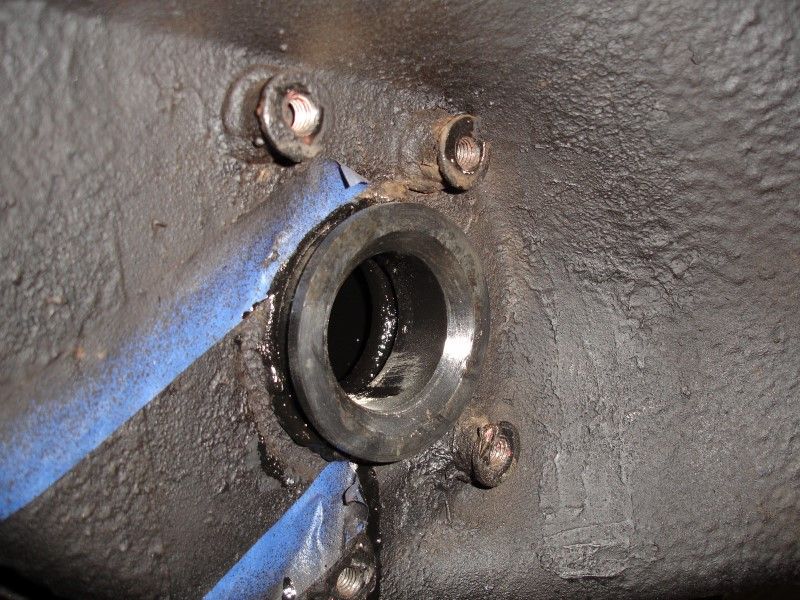
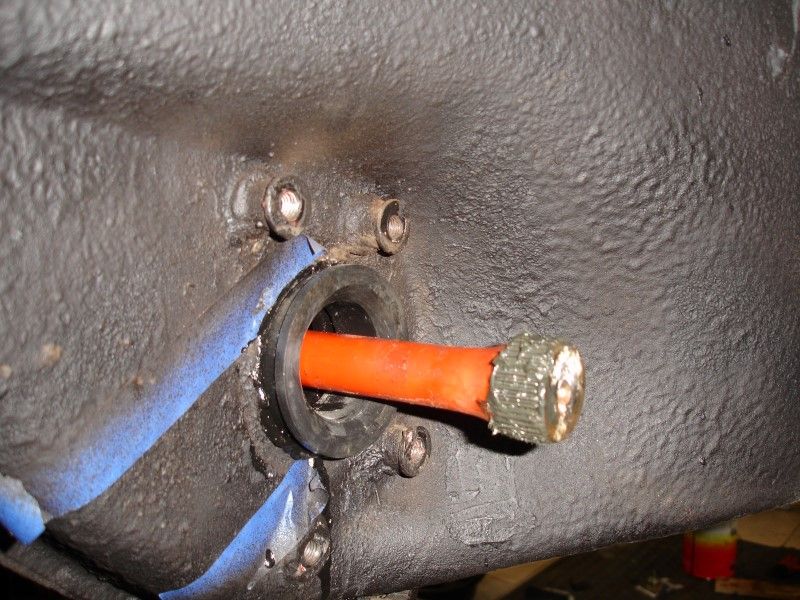
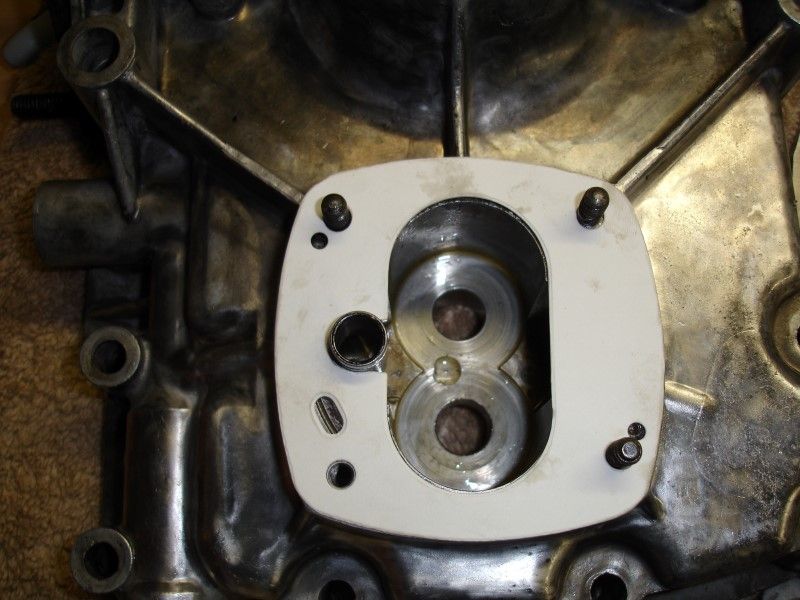
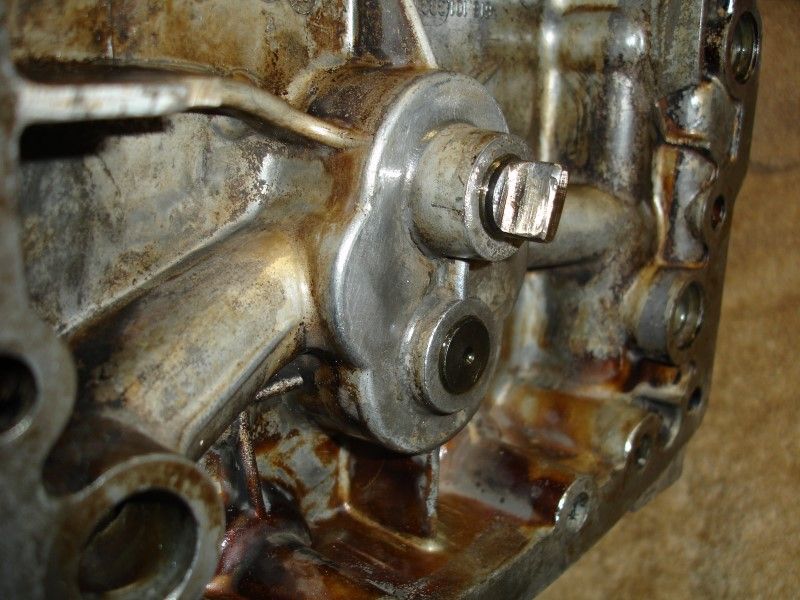
Need to make the modifications to the 3rd engine case cover to install the Full Flow Oil Filtering system...
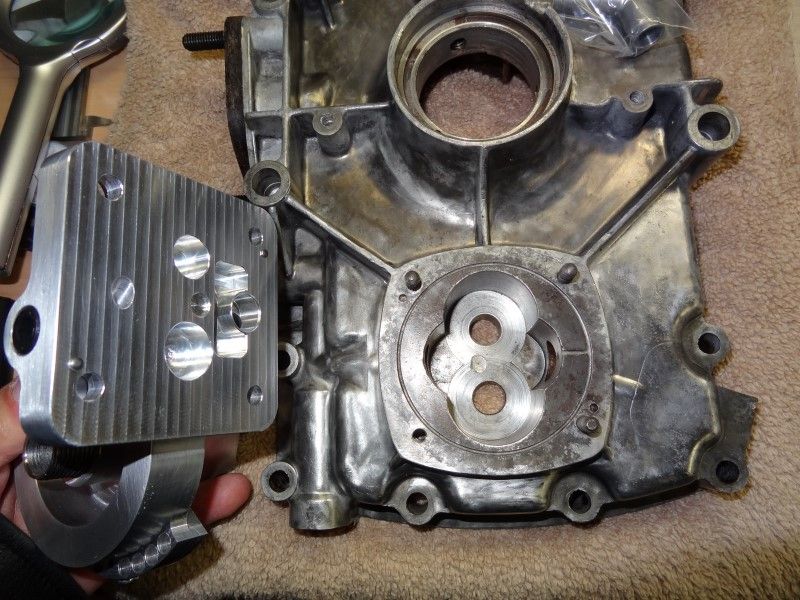
Mod needed to insert this:
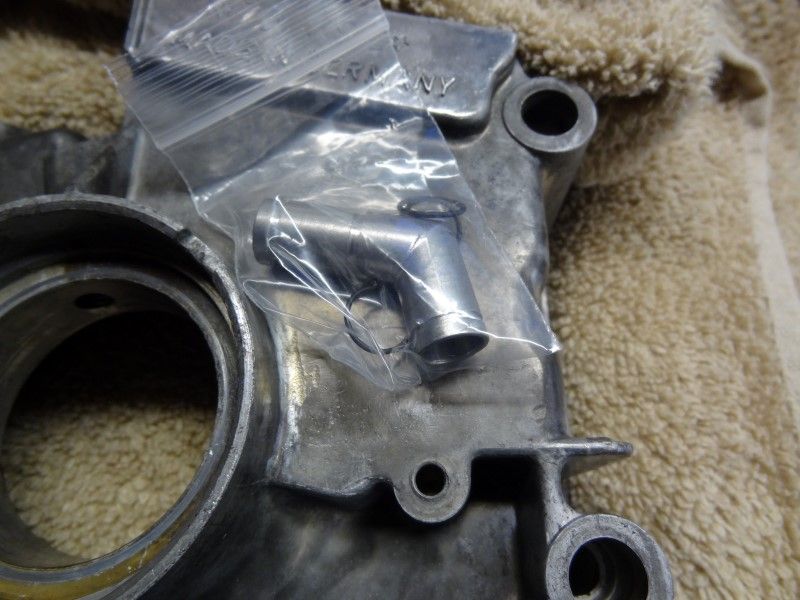
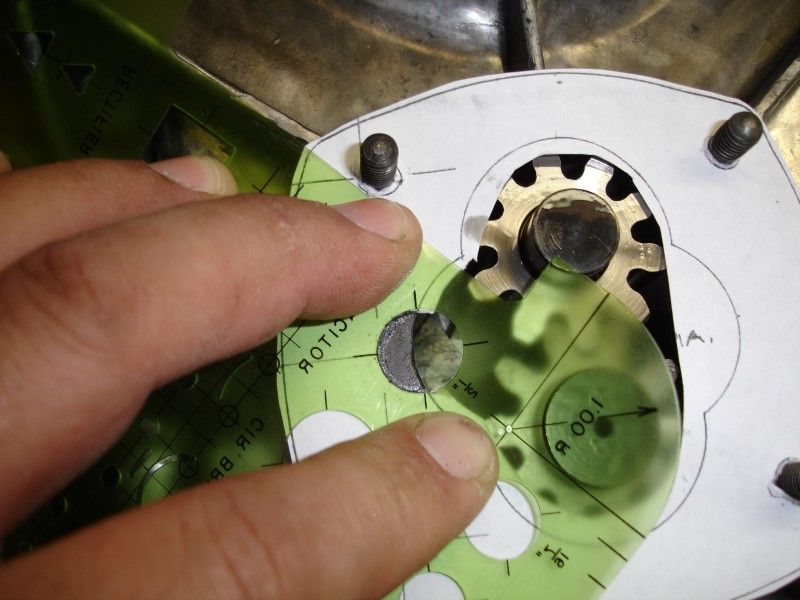


Mod needed to insert this:
Wachuko,
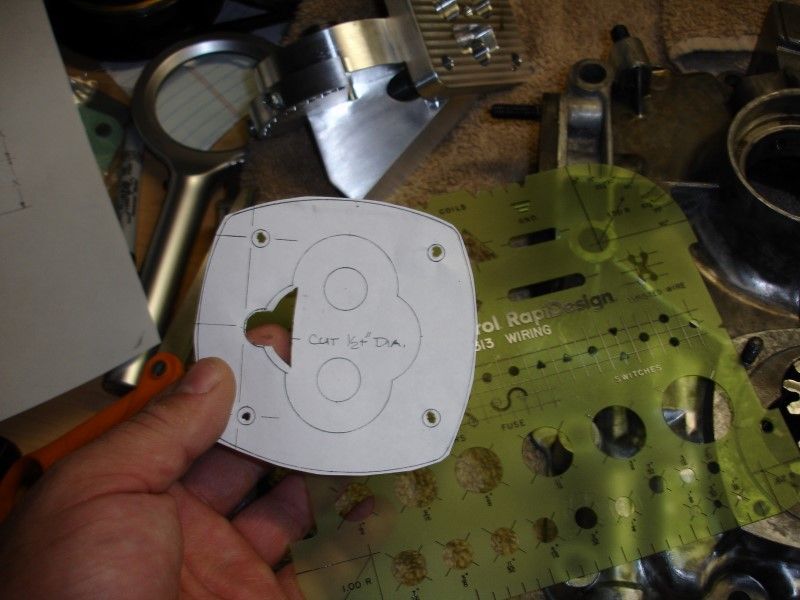
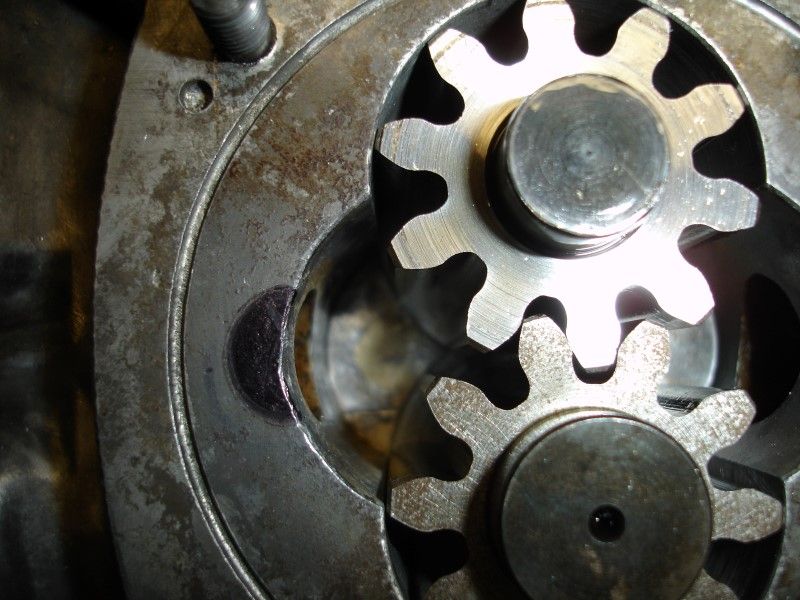
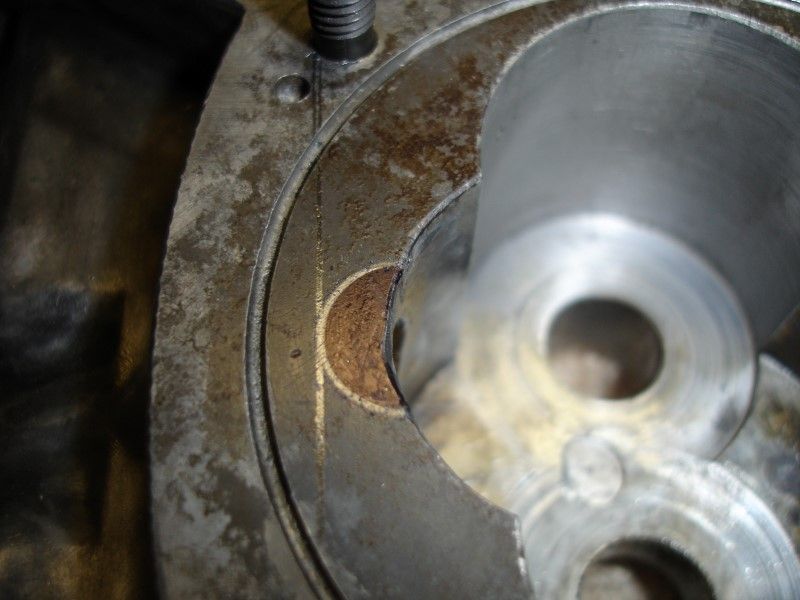
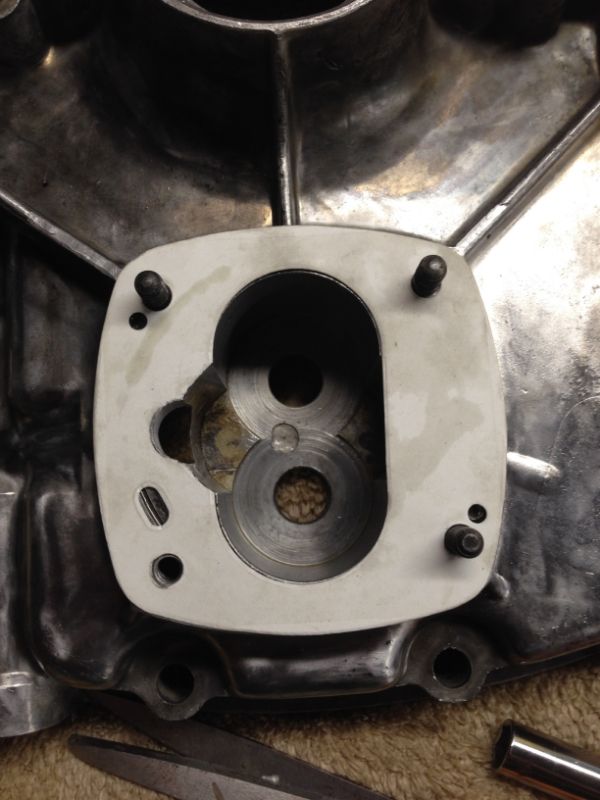
Start with the layout. blacken the area with a wick-pen then use the drawing and a sharp scribe or similar to outline the cut (you can trace inside any 1/2" diameter ring, washer or similar).
Then use a Dremel with a 'tear-drop' course burr.[ATTACH=CONFIG]49882[/ATTACH]
It takes material off slowly enough that it'll take about 15 minutes to cut the notch, so the only way to hurt anything is to drop the timing cover on the concrete.
02-18-2014, 06:14 PM
#148
Professor of Pending Projects
Rennlist Member
Rennlist Member
Thread Starter
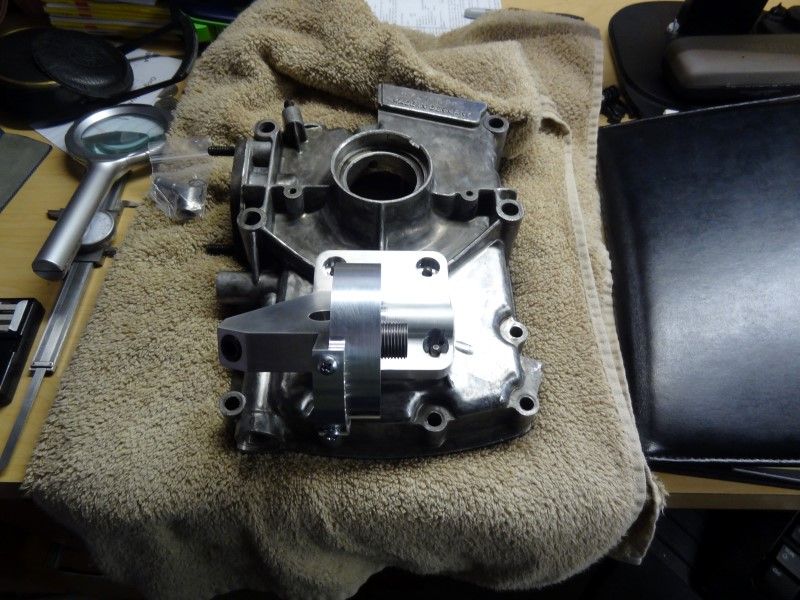
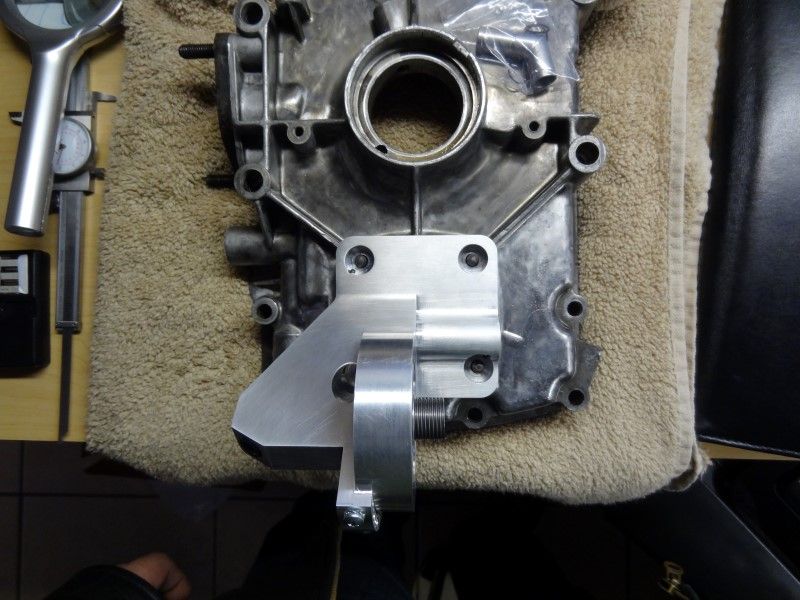
Now in place... just a dry fit test (well, it had some oil in there  )
)
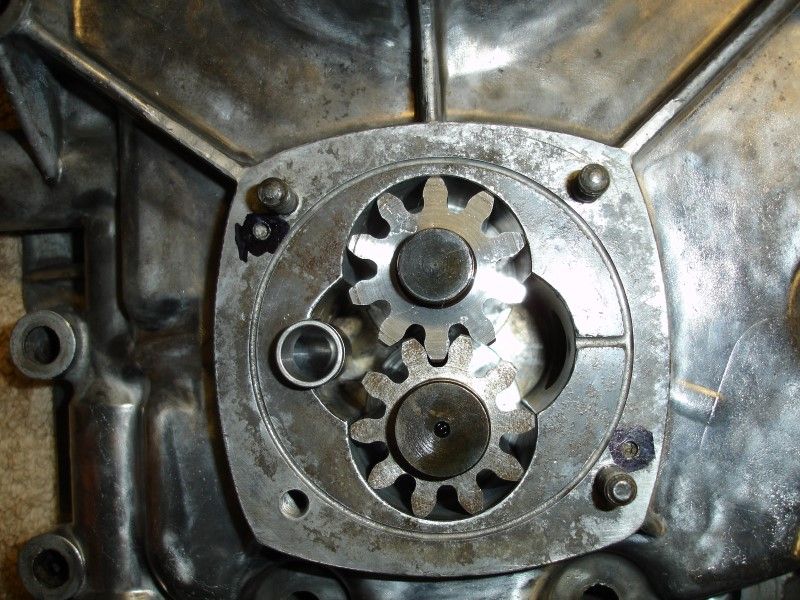
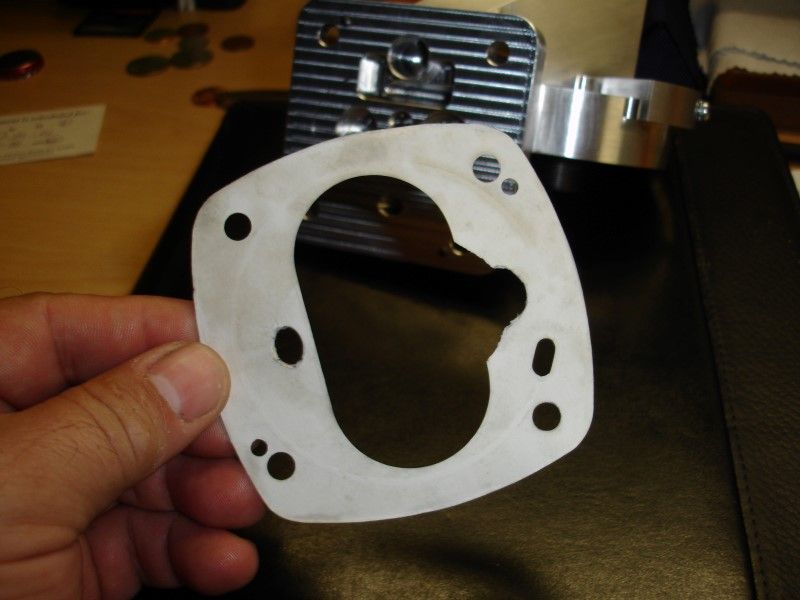
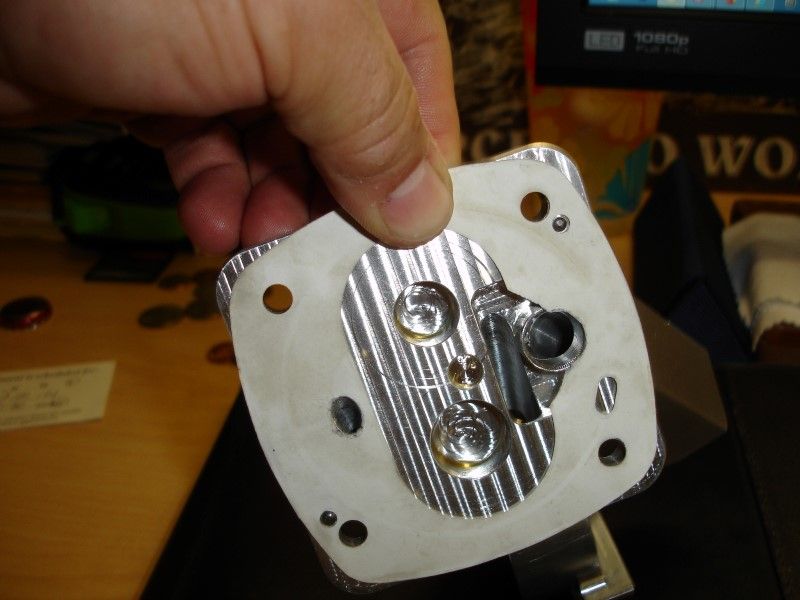
Let's modify the gasket and install everything...
Modified gasket for pressure relief port:
Torque down...
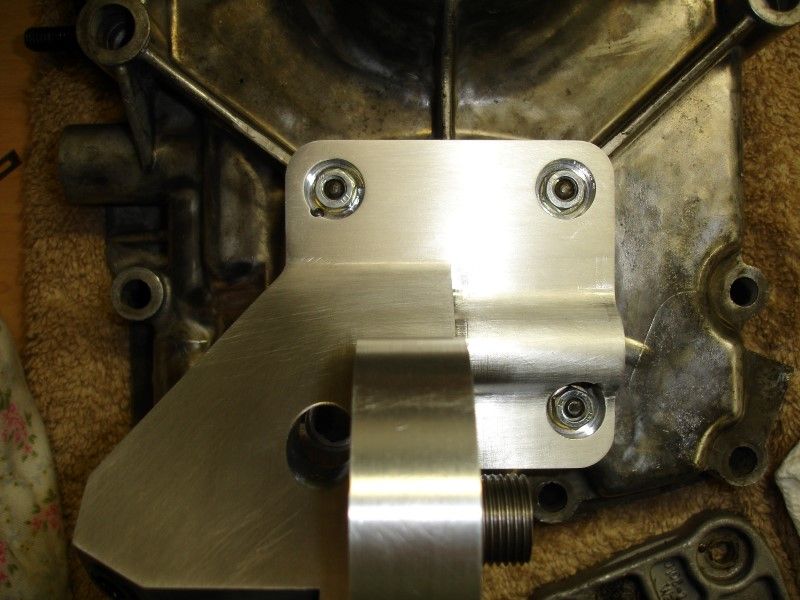
Now for the real test... yes! it turns!!
I feel better now...
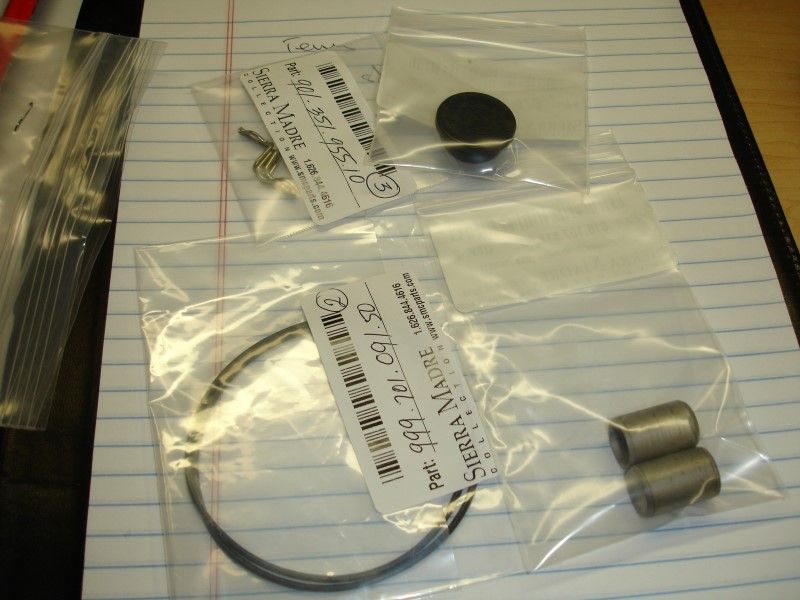
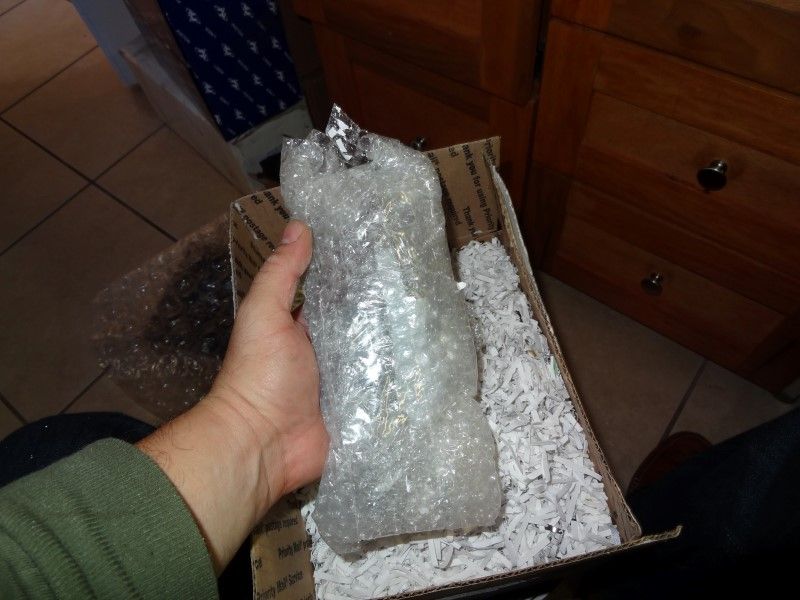
Also, these parts came in today...
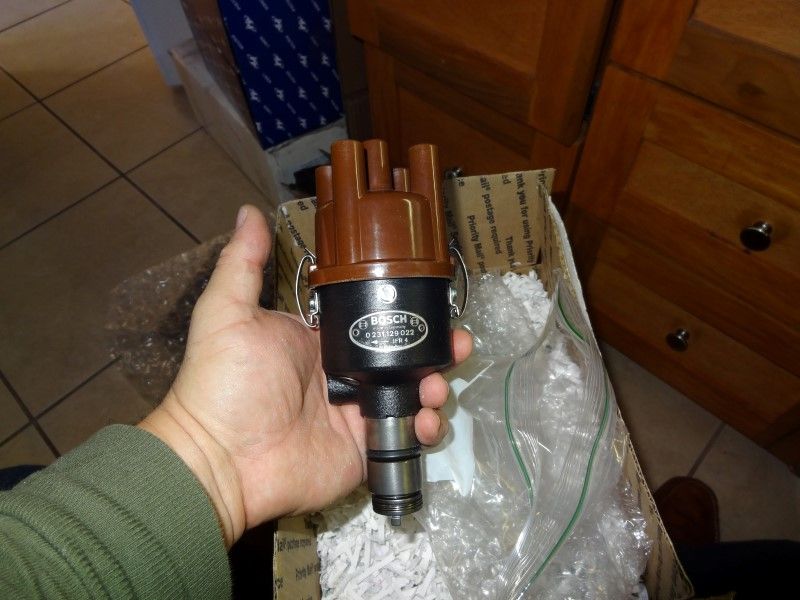
A word of advice when you get your distributor rebuilt by Glenn... Do not open the box under a fan on high speed... you have been warned...
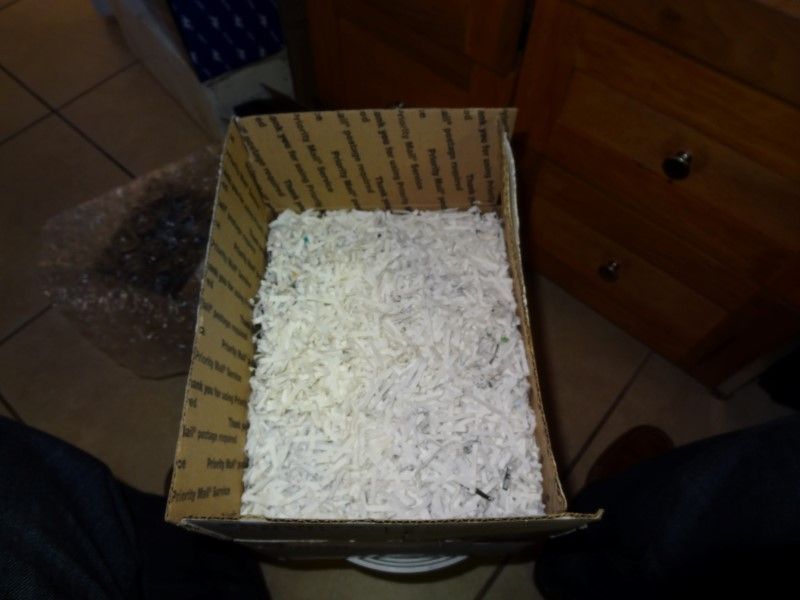
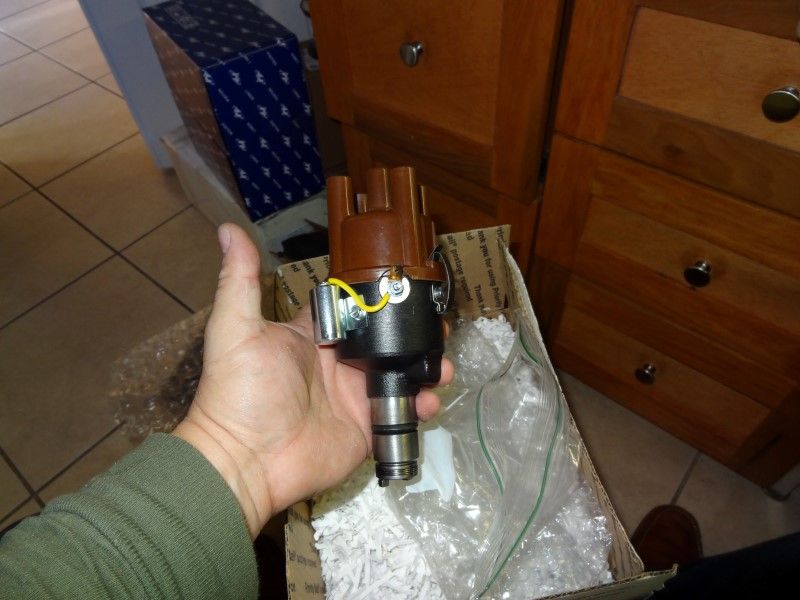
Just like new!!
)Let's modify the gasket and install everything...
Modified gasket for pressure relief port:
Torque down...
Now for the real test... yes! it turns!!
I feel better now...
Also, these parts came in today...
A word of advice when you get your distributor rebuilt by Glenn... Do not open the box under a fan on high speed... you have been warned...
Just like new!!
Last edited by Wachuko; 02-19-2014 at 12:07 PM.
02-18-2014, 10:52 PM
#150
Professor of Pending Projects
Rennlist Member
Rennlist Member
Thread Starter
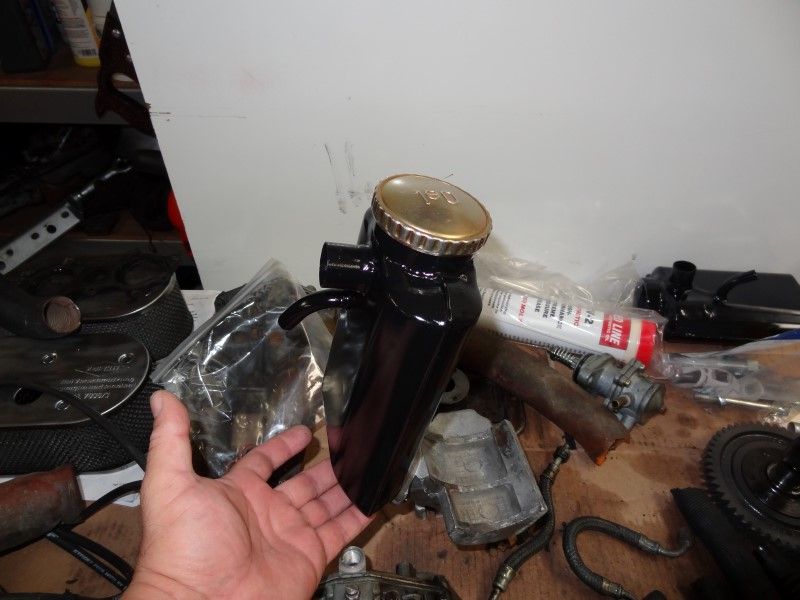
New (used) oil canister breather is now painted! Looks so much better now and with a new cap.
Also got the sticker for the fan housing...
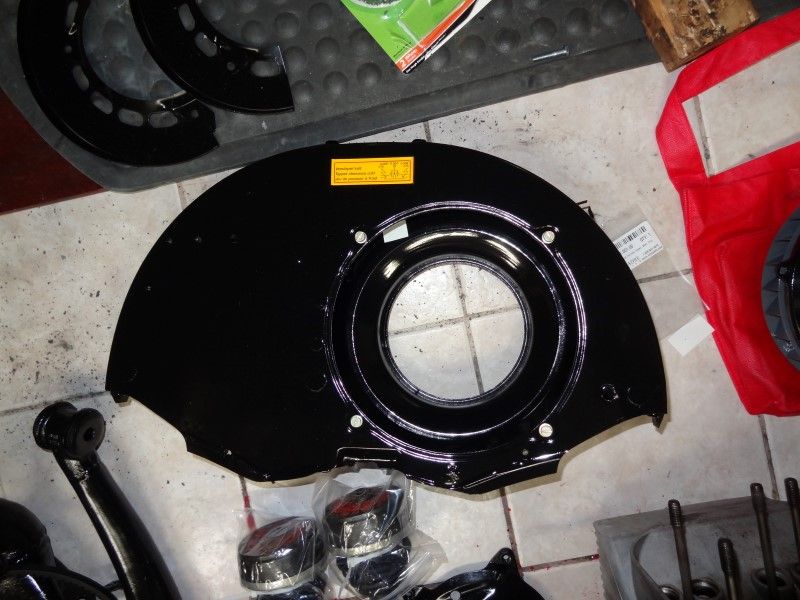
Also got the sticker for the fan housing...