
porsche0nut's 3.2 Carrera Engine Project
 02-25-2015, 12:38 PM
#16
Jonathan, Yarko has proper stud extracting collets for this... You should use them. One other concern is the threads being damaged and requiring repair. This is a very heartbraking task... so let me help you with these if you want to DIY, I have plenty of experience with these.
Sounds like you have everything organized and a decent plan. All the comments here are excellent and will help guide you. I strongly suggest just doing what you need to do, and save your money for the day the engine isn't giving power anymore for full rebuild. My 0.02. I am also slightly biased in the fact I need to delay all performance gains to your car as much as possible since I am trying to stay ahead of you at the track in an SC!!!!!
Enjoy the project to the max! You are now living the dream Congrats and call me anytime as usual...
Sounds like you have everything organized and a decent plan. All the comments here are excellent and will help guide you. I strongly suggest just doing what you need to do, and save your money for the day the engine isn't giving power anymore for full rebuild. My 0.02. I am also slightly biased in the fact I need to delay all performance gains to your car as much as possible since I am trying to stay ahead of you at the track in an SC!!!!!
Enjoy the project to the max! You are now living the dream
Congrats and call me anytime as usual...
 03-01-2015, 09:17 PM
#17
Basic Sponsor
Rennlist
Site Sponsor
Rennlist
Site Sponsor

Great Thread! I enjoy the pictures and the stories. Make sure to have a budget in mind and keep to it or you will find yourself in a deep hole. I made the mistake of trying to bring one of my 3.2 liter engine rebuild projects back to "looking new". Once you replace or restore one part it makes the other part next to it look twice as bad, which forces you to replace it and then there is no stopping point.
Replace the valve guides. Replace the head studs. I use Raceware headstuds. You should split the case, it is really not that much more work or money, then you can get all the oil leaks. Use the new case sealant from Porsche, skip the 574. What does the Dempsey book suggest to seal up the case halves, I have never read it? I am a Bruce Anderson rebuild book guy. If you split the case then replace the rod bolts. I use Raceware rod bolts, I am sure the ARP bolts are fine. Replace all the fuel lines. The breather line is probably hard as a rock at the case, replace it , they are not very expensive. Replace the intake manifold insulators.
Rodger
Last edited by ORBIT; 03-01-2015 at 09:25 PM. Reason: spelling
03-02-2015, 06:59 PM
#19
Race Car
Thread Starter
Orbit, that looks fantastic!
You're right about the budget, and definitely right about wanting to go further and further with each part that gets "refreshed"... which is why I'm drawing my line. Not going into the engine, my engine is very strong (if it aint broke...) and I have a timeline that I need to stick to (on the road for Hershey). Going to do the oil return tubes and common oil leak areas, and the upgrades I have planned. Will replace the hardware as I go and all old rubber hoses/fuel lines. Everything will get a good cleaning as I go.
That's the plan for now! Am away for work this week but hope to get back at it and provide some good updates this coming weekend!
03-03-2015, 03:30 PM
#20
Team Owner
im with you jonathan
soaking exhaust studs as we speak. gonna take the surface rust off them tonight with my dremmel and small wire wheel , then another soaking.
May just hack the exchangers right off havent decided yet.
soaking exhaust studs as we speak. gonna take the surface rust off them tonight with my dremmel and small wire wheel , then another soaking.
May just hack the exchangers right off havent decided yet.
 03-03-2015, 06:17 PM
#21
Just a stupid question...
On these cars (more the SC than the 3.2) the "exhaust" side head studs can fail, and cause compression leaks and are a major problem. These are frequently referred to as "exhaust studs".
Then there are studs connecting the headers to the head... also "exhaust" studs... not sure these are a major source of problems.
Are we talking about the same part here?
03-03-2015, 06:53 PM
#22
Race Car
Thread Starter
Just a stupid question...
On these cars (more the SC than the 3.2) the "exhaust" side head studs can fail, and cause compression leaks and are a major problem. These are frequently referred to as "exhaust studs".
Then there are studs connecting the headers to the head... also "exhaust" studs... not sure these are a major source of problems.
Are we talking about the same part here?
On these cars (more the SC than the 3.2) the "exhaust" side head studs can fail, and cause compression leaks and are a major problem. These are frequently referred to as "exhaust studs".
Then there are studs connecting the headers to the head... also "exhaust" studs... not sure these are a major source of problems.
Are we talking about the same part here?
The head studs on the exhaust side I would still call head studs... or maybe "lower" head studs?
03-03-2015, 09:29 PM
#23
Team Owner
Head studs are head studs. Exhaust studs are exhaust studs.
But you are absolutely correct jcp. It's always the dilivar head studs that break. The ones on the exhaust side
But Jonathan and I were talking about the exchanger exhaust studs as we are both trying to get those off.
 03-07-2015, 10:41 AM
#27
Race Car
Thread Starter
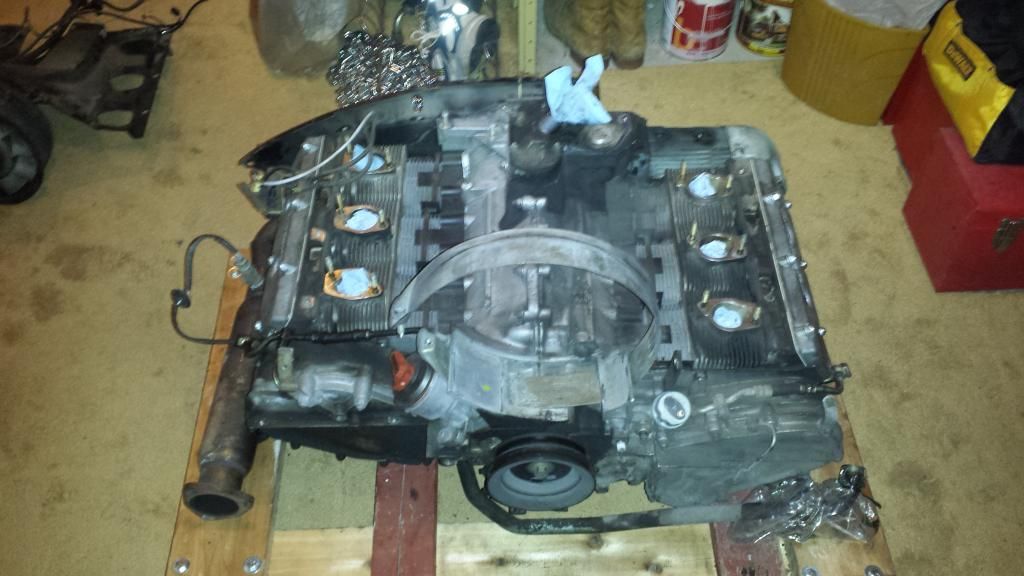
After a week out of town for work, finally made some progress! Last night the goal was to remove the fan/shroud, clutch assembly, and get it ready for the engine stand where I will work on removing the heat exchangers and cleaning it up.
Easy stuff first, got the shroud and fan removed. As you can see, it's becoming apparent I have a lot of leaky seals! Triangle of death, left chain cover, hydraulic tensioner lines, front main seal, breather cover.... these will all get replaced.
Brew choice for the evening (very important):
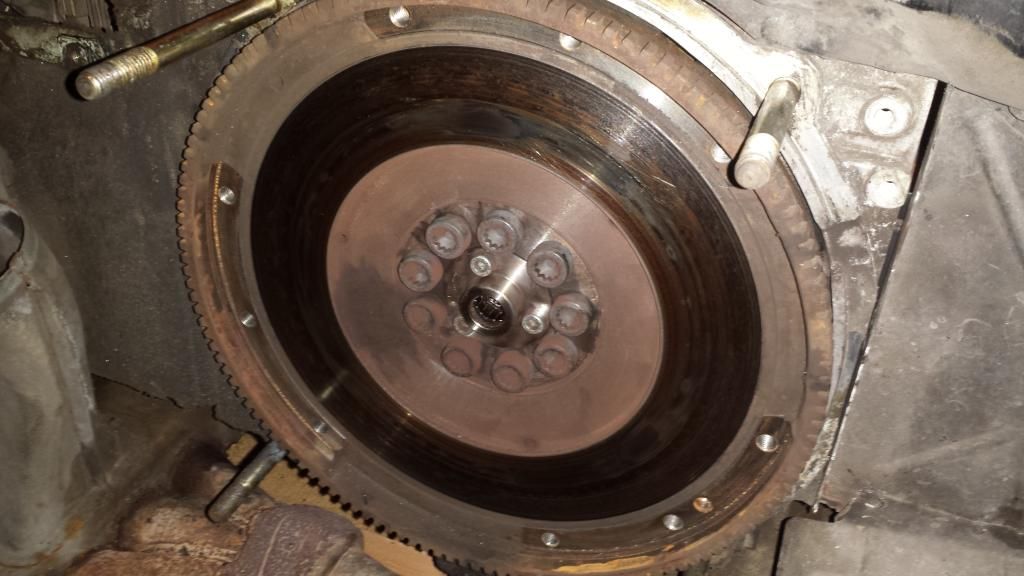
Clutch removed, here's the flywheel surface:
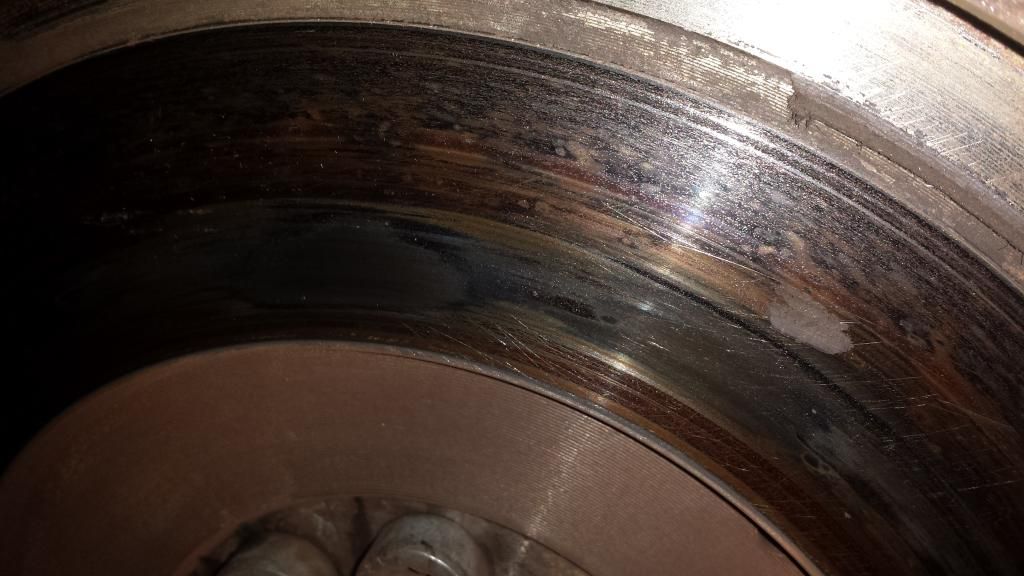
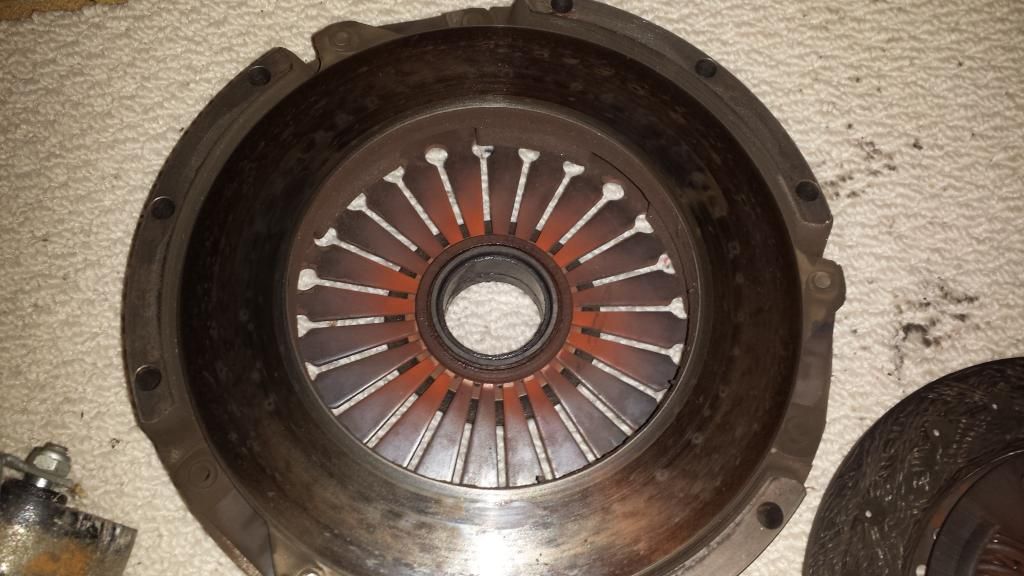
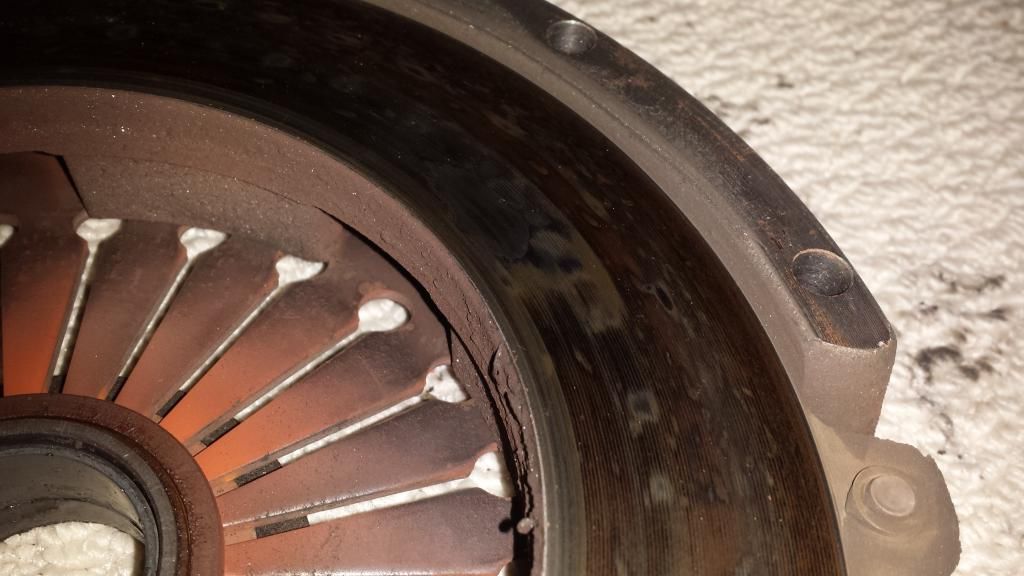
Pressure plate looks pretty burnt:
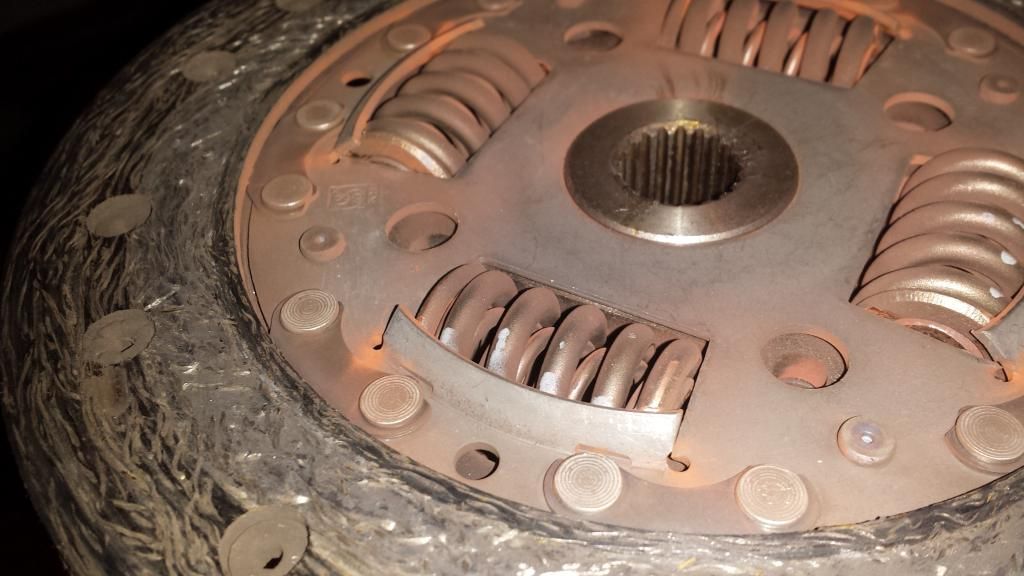
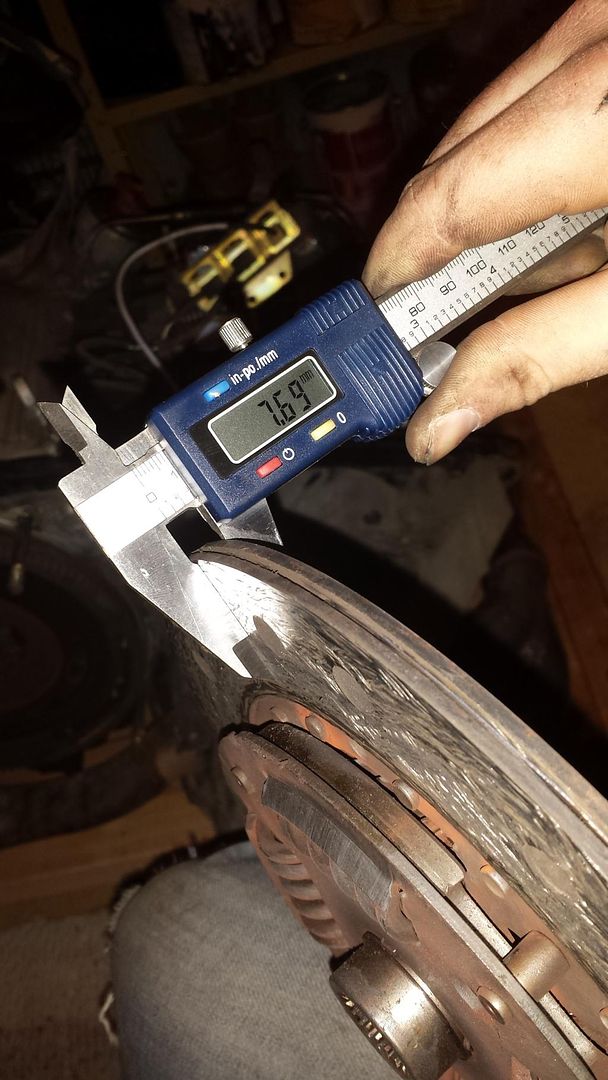
Clutch disc still has life left... it will get replaced anyway along with the new Patrick Motorsports/KEP stage 1 clutch kit and lightweight flywheel!
Easy stuff first, got the shroud and fan removed. As you can see, it's becoming apparent I have a lot of leaky seals! Triangle of death, left chain cover, hydraulic tensioner lines, front main seal, breather cover.... these will all get replaced.
Brew choice for the evening (very important):
Clutch removed, here's the flywheel surface:
Pressure plate looks pretty burnt:
Clutch disc still has life left... it will get replaced anyway along with the new Patrick Motorsports/KEP stage 1 clutch kit and lightweight flywheel!
Last edited by porsche0nut; 03-07-2015 at 08:24 PM.
03-07-2015, 10:48 AM
#28
Race Car
Thread Starter
At this point, I figure I'll attach the stand yoke and call it a night... but it turns out the yoke doesn't like to go on while the heat exchanger crossover pipe is still in place! Better grab another beer...
Pre-muffler came off easily, it was only installed 2 summers ago:
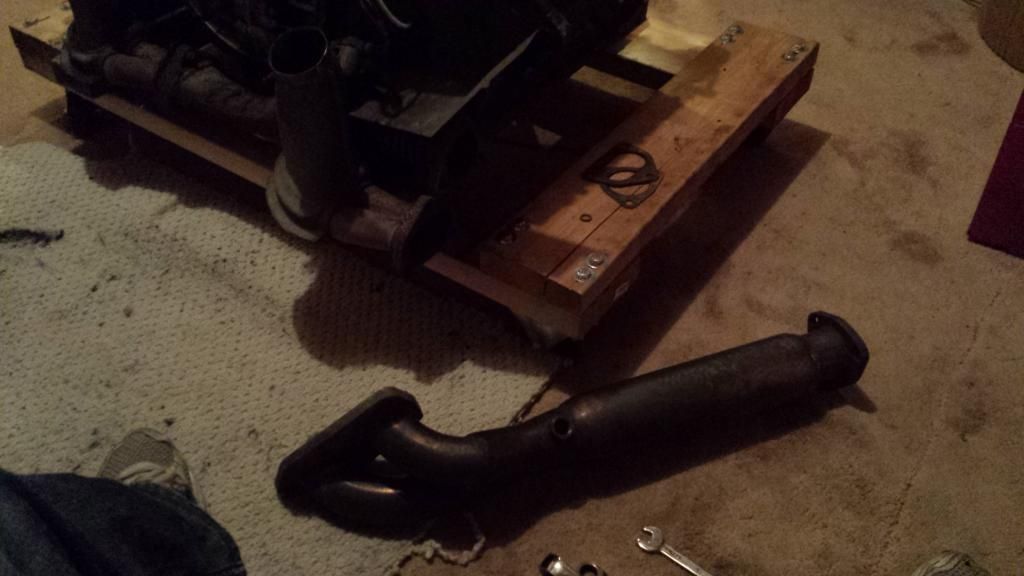
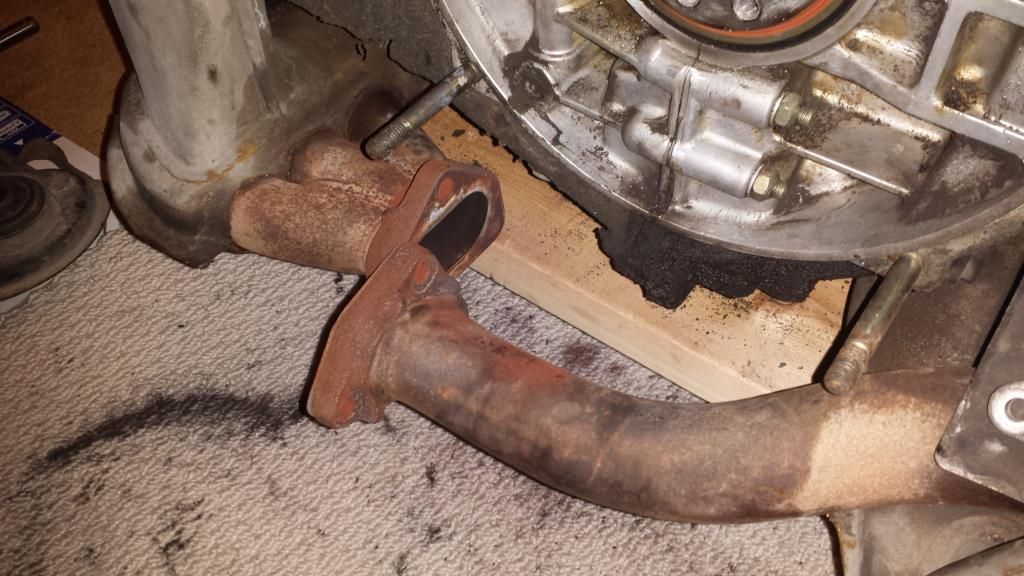
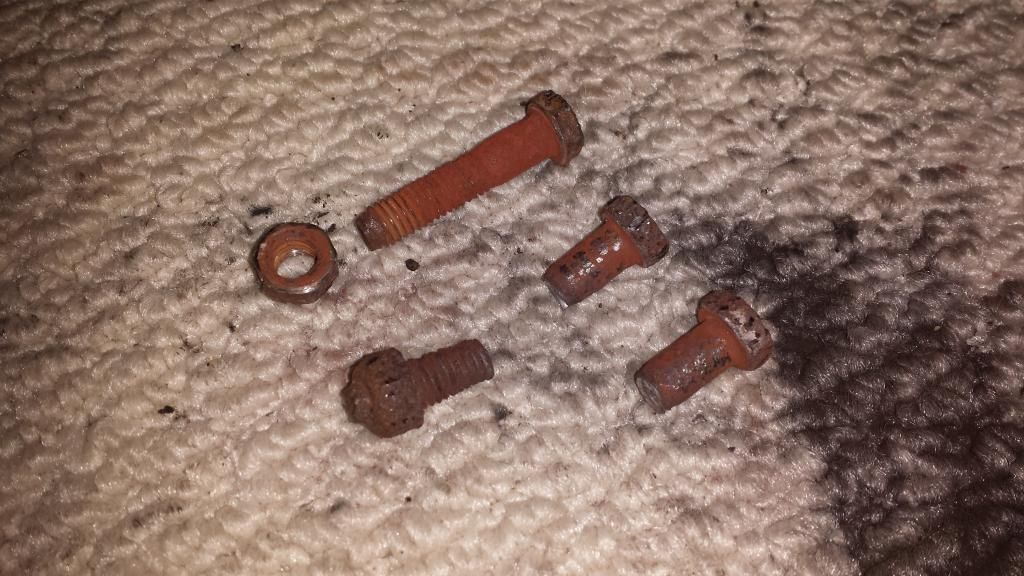
The crossover pipe wasn't so happy. Ended up breaking 2 of the 3 bolts (not that it matters, except that it gives me a bit of a prequel as to what the heat exchangers will be like, where I really don't want anything breaking!). Given that I didn't use any heat or any penetrating oil, I'm not really surprised. In the end, got the crossover pipe removed (it's still in great shape) and the yoke installed!

Today will be cleaning while I wait for a friend to come help put the engine on the stand.
Rolstin, I'll be coming by sometime in the next week or so to use your parts washer!
Pre-muffler came off easily, it was only installed 2 summers ago:
The crossover pipe wasn't so happy. Ended up breaking 2 of the 3 bolts (not that it matters, except that it gives me a bit of a prequel as to what the heat exchangers will be like, where I really don't want anything breaking!). Given that I didn't use any heat or any penetrating oil, I'm not really surprised. In the end, got the crossover pipe removed (it's still in great shape) and the yoke installed!
Today will be cleaning while I wait for a friend to come help put the engine on the stand.
Rolstin, I'll be coming by sometime in the next week or so to use your parts washer!
03-07-2015, 10:59 AM
#29
Professor of Pending Projects
Rennlist Member
Rennlist Member
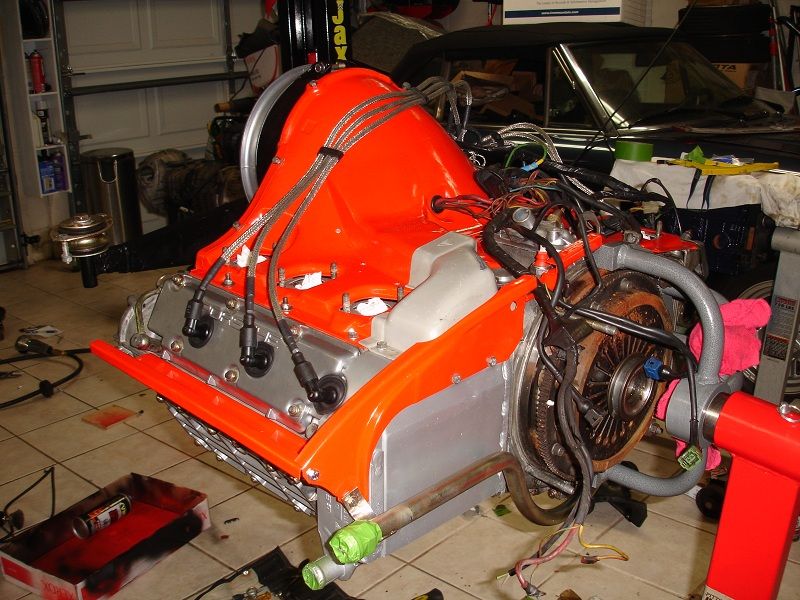
Trivial suggestion... you might want to install the yoke on the other side... makes it easier to work the oil lines and oil cooler...

03-07-2015, 11:04 AM
#30
Race Car
Thread Starter
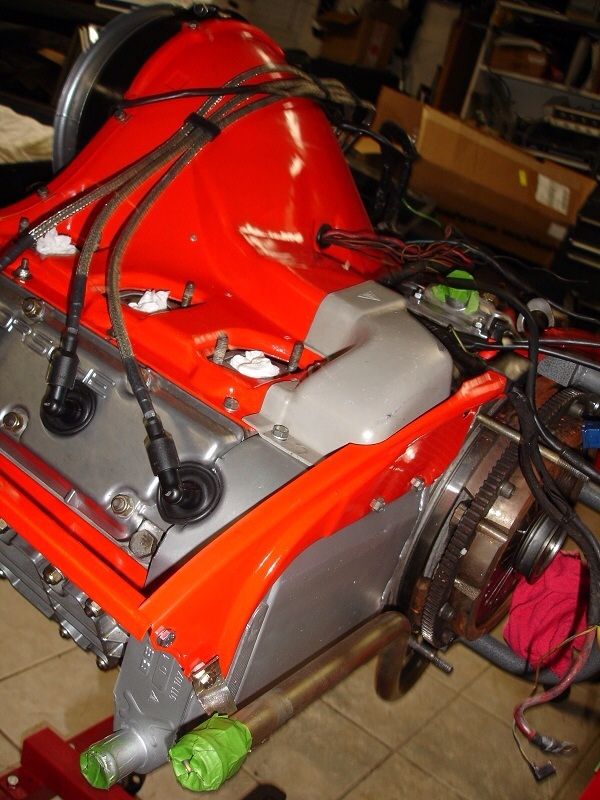
^^ Thanks for the tip Wachuko! That makes a lot of sense. Reason I didn't was it seems the studs on that side are larger diameter and my spacers for the yoke didn't fit over them. What did you use for spacers? Can't make it out in the pic...
PS: Engine looks incredible! It even matches your stand!
PS: Engine looks incredible! It even matches your stand!